So many structures so little time.

20140707-123413-45253805.jpg

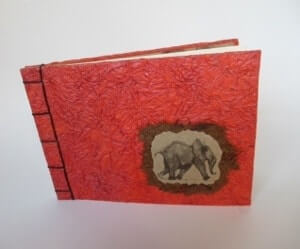
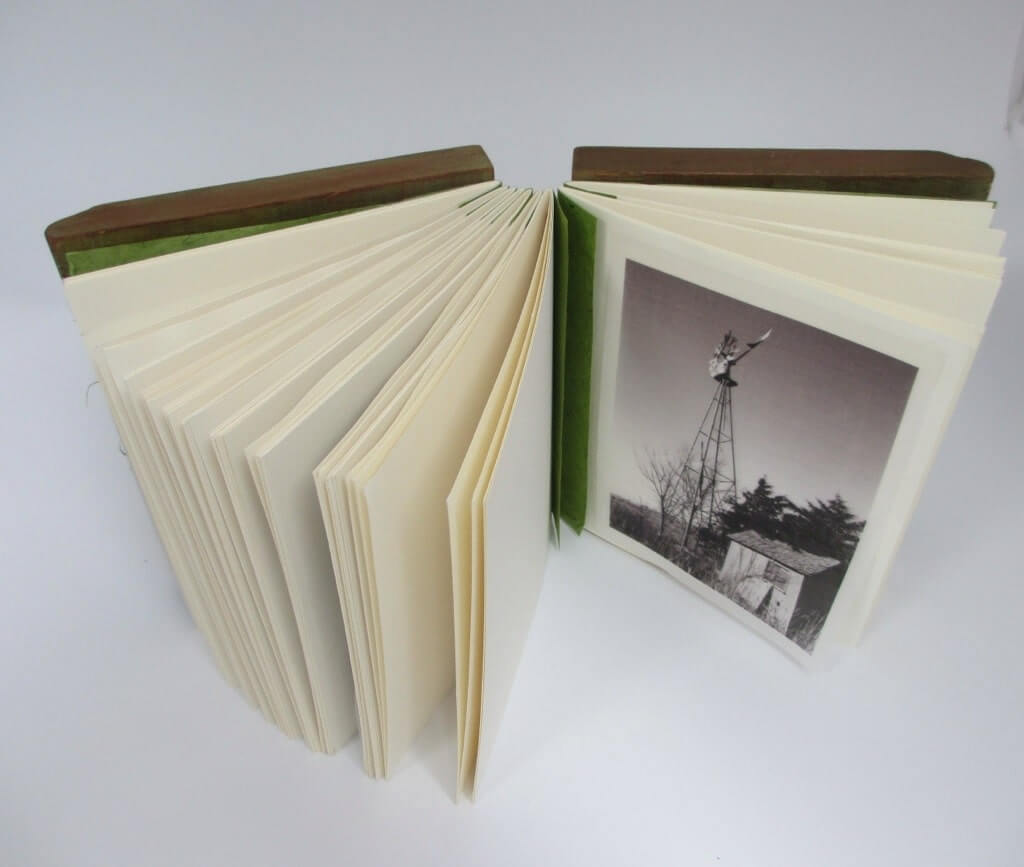
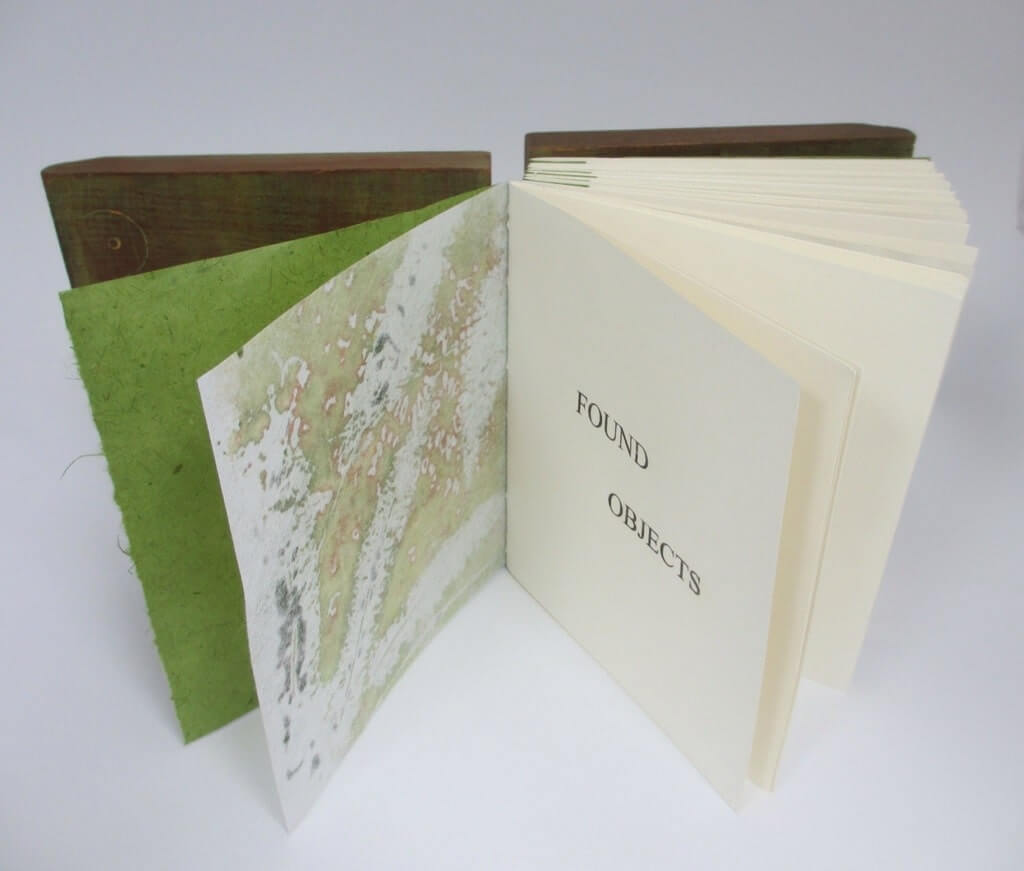
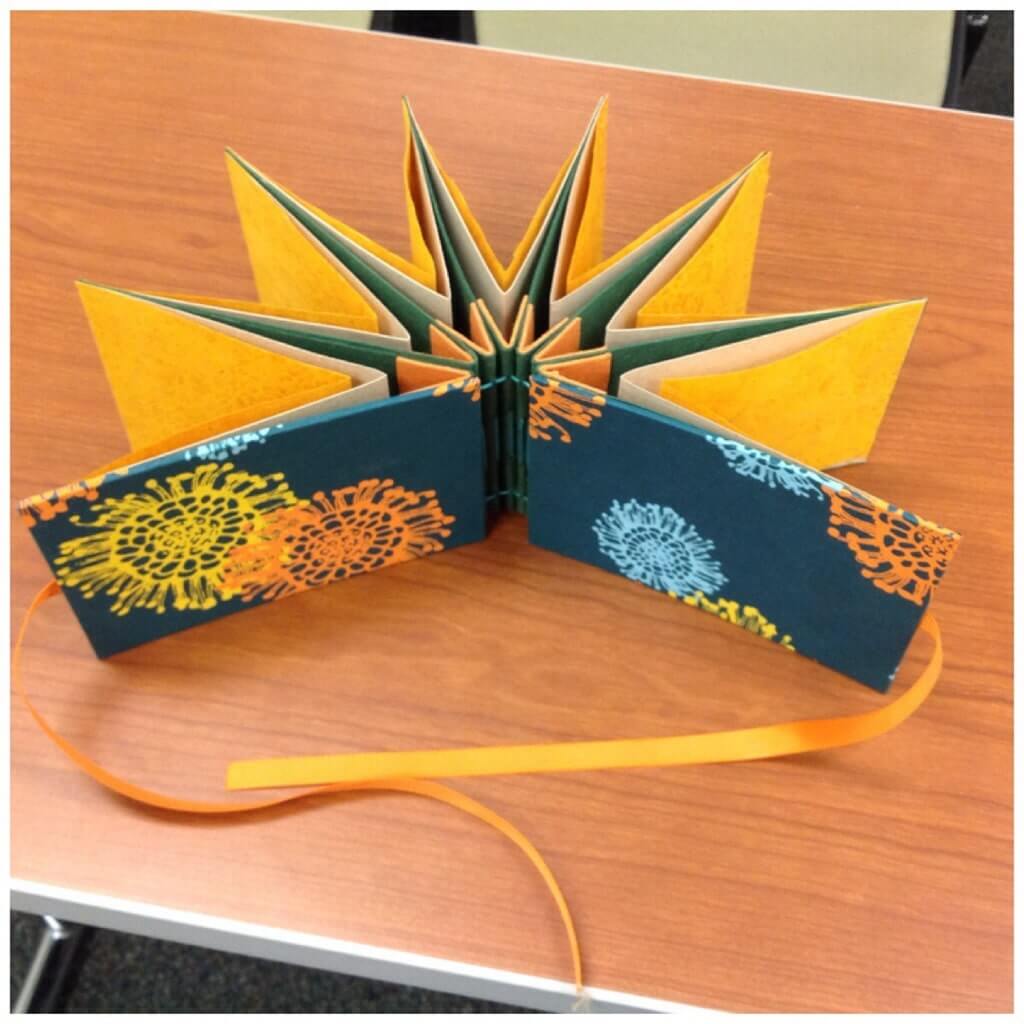
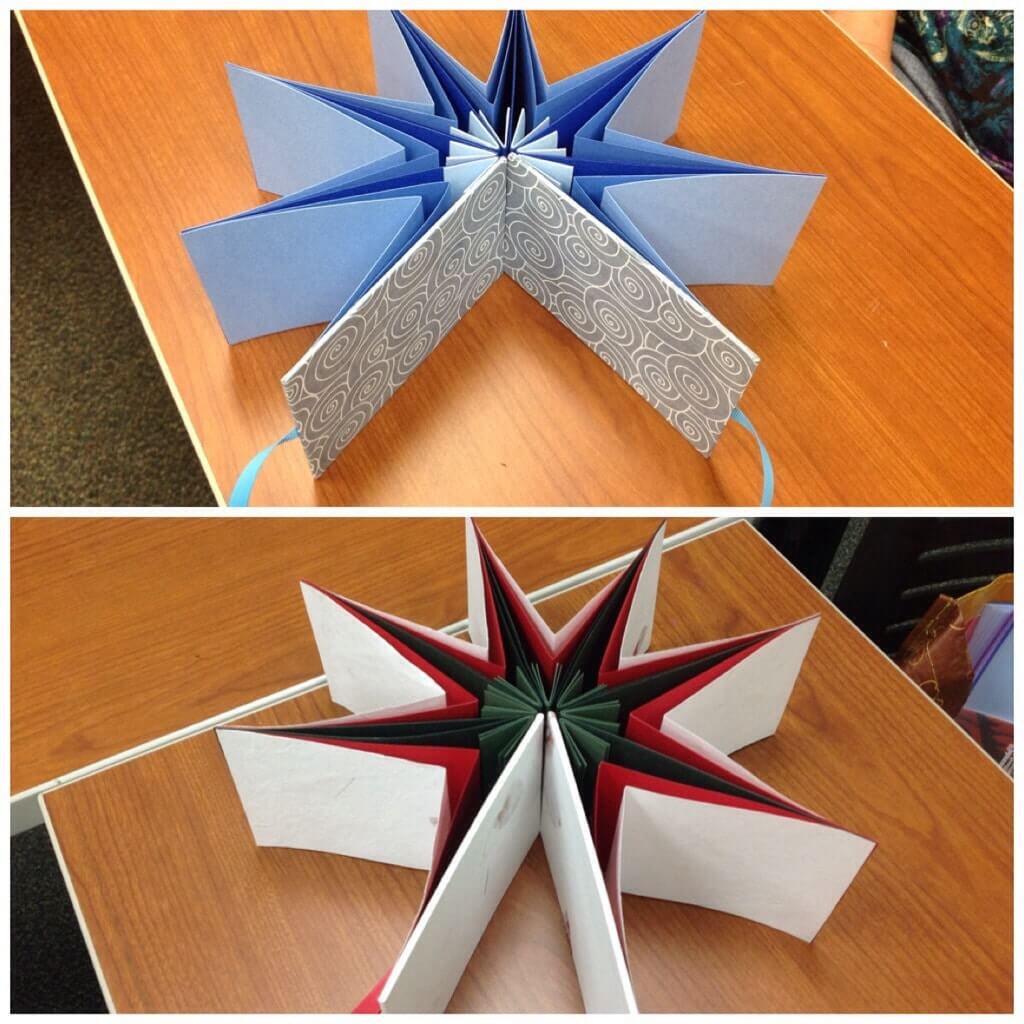
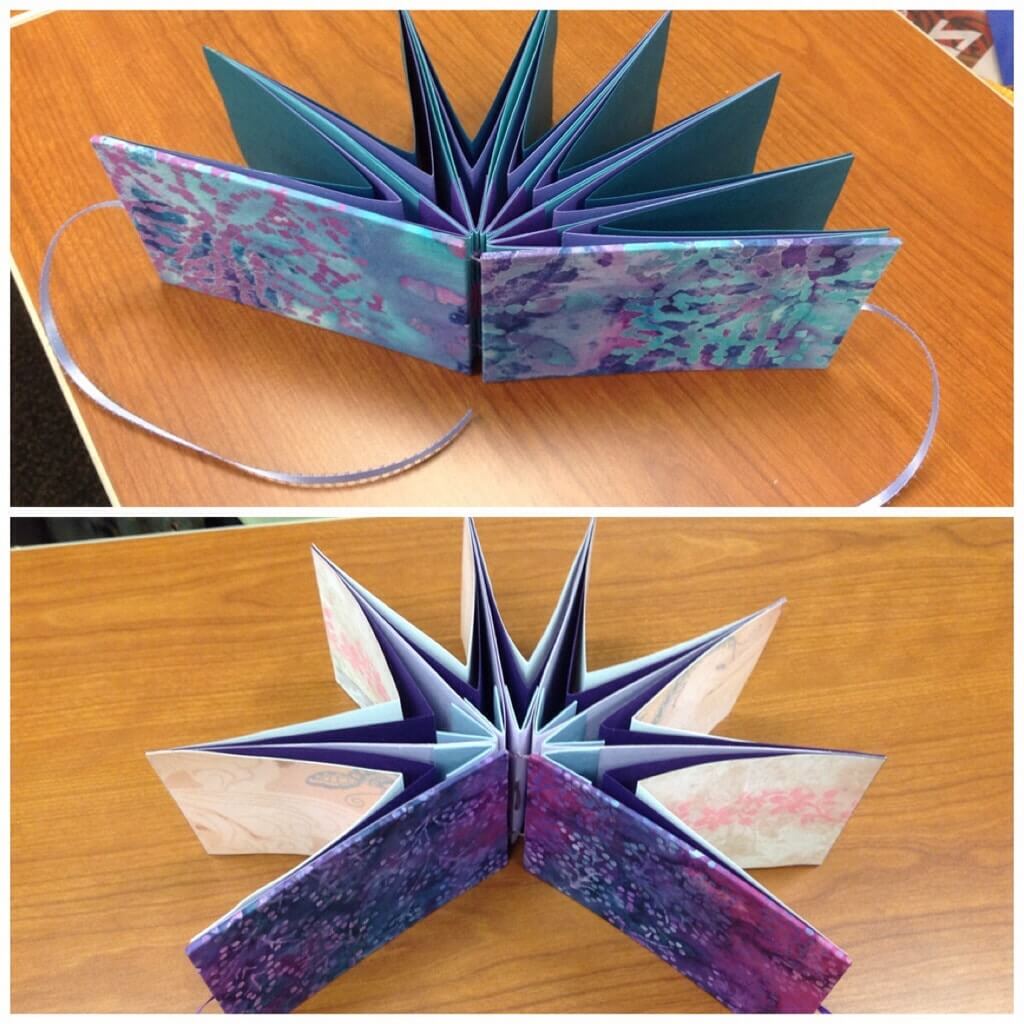
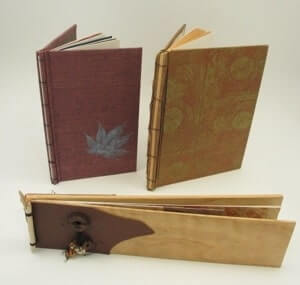
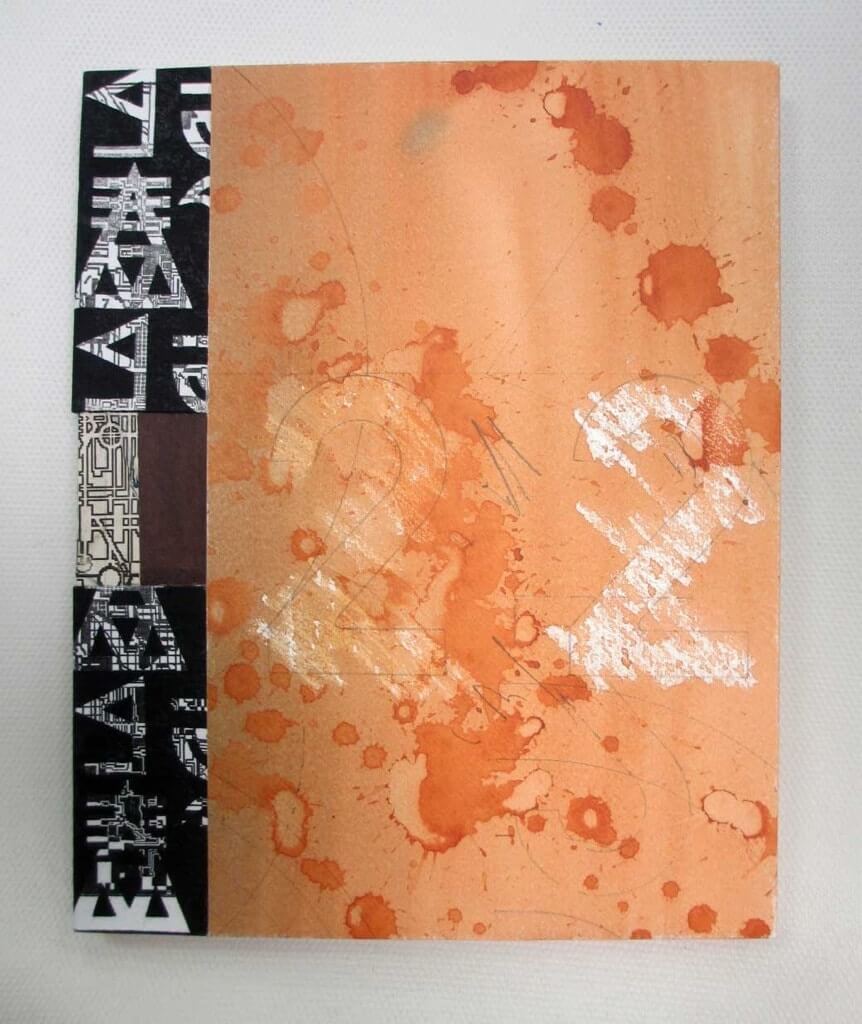
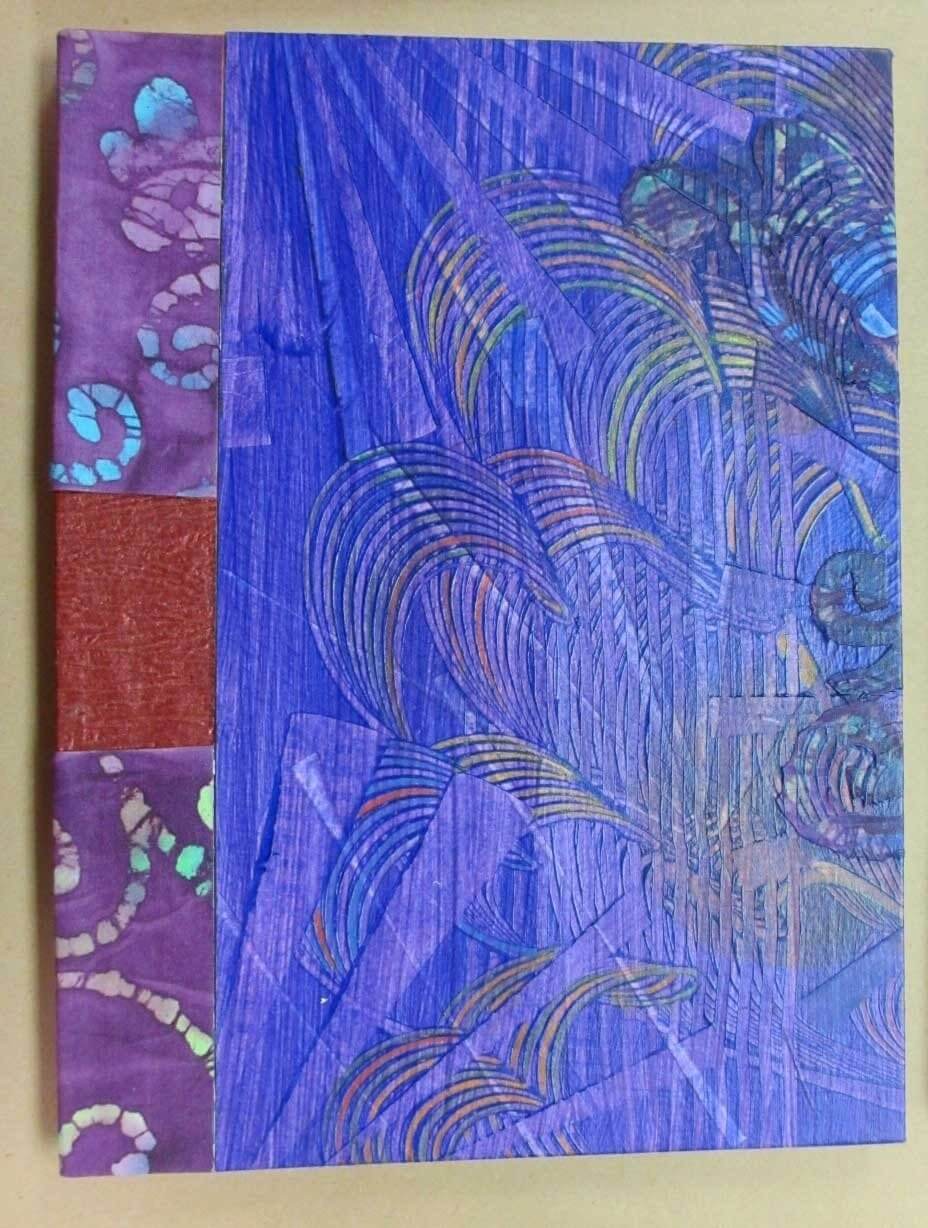
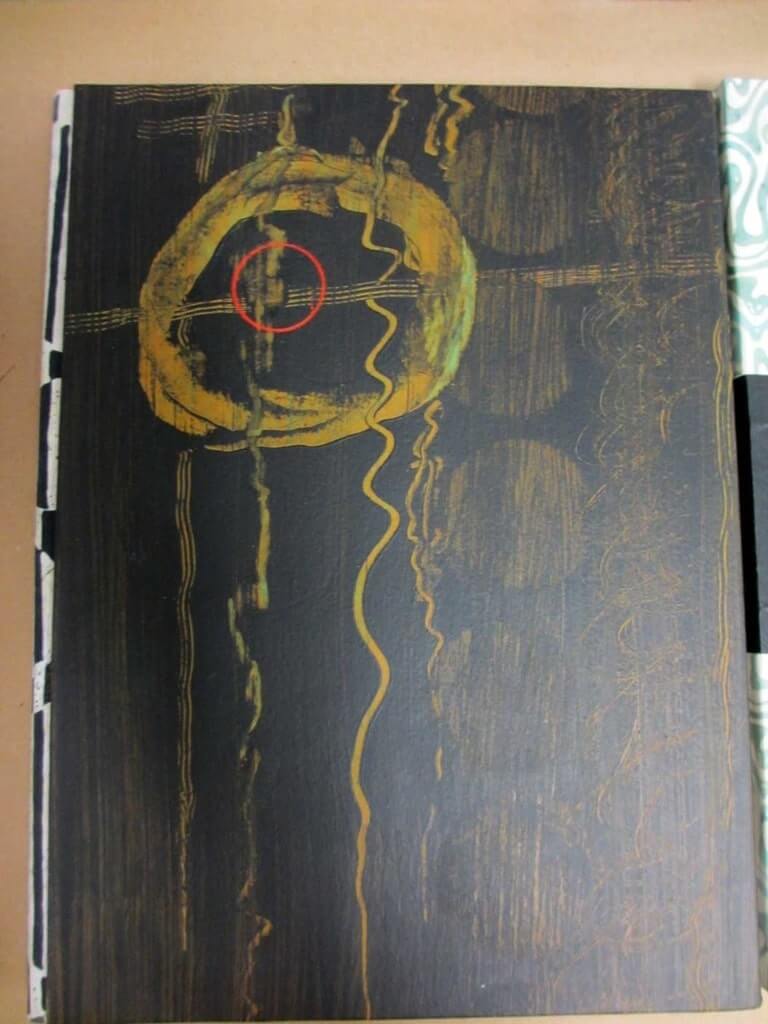
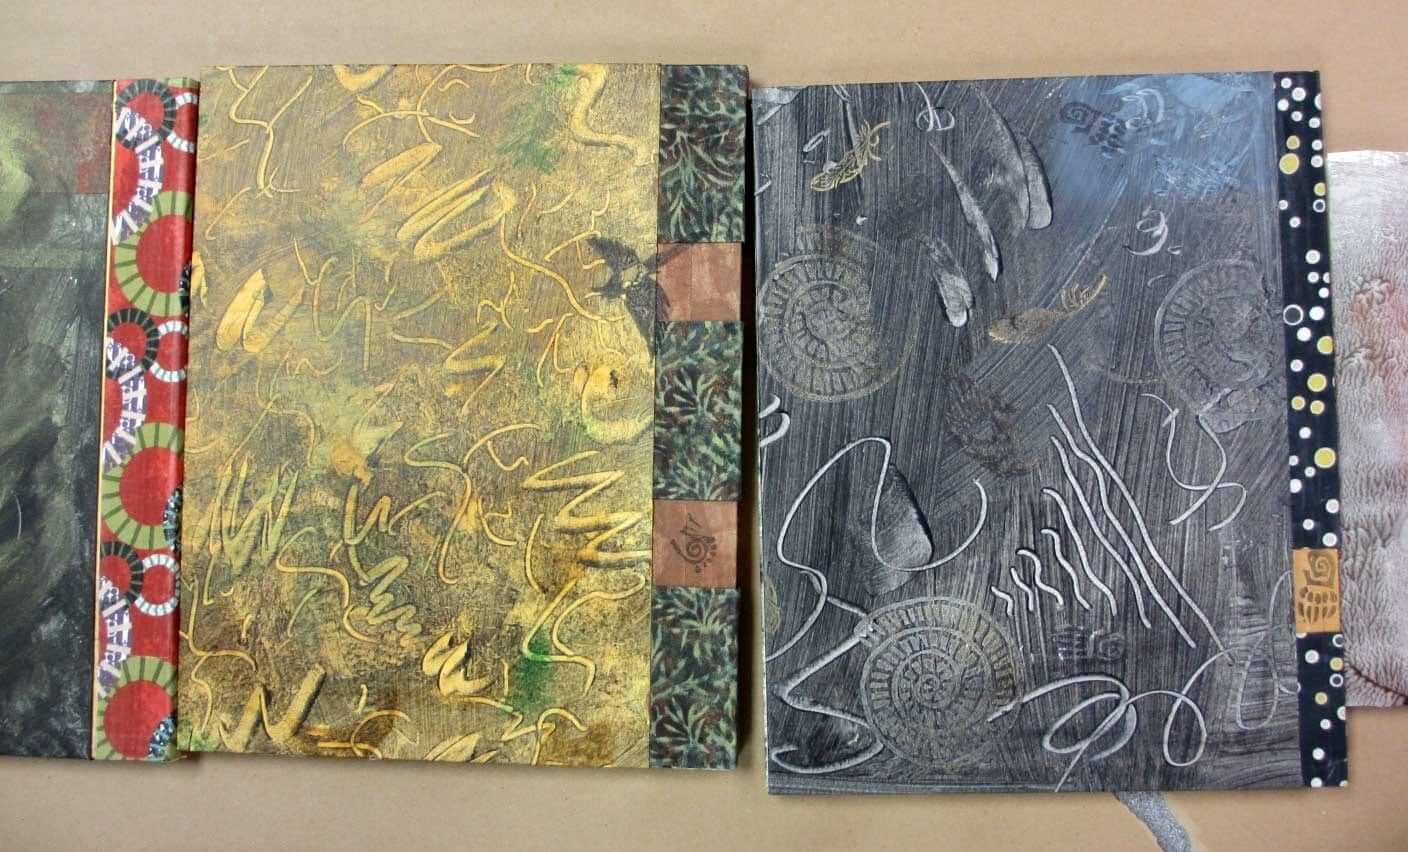
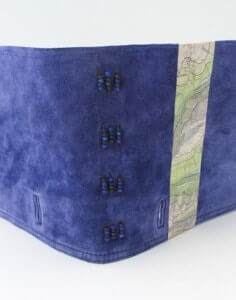
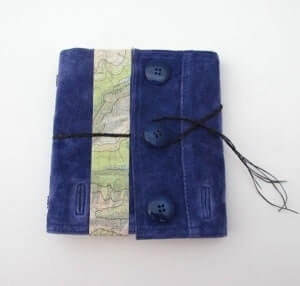
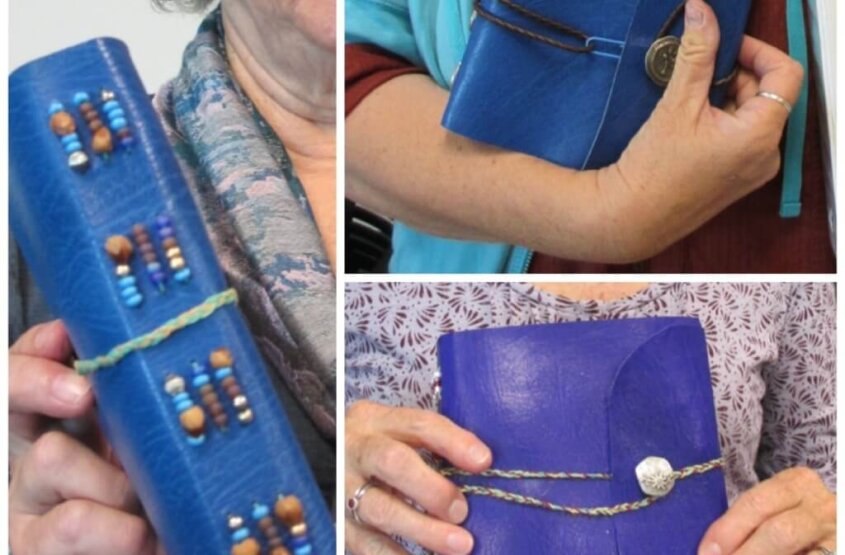
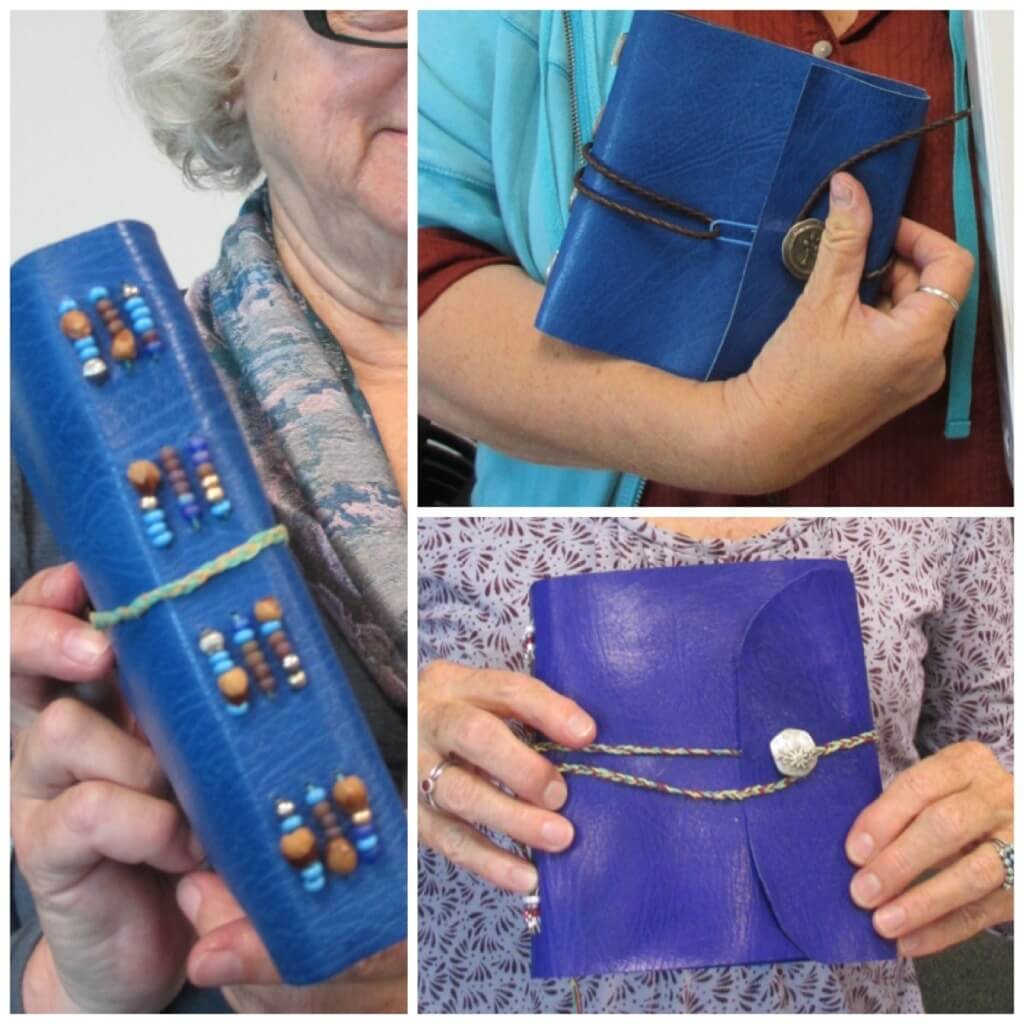
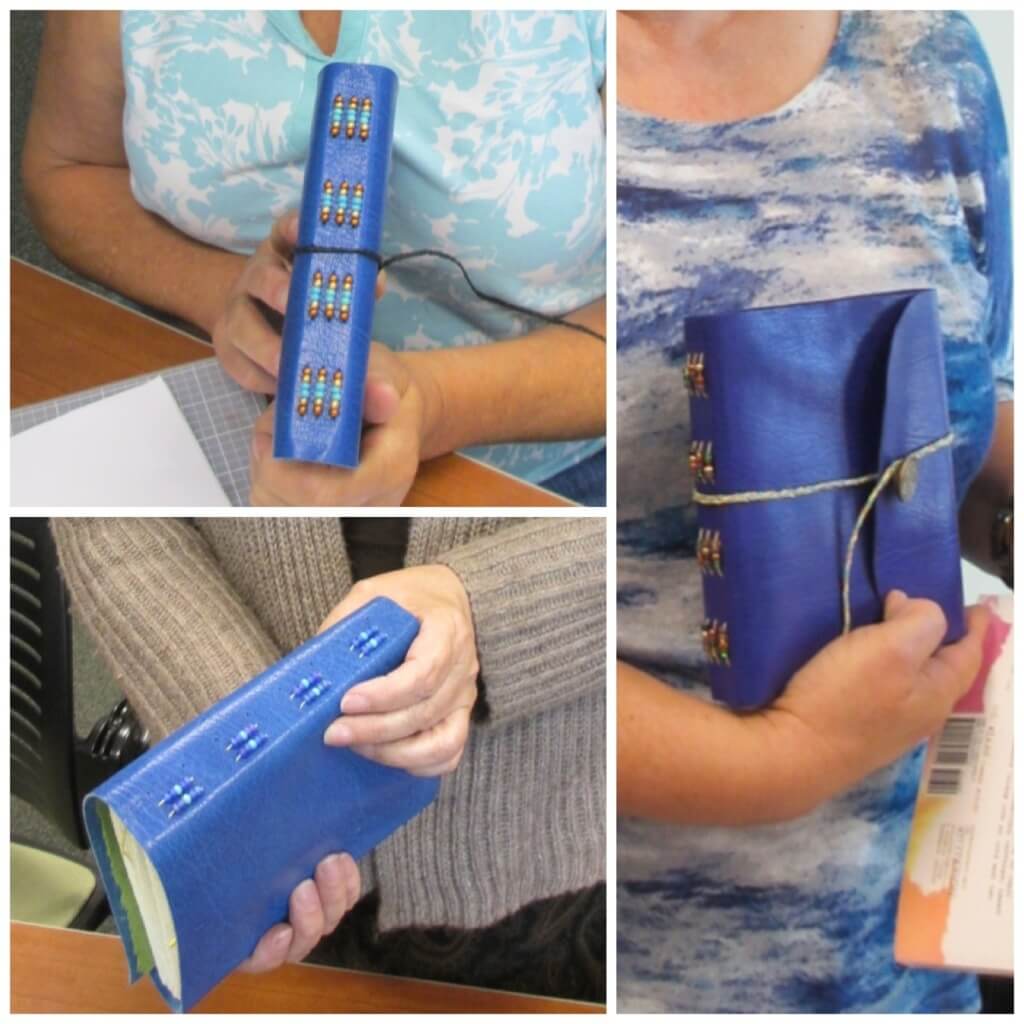
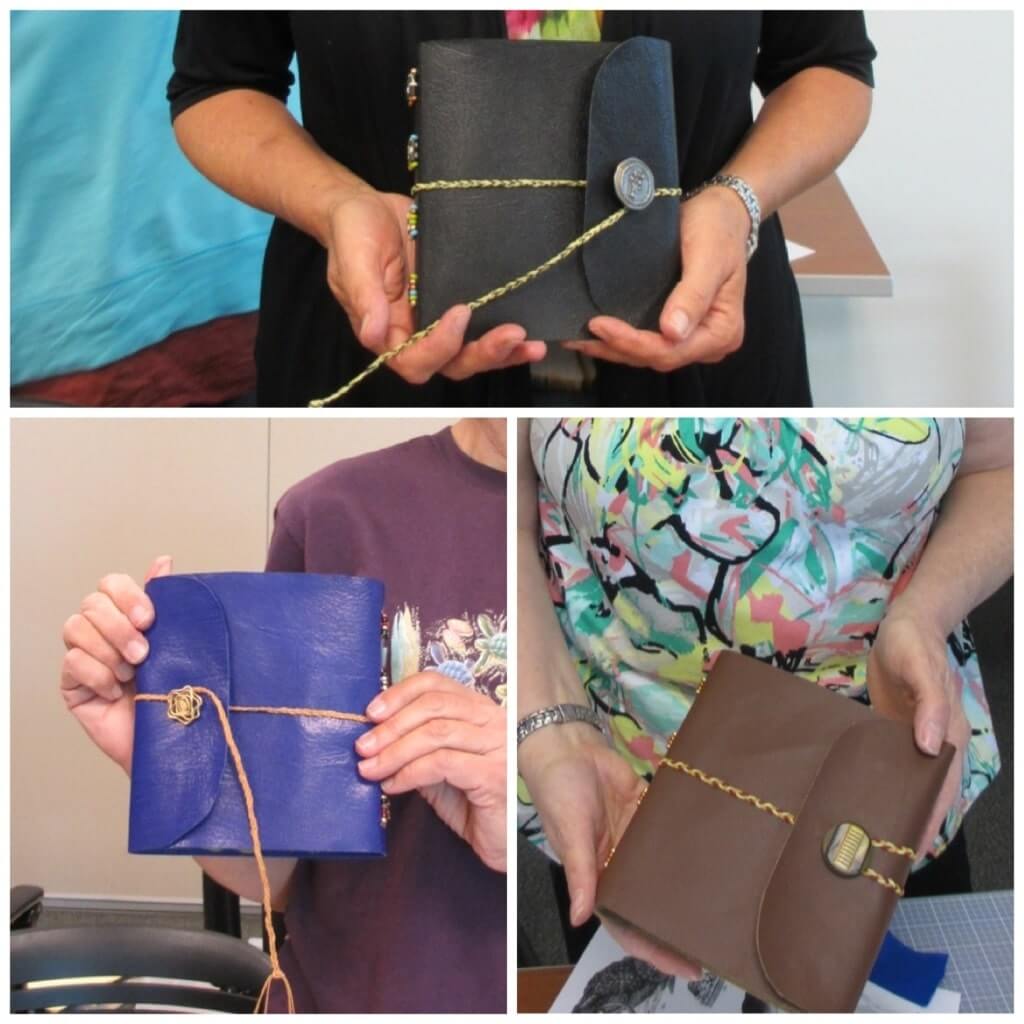
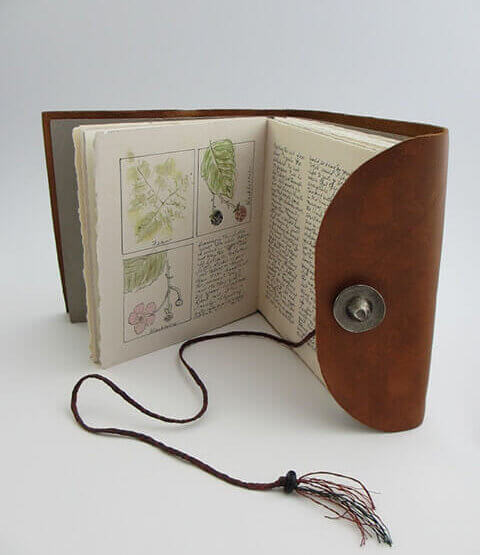
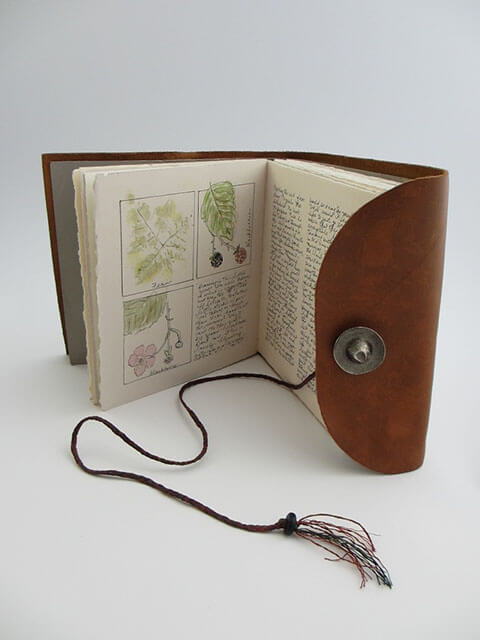
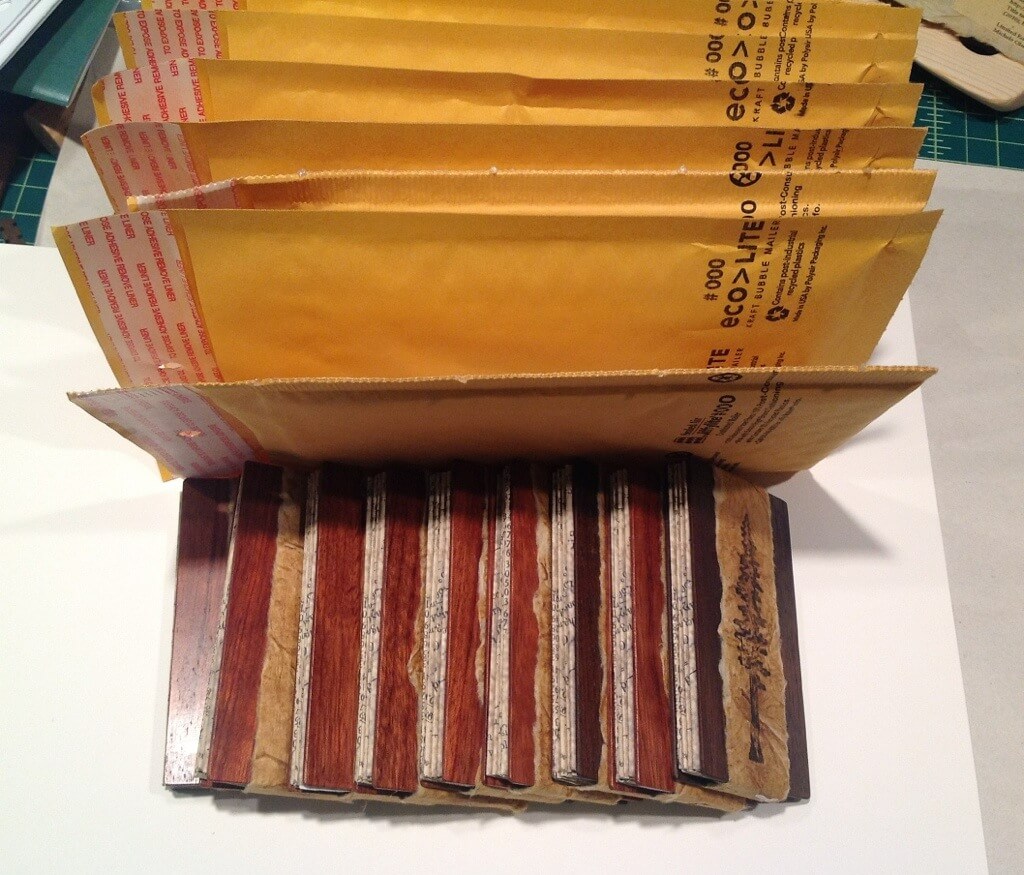
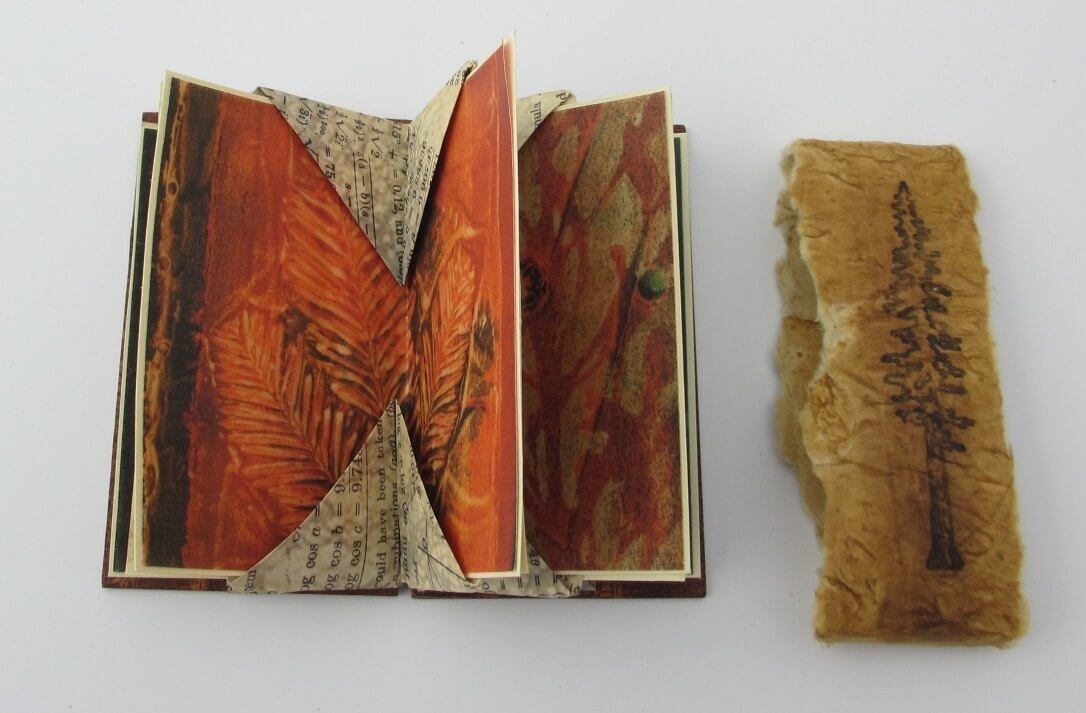
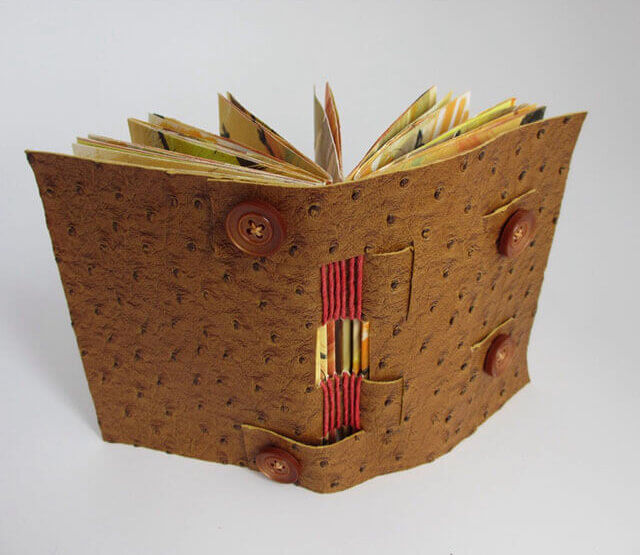
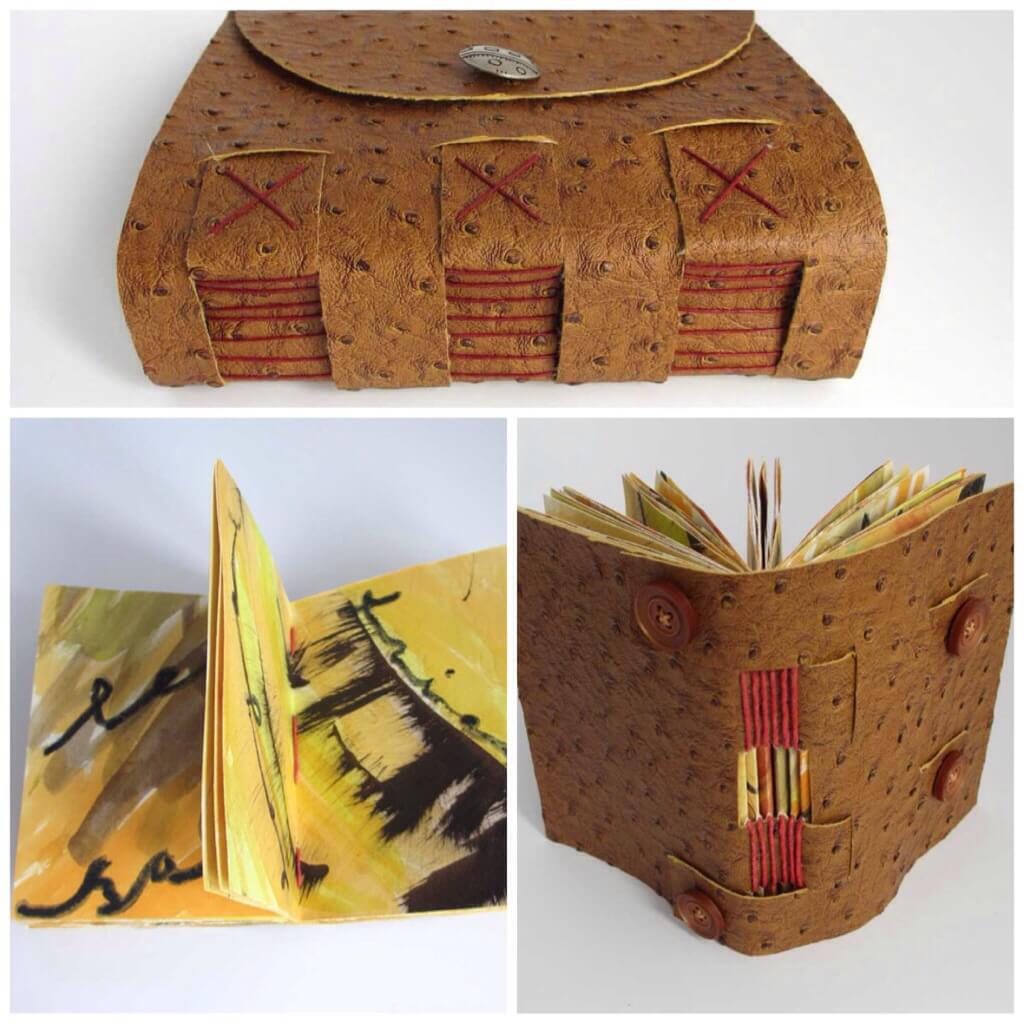
It’s time for another OLLI book arts course—Cross Structured Bindings. These wonderful books require no glue and the sewing is straightforward. I will teach two stitches that should be in a book artist’s repertoire—the long stitch and the kettle stitch—and we will use acrylic inks to create background designs for our pages. I will be supplying paper for the pages and faux emu upholstery fabric for the covers (see photo above). See the list below for materials to bring to the class.

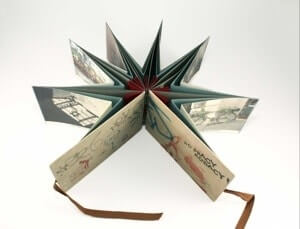
Carmencho Arrigui adapted the Cross Structured Binding from historical structures. If you are interested in seeing more of this type of book, her website is filled with information.
Out of Binding: http://www.outofbinding.com/00_origin.htm

Details:
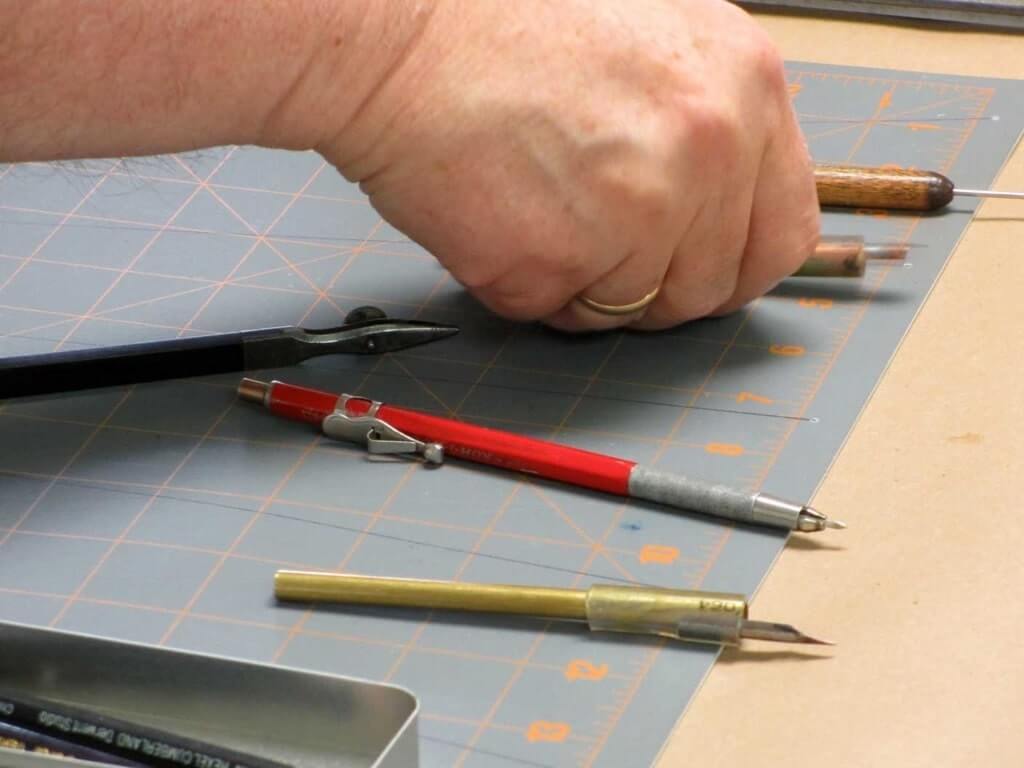
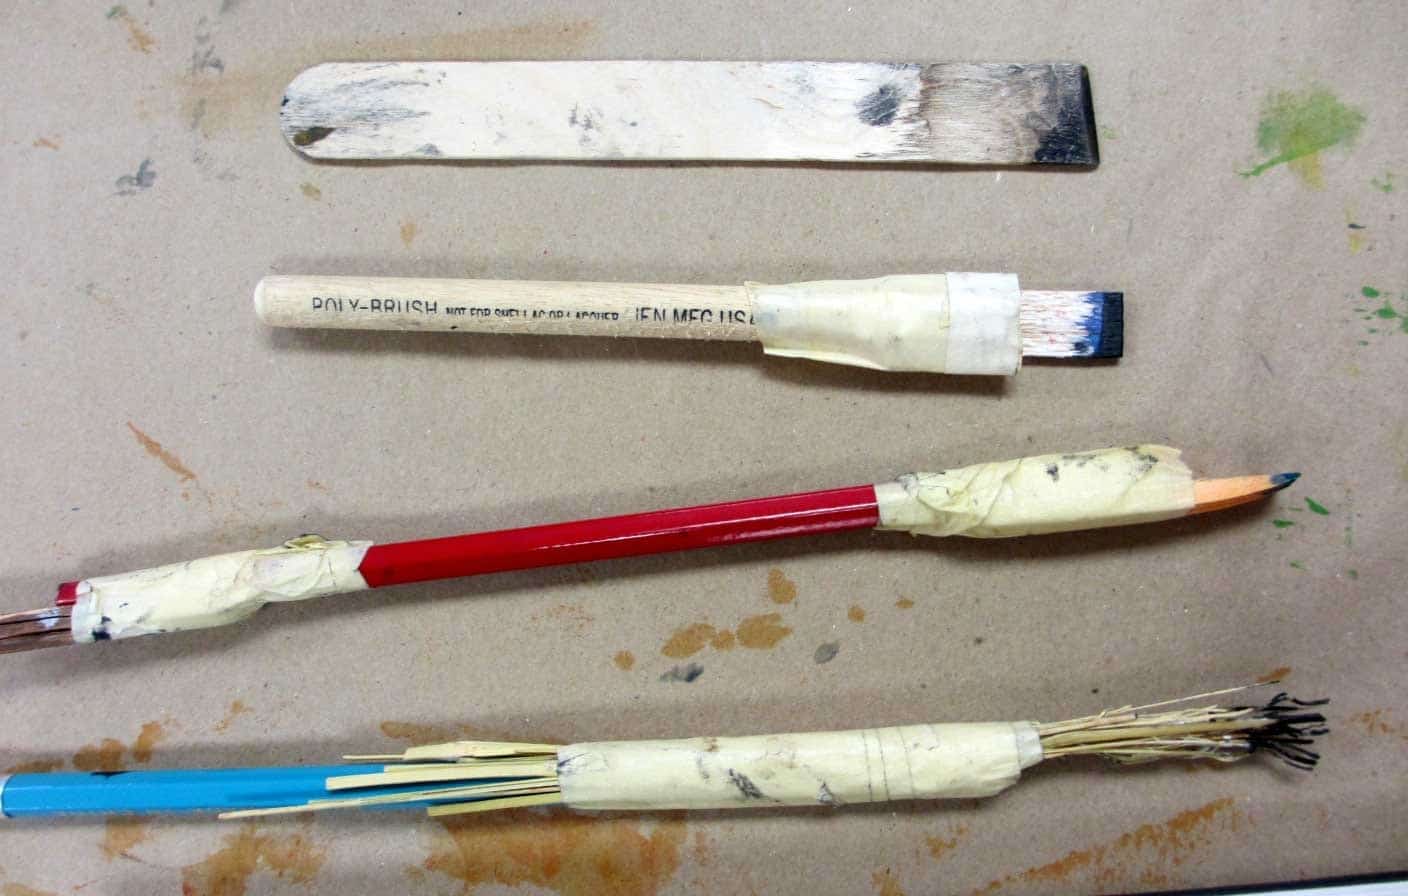
Basic Toolkit: cutting board, cutting knife, metal ruler, sharp pencil, bookmaker’s awl, bone folder, wet wipes, sewing cradle (or telephone book), size 18 or 22 Tapestry needle. Materials: 1-3 bottles of FW Acrylic Artist lnks (or similar), lnexpensive 2”-3” flat brushes, 1 inexpensive large round brush, cotton perle embroidery floss (or linen thread).
date ………. Tues/Thurs., July 22-24
time ………. 1-4 p.m.

Twelve students learned the “ins and outs” of a side bound book. Book board was covered to create two hinged covers. Students could choose to make a photo album (with a fold on each page to accommodate the extra dimensions of added photos) or a journal. Everyone used either a Dremel drill or power drill to create the holes for the sewing. There were as many types of sewing thread as people; some chose the basic side stitch and others sewed the hemp stitch. One student used beads on the front. Great results after an afternoon of class!

20140505-172639.jpg

Tip for students: Because the back and front look the same, put some type of embellishment on the front. I just finished my book and use this as an example. Happy Booking!

20140505-172915.jpg

The making of this book has been a labor of love and one of constant problem solving; I didn’t think things through before starting the book. There is something to be said for that approach— I learned a lot and the book is more interesting because of it.

We have a little cabin in Nebraska and for several years we used an old “farm” table for dining. My husband found in an old barn; most of the red paint was gone and the wood was dry from years of extreme temperatures in that part of the world. I loved thinking about the meals that might have been served on this table when it was a bright color of “barn” red: fried chicken, peas in milk, puffy dinner rolls, lemonade, coleslaw, Jello something, raisin cream pie. When my husband built a new table I couldn’t bear to just toss the old one into the burn pile. We were able to salvage a couple of rectangles cut from the table top and I decided to use these as covers for a Farm Table Book. Straps were in order so I made book cloth from fabric purchased from a quilting fabric shop in nearby Fullerton—see the movie Nebraska and you will know. The orange hemp thread added the rustic look I wanted; it was not fun to work with and needed attention on every step of the sewing. Sections were covered with strips of handmade Nepalese paper. I covered the boards with layers of milk paint and waxed them to give this table new life. A rusty metal “thing” was embedded in the front cover—something from my explorations around our property. At the last minute I added a print from a deconstructed screen printing workshop and photos by daughter, Laurie Evans, taken on a visit to the ranch years ago.

It has been very satisfying to create this book from mostly local materials. I also enjoyed working without a finished product in mind—just letting the materials tell me what to do next. The wood told me to cut slots in it for the straps and that was really a challenge—hand drills and chisels. Next time I may not listen.

This book and seven others of mine are part of OLLI Arts Alive exhibit in Eureka, California on Saturday night, March 1. Come and see the work of over 30 local artists trying to raise funds for OLLI. If we raise $20,000 we will be eligible for $1,000,000 in endowments. We could use your support!

20140228-211046.jpg

20140228-211112.jpg

20140228-211124.jpg

20140228-211141.jpg

20140228-211208.jpg

Fourteen women, glue. paper., needles and thread…..it’s a formula for fun and great book arts. Students made their own bookcloth, cut their beautiful papers, glued them into sections, and sewed the sections into a star book. It was just a pleasure to work with people who were so creative, industrious, and enthusiastic. Enjoy some photos of our efforts and their resuls. Applaud even.

20140206-204700.jpg


20140206-204819.jpg

20140206-204850.jpg

20140206-204925.jpg

20140110-151436.jpg

This Book Is a Star!
This spectacular book, when closed, looks like any other book. But when it is opened, the pages pop out and form a star. This book will have board covers and will be sewn using double needles (beading optional). The double-page spread lends itself to artwork or photos. Variations will contain tunnels or pockets. The basic skills of gluing, folding, measuring and cutting, and long-stitch sewing will be covered. Appropriate for all levels.
Basic tool kit needed: bone folder, sharp pencil, metal ruler, cutting mat, glue stick, sharp scissors, small cutting knife, awl, double-stick tape.
Materials needed: Cardstock – 4 sheets each of colors A, B and C (solid colors); 7 sheets of color D (solid or printed); 2 sheets of pliable, decorative paper; beads for spine decoration; 1.5 yards of linen thread or cotton perle embroidery floss; 24 inches of ribbon.
date ………. Tues. & Thurs., Feb. 4-6
time ………. 1-5 p.m.
fee ………. Members $45/nonmembers $70 (27726)
place ………. Humboldt Bay Aquatic Center, Eureka
instr ………. Michele Olsen

20140110-151616.jpg

Stab Binding: Side Bound Book
Stab bindings are formal bindings developed over hundreds of years in Japan, Korea and China. There were variations in the number of holes used, as well as the sewing pattern. Stab-bound books lend themselves to journals, scrapbooks, guest books, and gift books.
Basic tool kit needed: bone folder, sharp pencil, metal ruler, cutting mat, glue stick, sharp scissors, small cutting knife, awl, double-stick tape.
Materials needed: 15 sheets of text-weight paper (i.e. colored copier paper); one sheet strong, pliable cover paper (at least 15” x 15”); lightweight decorative paper (at least 8 1/2” x 11”); several yards sewing material (linen thread, embroidery floss, string, raffia, or ribbon will work) and needle to accommodate choice.
date ………. Thurs., May 1
time ………. 1-4 p.m.
fee ………. Members $55/nonmembers $80 (27727)
place ………. Humboldt Bay Aquatic Center, Eureka
instr ………. Michele Olsen

I make it a point to attend Focus on Book Arts (FOBA) in Forest Grove, Oregon. It is offered every other summer and I wouldn’t miss it because of the quality of the instruction and instructors, the idyllic setting, the 24-hour bookish ambience, and the chance to spent time with many book arts friends. I’ve always loved Tim Ely‘s books because of his artwork—pen & ink, bright colors, scientific imagery, and unusual topics. Tim’s workshop took five glorious days and i finished two books that I love and learned a lot in the process. Tim is a wonderful, inspirational teacher who really wants to bring out the best in each of his students. I felt that my artistic process was nurtured and supported in every possible way. You might enjoy some of the books I’ve read at his recommendation:
The Origins of Knowledge and Imagination by Jacob Bronowski
No More Secondhand Art by Peter London
101 Things to Learn in Art School by Kit White
FreePlay by Stephen Nachmanovitch

The following photos are some of the highlights of those five days.
20130828-164558.jpg
Tim Ely is cooking wheat paste glue. We used it to create bookcloth and to glue endpapers. It also works on leather and wood!

20130828-164719.jpg
Bookcloth from my hand-dyed fabric.

20130828-164928.jpg

Tim designed this sewing frame.
20130828-165006.jpg
Squaring up—ready to glue.

20130828-165054.jpg
One of my favorite Tim Ely books. He has fabric custom printed with his images.

20130828-165156.jpg
Tim’s substitute for a plough. Cutting the edges all the same length.

20130828-165248.jpg
He uses a French paring knife by Jeff Peachey.

20130828-165600.jpg
Tim is particular about his pens and nibs. In many cases he manufactures his own handles.

20130828-165717.jpg
Tim instructing with a stack of his wonderful books.

20130828-165832.jpg
Don’t you love his artwork? He uses his handmade books as journals for creative thinking. He makes plans for books knowing that the final book may not look like any of his drawings.

20130828-170622.jpg
Beth and I with our four books.

20130828-170704.jpg
A closeup of Beth’s book—love the color.

20130828-170813.jpg
This is such a wonderful cover using paste and handmade tools.

20130828-170905.jpg
Some of the handmade tools—simple but clever.

20130828-171000.jpg
More luscious colors and books.

20130828-171035.jpg
Tim enjoyed talking to all of the participants—he is truly interested in student work.

The last book in the OLLI course Leather Journals is finally finished. It’s mine (instructor) and I know it’s the last one to be completed. I used the leather cover to demonstrate the longstitch sewing of the spine and hadn’t intended to actually complete a journal. I cut the leather from a blue suede jacket (shoes would have been too small) and the beautiful buttonholes were too interesting to ignore. I don’t know what I will use this one for; I usually use a journal for some kind of theme. The journal hasn’t told me what it wants to be yet.

20130815-201808.jpg

20130815-201846.jpg

20130815-201856.jpg

Workshops by Michele Olsen

Students in the Osher Lifelong Learning Institute (OLLI) classes have finished their books and every single one is wonderful. This is the first sewn structure for almost all of the ten students and they showed extraordinary patience with the needles, 36 inches of waxed linen thread, and tiny little beads that were added to the spine. They all helped each other and laughter was constant. I knew I had an engaged class with I couldn’t get their attention—always a good thing as far as I’m concerned. The covers were goatskin, the endpapers were handmade papers from Nepal, the text papers were Stonehenge printmaking paper. Good Job!

20130716-082529.jpg

20130716-082540.jpg

20130716-082548.jpg

This week I am teaching a book arts class for Osher Life Long Learning Institute (OLLI). The first day we will construct this book: leather covers, pages of printmaking paper, sewn longstitch spine. Day two we will explore ways to “get things” on the page. The class is this Tuesday and Thursday, 3pm-6pm. I can hardly wait, I have as much fun as the students. You can register for many inspiring, informative, and entertaining classes here.

leather_web

I joined an international exchange in January 2012 because a friend suggested that I do so….you see…one of the topics was “Equations”. I was placed in Group #4 with about 8 other artists, each with a different title. The idea was to make enough editions for everyone else in the group, plus one for Sarah Bodman whose book of short stories An Exercise for Kurt Johannessen
provided 100 titles for our editions. I know this sounds like old news but I still haven’t received several books so “the file i still open”. AND I’m still playing catch-up with my blog.

It took months for the ideas to come together and several more to experiment with my ideas and find an appropriate structure; with the serendipitous gift of some wonderful pieces of wood samples, i was on my way.

I wanted, somehow, to illustrate the interdependence of mathematics and nature. Since these books were going to be mailed to several countries, I wanted to feature the redwood forests where I live. Picking through my gelatin prints of local plants, I scanned several, thinking I would play with these and then go hiking and find other material to print. I started with not-so-nice colored prints and used Photoshop to alter the colors. Remarkably, the newer colors were so beautiful that I decided there was no need to make more gelatin prints. Lesson learned: don’t give up on things I’ve made. They can be altered! Cut them up, crop them, alter the colors, paint over them.

The pages for the Blizzard Book structure were made from a single sheet of paper made from a collage. The collage was created from torn pages of a vintage mathematics textbook, then scanned, and finally Photoshop was used to adjust the colors and add semi-transparent texture.

A redwood tree printed (heat transfer) on bands of handmade paper served as the closure for the book. The books were very small (2.5 in x 4 in) and easy to mail.

The books I have received so far are beautiful, skillfully constructed, and very creative. One of my favorite exchanges. One of the photos shows a gelatin print of redwood needles and the other shows the entire set as they were ready to be mailed (you can also see the Bubinga wooden covers).

20130616-230429.jpg

20130616-230513.jpg