I made my first art journal during a class taught by artist Andie Thrams . This square, leather-bound journal is still my favorite even though I usually use Moleskin journals with watercolor paper. Outside on the beautiful grounds of Pacific University Andie guided my first efforts with journaling in nature. My big takeaway from the class was the way Andie did her page layouts. This post will take you through some of the steps so that you can create your own templates.
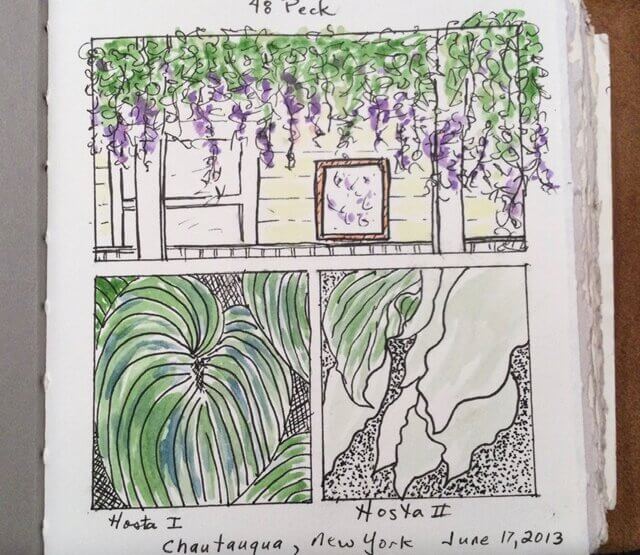
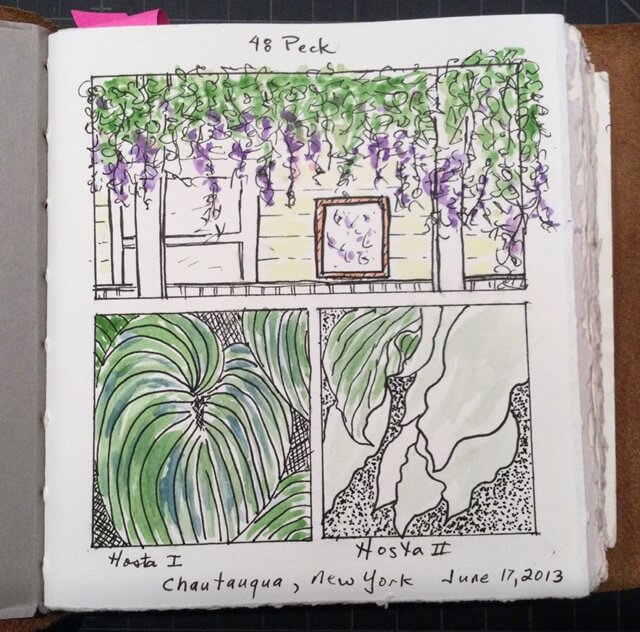
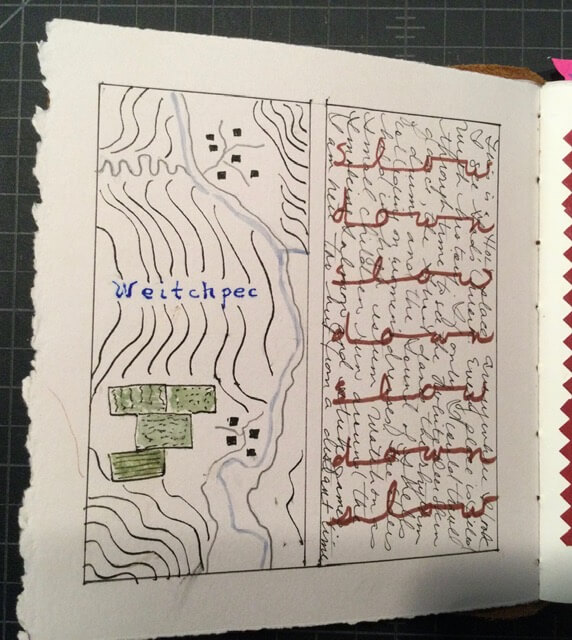
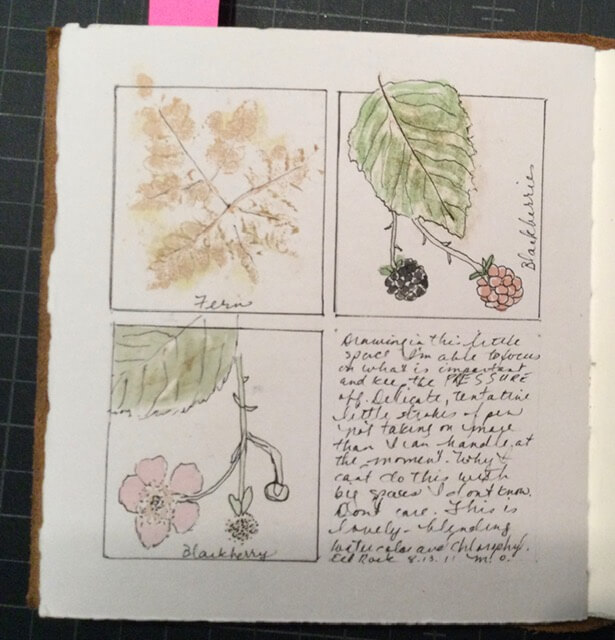
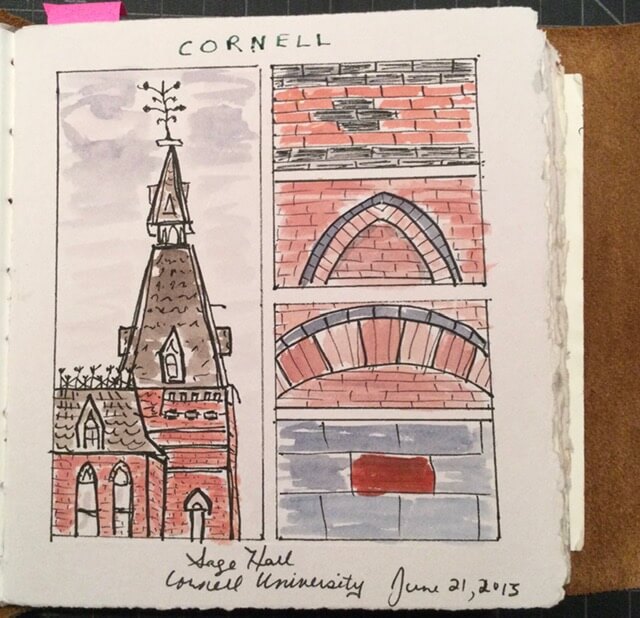
While it is not necessary to use a page layout I fing that the process of marking the regions really relaxes me and prepares me for sketching; I don’t have to face a “blank” page because I have areas where I can start to write and draw. The template itself is fixed but there are many options for joining spaces and creating a different look for each page. Going through a finished journal there is a sense of balance and uniformity. The following pages are from my first journal and therefore not all “nature” pages. See how the pages have some geometric commonalities. I like that. The same template was used in all cases, with just different rectangular areas joined together. Another aspect I like is that the regions are separated by white space – another thing I prefer in my journals. You can outline the regions in pencil or ink or you don’t have to outline them at all.
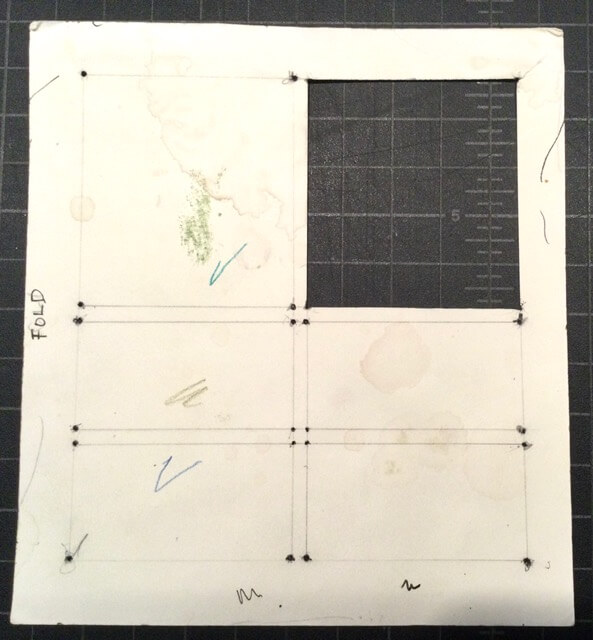
Below you will see my template for this journal.
I create a template for each size journal I use. I will use an 8-1/4″ x 5″-1/4″ Moleskin for the demo.
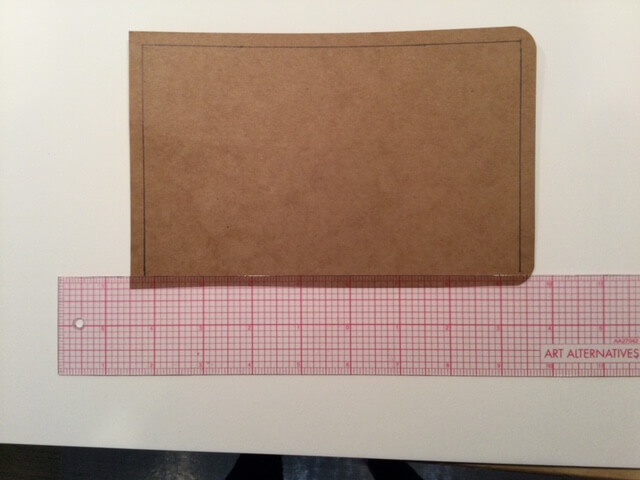
- Start by placing a piece of stiff paper behind a page in your journal. I use discarded manila file folders. Make sure the paper is inserted right up to the spine.
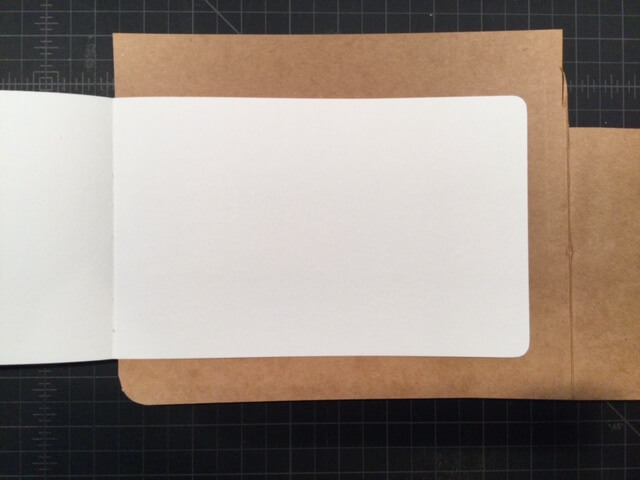
- Trace around the page and onto the template. Cut the template out.
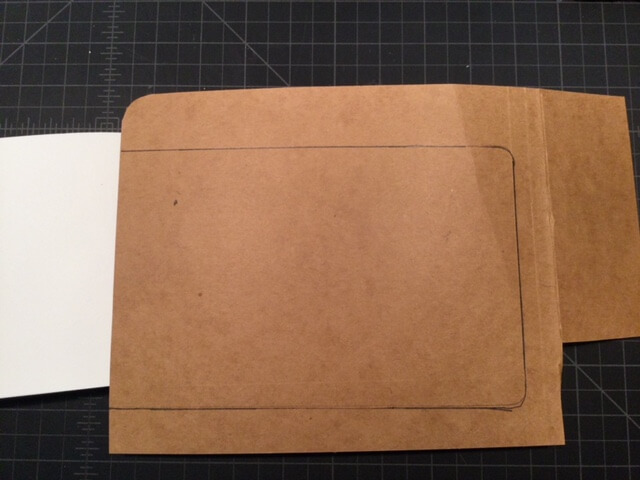
- Make a 1/4″ border around the template around the template. Using a translucent ruler really helps and you can adjust the width of the border to suit your journal size.
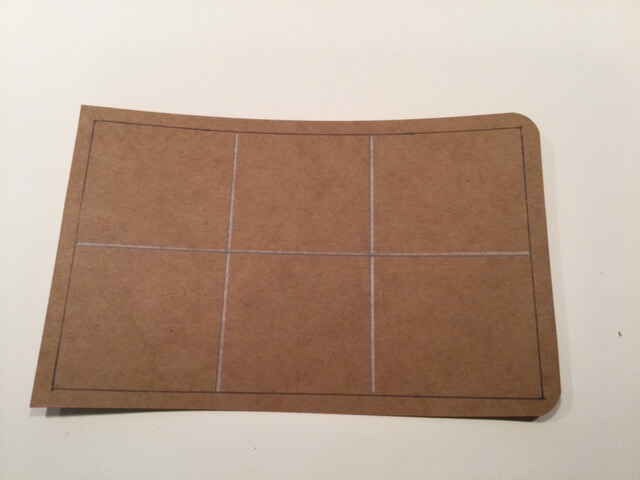
- Divide the space as you wish. My page is in landscape mode so I chose to create 2 rows and 3 columns. The lines drawn in white will only be used to create a guide for the sides of the rectangles in Step #5.
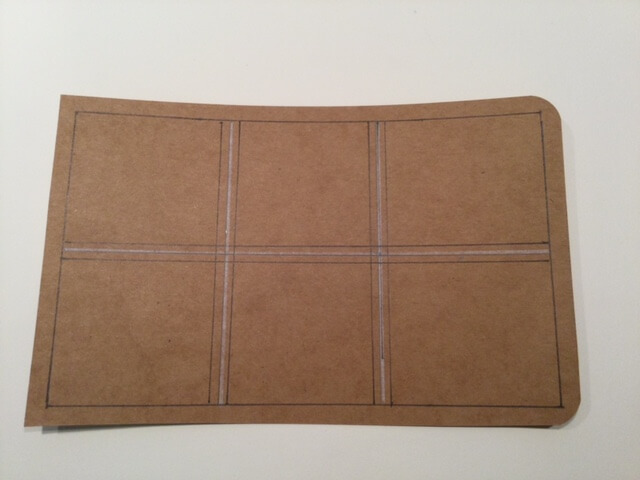
- Draw lines on each side of the white interior lines. I used the translucent ruler to create lines 1/8″ on each side.
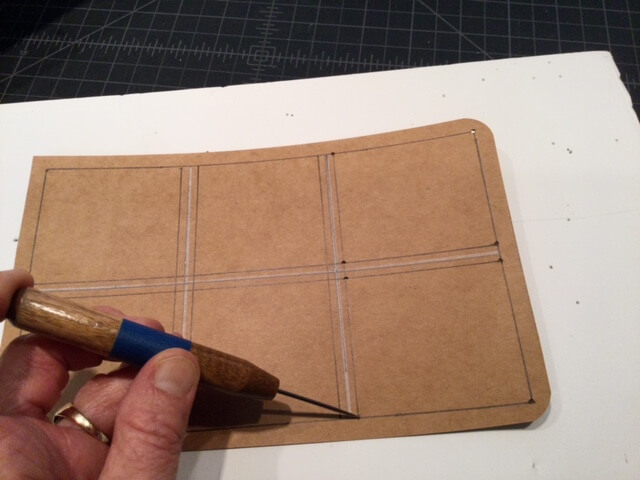
- Using an awl or a push pin mark the intersection of all of the lines – except the white lines. I put a piece of foam board under the template to make sure the awl went through completely.
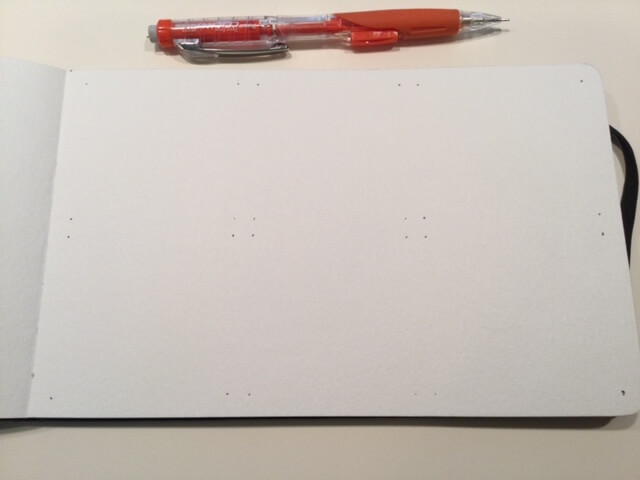
- Place the template on your page and mark each hole with a sharp pencil (look closely at the photo below – the marks are there!) I will often mark the pages before going into the field. In the field you will adjust your rectangles as you see fit – joining rectangles in whatever way works for you. You can create your page and erase the pencil marks later. *Note: You do not have to outline each rectangle in the template – just the ones you use. You can outline with a pencil or pen or don’t outline at all just using the dots to guide your work. You also do not need to keep you drawing completely inside of the rectangle – it’s fun to have part of the drawing outside with the sides of the rectangle skipping over that part and rejoining itself after.
Below you will find my family of templates! These all go inside Moleskin Journals of various sizes. The templates can be transferred to new journals so a bit of work at the start just keeps on giving.
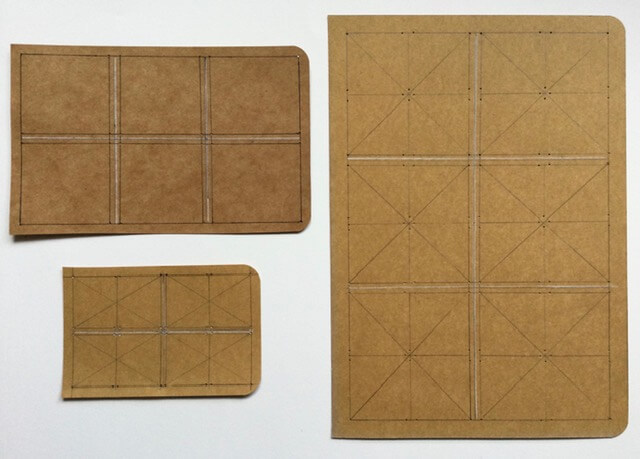
As a mathematician by training I started to count the permutations available to me – oh bother! There are a lot.