These posts are usually specific to the workshops I teach and provide additional information to the class presentation and handouts.

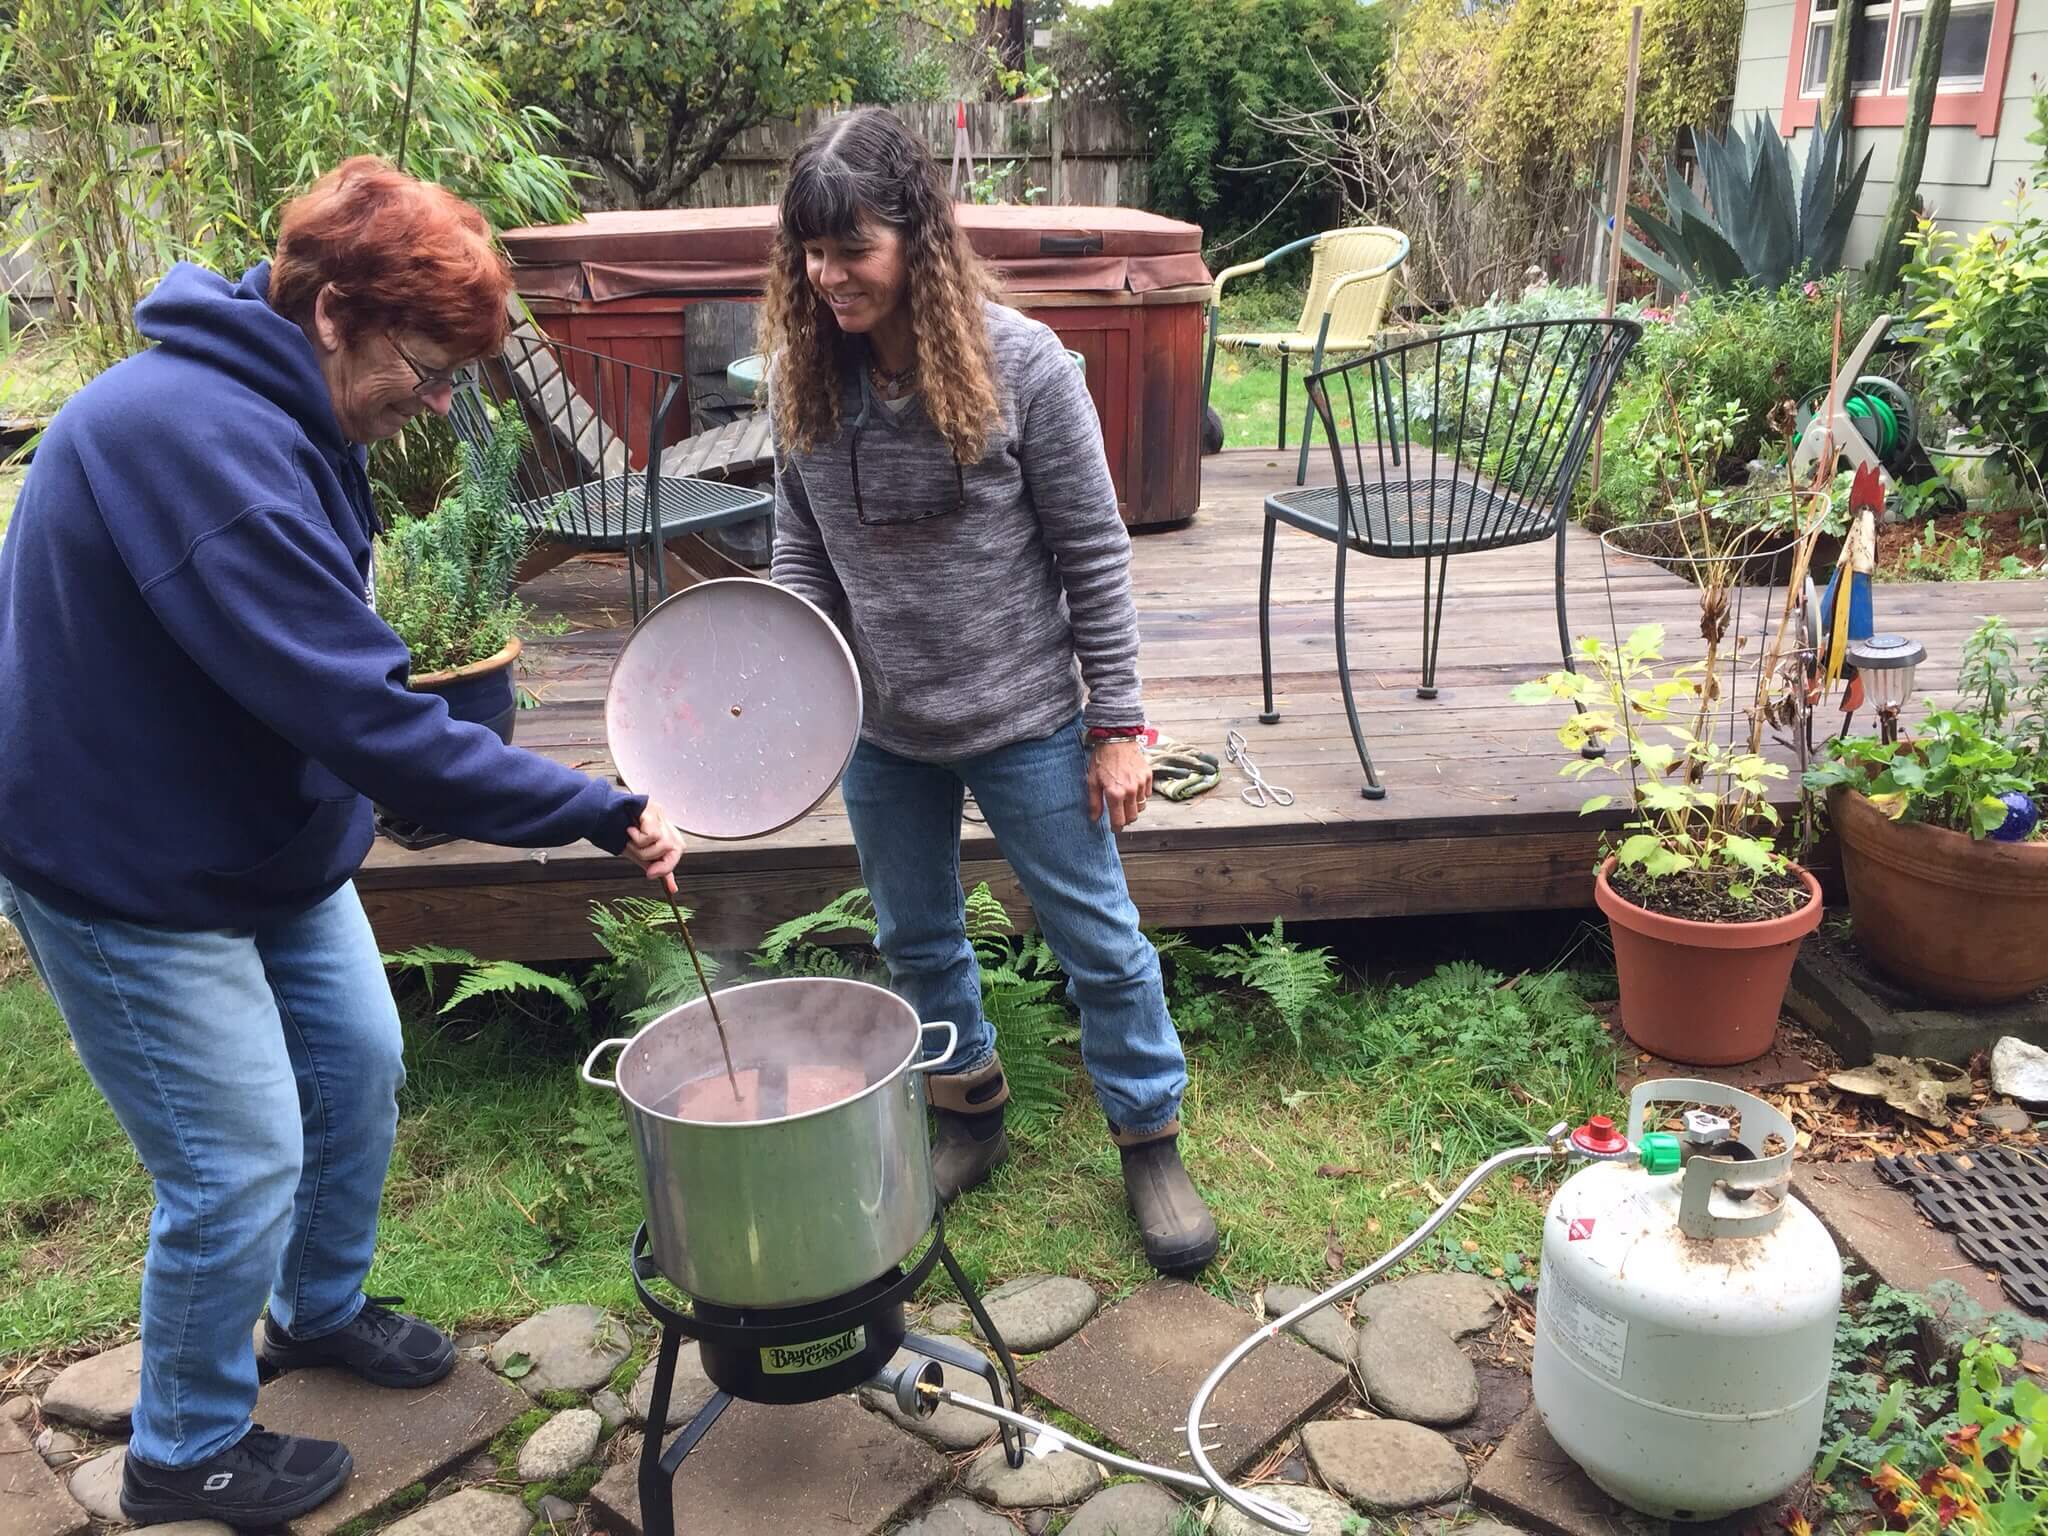
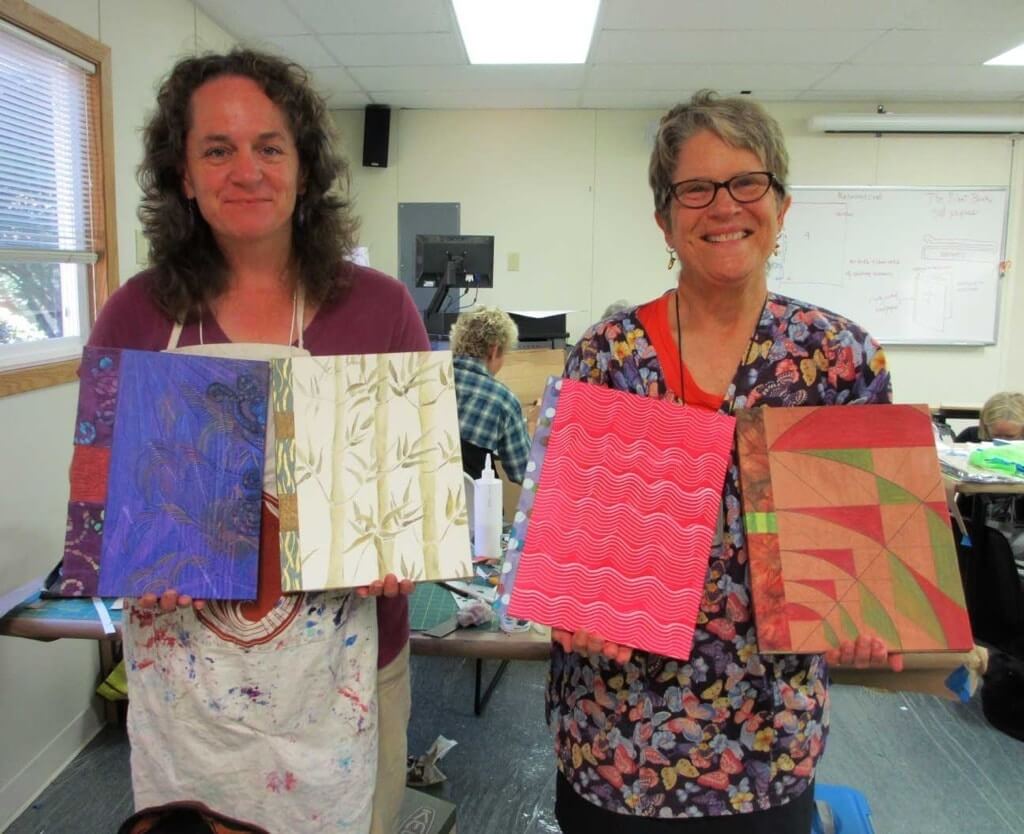
I haven’t posted anything for a year while taking a sabbatical from book arts. Actually, not quite true because I made a guestbook for the wedding of dear friends, and I’ve made three title books for new babies of family members.

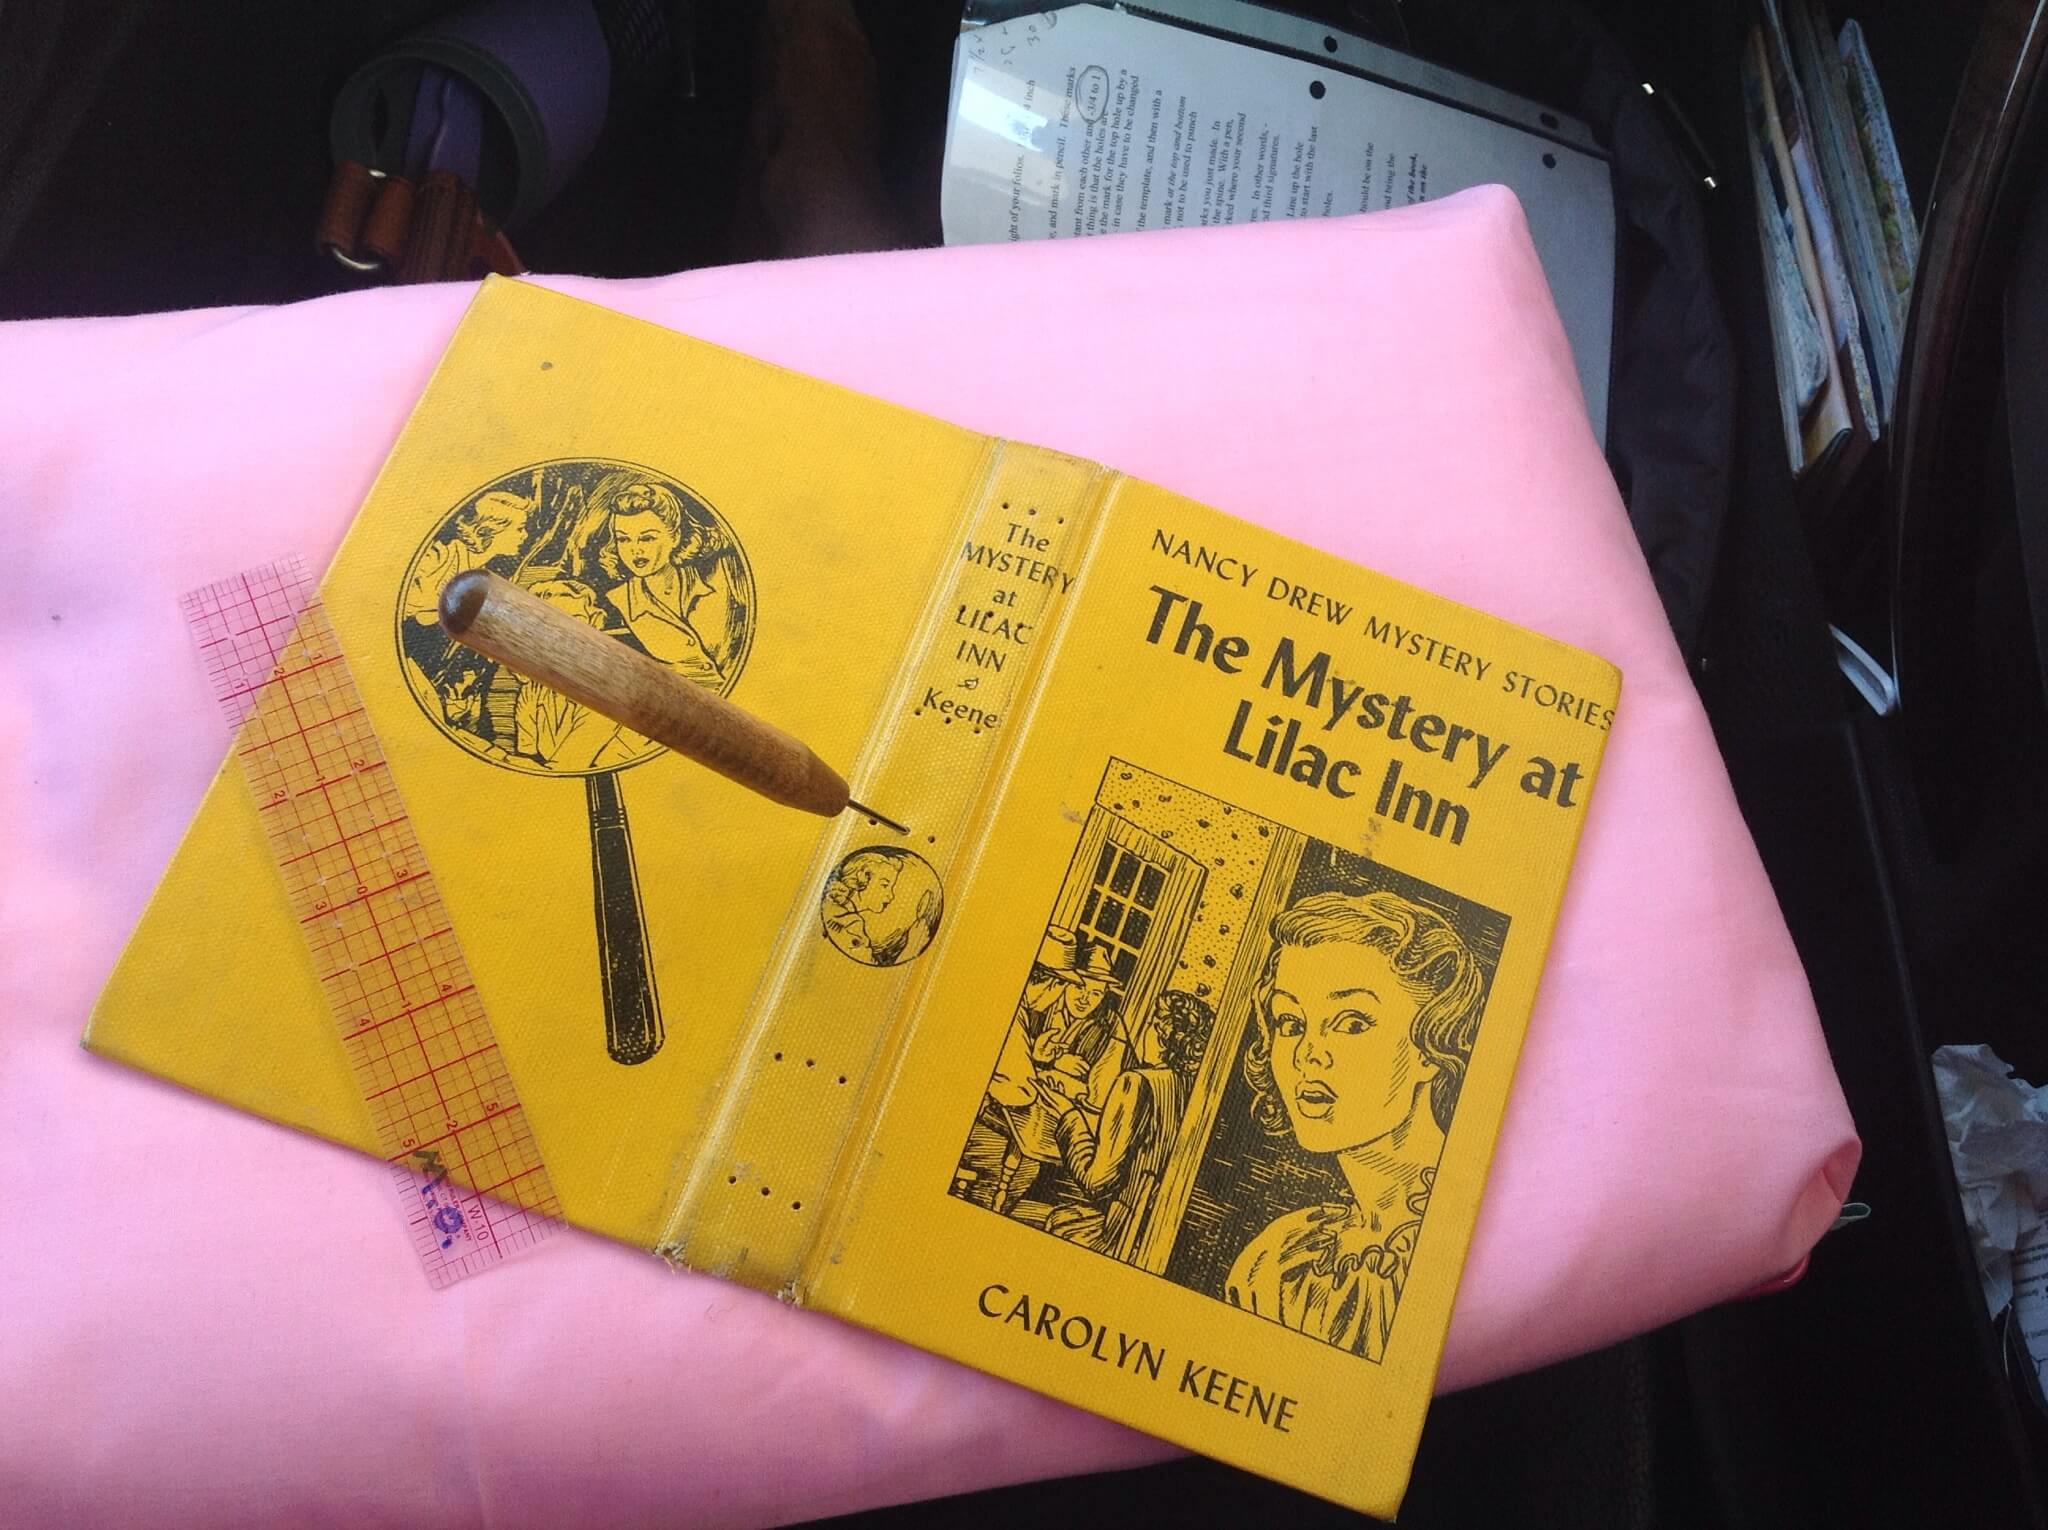
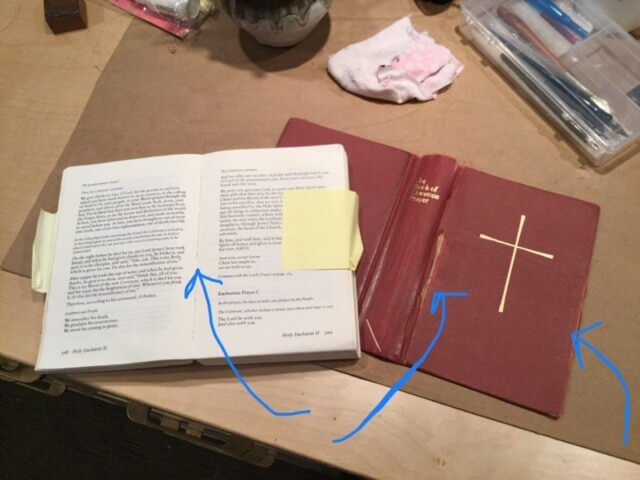
I have recently been lured back into the studio to repair (I won’t say restore) a three Books of Common Prayer from St. Alban’s Episcopal Church, Arcata, California. This was a test run – there are more. I have no background in conservation or restoration so I just used what I knew about the construction of case bound books.

First, these are the problems: Sections that are heavily used come loose from the spine due to failure of the glue, hinges on the cover and the fore edge are just worn out. In order to access the spine I had to separate the text block from the covers. You can see that the text block is completely broken and has strained the stitching. In addition the mull (looks like cheesecloth) has separated from the spine of the text block – a complete failure of the glue.

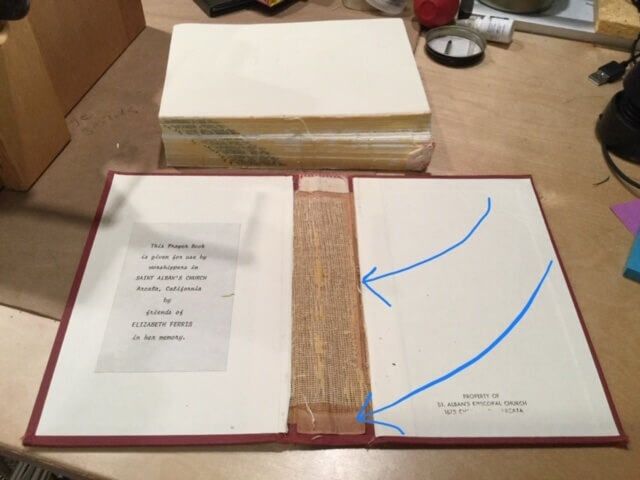
The text block is clamped into a finishing press. The stand provides a secure gluing angle and the pressure prevents glue from seeping in between the sections. 
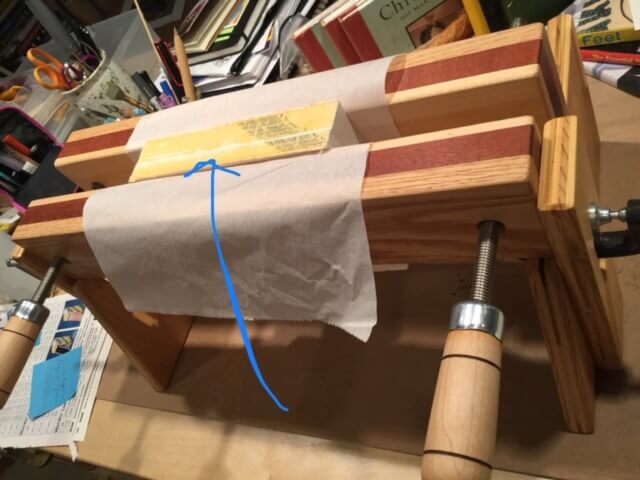
After PVA was brushed onto the spine, the headbands were reattached and new mull applied to the spine. The overhang of mull serves to strengthen the hinges once the covered is glued back on.
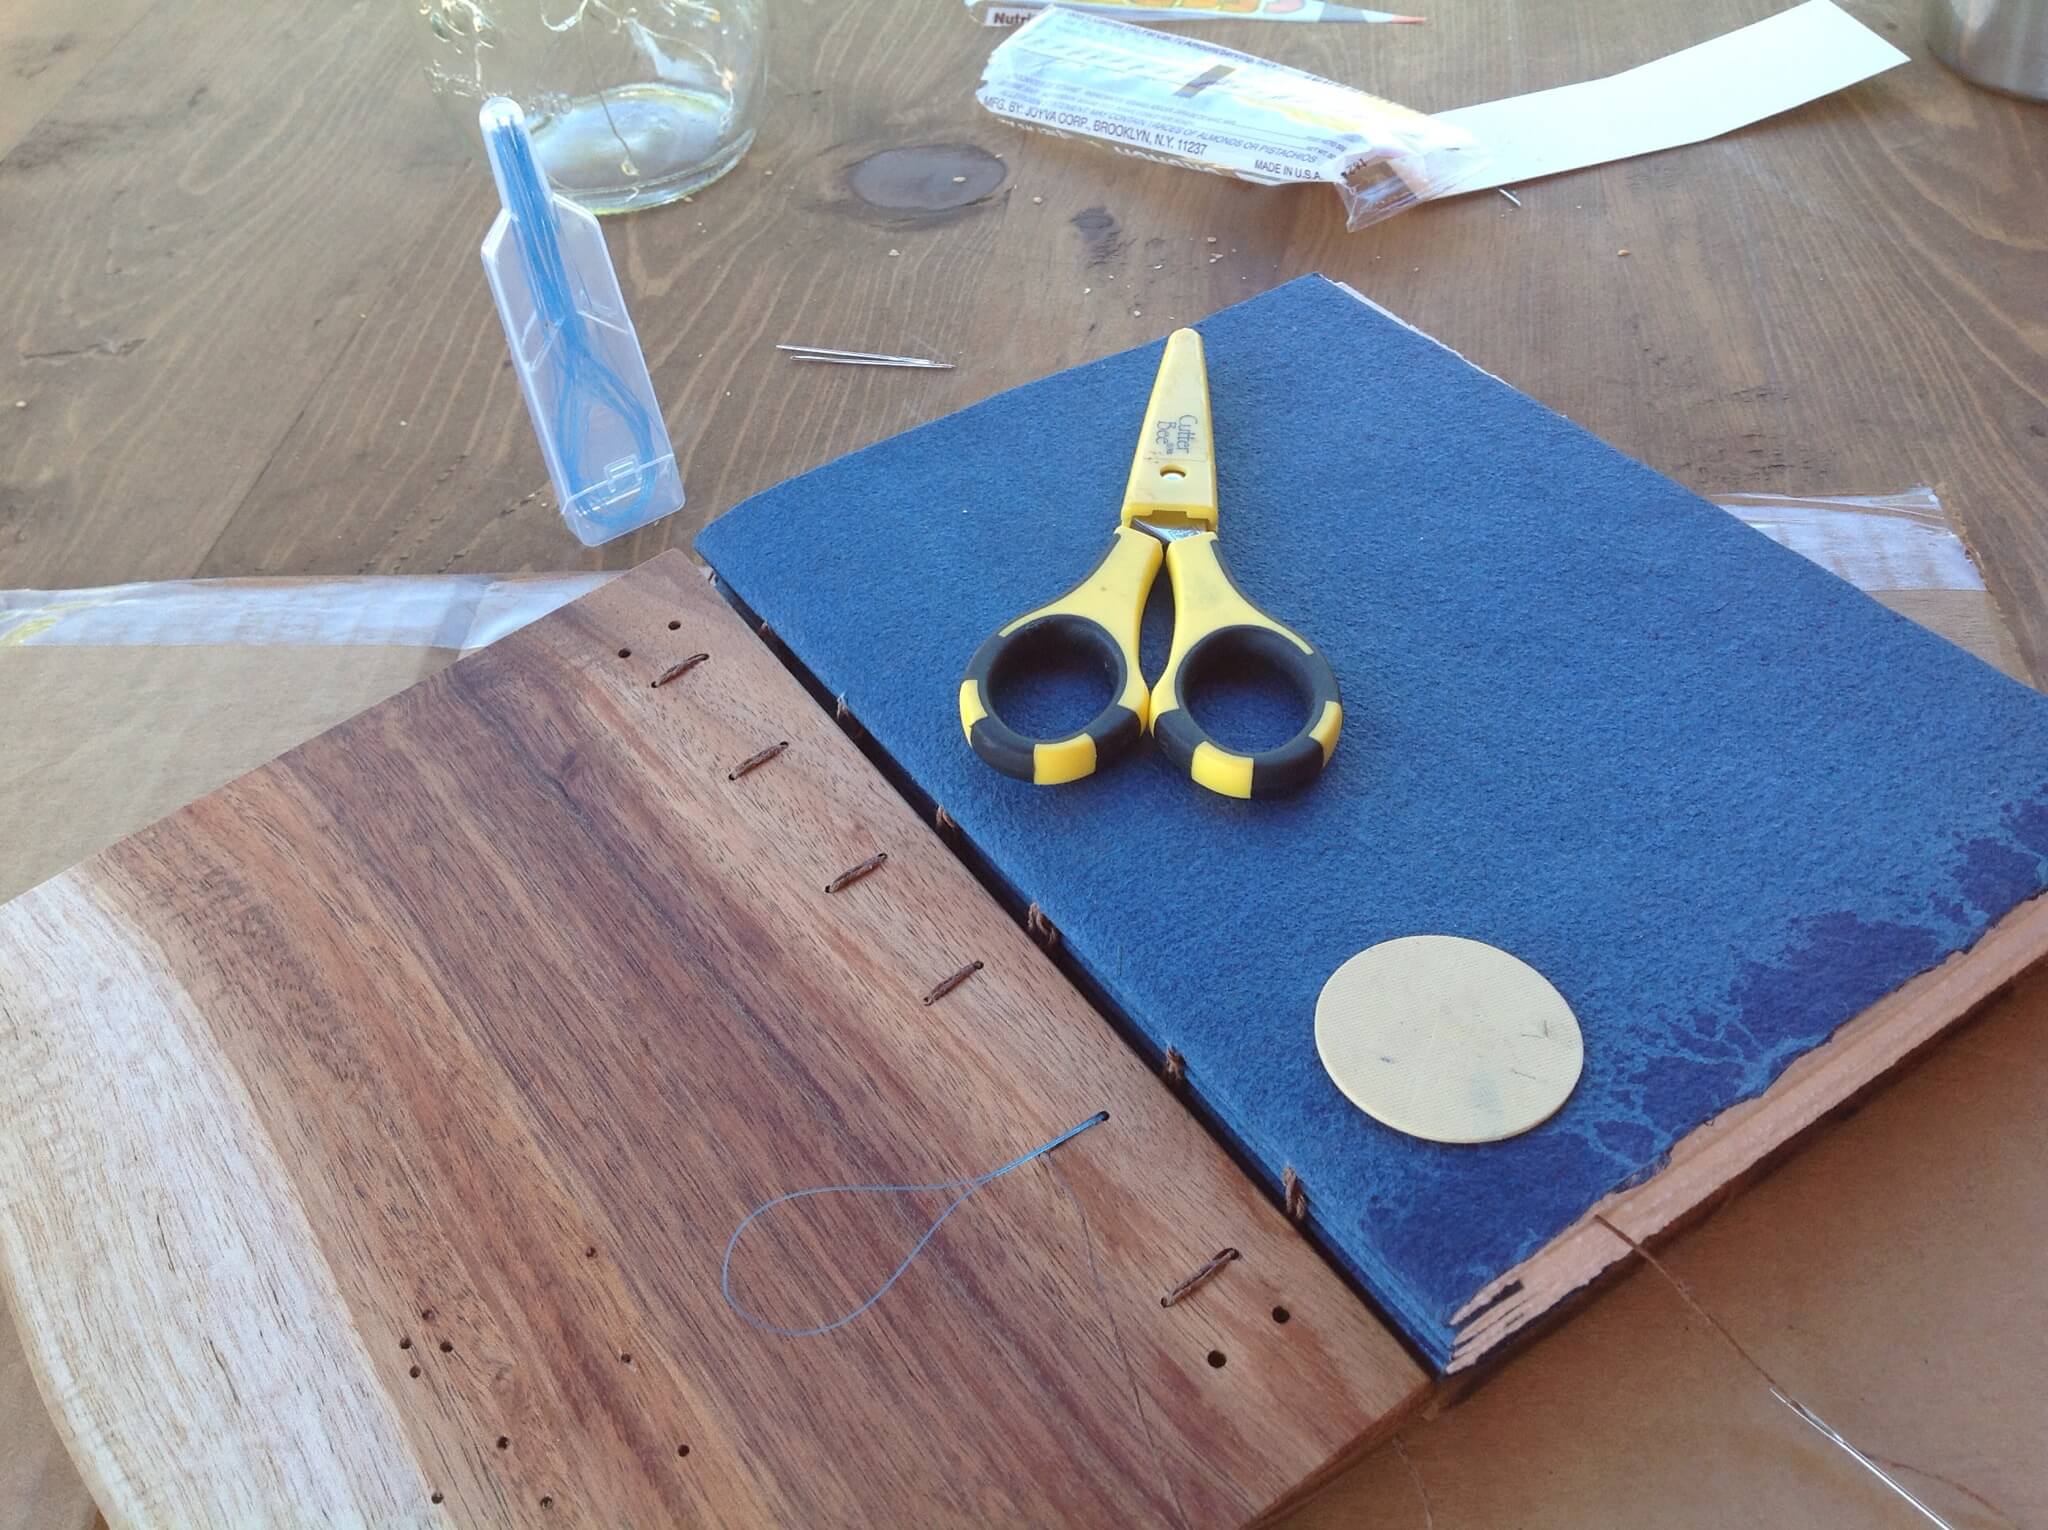
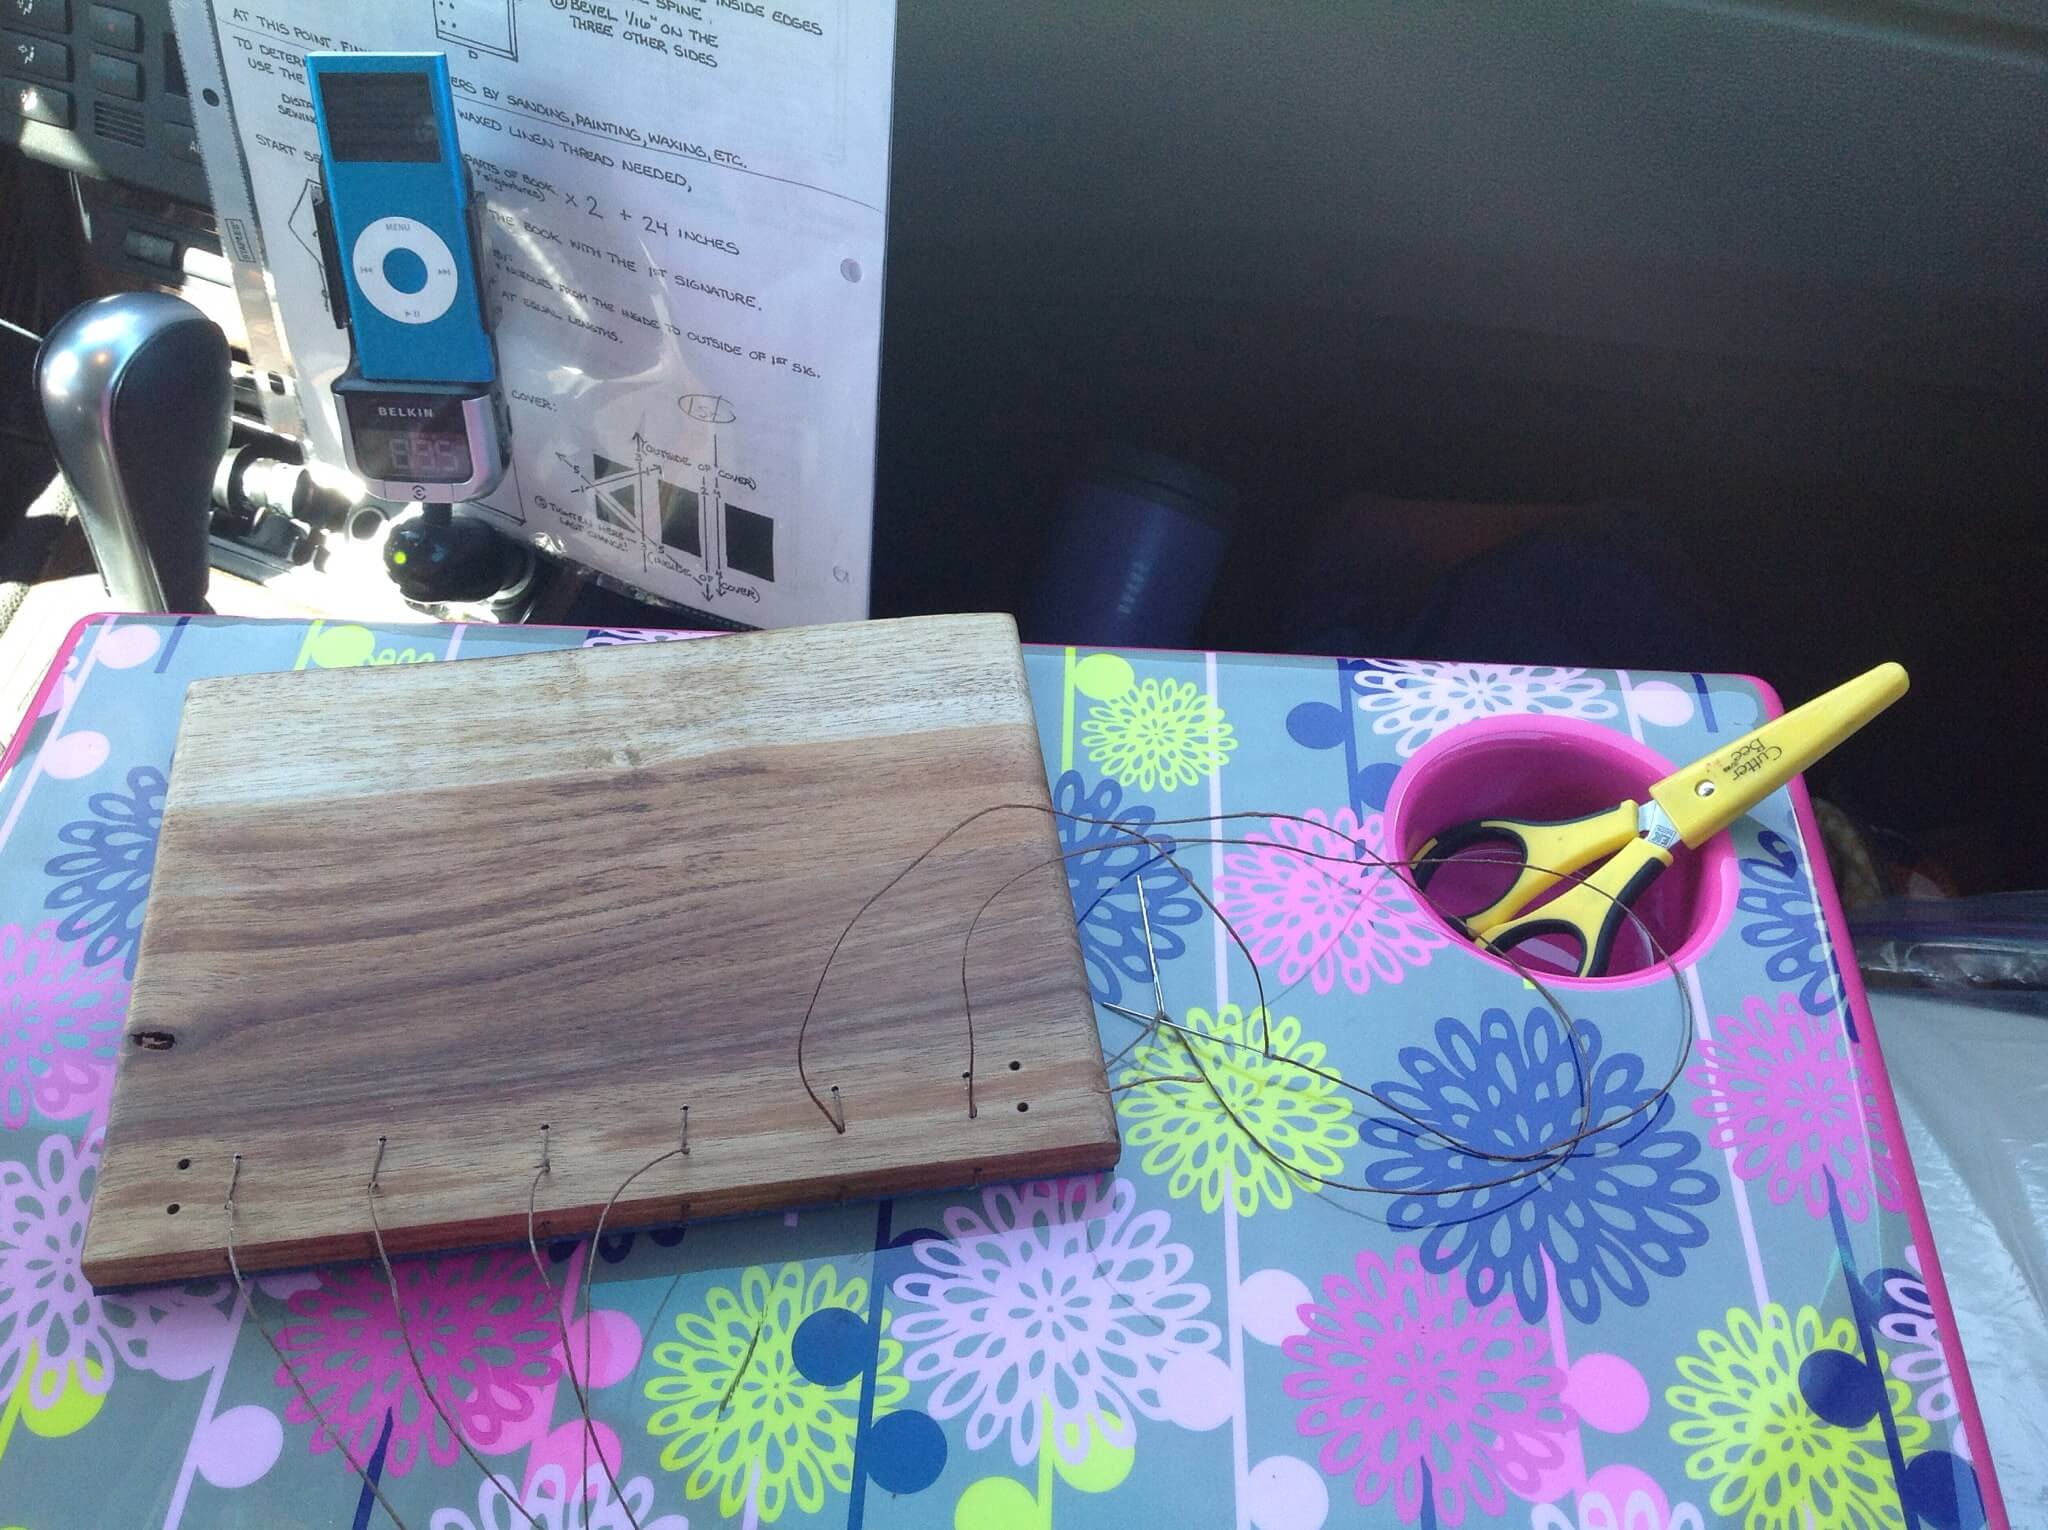
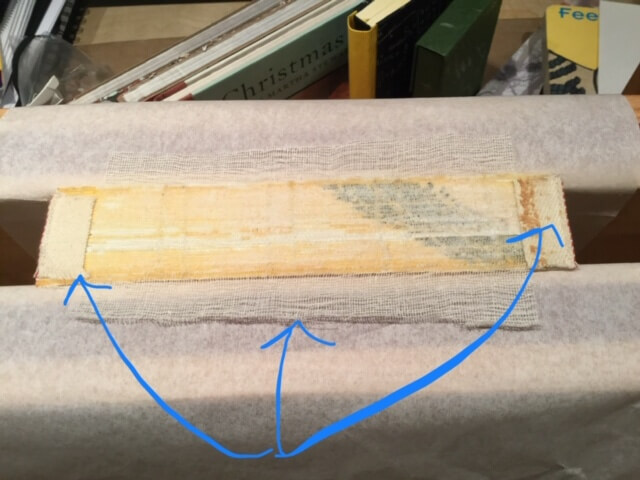
In order to secure the loose sections I used fine linen thread and a pamphlet stitch to secure those sections to the newly strengthened spine.

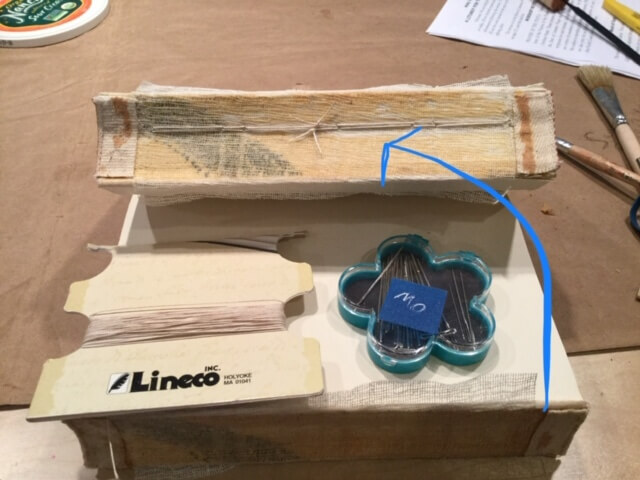
Next the covers needed repairing. I glued green book cloth strips to the insides of the covers to strengthen the spine and then added cranberry colored book cloth over the top of the old book cloth to strengthen the hinges. N
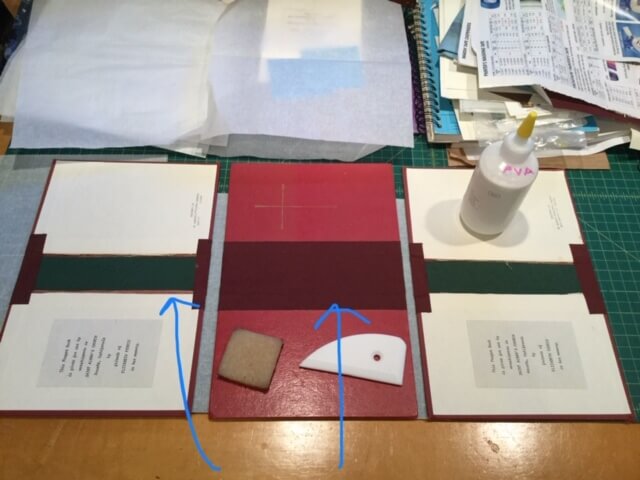
The mull tabs were glued to the text block and the block was positioned on the inside of the covers. The hinge was glued to the front and back of the text block. 
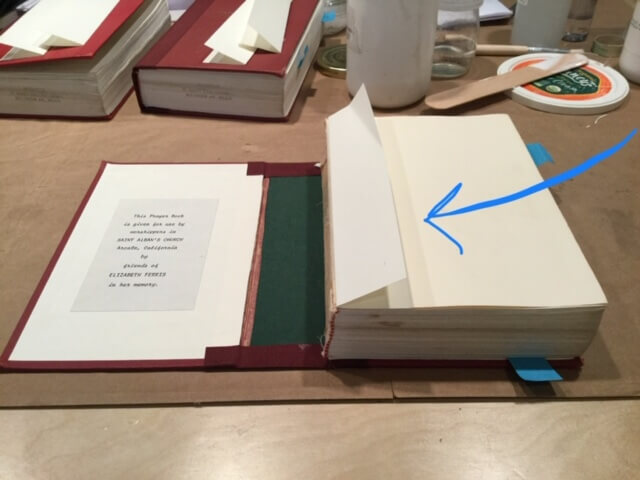
Then then the top of the hinge was glued using a glue guard (PVA really stains and can make a hugs mess). Then – and this is the nerve racking part where all can go wrong – the left side of the book is closed over the top of the glued hinge. Repeat on other side.
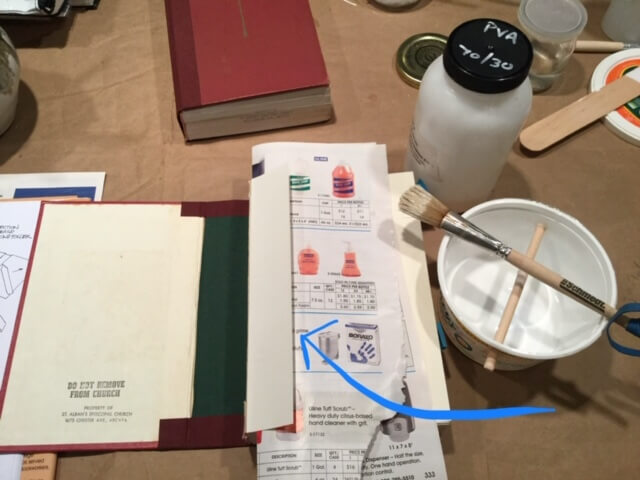
Lastly! Protective papers are inserted into the insides and outsides of the book and the entire book is inserted into a book press. Book press #1
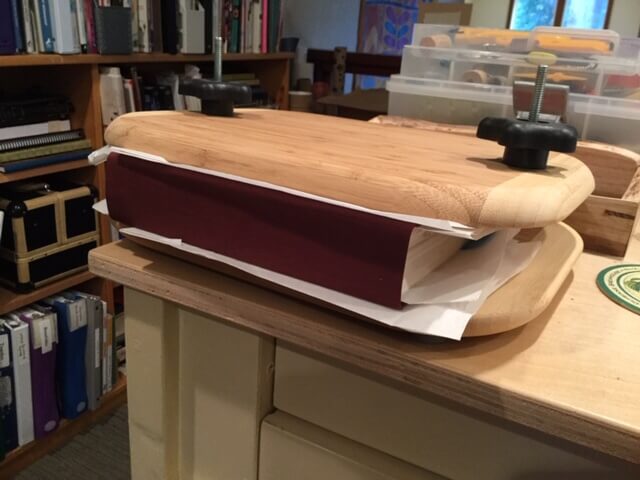
Book Press #2 holds two books and bricks and sad irons provide the weight.
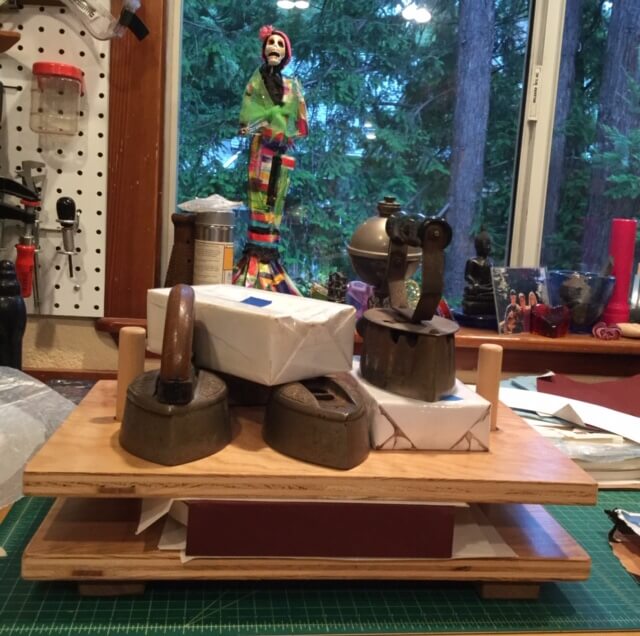
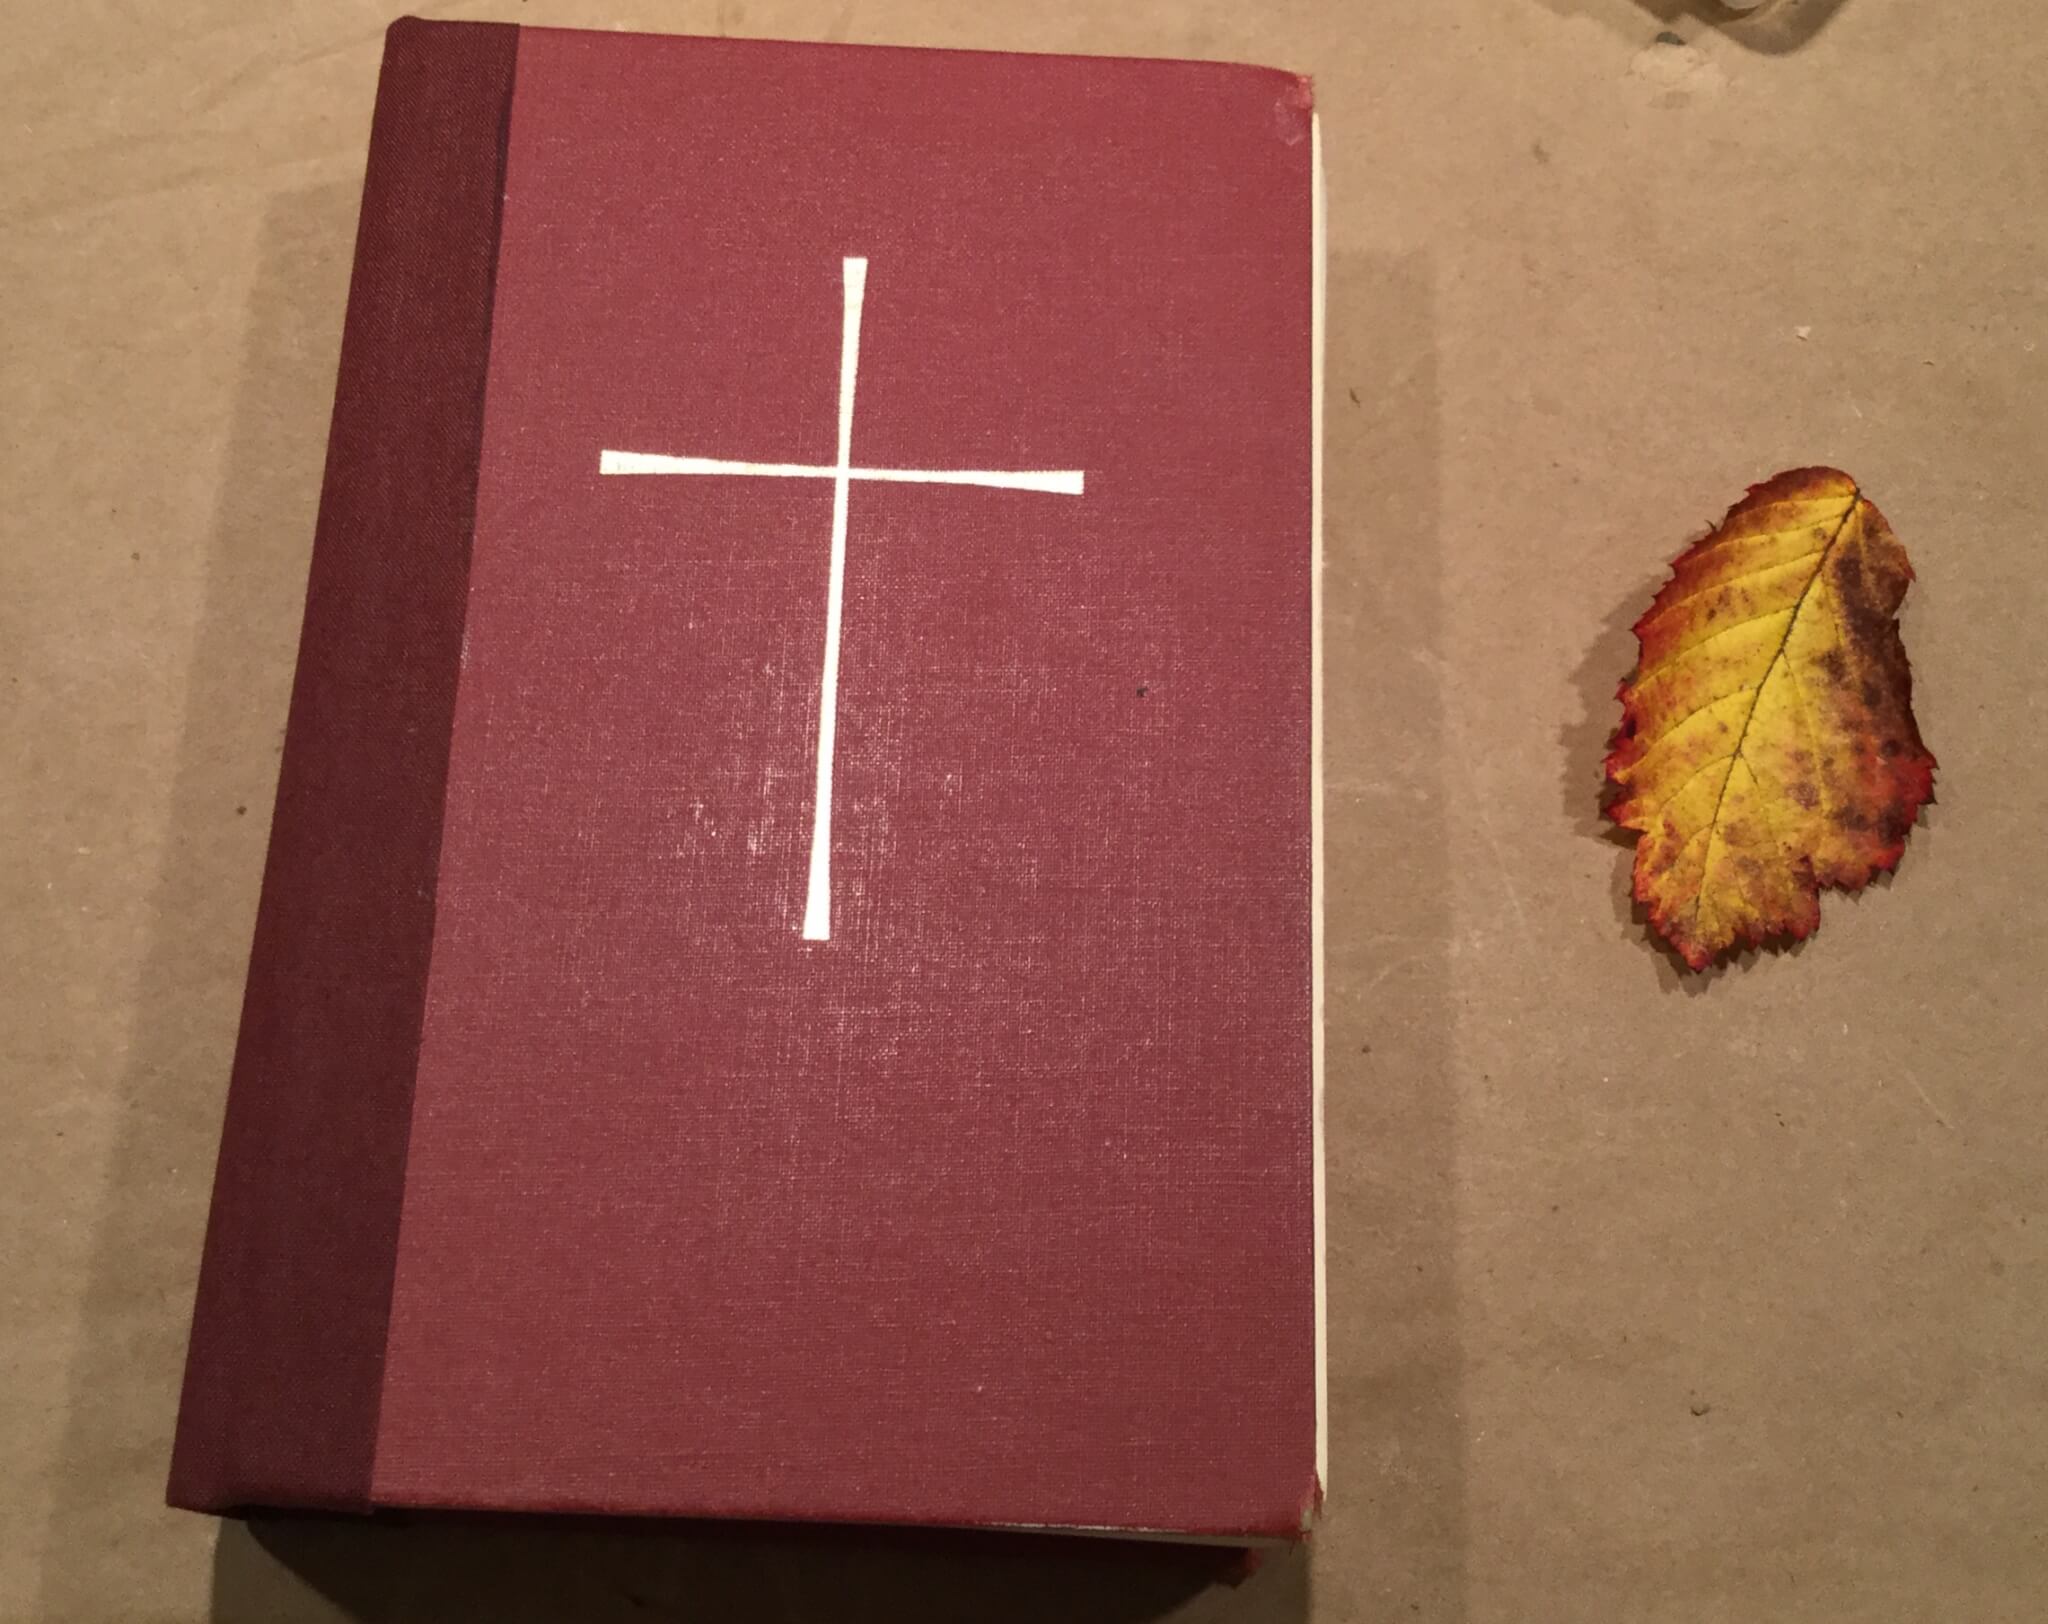
Final book!

With heavy winds and lots of rain on our North Coast we have enough fallen leaves to use for hundreds of boiled books. Sandy, Michele (the Younger), and I converged on Michele’s backyard to make a sandwich out of leaves and Bristol paper sheets. Michele had a great selection of dried leaves in a homemade press.


We had a big container for the boiling and could do all three of our books at once—this is the final bundle.


This is quite the setup with propane and everything. Boil, Boil, Toil,and Trouble.

We used white vinegar as the mordant and after 7 minutes of boiling added Ritz Navy Blue powered dye. This is not eco printing but the results are beautiful.  The second boiling was 1.5 hours. These are Michele K’s prints after the rinse.

 These are mine (Michele the Older)


Sandy’s are particularly interesting because she overdyed pages done with another method in the hopes that they pages would brighten up. She certainly did that, they are beautiful!


Eucalyptus, alder, bamboo (bright yellow), and maple leaves  all worked well but are best when they have dried up a bit and hit the ground. The dry outer part of a yellow onion, swordfern, and some grasses worked well also.

I already have books in mind and the artist’s work that really  inspires me is that of Annywyn Dean. Wouldn’t these pages be beautiful in one of her structures?

IMG_1597.JPG
I needed a new book for watercolor and ink so I gutted an old Nancy Drew mystery and put in my own sections of watercolor paper. We had a two hour car trip today so I sewed it as we drove and found a new use for the bright pink lap desk! I needed to pierce holes in the spine of the book so I flipped the desk over the pierced the holes into the padded section of the desk. It worked very well and I love the “stabbing” with this particular book title!

IMG_1574.JPG
We had to make an “emergency” stop at Raley’s in Winnemucca, Nevada, to purchase small plastic dental floss feeders (see light blue loop on the inside of the left cover). While sewing the Coptic Stitch for this book I realized that the holes that are drilled diagonally from the edge into the first vertical hole (cannot see in the photo) were crooked enough that I couldn’t pass the needle and thread through. After trying to straighten the path, use a small needle, and threading with no needle, I remembered those little handy floss feeders I use to keep openings of my tiny glue bottle sealed. They worked! So, these little things are now a permanent part of my tool box. I have finished the Coptic and tomorrow it’s on to the headbands. The wood is black acacia (thanks to Rollie) and the blue paper is handmade flax paper from Minneapolis. The other holes in the front cover are for a surprise.
PS. Somewhere on the floor of the car are two size 22 tapestry needles, toasted almonds, and three dental floss feeders.

With long travel days and a need to work on a book I’ve decided to create a lap workstation for the car. I purchased the least colorful lap desk—hard to imagine that the others were brighter—and put together a little kit of threads, needles, prepunched sections and boards that I can store by my feet. The drink holder on the table is perfect for storing needles and scissors. Of course, I cannot be without my iPod. To the right, on the dash, I can store my piping hot coffee.

IMG_1572.JPG
So, how’s it working? I’ve lost one needle between the seats and can sew without stabbing Rollie in the eye while he is driving. I also decided to go with 6-needle sewing against my better judgement—one needle would have been easier to keep track of but the need for longer thread has it’s disadvantages. I am sewing a wedding album for a dear friend. I will keep you posted.

I love making books; teaching others to do the same is just icing on the cake. It is inspiring to be in the same room with creative, capable, and enthusiastic students. The following photos will illustrate some of the work that went into making this type of book as well many of the ideas that students contributed. Enjoy.

IMG_3631.JPG
These are papers I created out of masking paper (used for taping windows in preparation for painting) and acrylic paint. The paper perfect for covering boxes as it’s thin, pliable, and fairly strong.

IMG_3634.JPG
We used 0.059″ thick standard book board to create a box and the hinged cover. We experimented with PVA Jade-Thick from Hollanders. It was great for these small boxes because it is very tacky.

IMG_3632.JPG
While the boxes dried we created a hinged cover. This particular technique is useful for all kinds of artist books. Boards were glued then applied to the wrong side of the paper. Rather than burnishing the right side we pressed the paper to the board to encourage wrinkles and texture.

IMG_3640.JPG
Covering the boxes was next.

IMG_3645.JPG

IMG_3637-0.JPG
There was much variation in colors. Some decided to add more color and brought their acrylics…….

IMG_3636.JPG
…..and acrylic enhancements. Check out “Products” on Golden’s website to see the many products available along with their uses.

IMG_3642.JPG

IMG_3644.JPG
Then the real fun begins—getting ready to add our own miniature components to the book.

IMG_3643.JPG
The strip of decorated Arches 90 HP watercolor paper was next. Each had her own idea of what to add to the book. These were folded like an accordion and will be attached to the inside front cover.

IMG_3646.JPG
This book is almost finished. The thread needs to be trimmed and a slot added to hold the accordion fold. What a delight! The upper shelf holds miniature books and the accordion fold holds quotes about books.

Great job everyone. Working with you and your ideas is a treat in many ways. PS. Thanks for the real treats for our long work session today.

IMG_3641-0.JPG
Busy hands….busy place.

One of the reasons I haven’t taken up quilting is because of the size of the fabric stash I’ve seen in quilters’ closets. I’m creating a smaller version of The Stash using fat quarters. I learned to make my own book cloth using a method from a Tim Ely workshop. He uses bond paper (thin and strong), wheat paste (I use 1 TBS precooked wheat starch with 4.5 TBS distilled water) and fabric. This method is so easy, so neat, requires no PVA, no crumpled paper support, and the paste permeates the fabric to provide some protection. Since the wheat starch is already cooked, this can be done on the spur of the moment and you can make as small a batch as needed (Just keep the 1:4.5 ratio)

20140115-143402.jpg I have two people and two books in mind for this book cloth. Let’s see what kind of book structures I devise!

I make it a point to attend Focus on Book Arts (FOBA) in Forest Grove, Oregon. It is offered every other summer and I wouldn’t miss it because of the quality of the instruction and instructors, the idyllic setting, the 24-hour bookish ambience, and the chance to spent time with many book arts friends. I’ve always loved Tim Ely‘s books because of his artwork—pen & ink, bright colors, scientific imagery, and unusual topics. Tim’s workshop took five glorious days and i finished two books that I love and learned a lot in the process. Tim is a wonderful, inspirational teacher who really wants to bring out the best in each of his students. I felt that my artistic process was nurtured and supported in every possible way. You might enjoy some of the books I’ve read at his recommendation:
The Origins of Knowledge and Imagination by Jacob Bronowski
No More Secondhand Art by Peter London
101 Things to Learn in Art School by Kit White
FreePlay by Stephen Nachmanovitch

The following photos are some of the highlights of those five days.
20130828-164558.jpg
Tim Ely is cooking wheat paste glue. We used it to create bookcloth and to glue endpapers. It also works on leather and wood!

20130828-164719.jpg
Bookcloth from my hand-dyed fabric.

20130828-164928.jpg

Tim designed this sewing frame.
20130828-165006.jpg
Squaring up—ready to glue.

20130828-165054.jpg
One of my favorite Tim Ely books. He has fabric custom printed with his images.

20130828-165156.jpg
Tim’s substitute for a plough. Cutting the edges all the same length.

20130828-165248.jpg
He uses a French paring knife by Jeff Peachey.

20130828-165600.jpg
Tim is particular about his pens and nibs. In many cases he manufactures his own handles.

20130828-165717.jpg
Tim instructing with a stack of his wonderful books.

20130828-165832.jpg
Don’t you love his artwork? He uses his handmade books as journals for creative thinking. He makes plans for books knowing that the final book may not look like any of his drawings.

20130828-170622.jpg
Beth and I with our four books.

20130828-170704.jpg
A closeup of Beth’s book—love the color.

20130828-170813.jpg
This is such a wonderful cover using paste and handmade tools.

20130828-170905.jpg
Some of the handmade tools—simple but clever.

20130828-171000.jpg
More luscious colors and books.

20130828-171035.jpg
Tim enjoyed talking to all of the participants—he is truly interested in student work.