Tag Archive for: altered book

In the second OLLI Book Arts class of Spring Semester, 2016,  the students gave new life to old books. Each participant  brought a book that had appealing covers along with decorative and/or text weight papers for the four sections.  They also brought a strip of fabric to use for creating their own book cloth. The results are fabulous and unique.

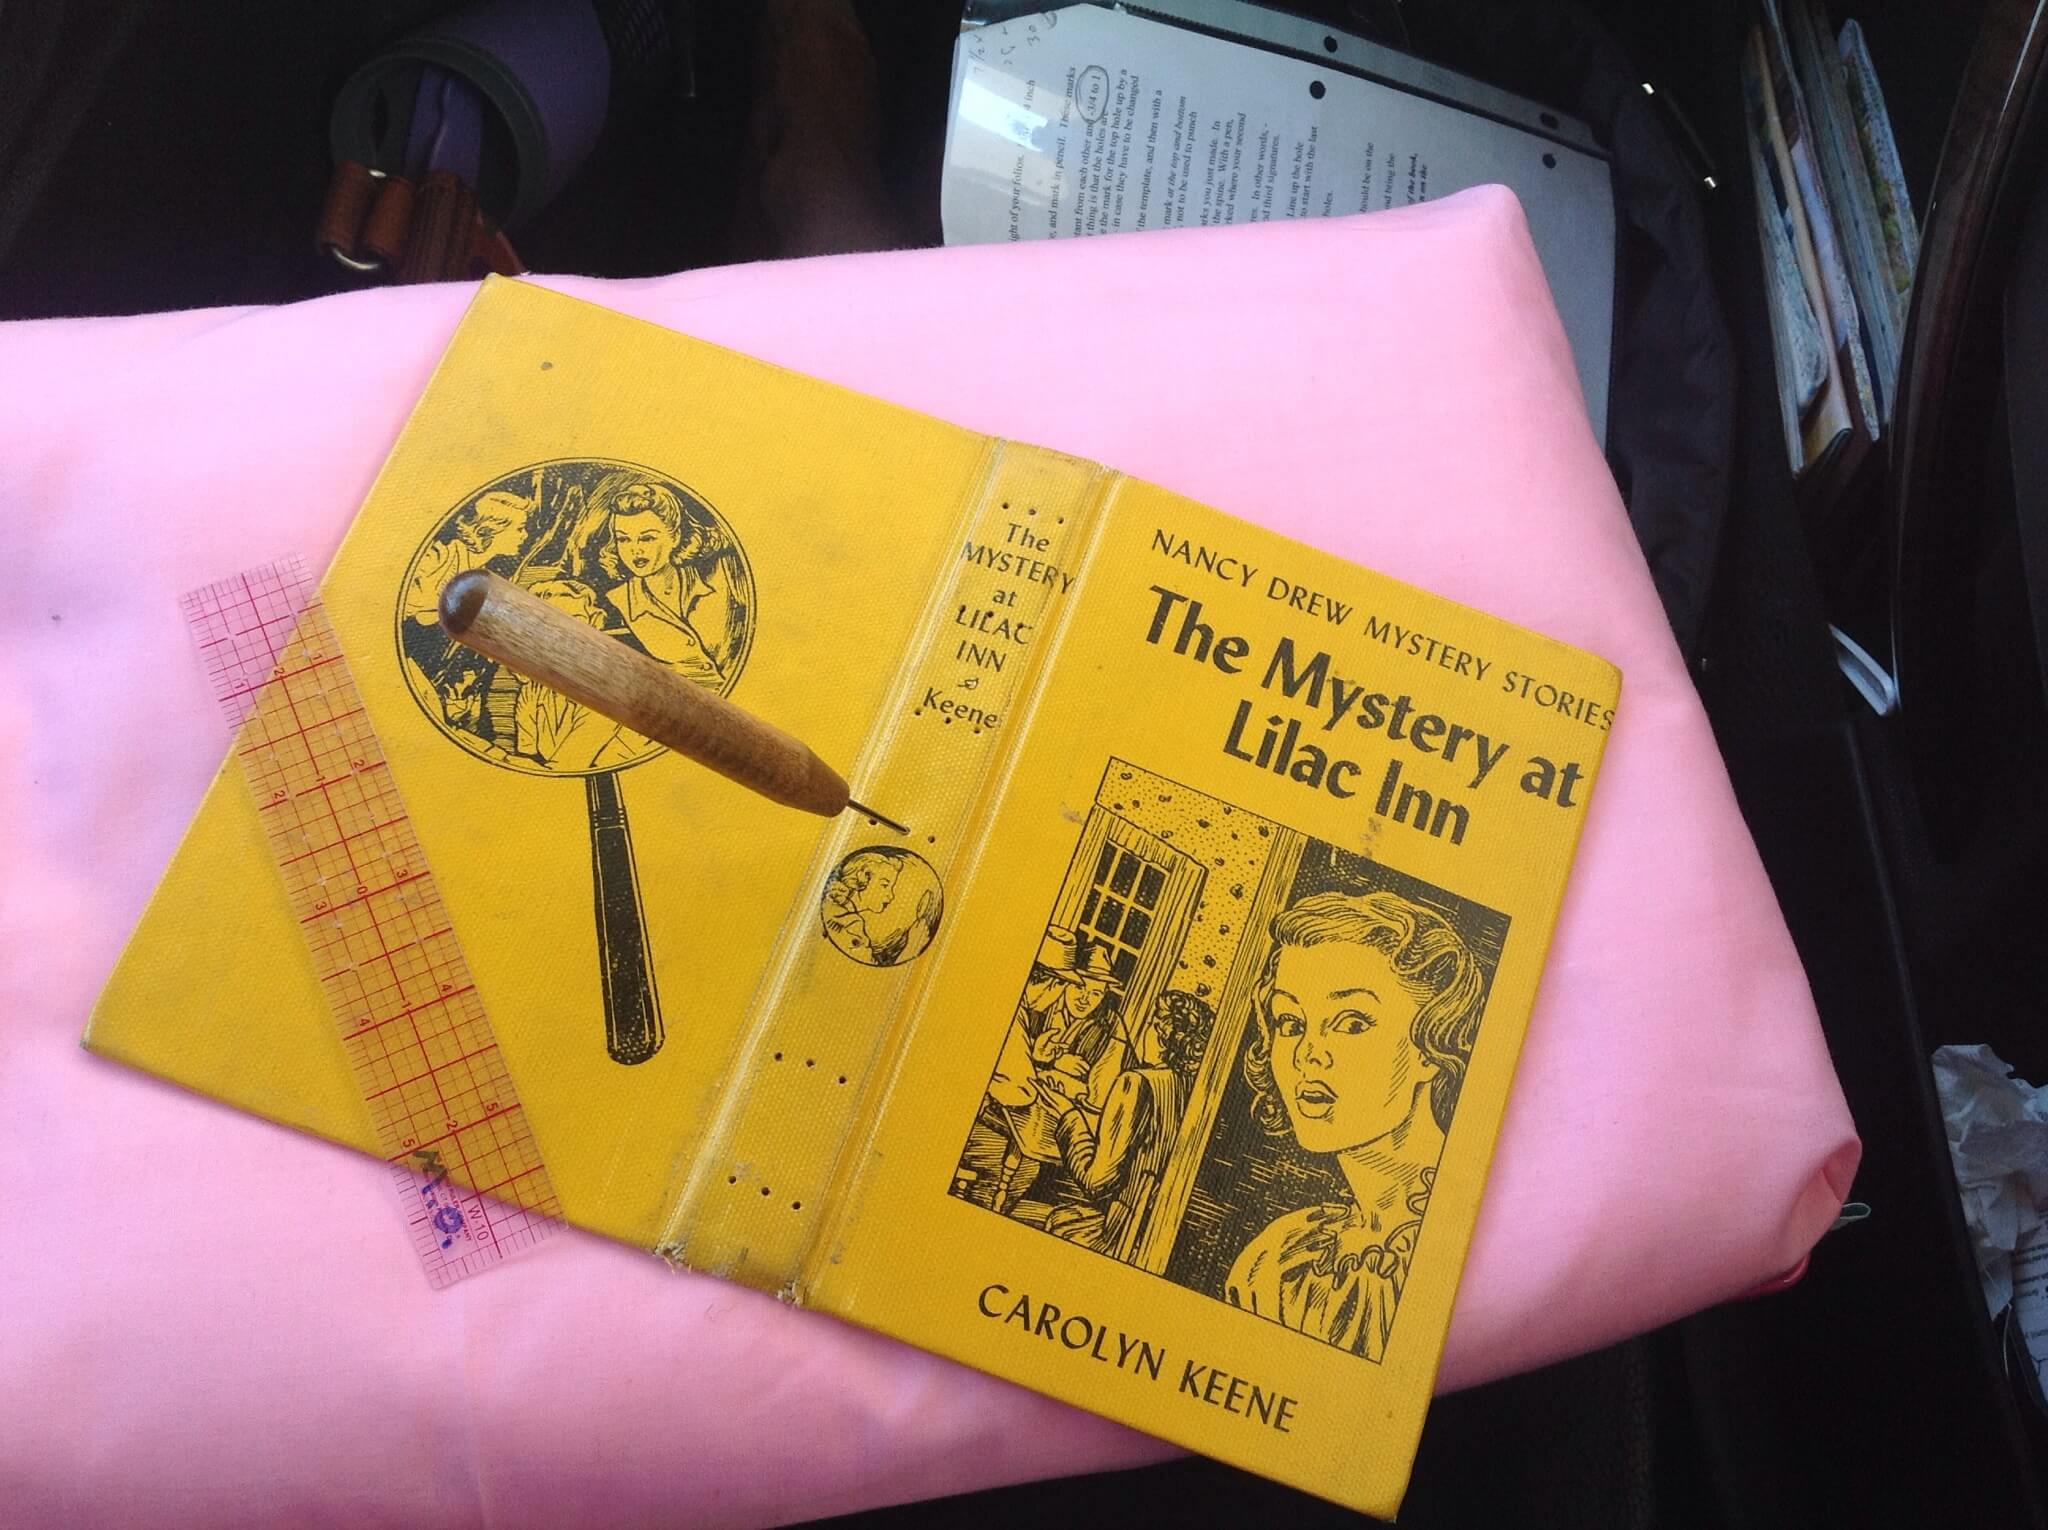
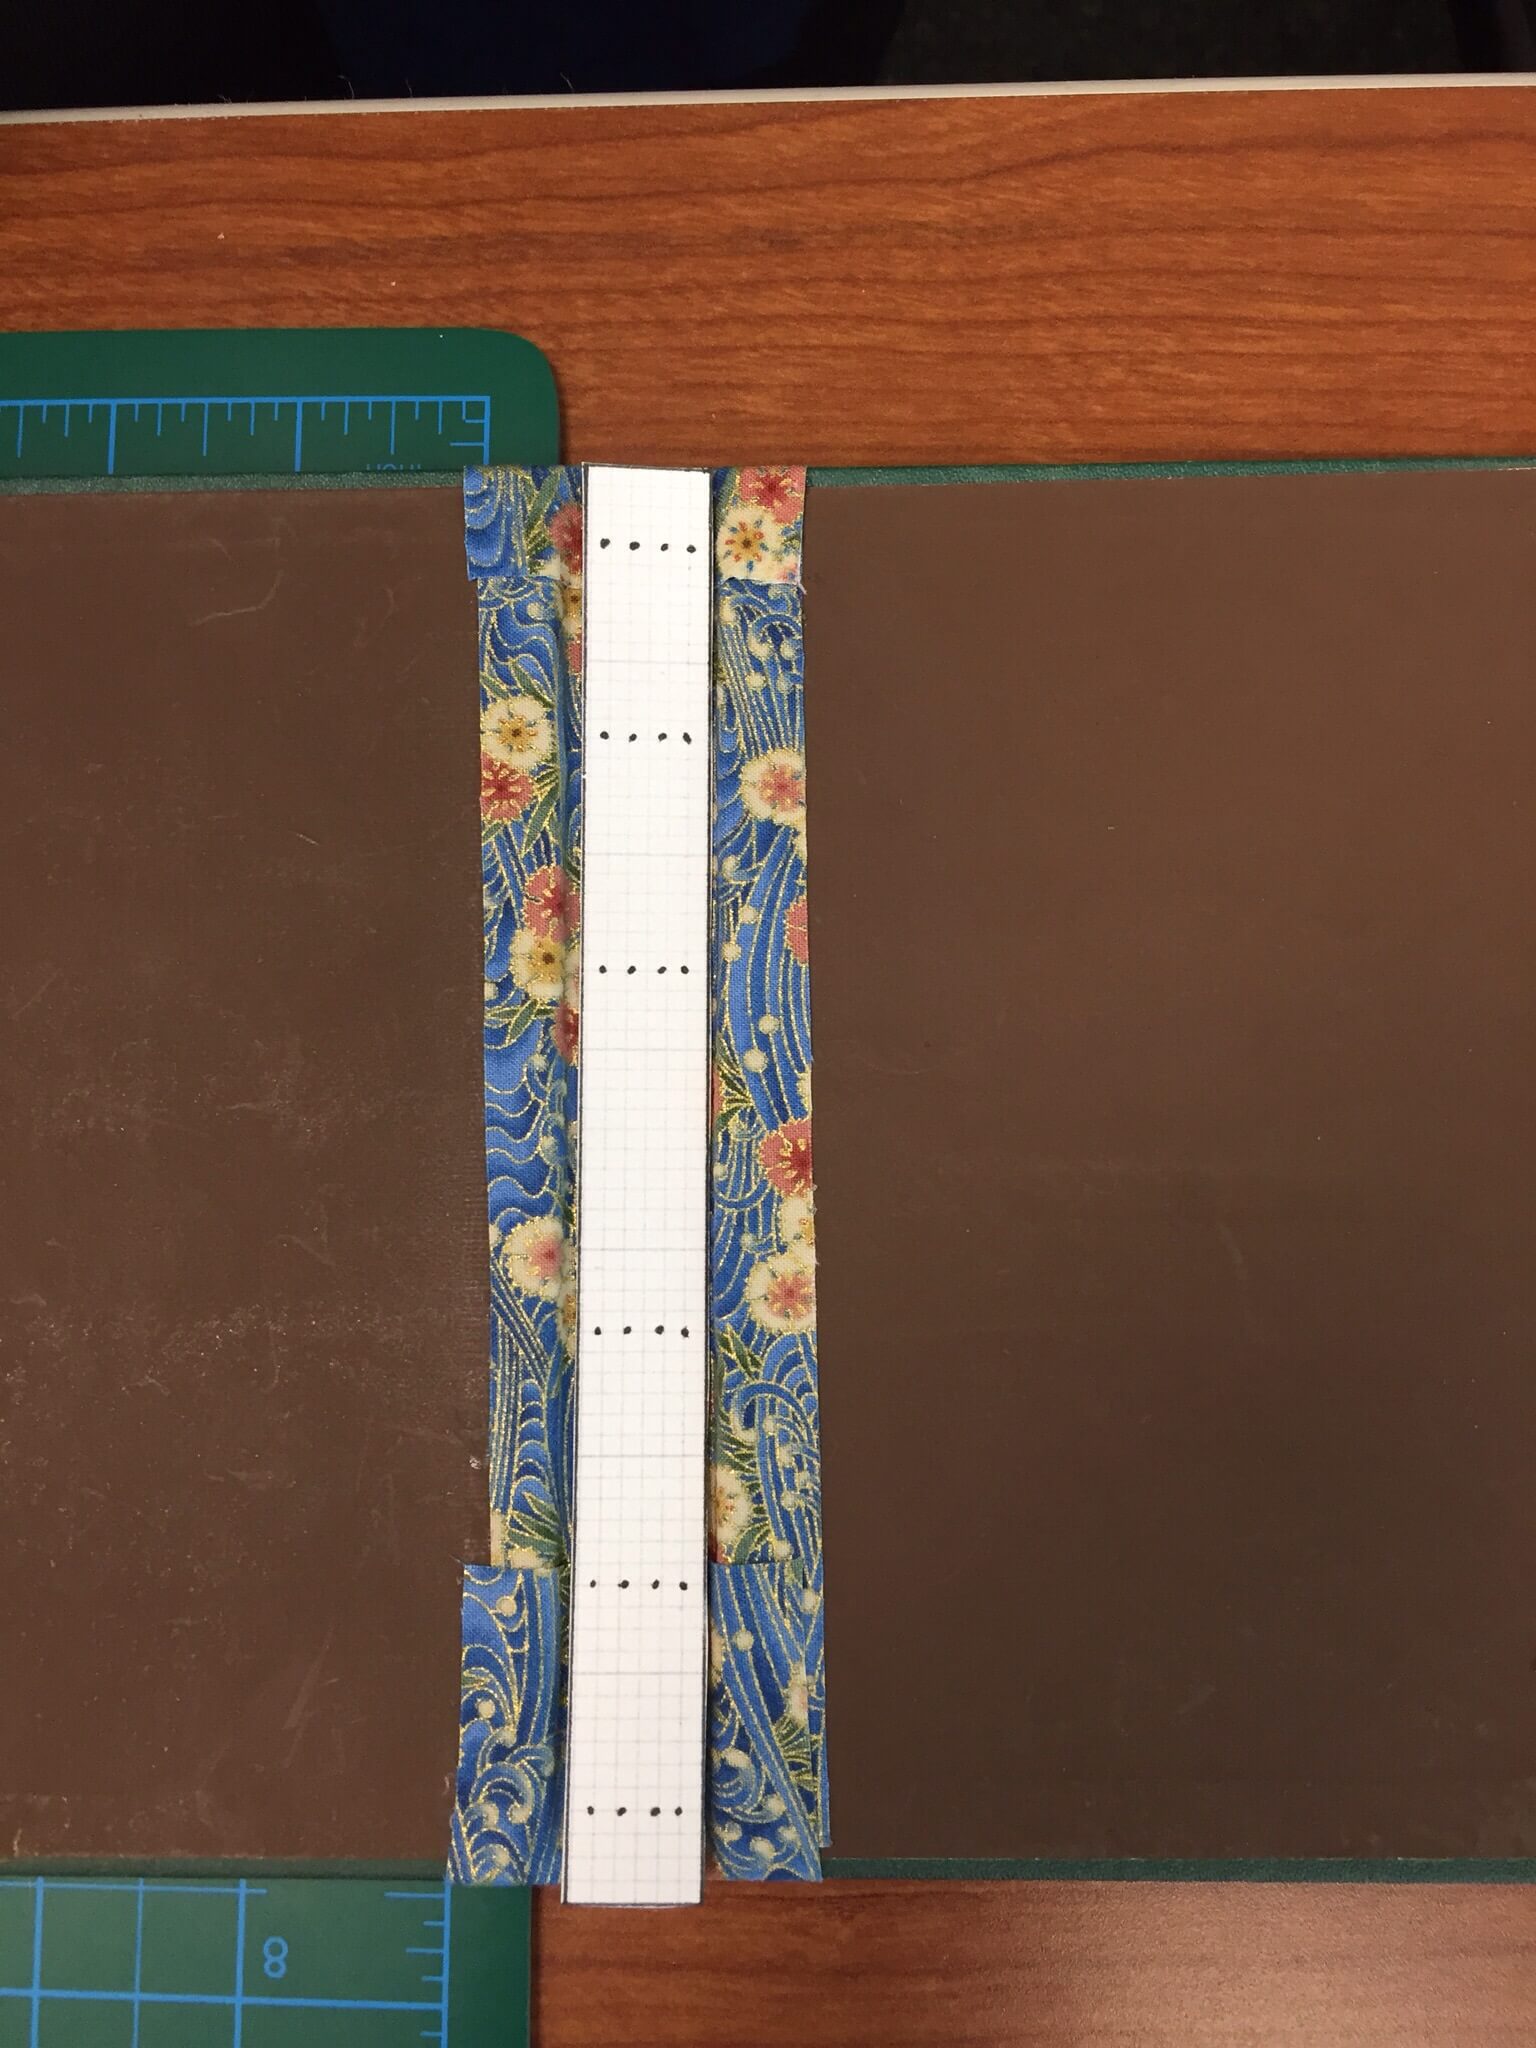
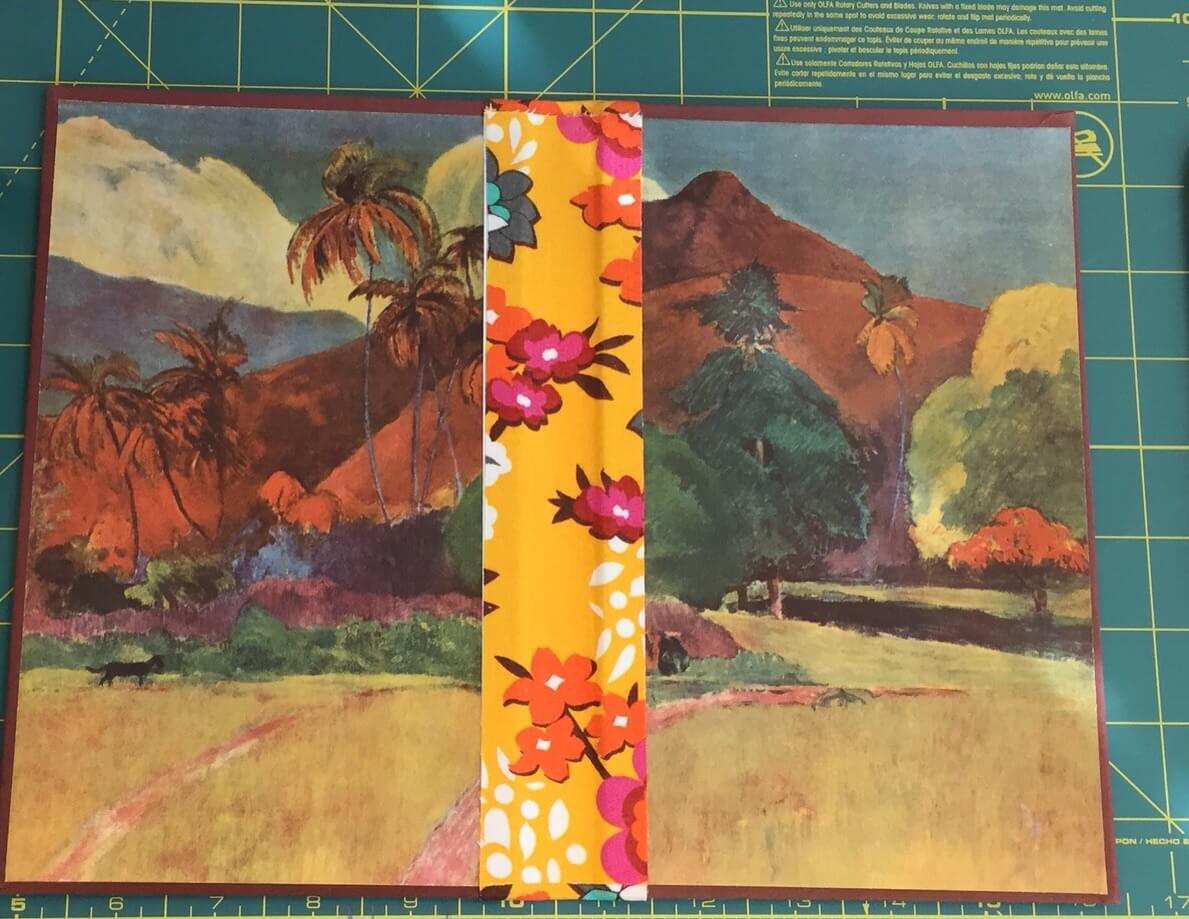
First, the covers of the books to be repurposed were cut from the text block and spine.  Next we made our own book cloth using Heat-N-Bond Lite fused to the fabric and bond paper. I prefer book cloth made from wheat paste and bond paper but there wasn’t time for this to dry during the four hours class. The strip of cloth for the outer spine was then glued to the covers. The covers of the example below already had beautiful papers on the inside and those were preserved.  
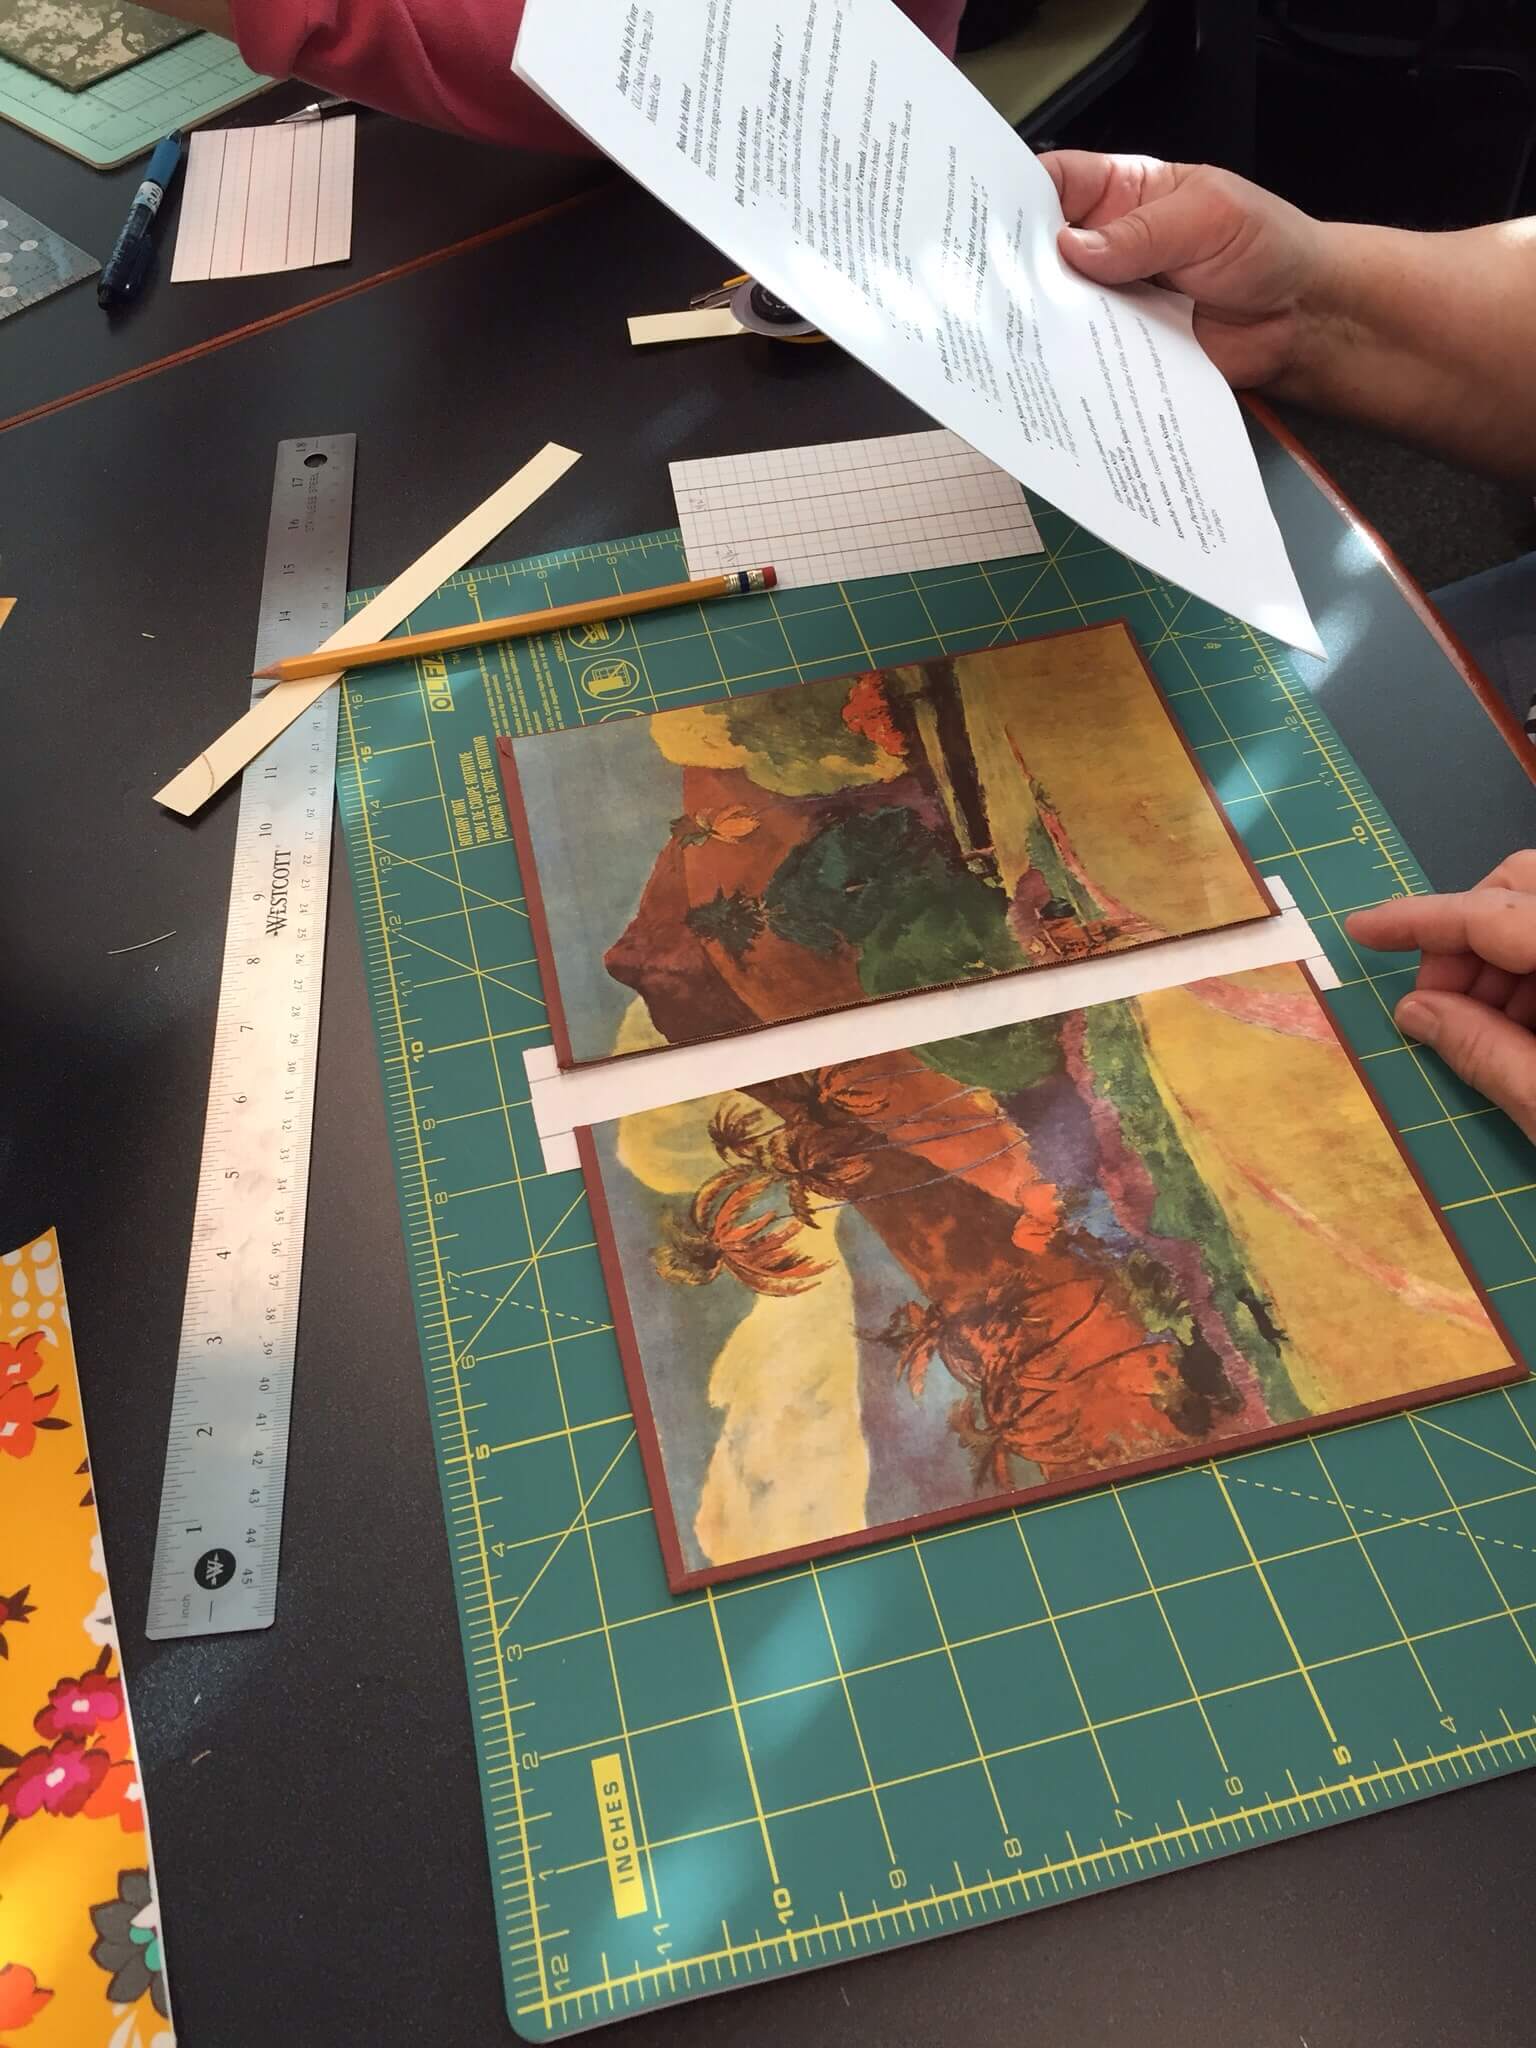
A strip of book cloth was glued to the inside of the spine. The next photo shows the positioning of the sewing template. The template was adjusted for each book—they all had different heights!


 Students then pierced the sewing stations. Some of the holes were very hard to see but if you held them up to the light, the holes were obvious.   
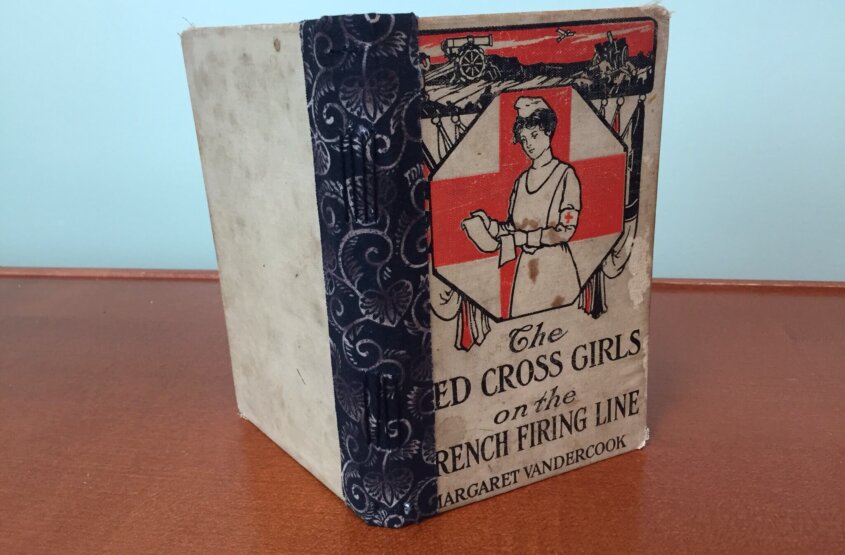
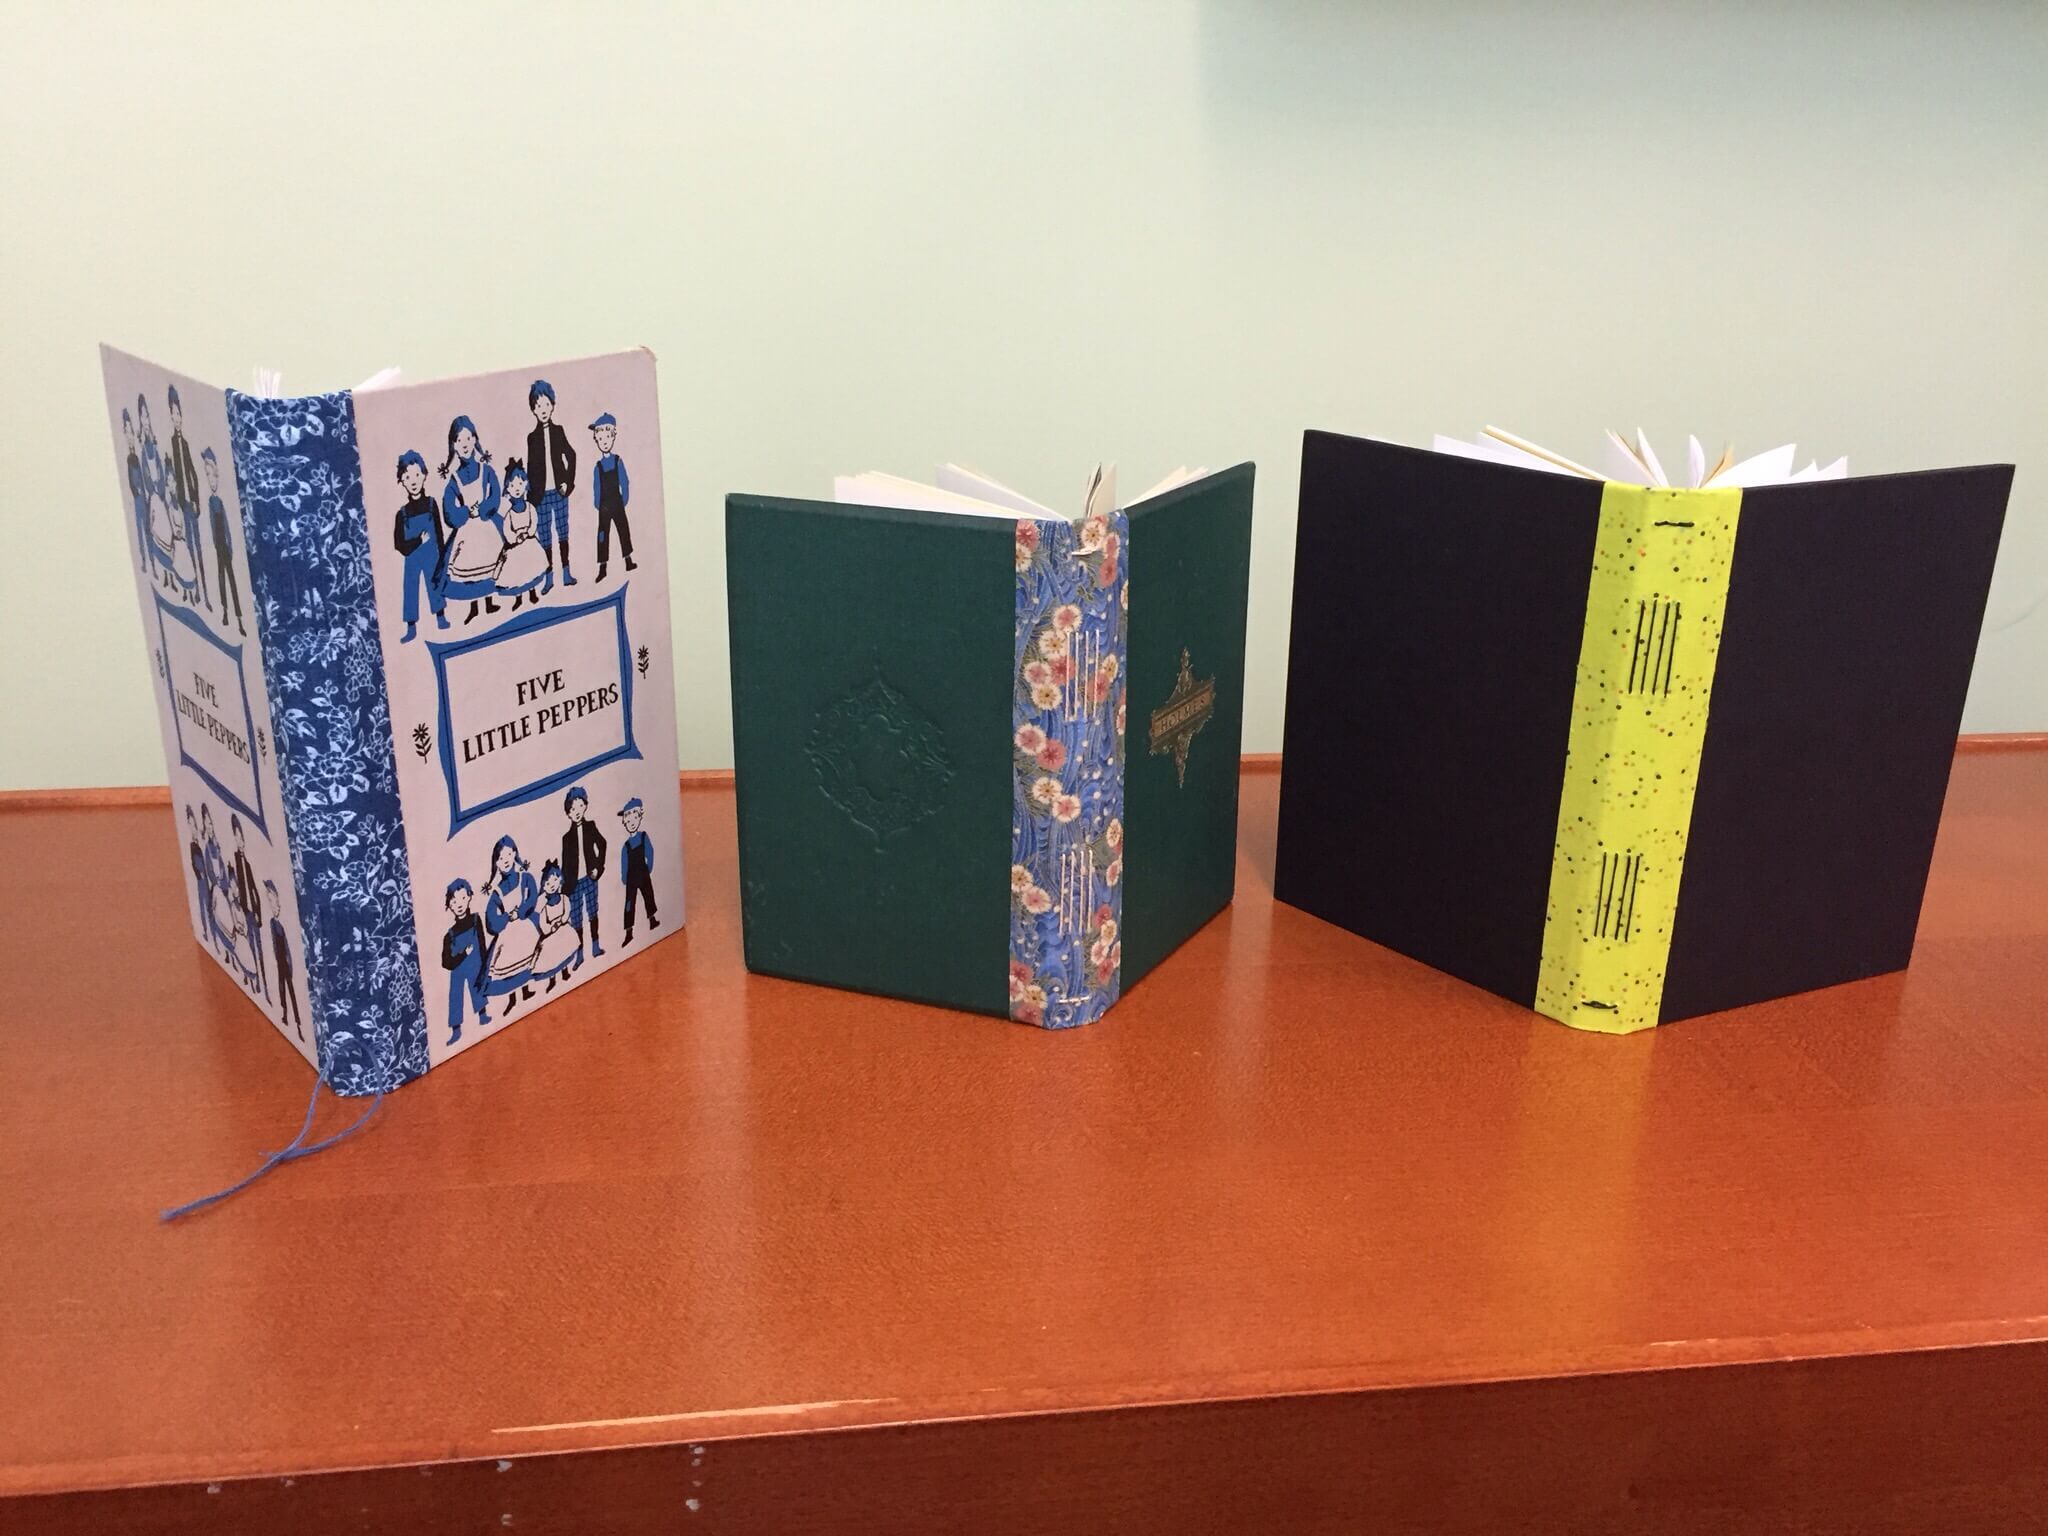
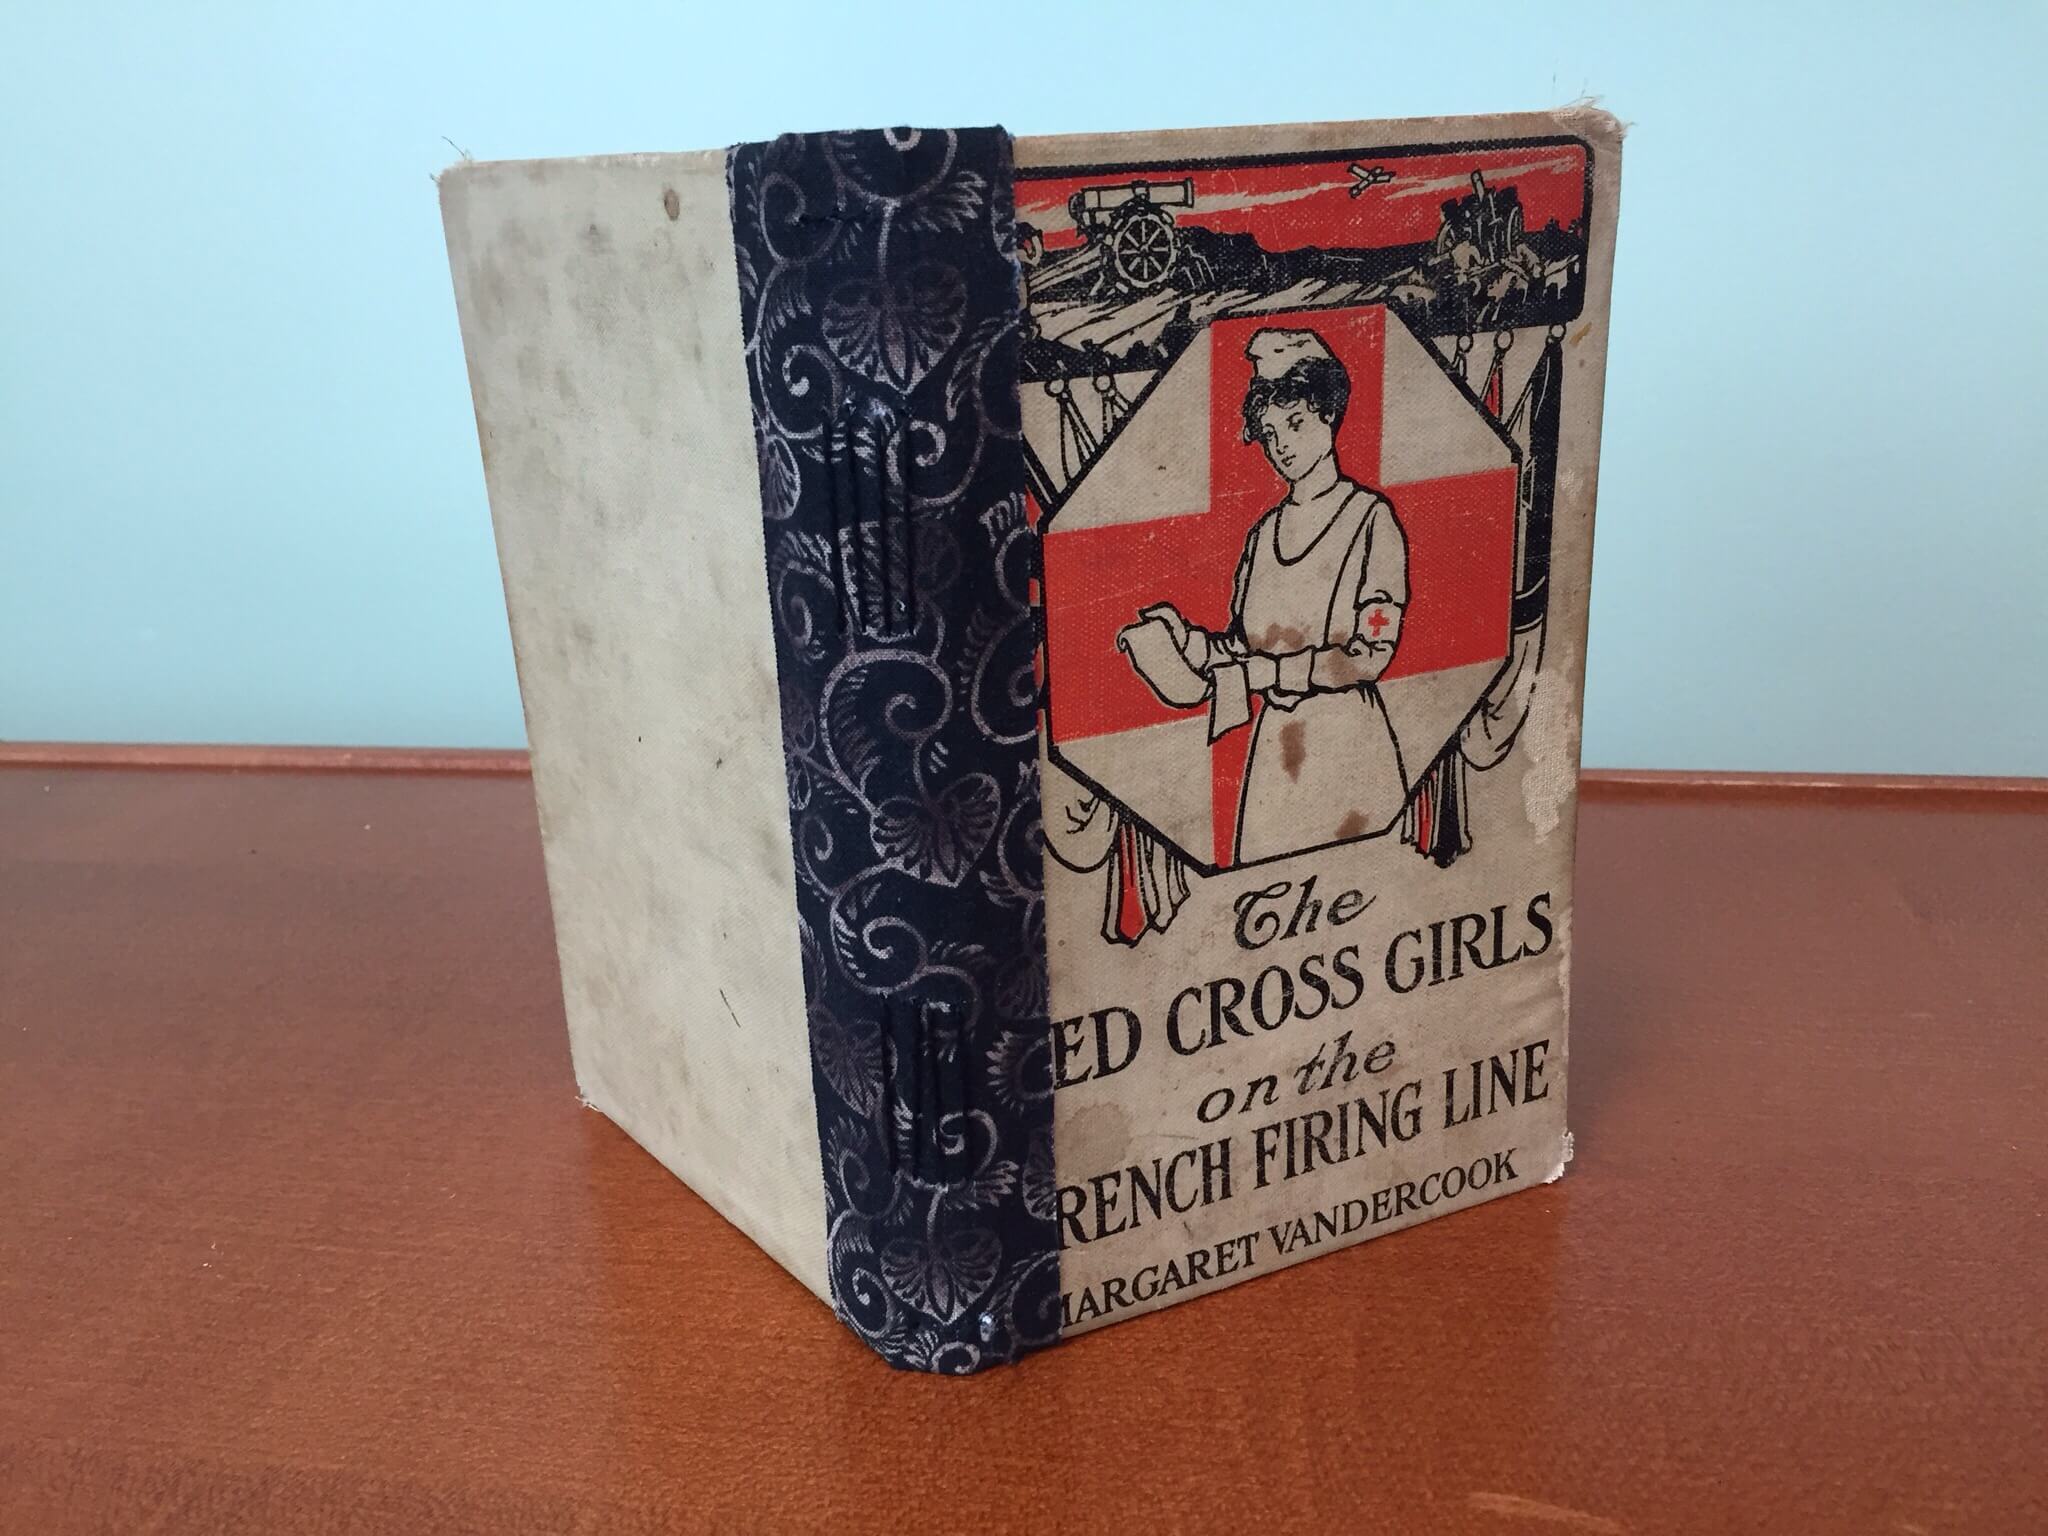
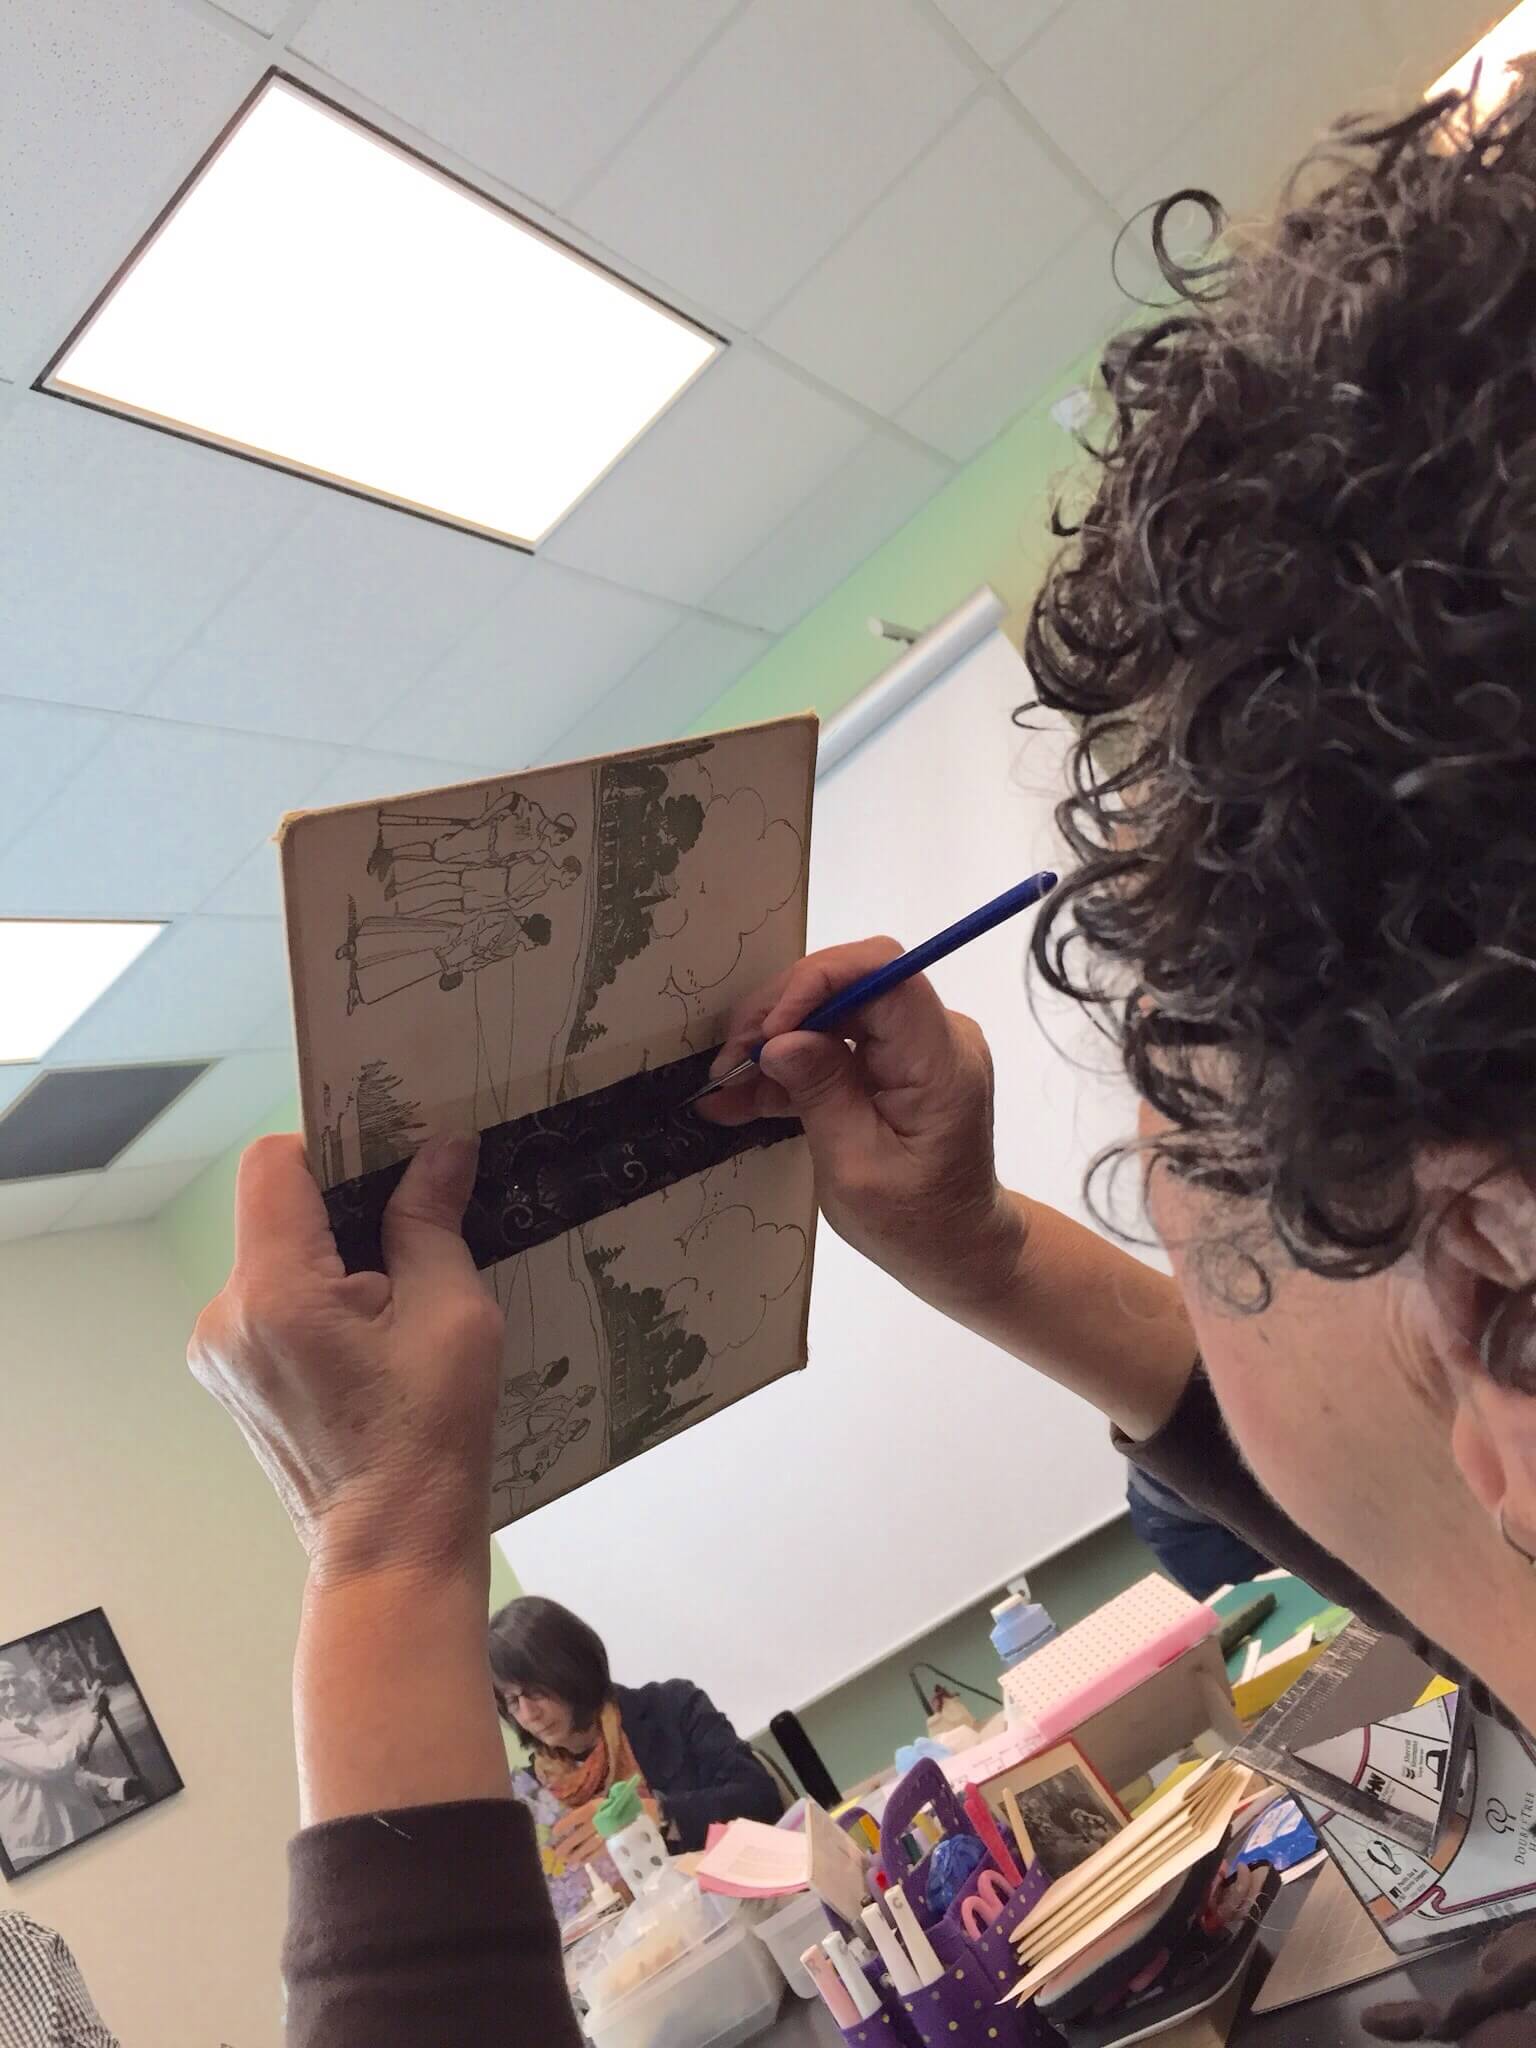
The books were sewing using the long stitch on four sections.  Here are the beautiful results.


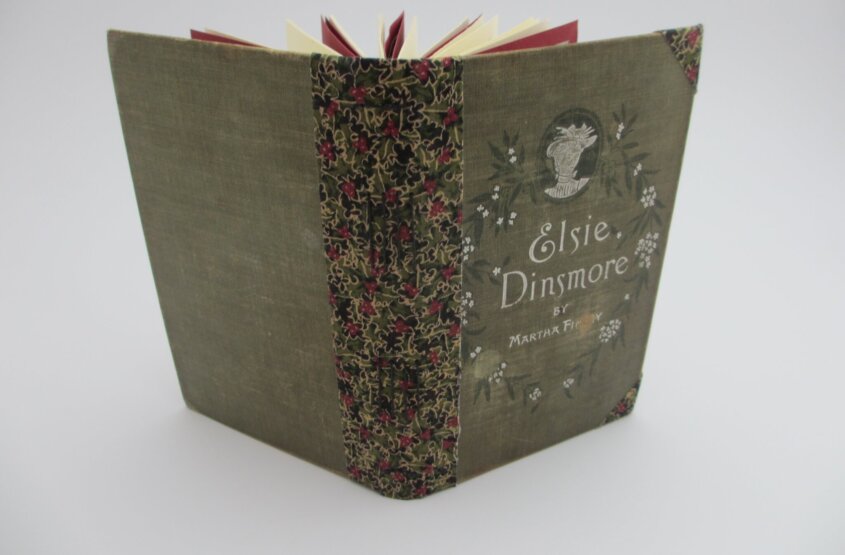
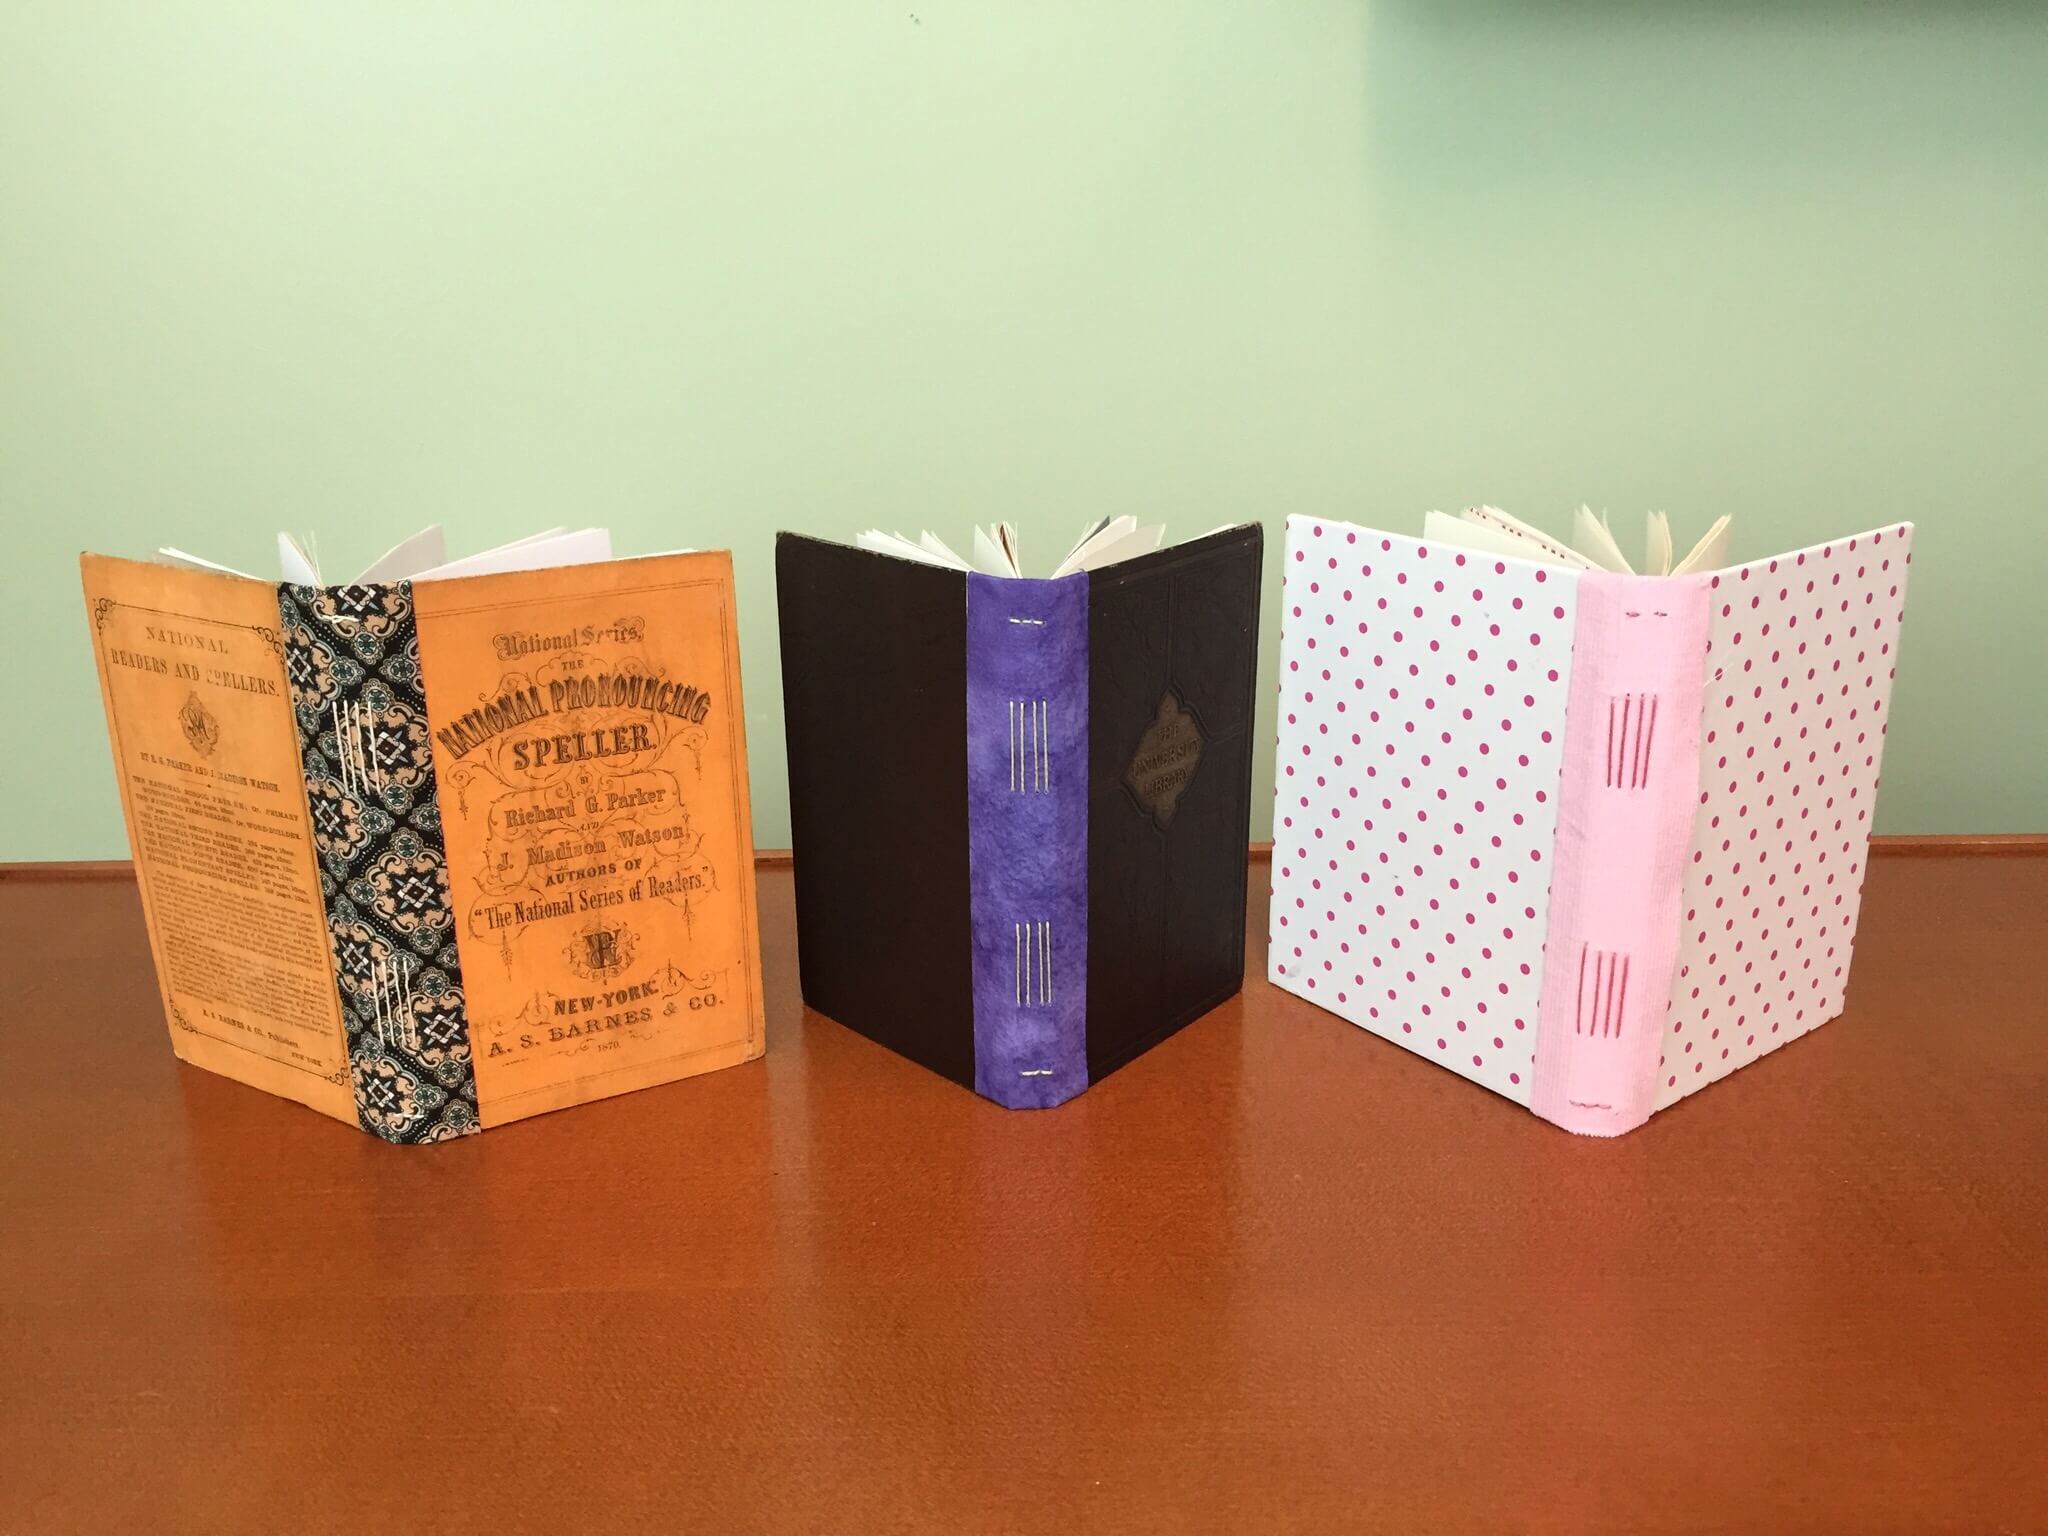
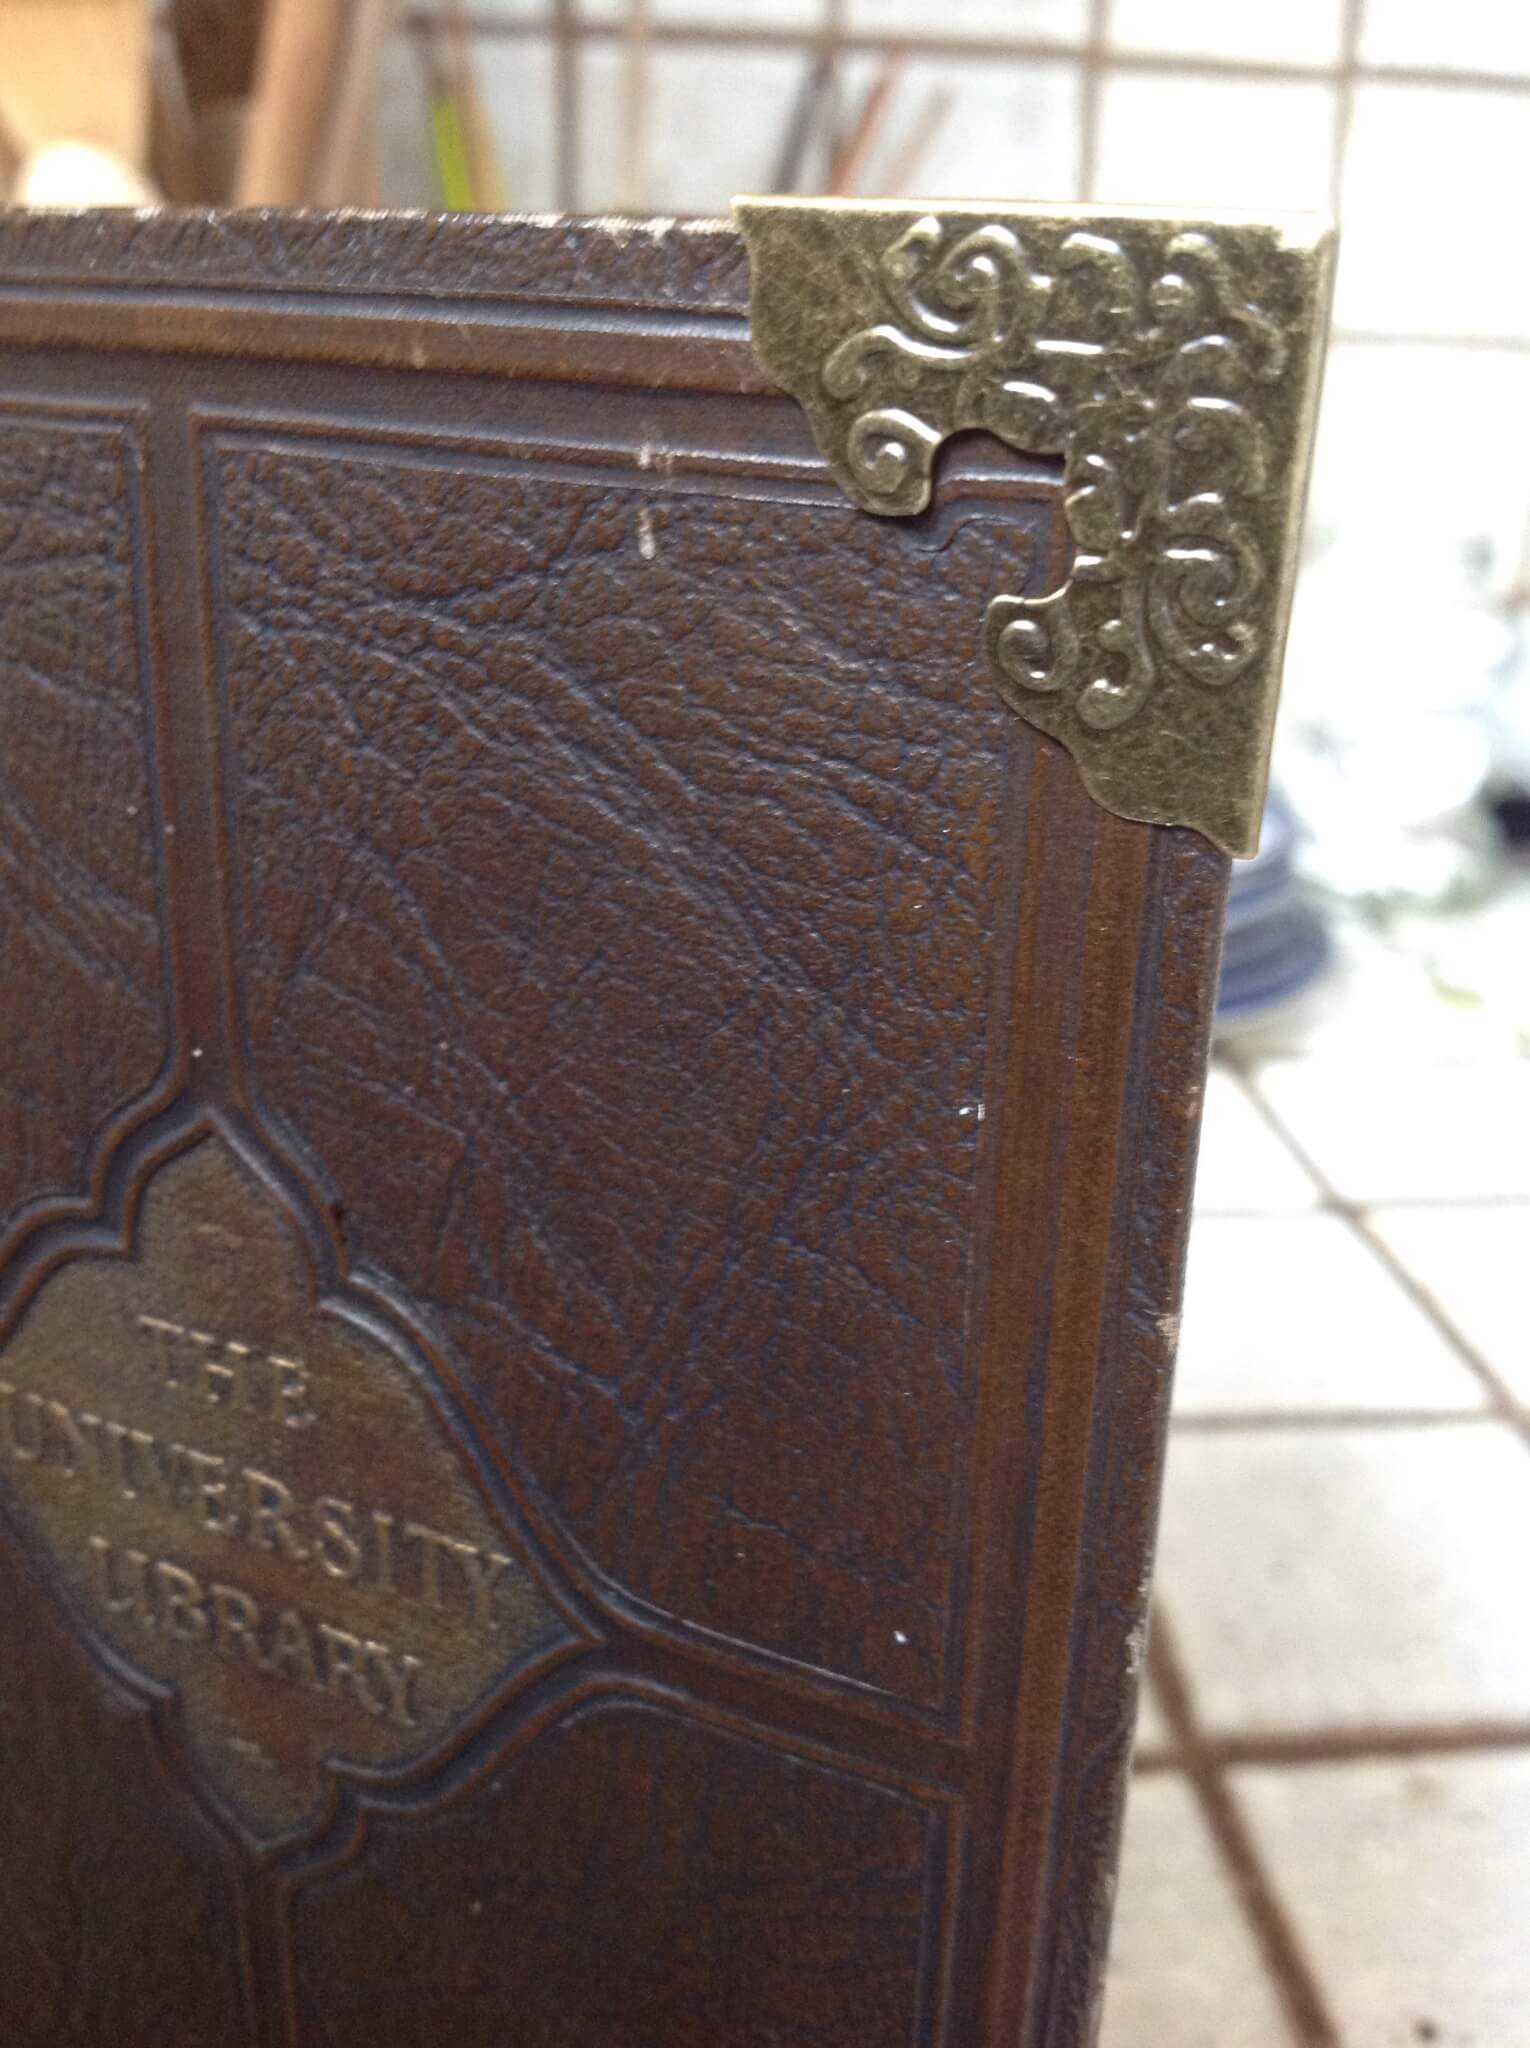
 Everyone did a super job. It’s such a privilege to work with students who are SO artistically adventurous. This is the 14th book structure I’ve taught in our OLLI classes and I can always depend on these book artists to go beyond what is being taught to create something that is unique. Gisela added metal corner decorations as well as a pencil and elastic closure. Terrific! 

  Stay tuned for the “What’s It Book” starting March 10.


I just realized that I hadn’t posted my very first folded book. I love used book stores and thrift shops and always keep an eye out for interesting titles. Next I want to try folding images!

Sometimes I like to create something that involves repetitive tasks. I find folding to be relaxing. I’ve learned to create templates of text using Photoshop. It’s fun to come up with words that reflect something amusing about the title of the re-purposed book and I want to choose my own fonts. I am not a fan of purchasing a templates because they aren’t “mine”. This particular book was folded for the Osher Life Long Learning Institute’s Open House. OLLI means a lot to me. It’s run by caring, forward thinking people who have created an organization that supports seniors by offering stimulating classes, brown bag lunch discussions, interest groups, and a way to connect with people in the senior community.  I teach several book arts classes each semester and the experience has changed my life because of the friendships and our dedication to making really creative books. I also take a lot of classes and have ventured outside of my comfort zone many times—OLLI is a safe place to do that!


Thanks to OLLI for taking this photo. The title on the spine of the book is The Best and the Brightest. I will include a brief outline of the Photoshop commands I used. These steps were adapted from several DIY internet sites and use the current version of Photoshop and Word.

  1. Open Photoshop > New
  2. Set up document with width of 10″. For the height use the actual height of your book in Inches. 250 ppi.
  3. Select the Gradient Tool making sure the two sheets near the bottom of the tool list have black in the front and white in the back. Center the cursor over the center top of the document and drag down to the center bottom and release.
  4. Filter > Distort > Wave: then place 999 in Generator, Wavelength 7 and 7.
  5. Layer > New Layer
  6. Select Text. Choose a font. I like Marker Felt or Hobo Standard, size 300. Type your word and center on the document.
  7. Layer > Rastersize > Type
  8. Select Magic Wand, hold the SHIFT KEY and select each letter in the text.
  9. Select > Inverse
  10. Change to the Background Layer. Edit > Cut
  11. Turn off the Layer with the text (can delete).
  12. Save document
  13. Open Word and Print Options. Select Legal size and Landscape. Format the document with .25 in top and bottom margins.
  14. Insert the Photoshop photo. Stretch horizontally ONLY. This moves the black vertical bars further apart making them easier to see.
  15. Print on Legal paper. I prefer to use a card stock weight paper.

You now have a document that can be inserted into the book so that no measuring is necessary. Simply fold to the tops and bottoms of the bars (be sure to consider the white spaces to be a bar for folding).

The only thing I don’t like about this method is that it is hard to match the number of bars to the number of pages to be folded. I had to work with the font size to make those numbers match. I have instructions for using Illustrator that look promising and if successful, I will report back.

Fold on!

IMG_4482

OLLI Book Arts: Judge a Book by Its Cover with Michele Olsen

Create your own personal journal by using the covers from an old book. The spine will be replaced with book cloth made in class and sections of the book will be sewn using the easy long stitch pattern.  This technique can be used with just about anything for covers.

Bring to class:

Basic Toolkit: cutting mat, small utility knife, metal ruler, bookbinder’s awl, embroidery thread or linen thread, size 20 or 22 tapestry needle, PVA glue, glue brush, sharp pencil, baby wipes, sewing cradle (or phonebook), bone folder.

Materials: an old book with interesting covers (about 5 ” x 7″ would be best), favorite text weight papers, decorative papers, a strip of fabric for the spine (2-3″ wide and 2 inches taller than the height of your book), button for a closure.

Prerequisite: Book Arts: The Basics or previous instruction in book arts. Level: Beginner.

Day & Date: Saturday, Feb. 20

Time: 9 a.m.-1 p.m.

Fee: OLLI Members $50

Class #: 27851: REGISTER ONLINE

Location: Humboldt Bay Aquatic Center

This was just delivered to me by my grandson’s wife! Needless to say, I am thrilled with it. She made it out of old math books and romance novels, creating a nice balance of left and right brain tendencies. I will be bringing this to the Holiday Card Extravaganza (OLLI class) where I will show you how to make one rose after Sandy Vrem teaches us to create holiday card structures. See you December 2, 1-4pm at the aquatic center.

IMG_1761.JPG

IMG_1759.JPG

IMG_1597.JPG
I needed a new book for watercolor and ink so I gutted an old Nancy Drew mystery and put in my own sections of watercolor paper. We had a two hour car trip today so I sewed it as we drove and found a new use for the bright pink lap desk! I needed to pierce holes in the spine of the book so I flipped the desk over the pierced the holes into the padded section of the desk. It worked very well and I love the “stabbing” with this particular book title!