My workshops usually have a Coffee Catch-up where we share our finished books or ask more advanced questions.

Lynn Jones of Just My Type Letterpress Paperie was my co-teacher for our second class for OLLI Book Arts. Eight women worked together to produce collaborative books with the title Blooming Chaos. You can share in our creative journey by viewing the photos below. Students – thank you all for two wonderful afternoons of inspiration and comraderie!

Transfer of image to block

Carving the block using jigs made by my husband, Rollie.


One of eight blocks being carved.

Lynn guides their carving.

Finished blocks.

Time to pick out our type from vintage type cases.

Each student chose their own type font.

Setting the type with carved blocks.

Check out the press in action!

After much adjusting, Lynn presented us with this page for Day 2’s book.

I am demonstrating the construction of the Winter Fold book – made from the single sheet of paper.


The final results!

To a job well done!


Thank you all for a great class. You inspire me so much. Until next time!

A group of local book art lovers finished an OLLI class last week and created some beautiful model books in preparation for their final book. Some had never made a book and I don’t think any had sewn the buttonhole stitch so there was a lot to learn.


The model had paper covers but the second book will have board covers and they chose the design for the spine openings.


The following photos are a review of the start of the buttonhole stitch. (Ignore the slit in the spine as I will unpick the demo and do the final sewing through the slit)

1) Insert the needle and thread into the valley of the leftmost section. Pull the thread through leaving a tail of about 3 inches. Pull the thread straight up and wrap over the top of the section to the inside.


2) Tie off near the original hole and then enter that same hole with the needle and thread.


3) Pull the needle and thread through and pull the thread behind the first vertical stitch, right to left.


4) Pull the thread through and over to the next section on the right. Enter the hole.


5) Pull the thread through leaving a bit of a loop in the thread exiting the first hole; come up underneath and through this loop and cross over the top of the thread before entering the next hole.


6) To finish off this stitch pull the loop snug before pulling the thread completely through the next hole in the next section to the right. Repeat these steps until the last section and after looping over the top of the last section re-enter the hole and tie off inside.

Hope this makes sense!

In the second OLLI Book Arts class of Spring Semester, 2016,  the students gave new life to old books. Each participant  brought a book that had appealing covers along with decorative and/or text weight papers for the four sections.  They also brought a strip of fabric to use for creating their own book cloth. The results are fabulous and unique.

First, the covers of the books to be repurposed were cut from the text block and spine.  Next we made our own book cloth using Heat-N-Bond Lite fused to the fabric and bond paper. I prefer book cloth made from wheat paste and bond paper but there wasn’t time for this to dry during the four hours class. The strip of cloth for the outer spine was then glued to the covers. The covers of the example below already had beautiful papers on the inside and those were preserved.  A strip of book cloth was glued to the inside of the spine. The next photo shows the positioning of the sewing template. The template was adjusted for each book—they all had different heights!


 Students then pierced the sewing stations. Some of the holes were very hard to see but if you held them up to the light, the holes were obvious.   The books were sewing using the long stitch on four sections.  Here are the beautiful results.


 Everyone did a super job. It’s such a privilege to work with students who are SO artistically adventurous. This is the 14th book structure I’ve taught in our OLLI classes and I can always depend on these book artists to go beyond what is being taught to create something that is unique. Gisela added metal corner decorations as well as a pencil and elastic closure. Terrific! 

  Stay tuned for the “What’s It Book” starting March 10.

I like to teach an OLLI basic book arts class each semester. It’s meant to provide beginners with the skills needed to construct their own book; sometimes more experienced book makers will take the class to review accurate measuring, cutting, folding and gluing. We also cover different types of glue, the 3 hole pamphlet stitch, and the need to take paper grain into account. We also discuss local and online book binding resources. The structure that provides me with all of the opportunities to teach the basics uses a single section sewn with the pamphlet stitch into it’s outer folio (usual heavier paper). The back of the outer folios are then glued and pressed into a case bound cover that we also make. I learned the structure from Paul Johnson many years ago at a workshop at the San Francisco Center for the Book. Everyone finished with the additional assignment that they have to glue something on the cover to that we would know which side was the front of the book. Good job class!! I had several of these students in a more advanced workshop I gave today and they did a GREAT job. In the end we’re all beginners; I never fail to learning something new from the people in the class.

Our OLLI class Book of Words: Coptic Stitch was officially completed last week but as we usually do, we assembled at Humboldt Coffee and Chocolates for “debriefing” and sharing. As always, it’s a privilege to work with such talented and daring people. Adding a window to the cover was optional but everyone wanted to make them and really, in the end, this feature really made the books more personal. I learn so much from all of them. The following photos are from the class or followup. Enjoy!

The following photos were taken during class. The first hour was spent decorating a large piece of Arches Text Wove paper. For color students used everything: stamp pads, watercolors, acrylic inks, acrylic paints, pens, colored pencils. There were some very creative mark makers too: handmade stamps, interesting brushes, sticks, and a helix style lightbulb!

Image-3 Image-2 Image-1

Many books were finished during our coffee session. These photos show some of the sewing taking place. We used a double needle Coptic stitch. The second photo shows how creative these students can be—it was too dark for Joan to see so Darcy used the flashlight on her phone to assist. Funny!


IMG_4454IMG_4475

AND!! These are the books that are finished.

IMG_4450

Judy’s Book: Family

IMG_4451

Denise’s Book

IMG_4455

Azalea’s Book

IMG_4470

Pat’s Book

IMG_4467

Pat’s Book

IMG_4471

Cheryl’s Book: Welcome

IMG_4472

Darcy’s Book

IMG_4474

Gisela’s Book

IMG_4476

Joan’s Book

If you couldn’t attend the coffee gathering, please let me know if you need help finishing. Most books took a mere 15 minutes to finish. If you did finish, would you send me a photo and I’ll include it. THANKS FOR ANOTHER GREAT CLASS. GOOD JOB.

Donna has finished her book and sent me a photo. It’s never to late to add your photo!  Nice work and great colors.


  We have another book from the Book-in-a-Box class (see posts from November 10, August 18, 2014). Local artist Becky Evans started her book in the class and finished it during her artist’s residency in Summer Lake, Oregon.  Take a look at the website for Playa and you will see  the influence of place on this wonderful book.  The title of the book? PLAYA. Becky is a gifted local artist and former art professor at College of the Redwoods.

Joan took my concertina spine OLLI Book Arts class last month. No one actually finished a book this time because we played with various adaptation of the spine. This is her unique design—sections sewn into the valley of the spine and each with covers that wrap the sections. I love the green paper she used! I”m hoping other students will send me photos so I can share.


I’ve been making models of books with accordion (or concertina) spines and am amazed at the wide variety of structures that can are created. It all depends on how many accordions are used, the type of cover, the way the text block attaches to the cover, and the way signatures might be attached. As always, it’s fun for the teacher too. Hope you can join us this Tuesday and Thursday, (1-4pm): OLLI: Book Arts, Concertina Spine.

(null)

Thank you students for sending photos of your completed books. As always, your “take” on the structure is unique and creative. You inspire me!
IMG_1545.JPG

IMG_1548.JPG

IMG_1604.JPG

IMG_3646.JPG

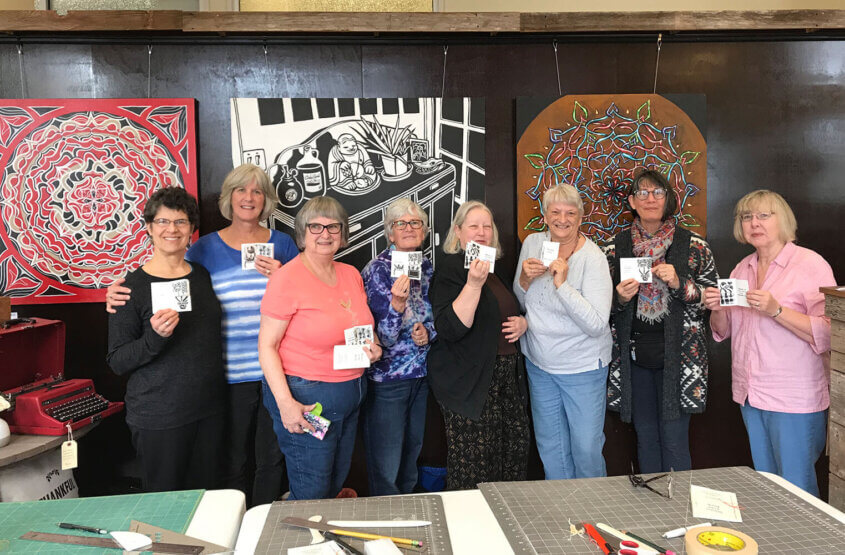
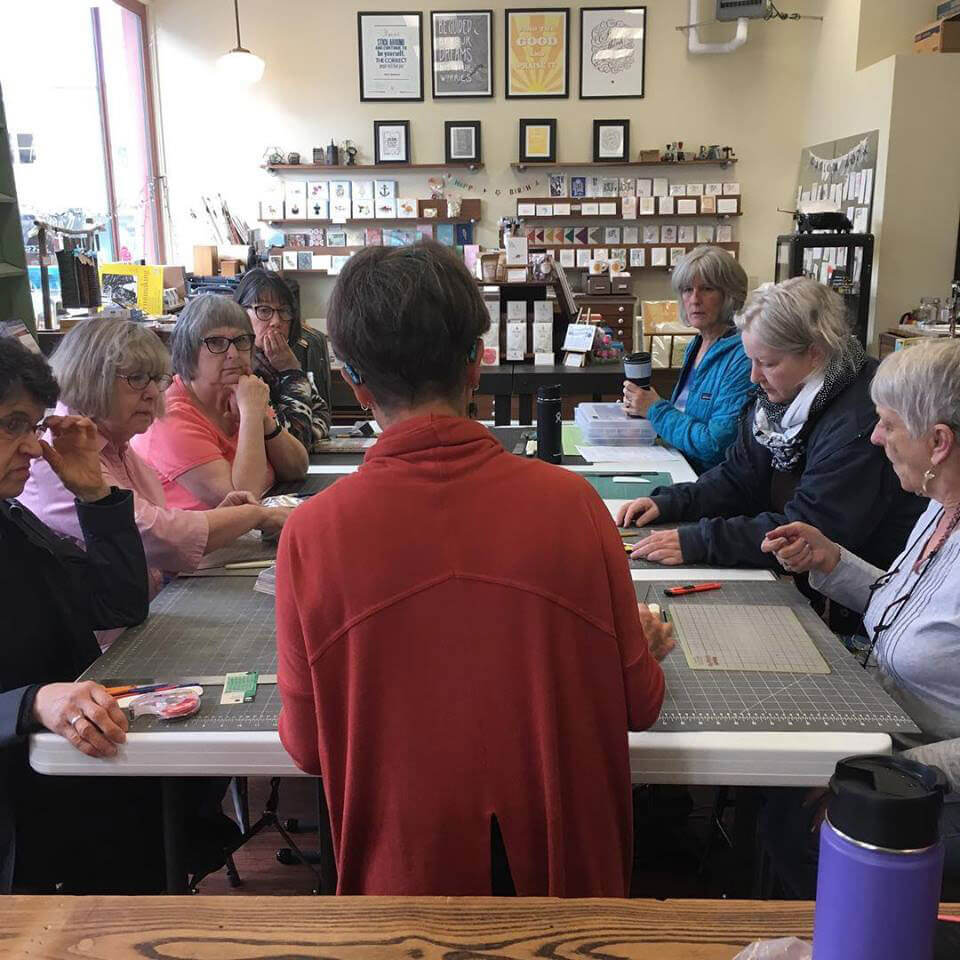
I love making books; teaching others to do the same is just icing on the cake. It is inspiring to be in the same room with creative, capable, and enthusiastic students. The following photos will illustrate some of the work that went into making this type of book as well many of the ideas that students contributed. Enjoy.

IMG_3631.JPG
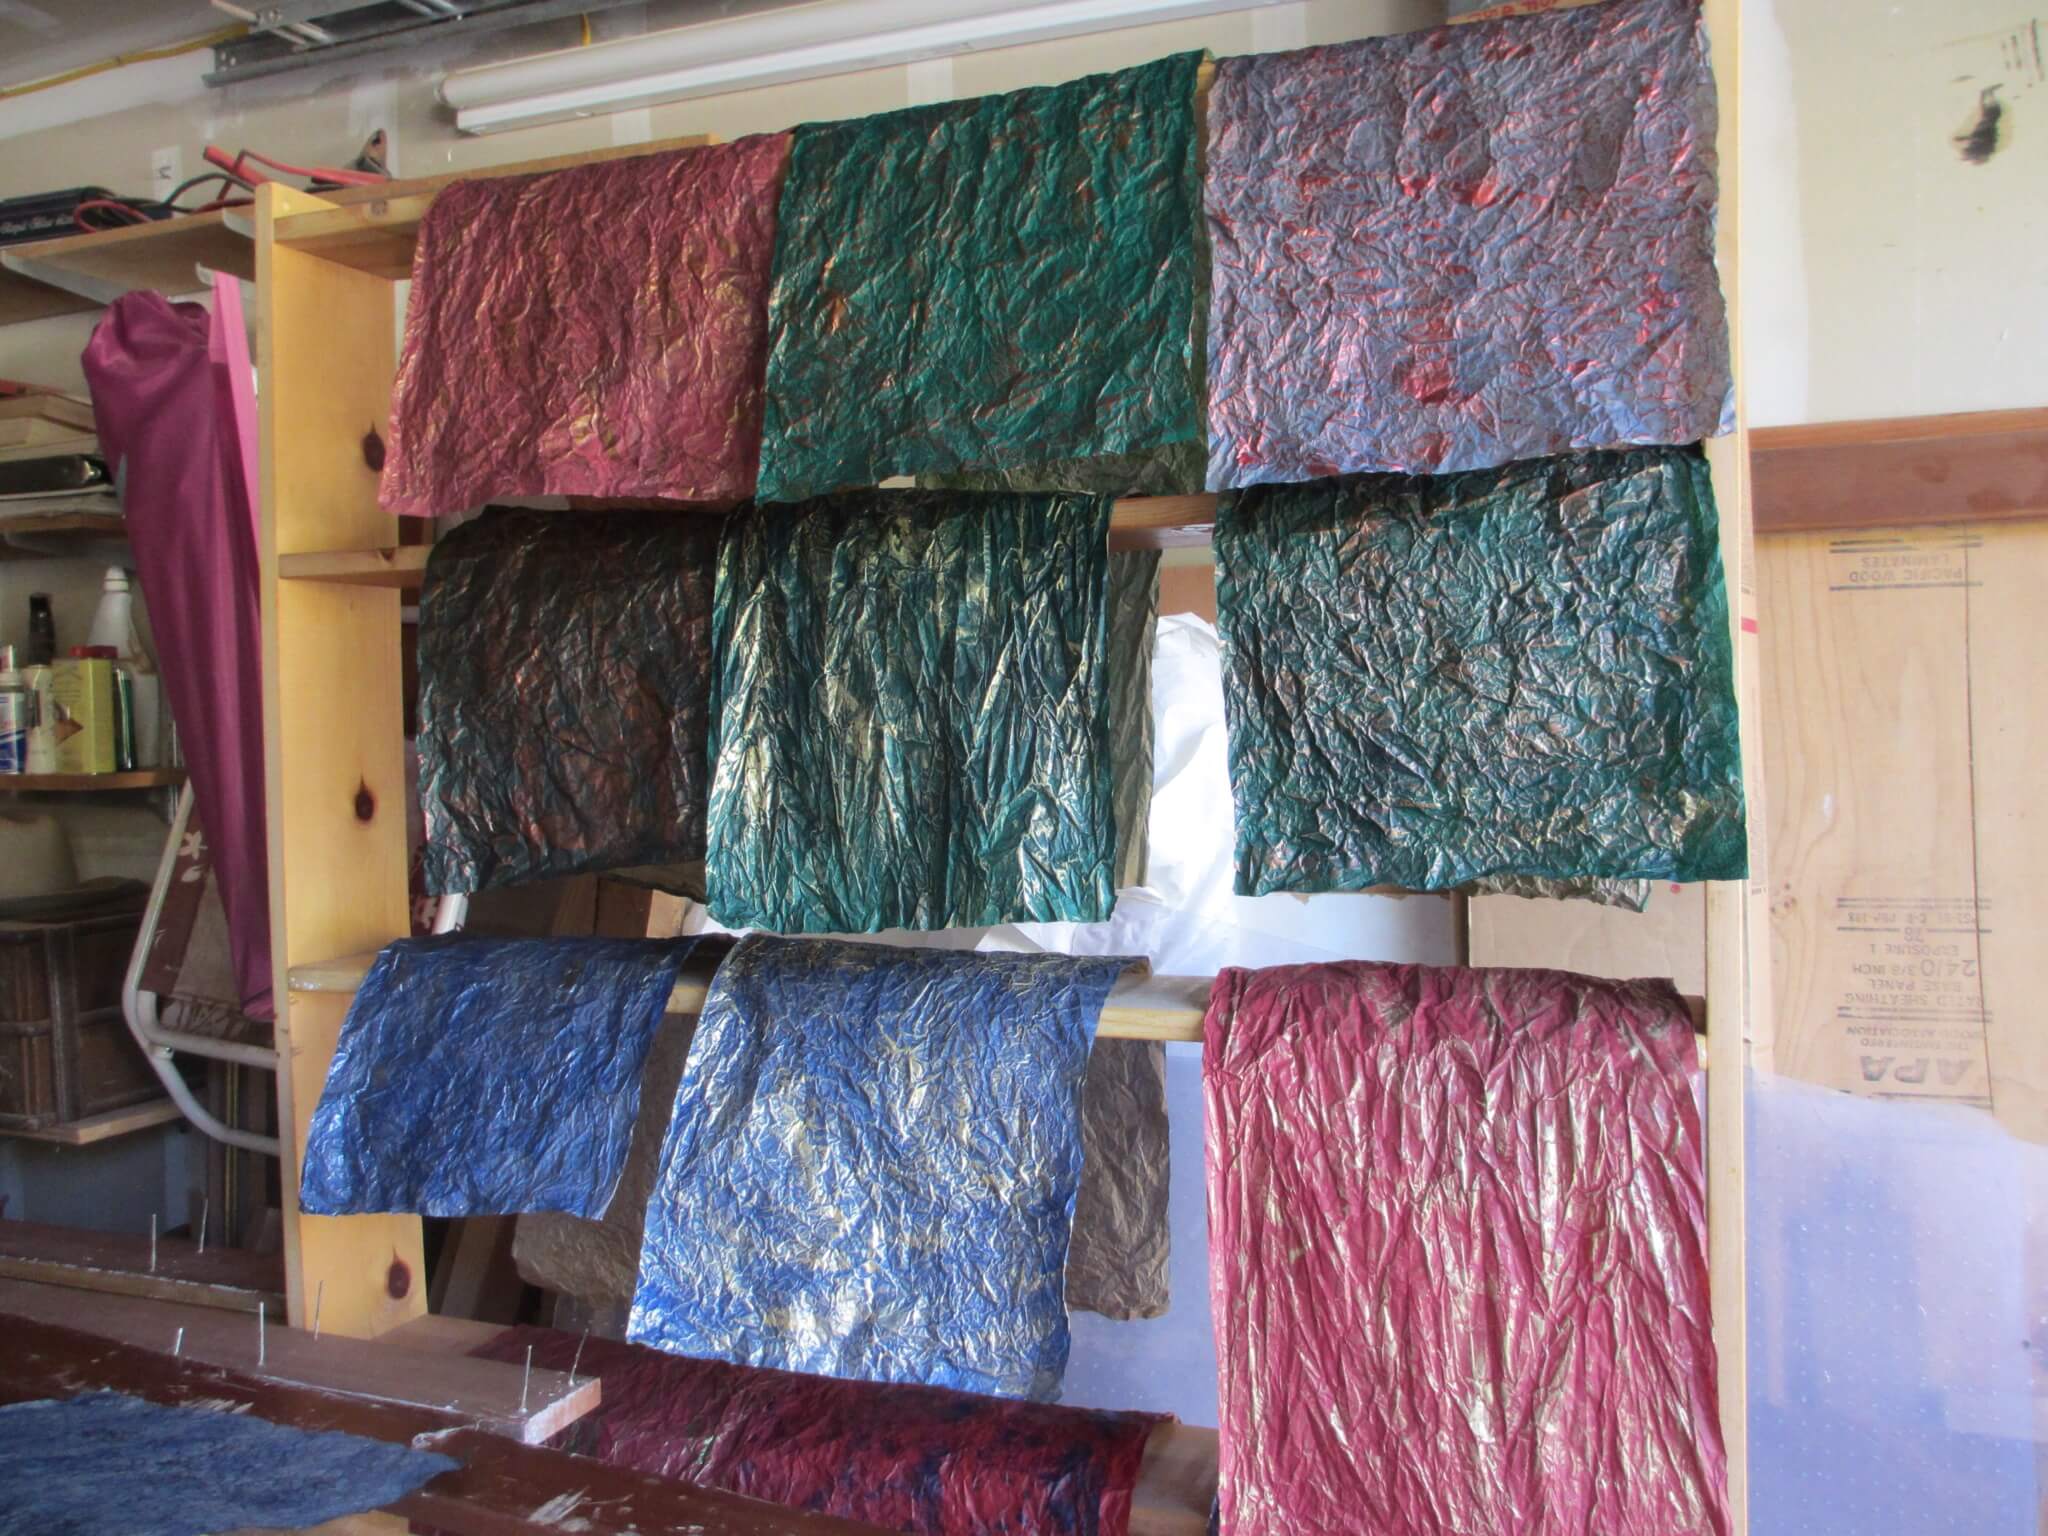
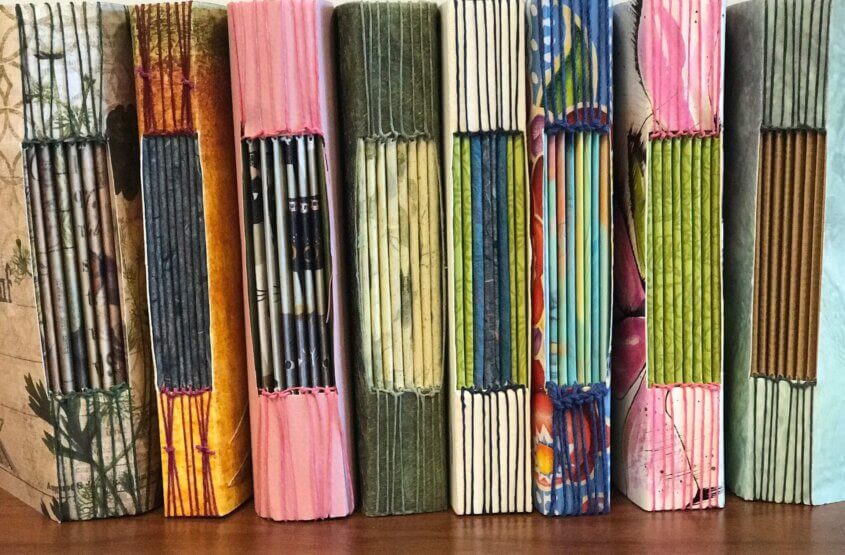
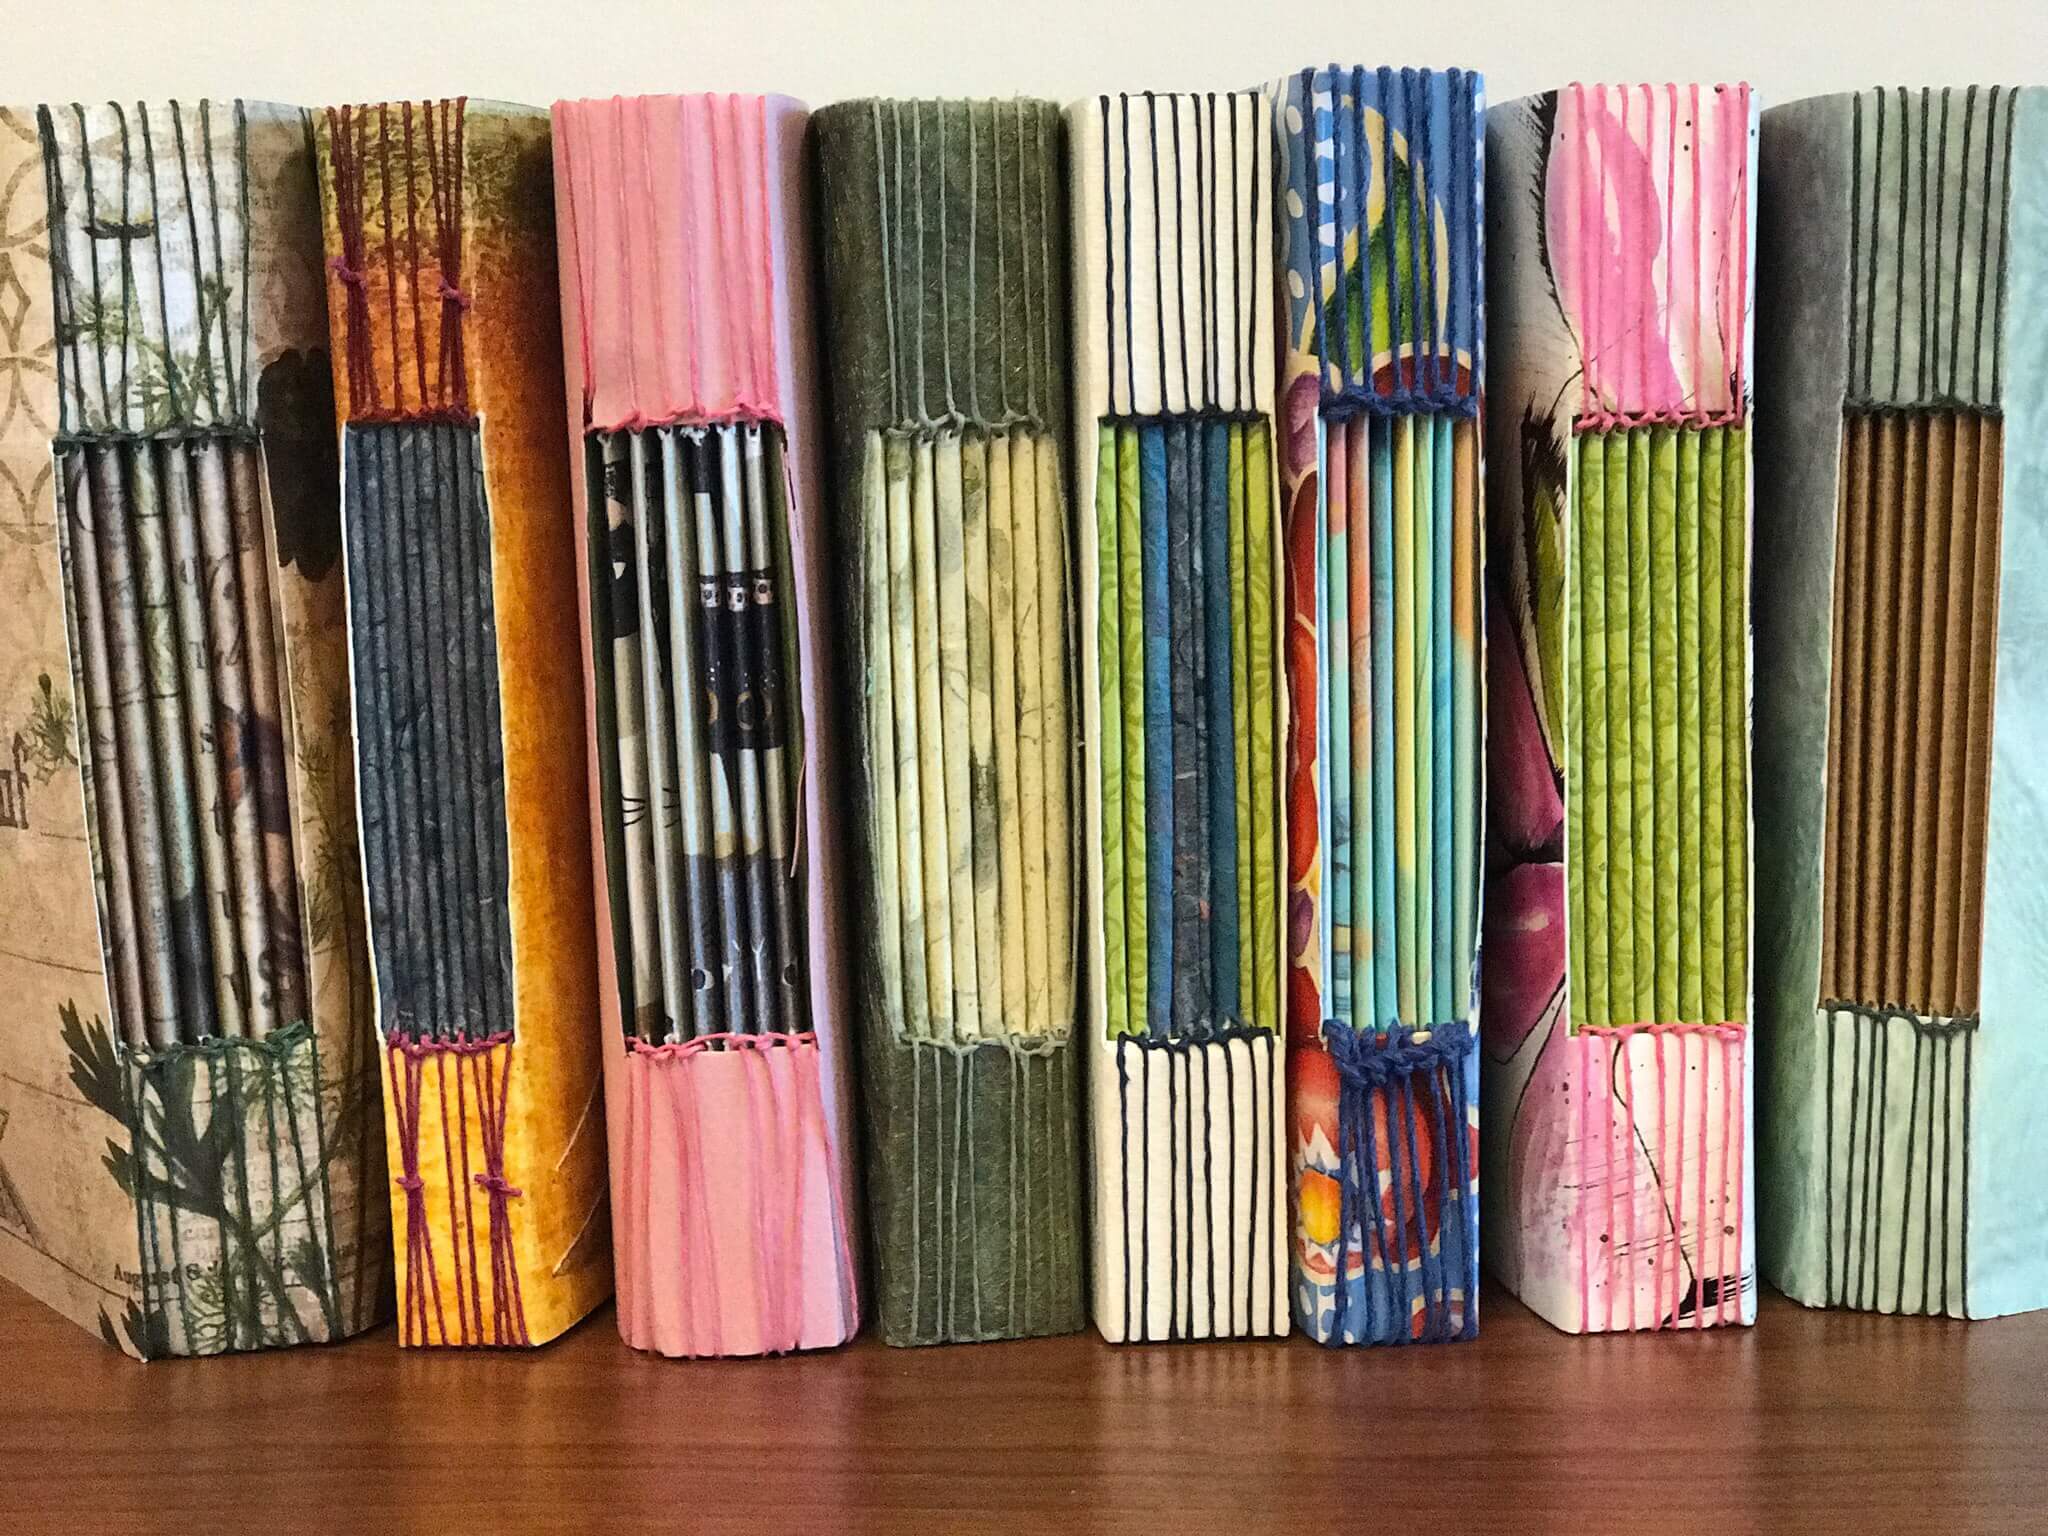
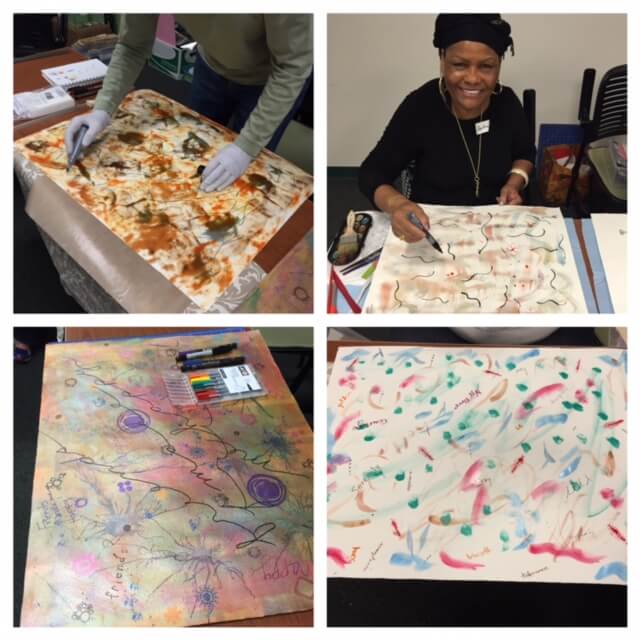
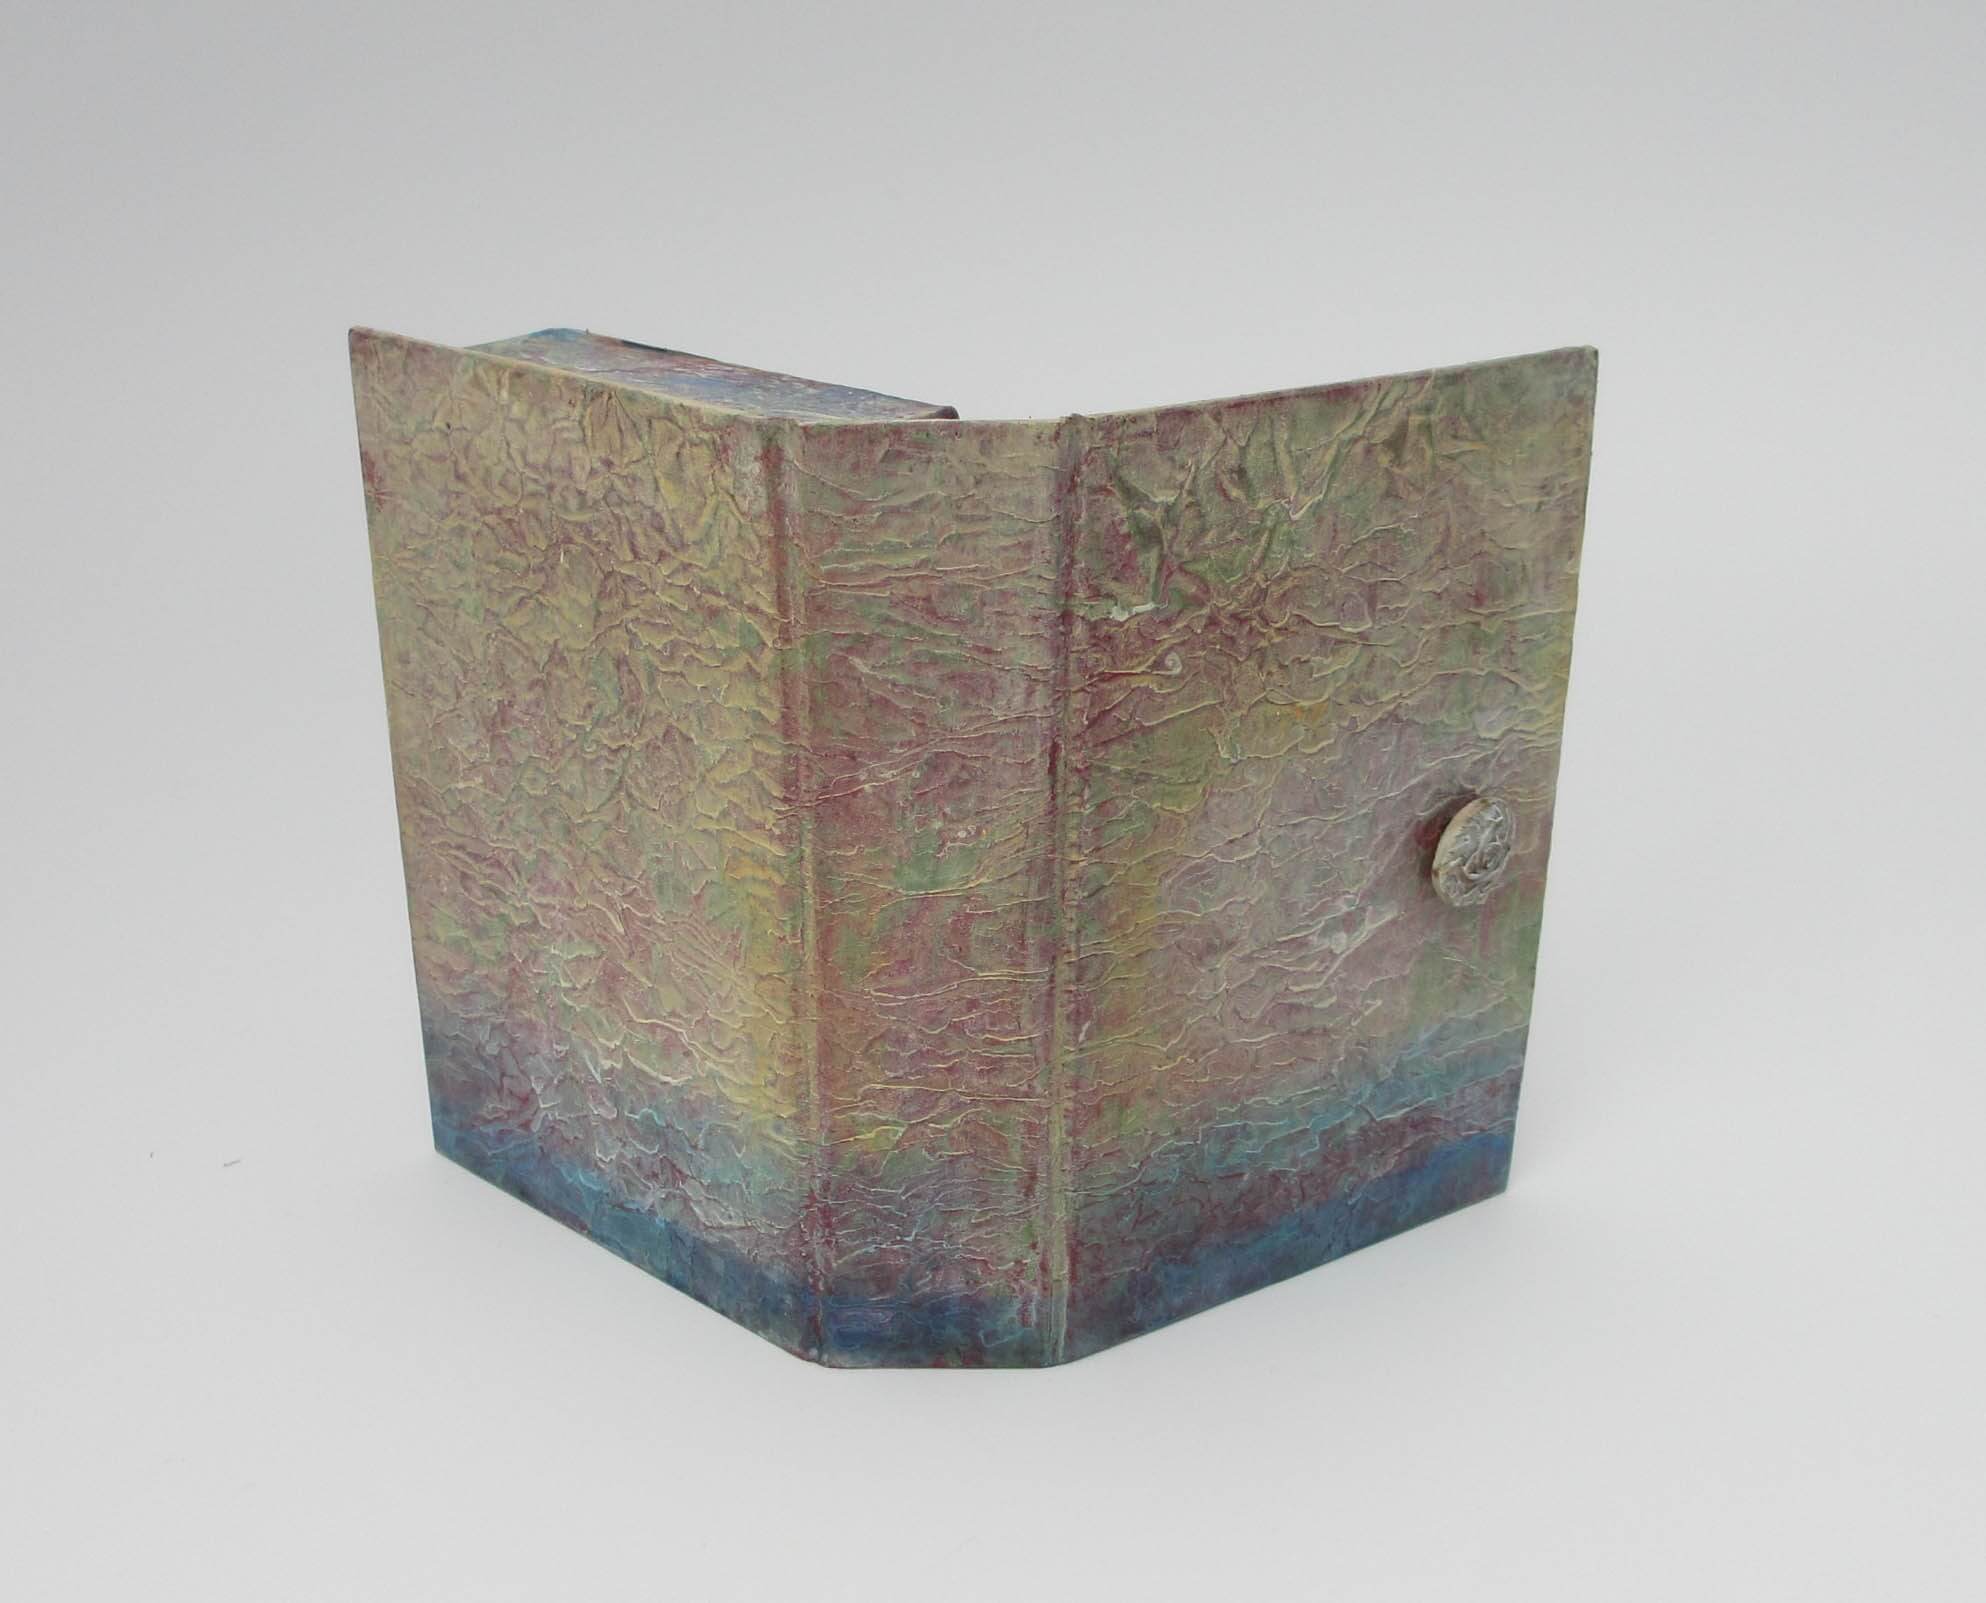
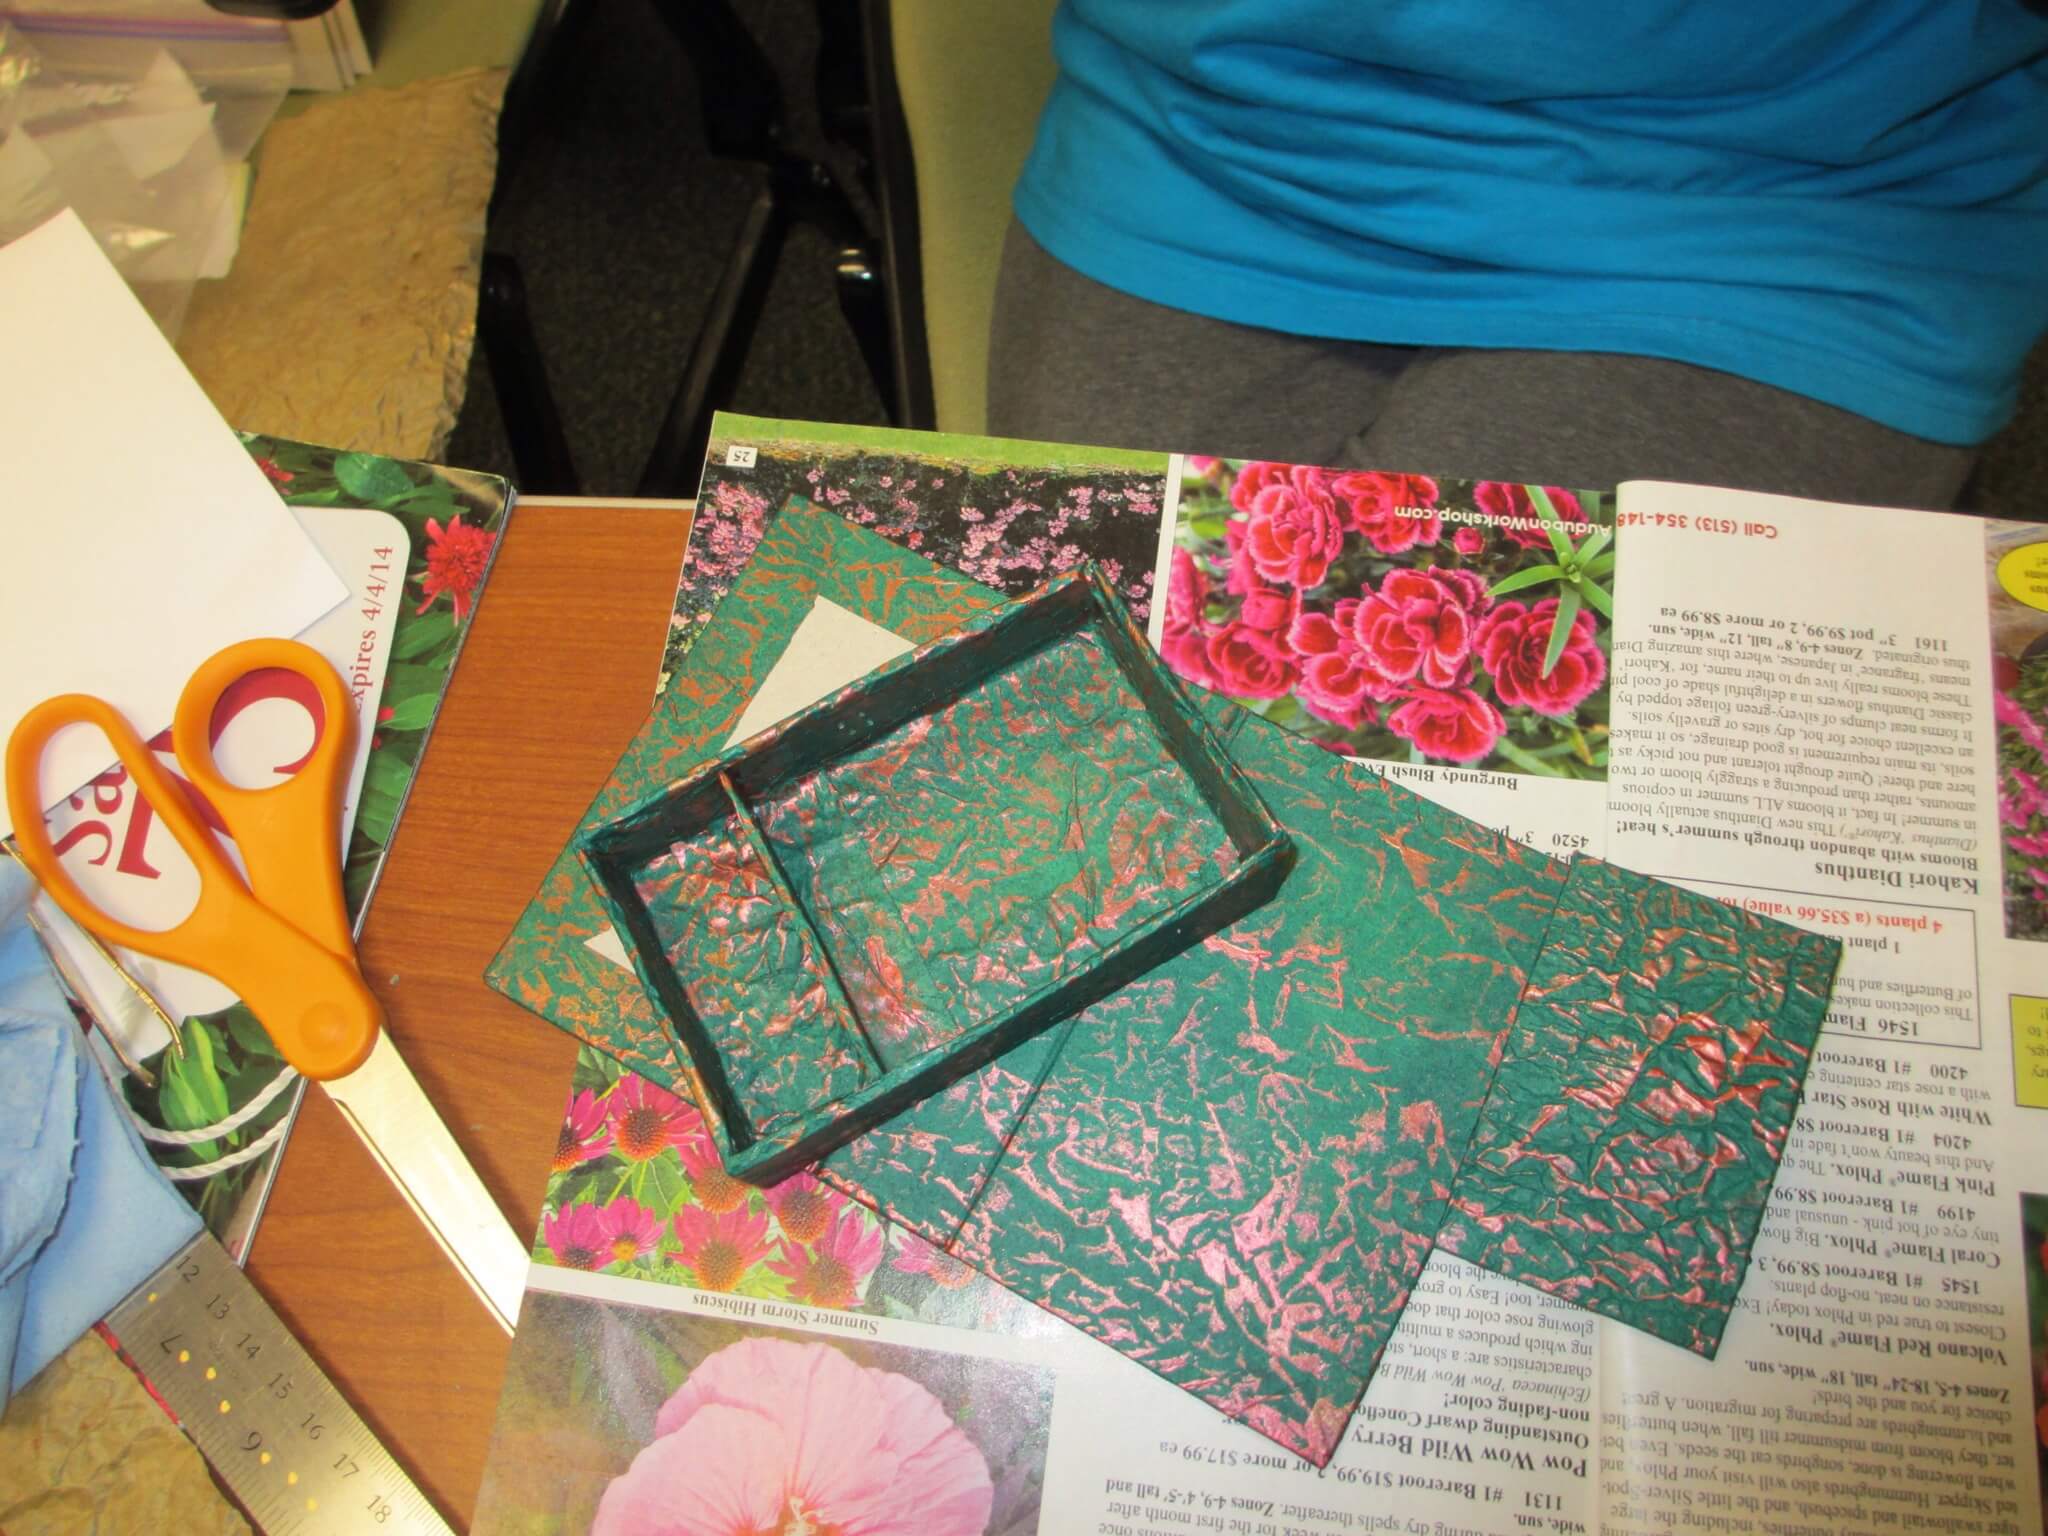
These are papers I created out of masking paper (used for taping windows in preparation for painting) and acrylic paint. The paper perfect for covering boxes as it’s thin, pliable, and fairly strong.

IMG_3634.JPG
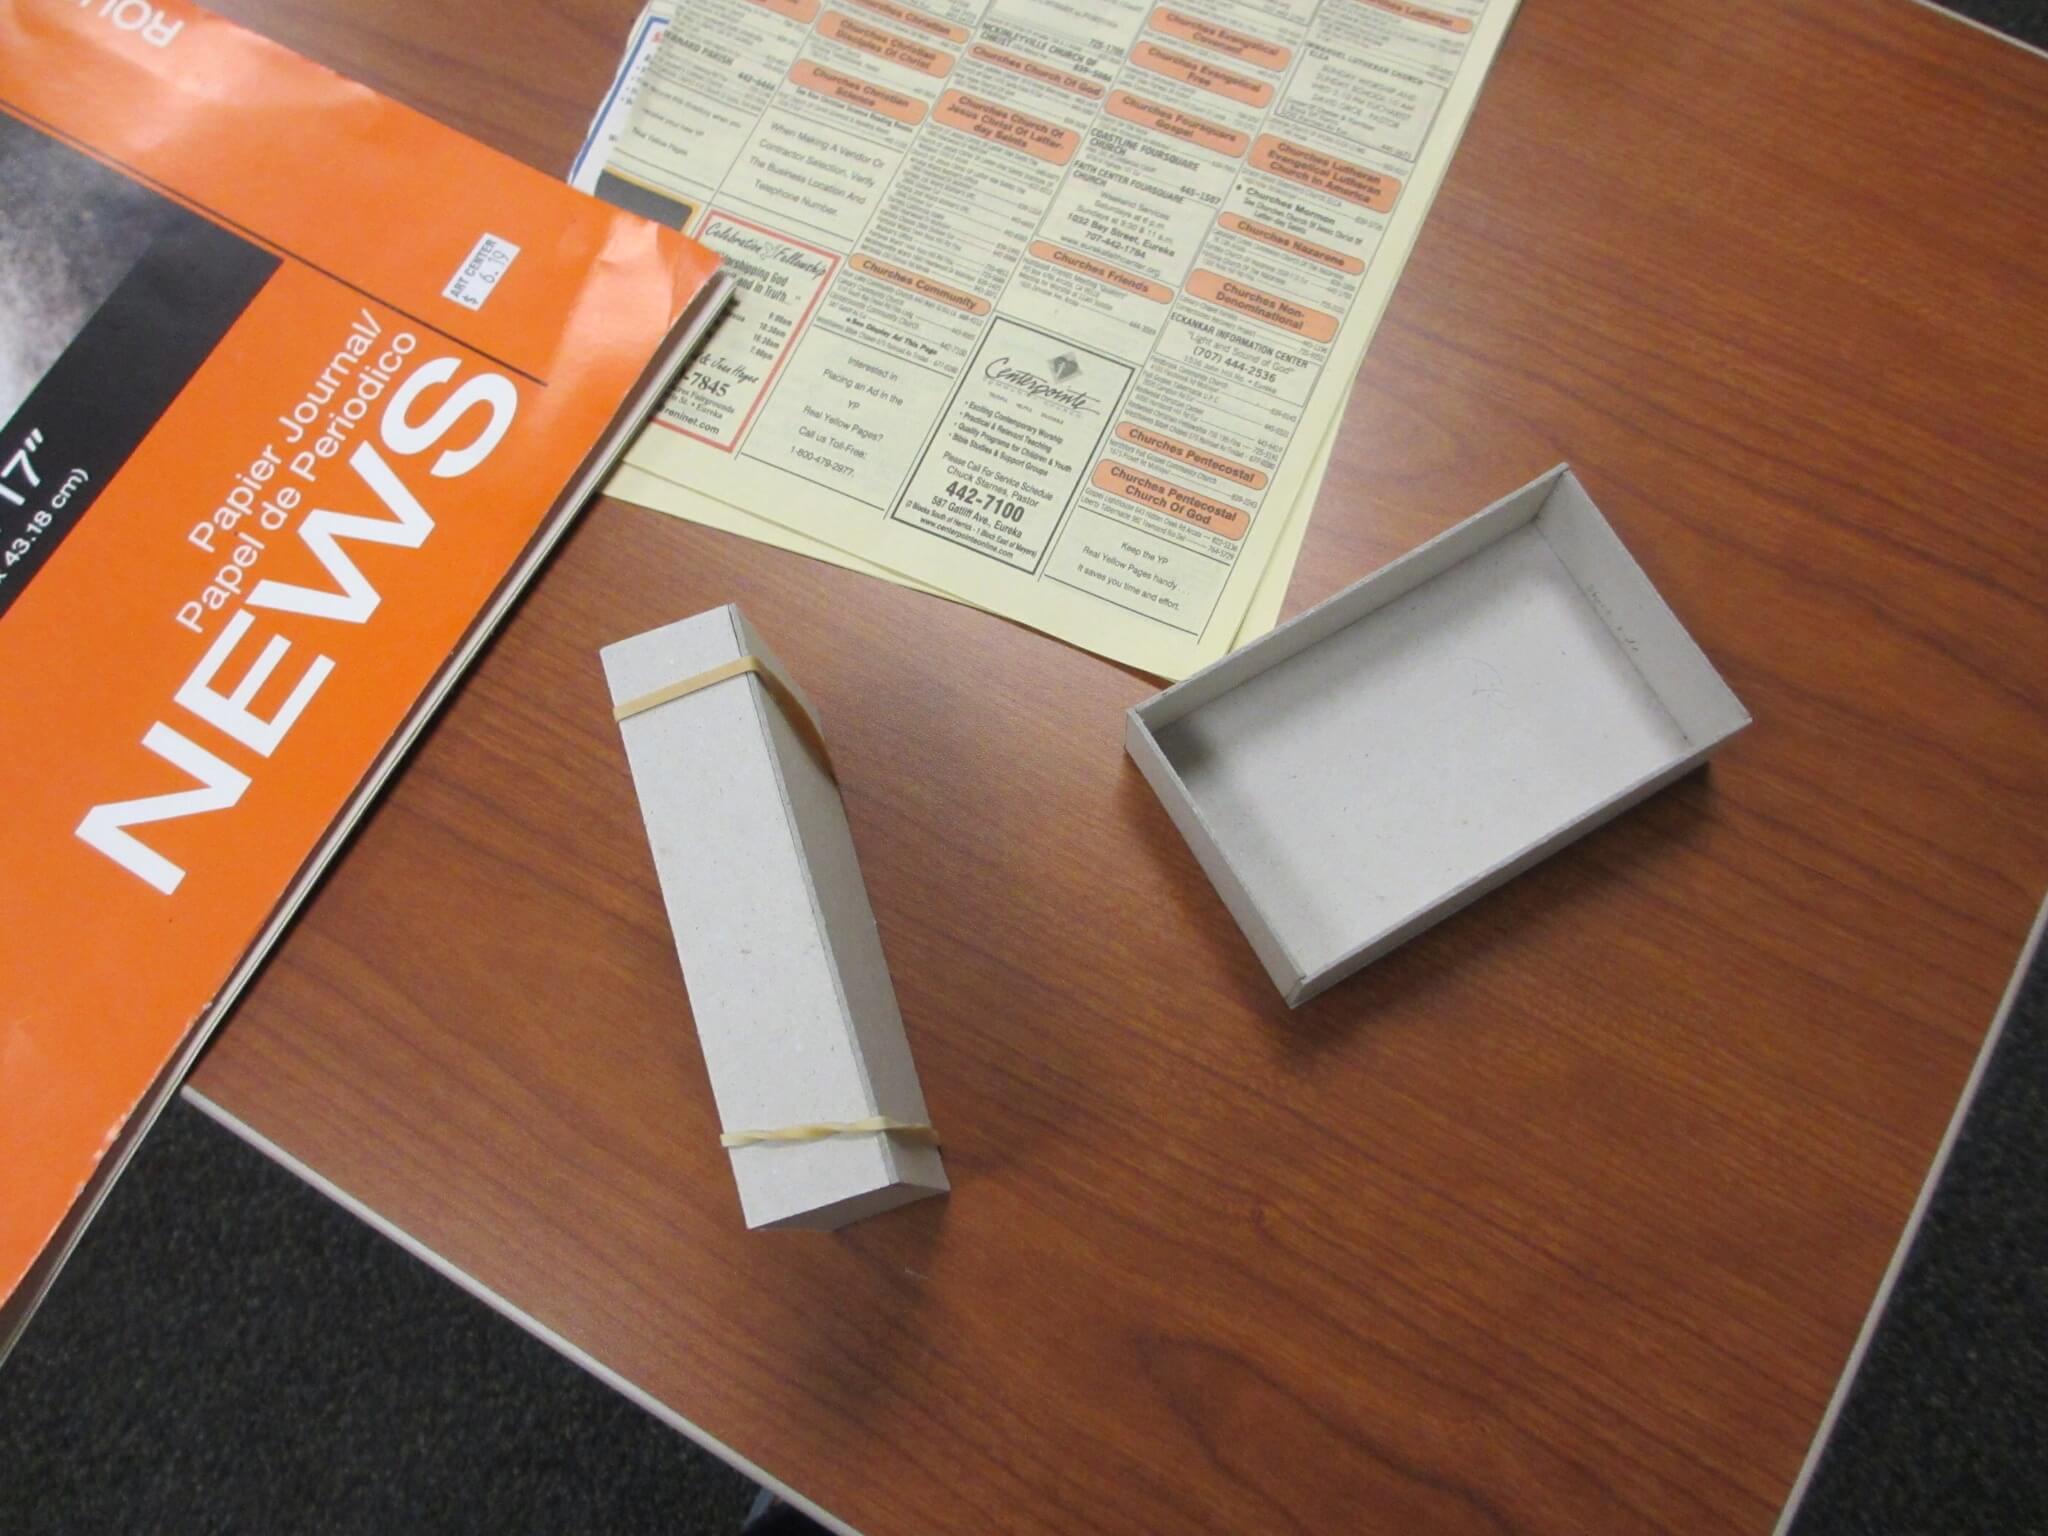
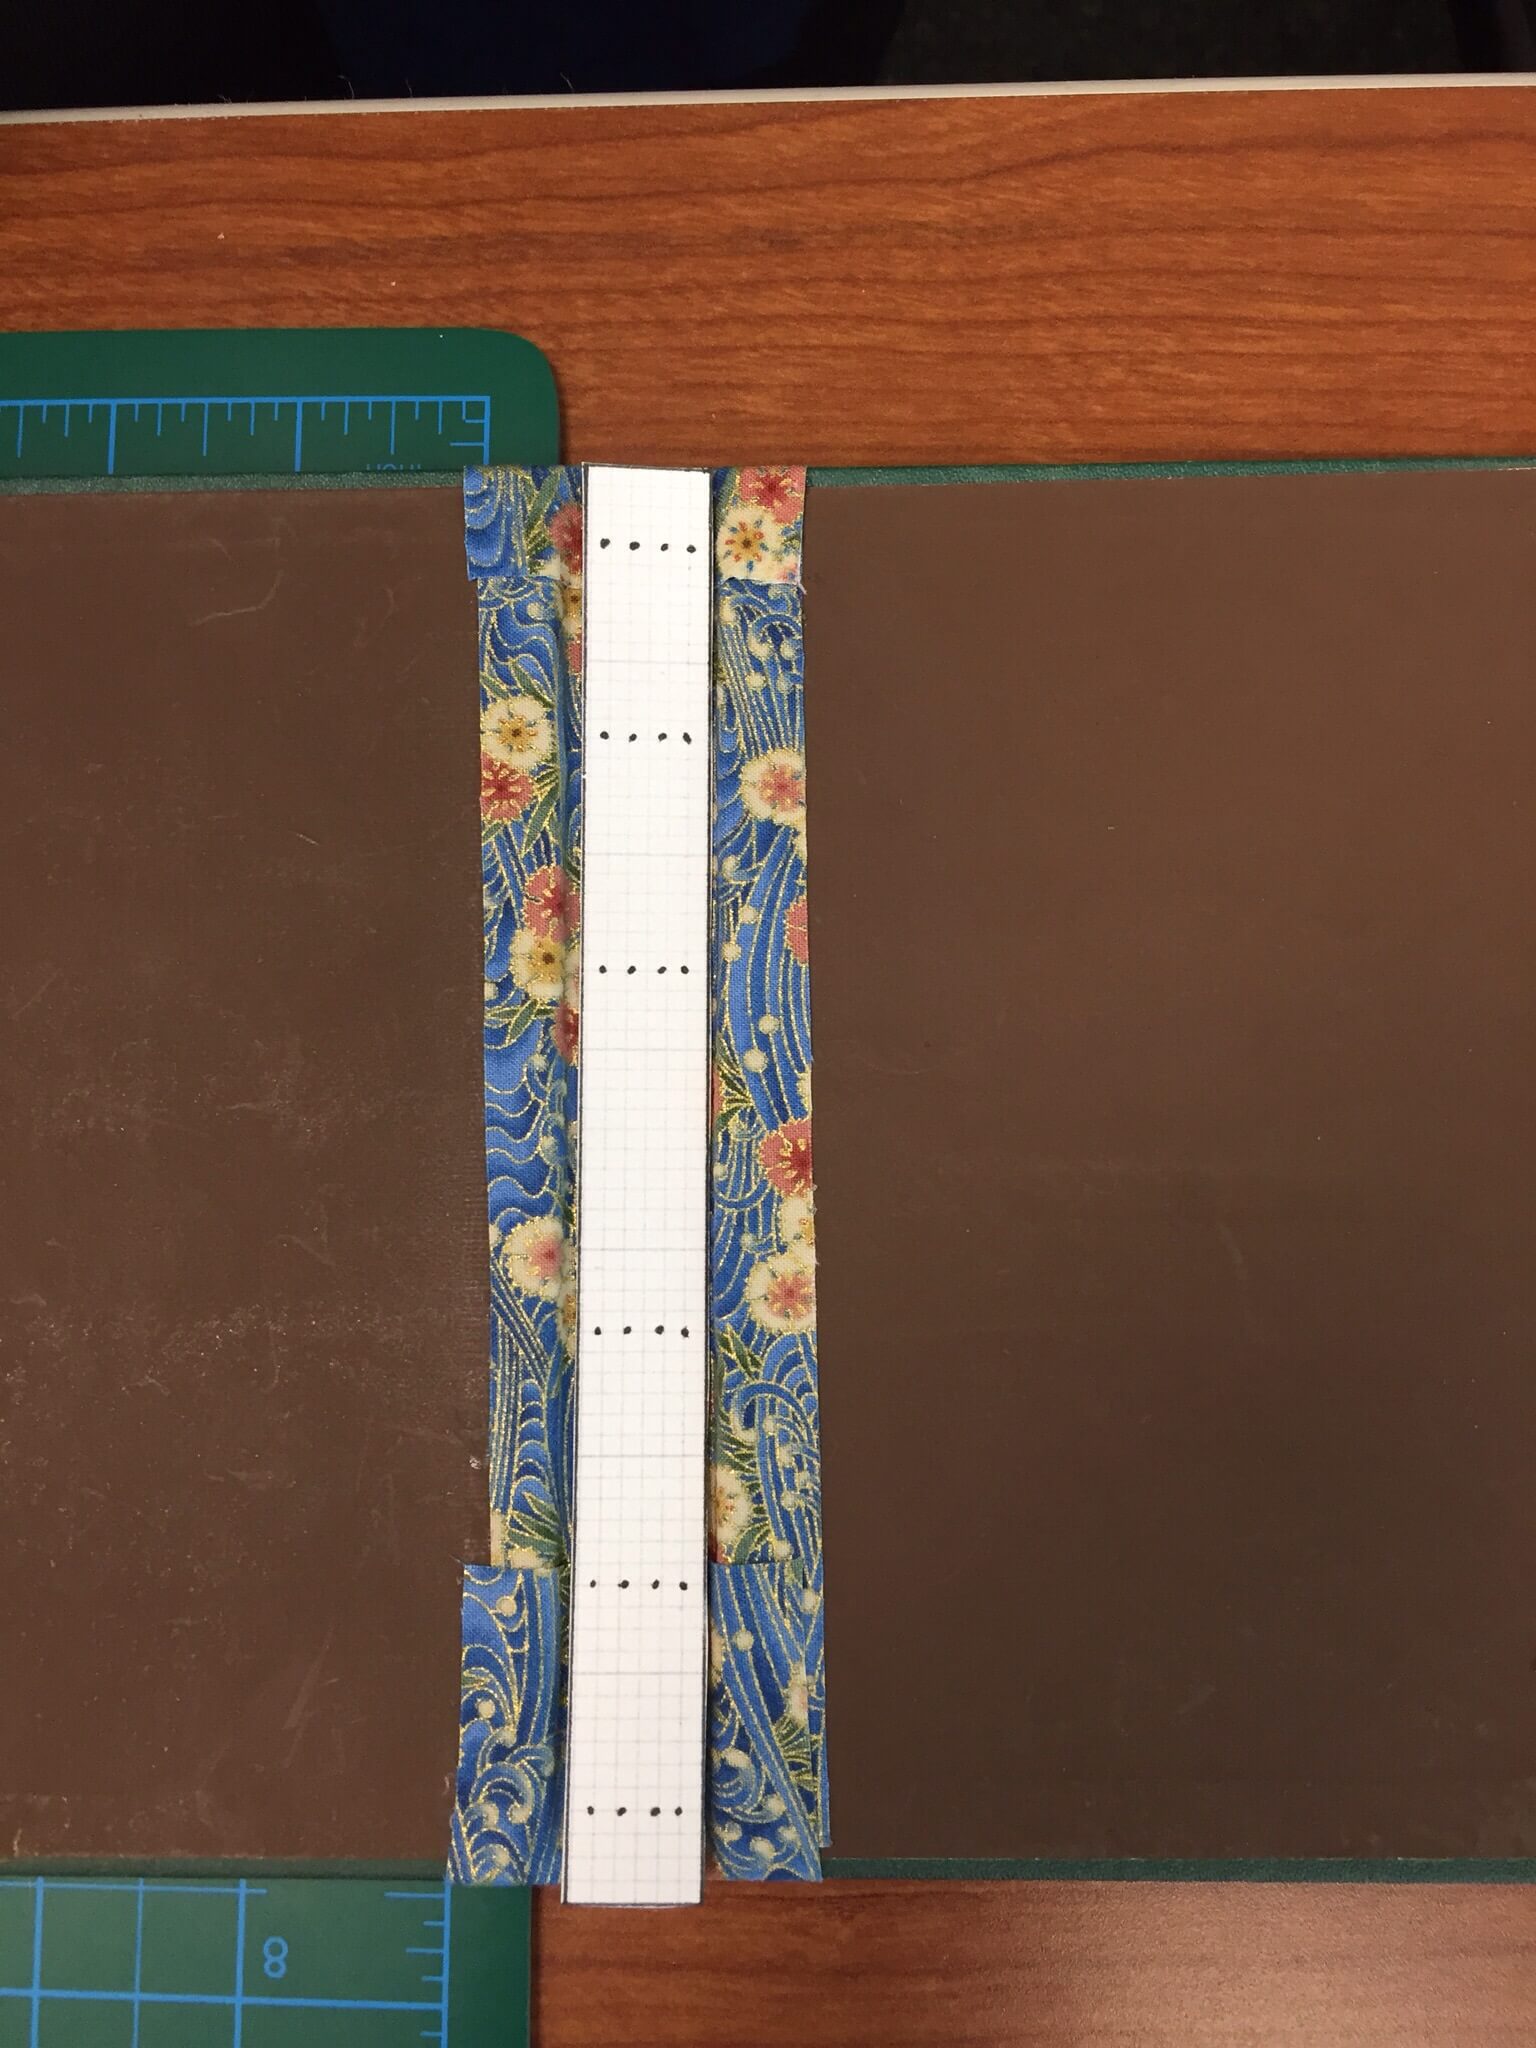
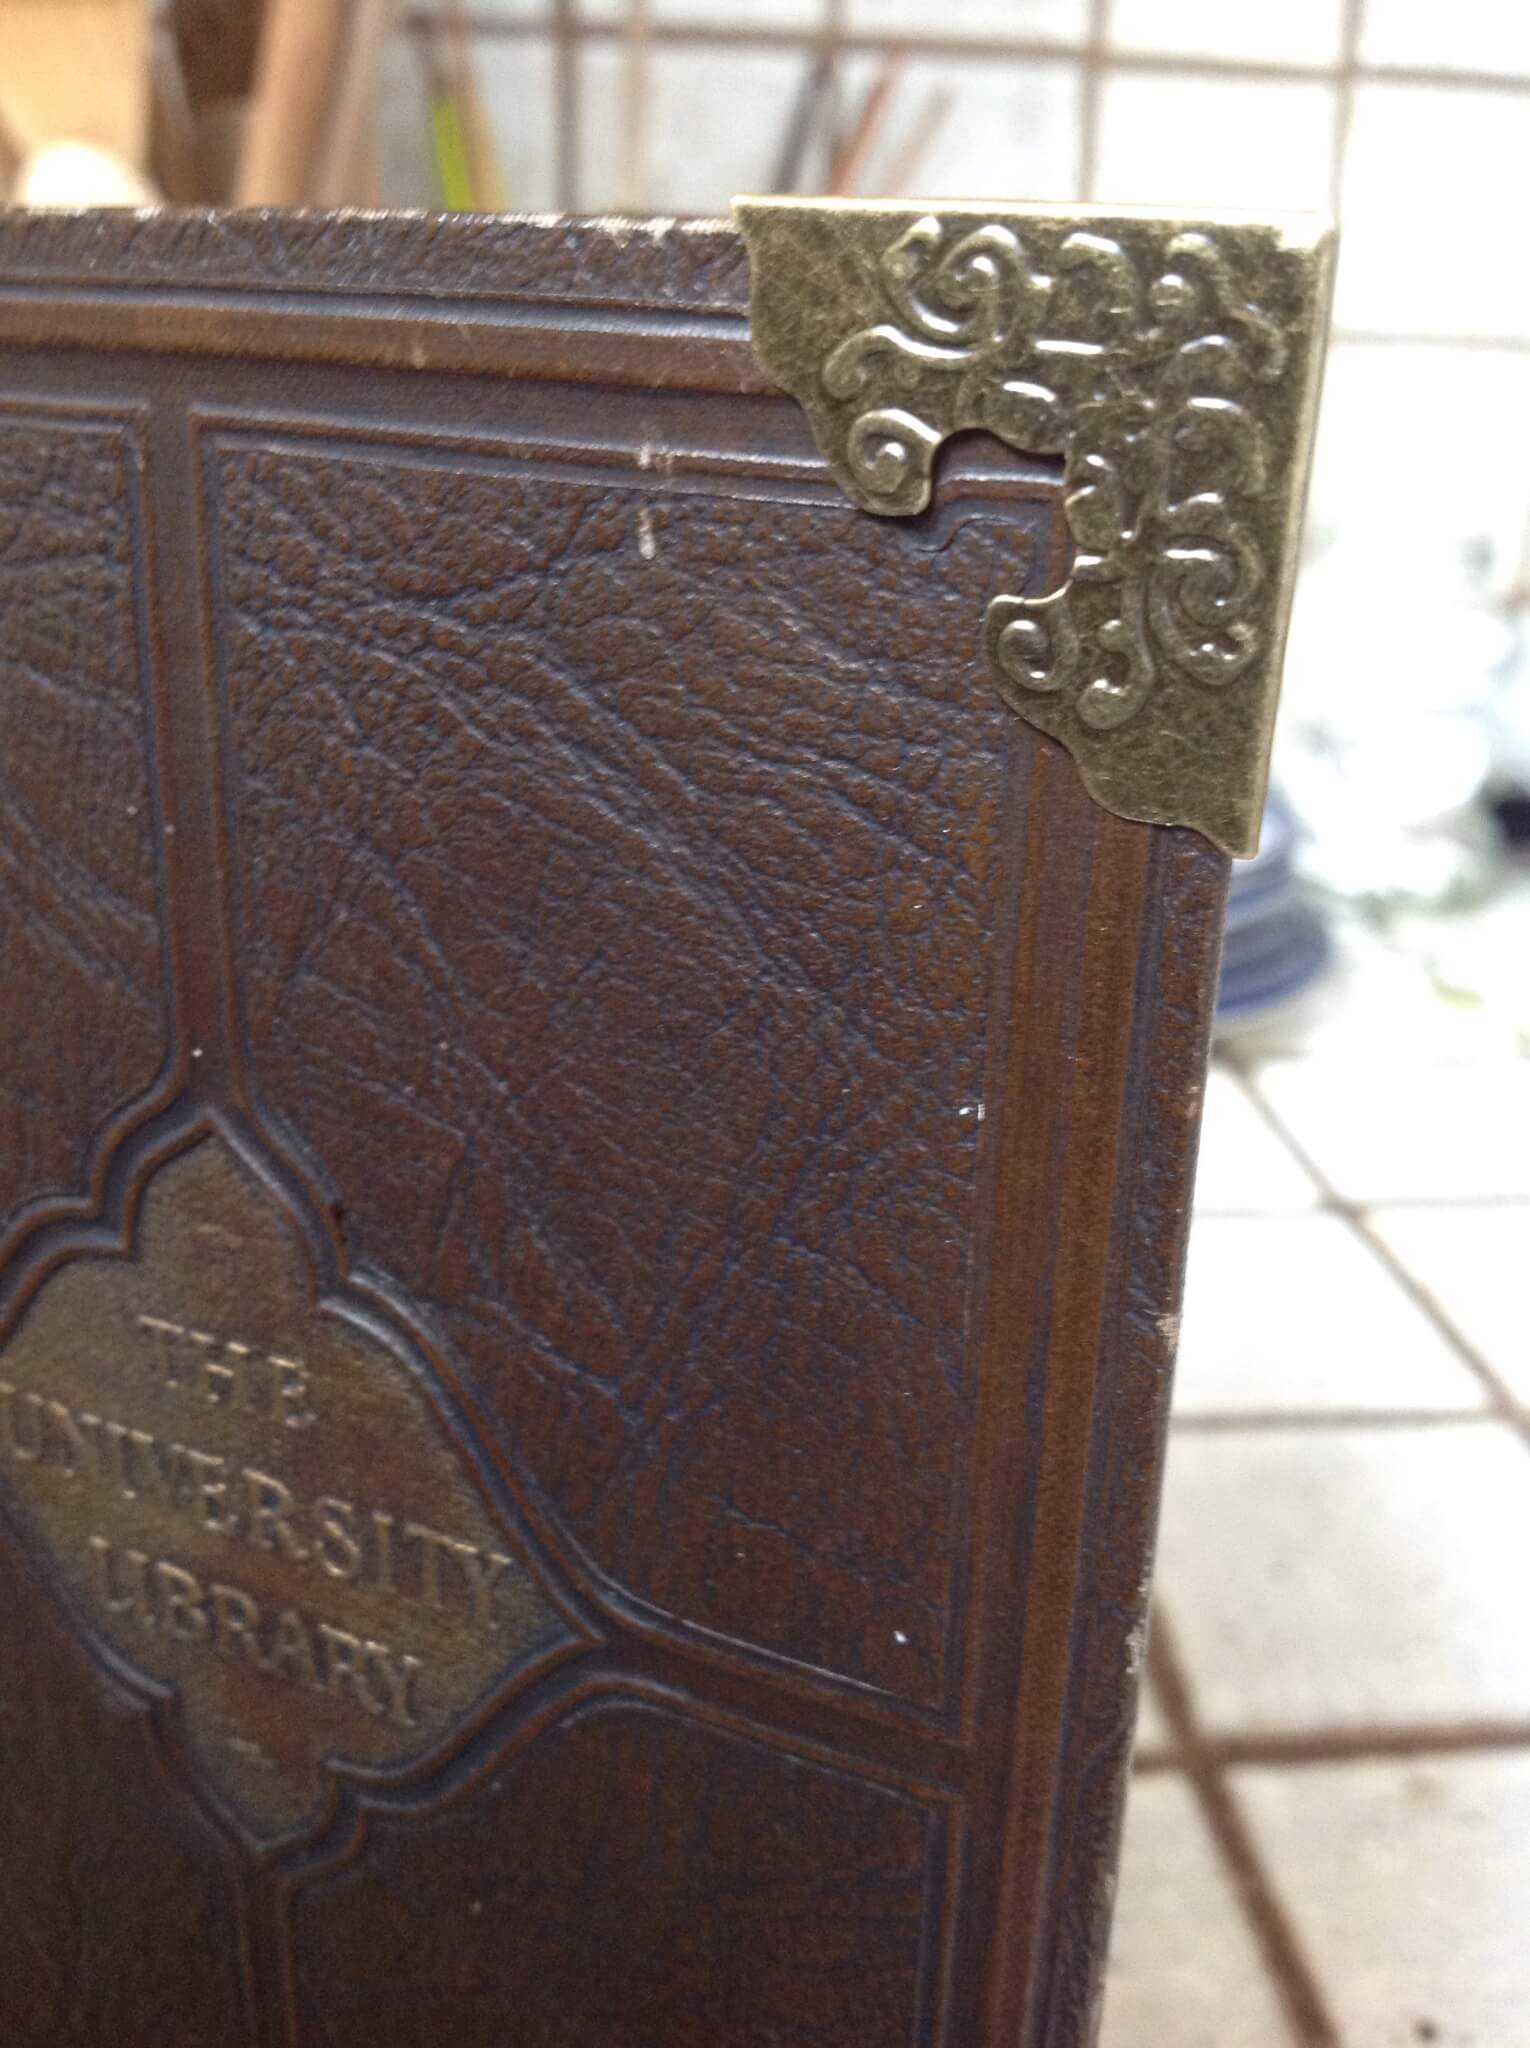
We used 0.059″ thick standard book board to create a box and the hinged cover. We experimented with PVA Jade-Thick from Hollanders. It was great for these small boxes because it is very tacky.

IMG_3632.JPG
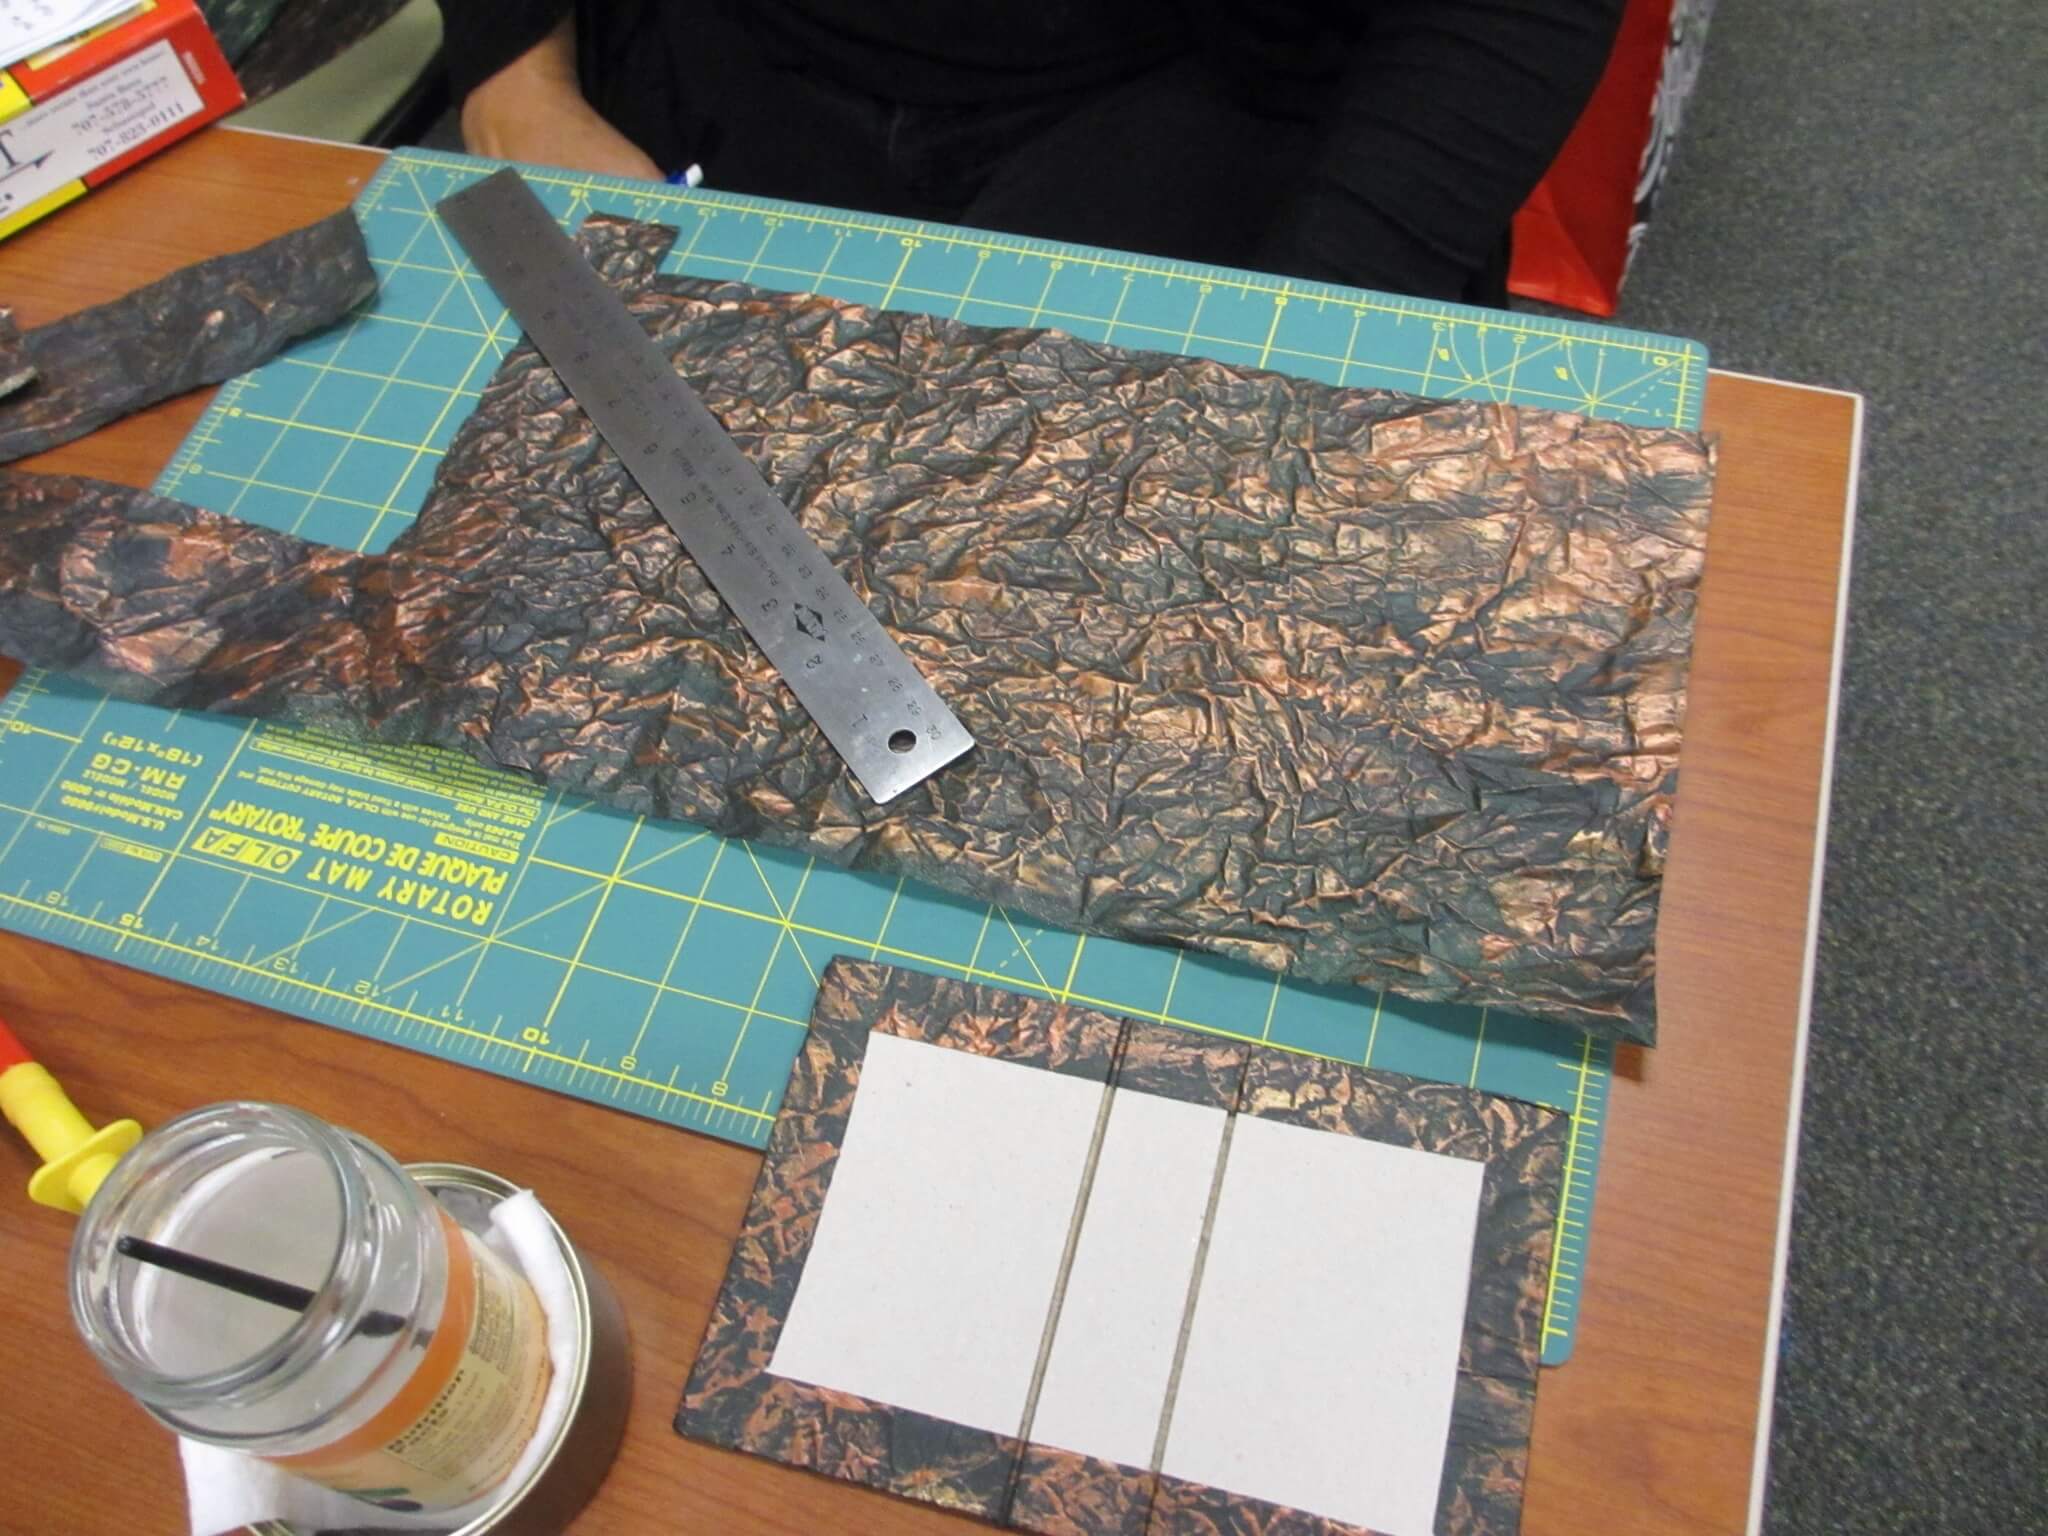
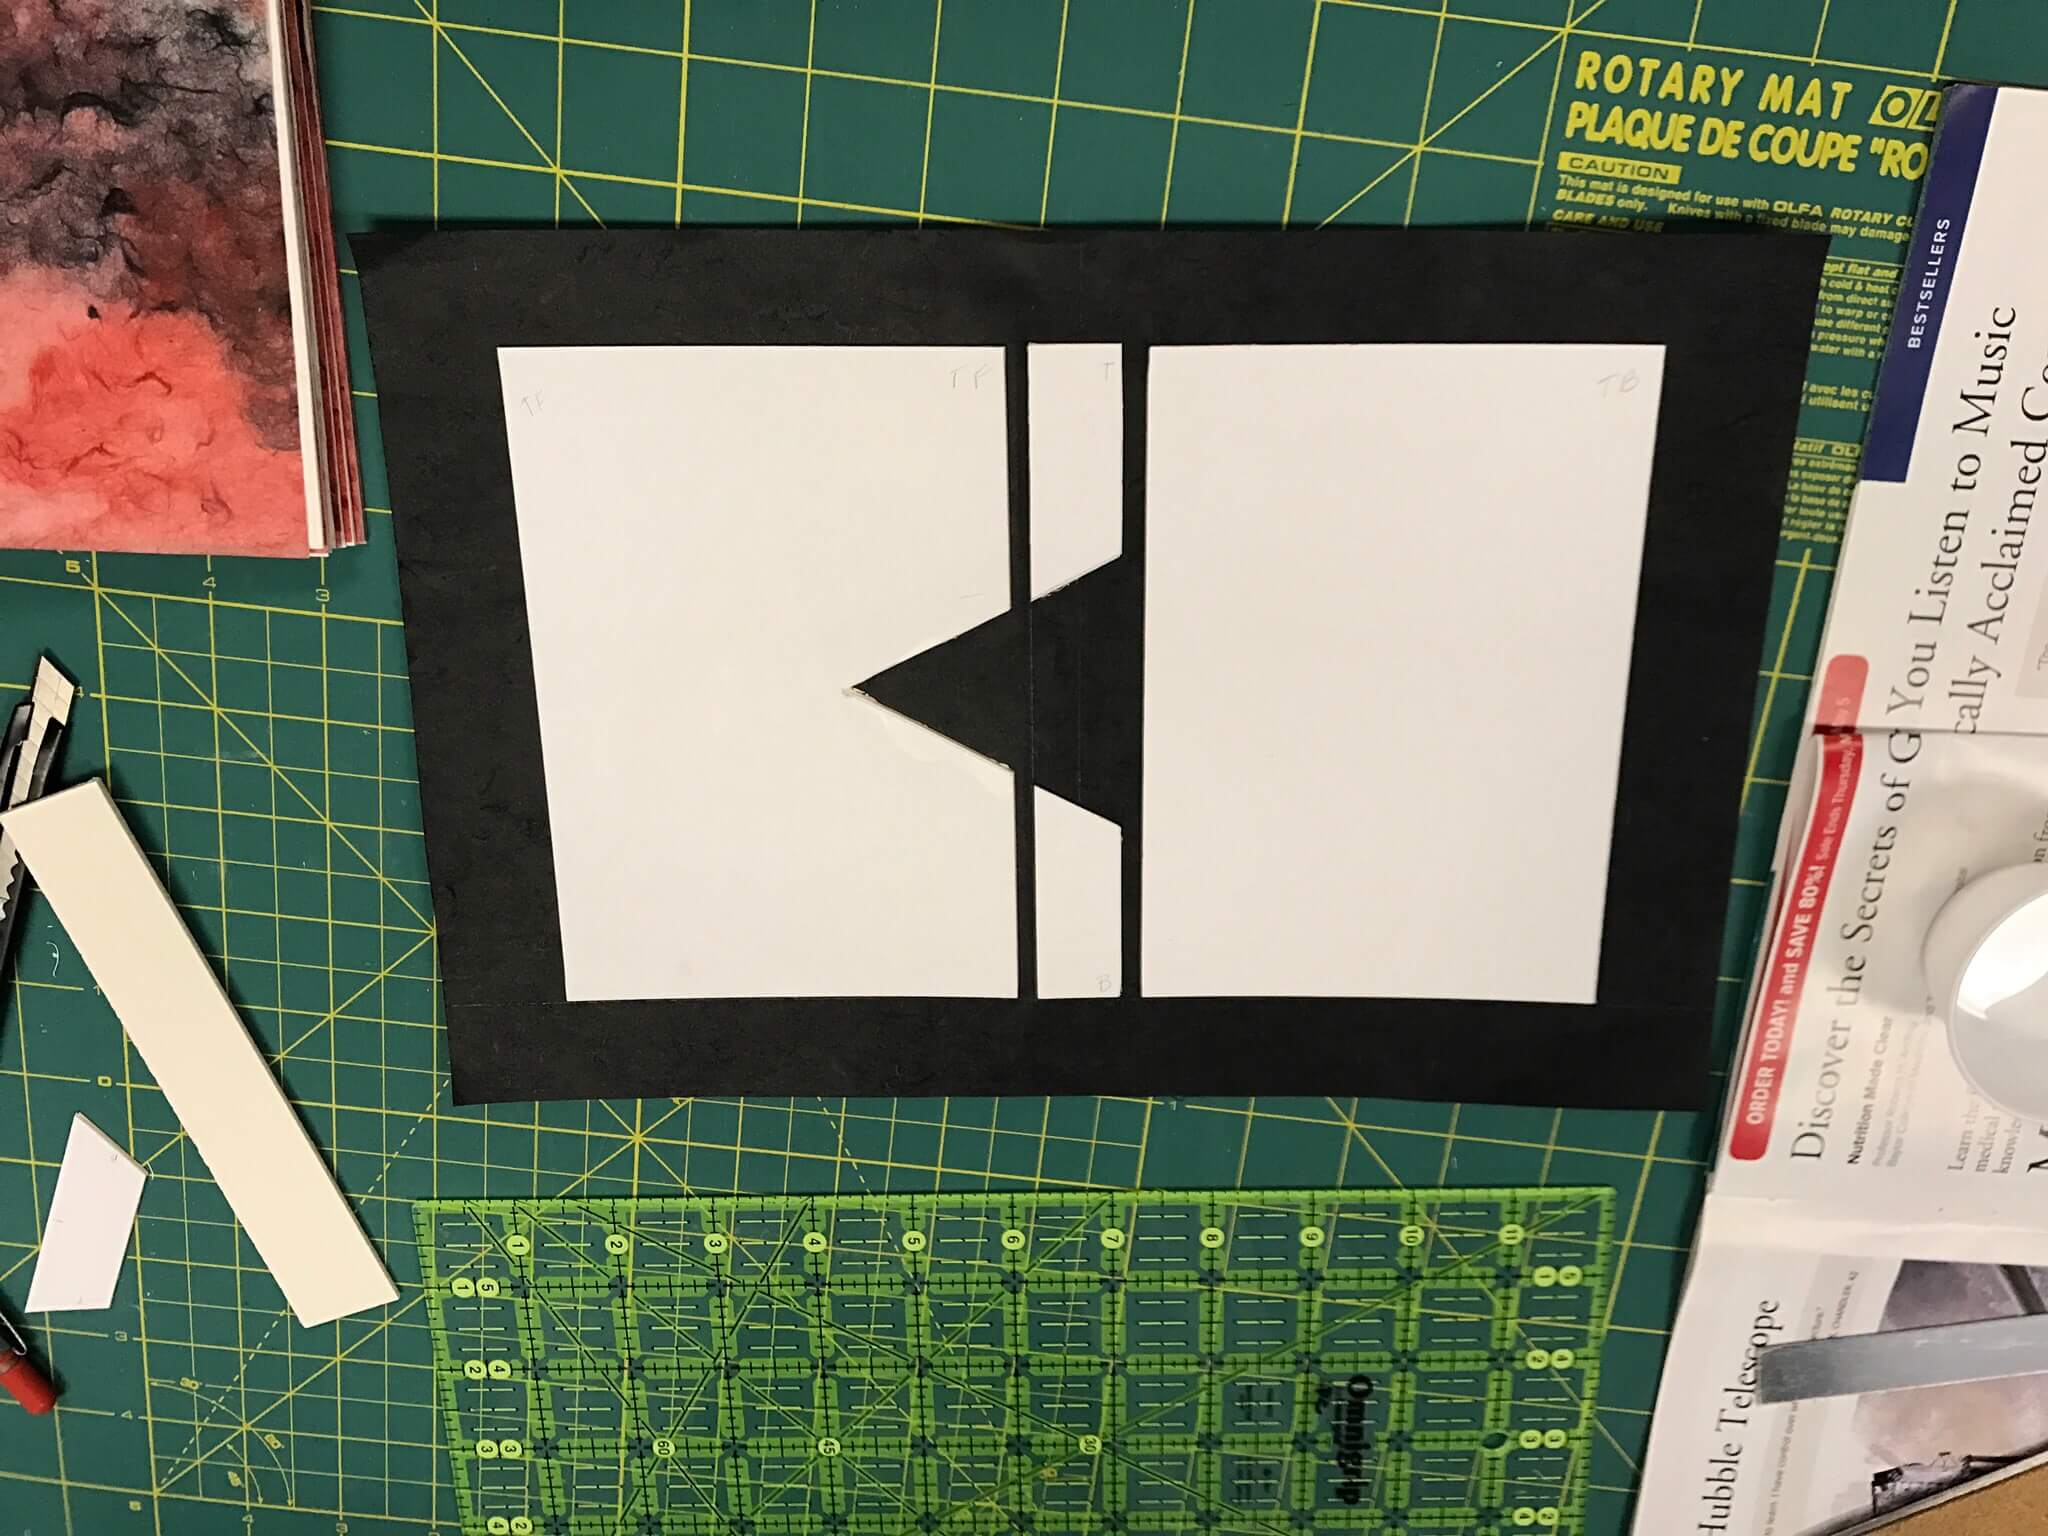
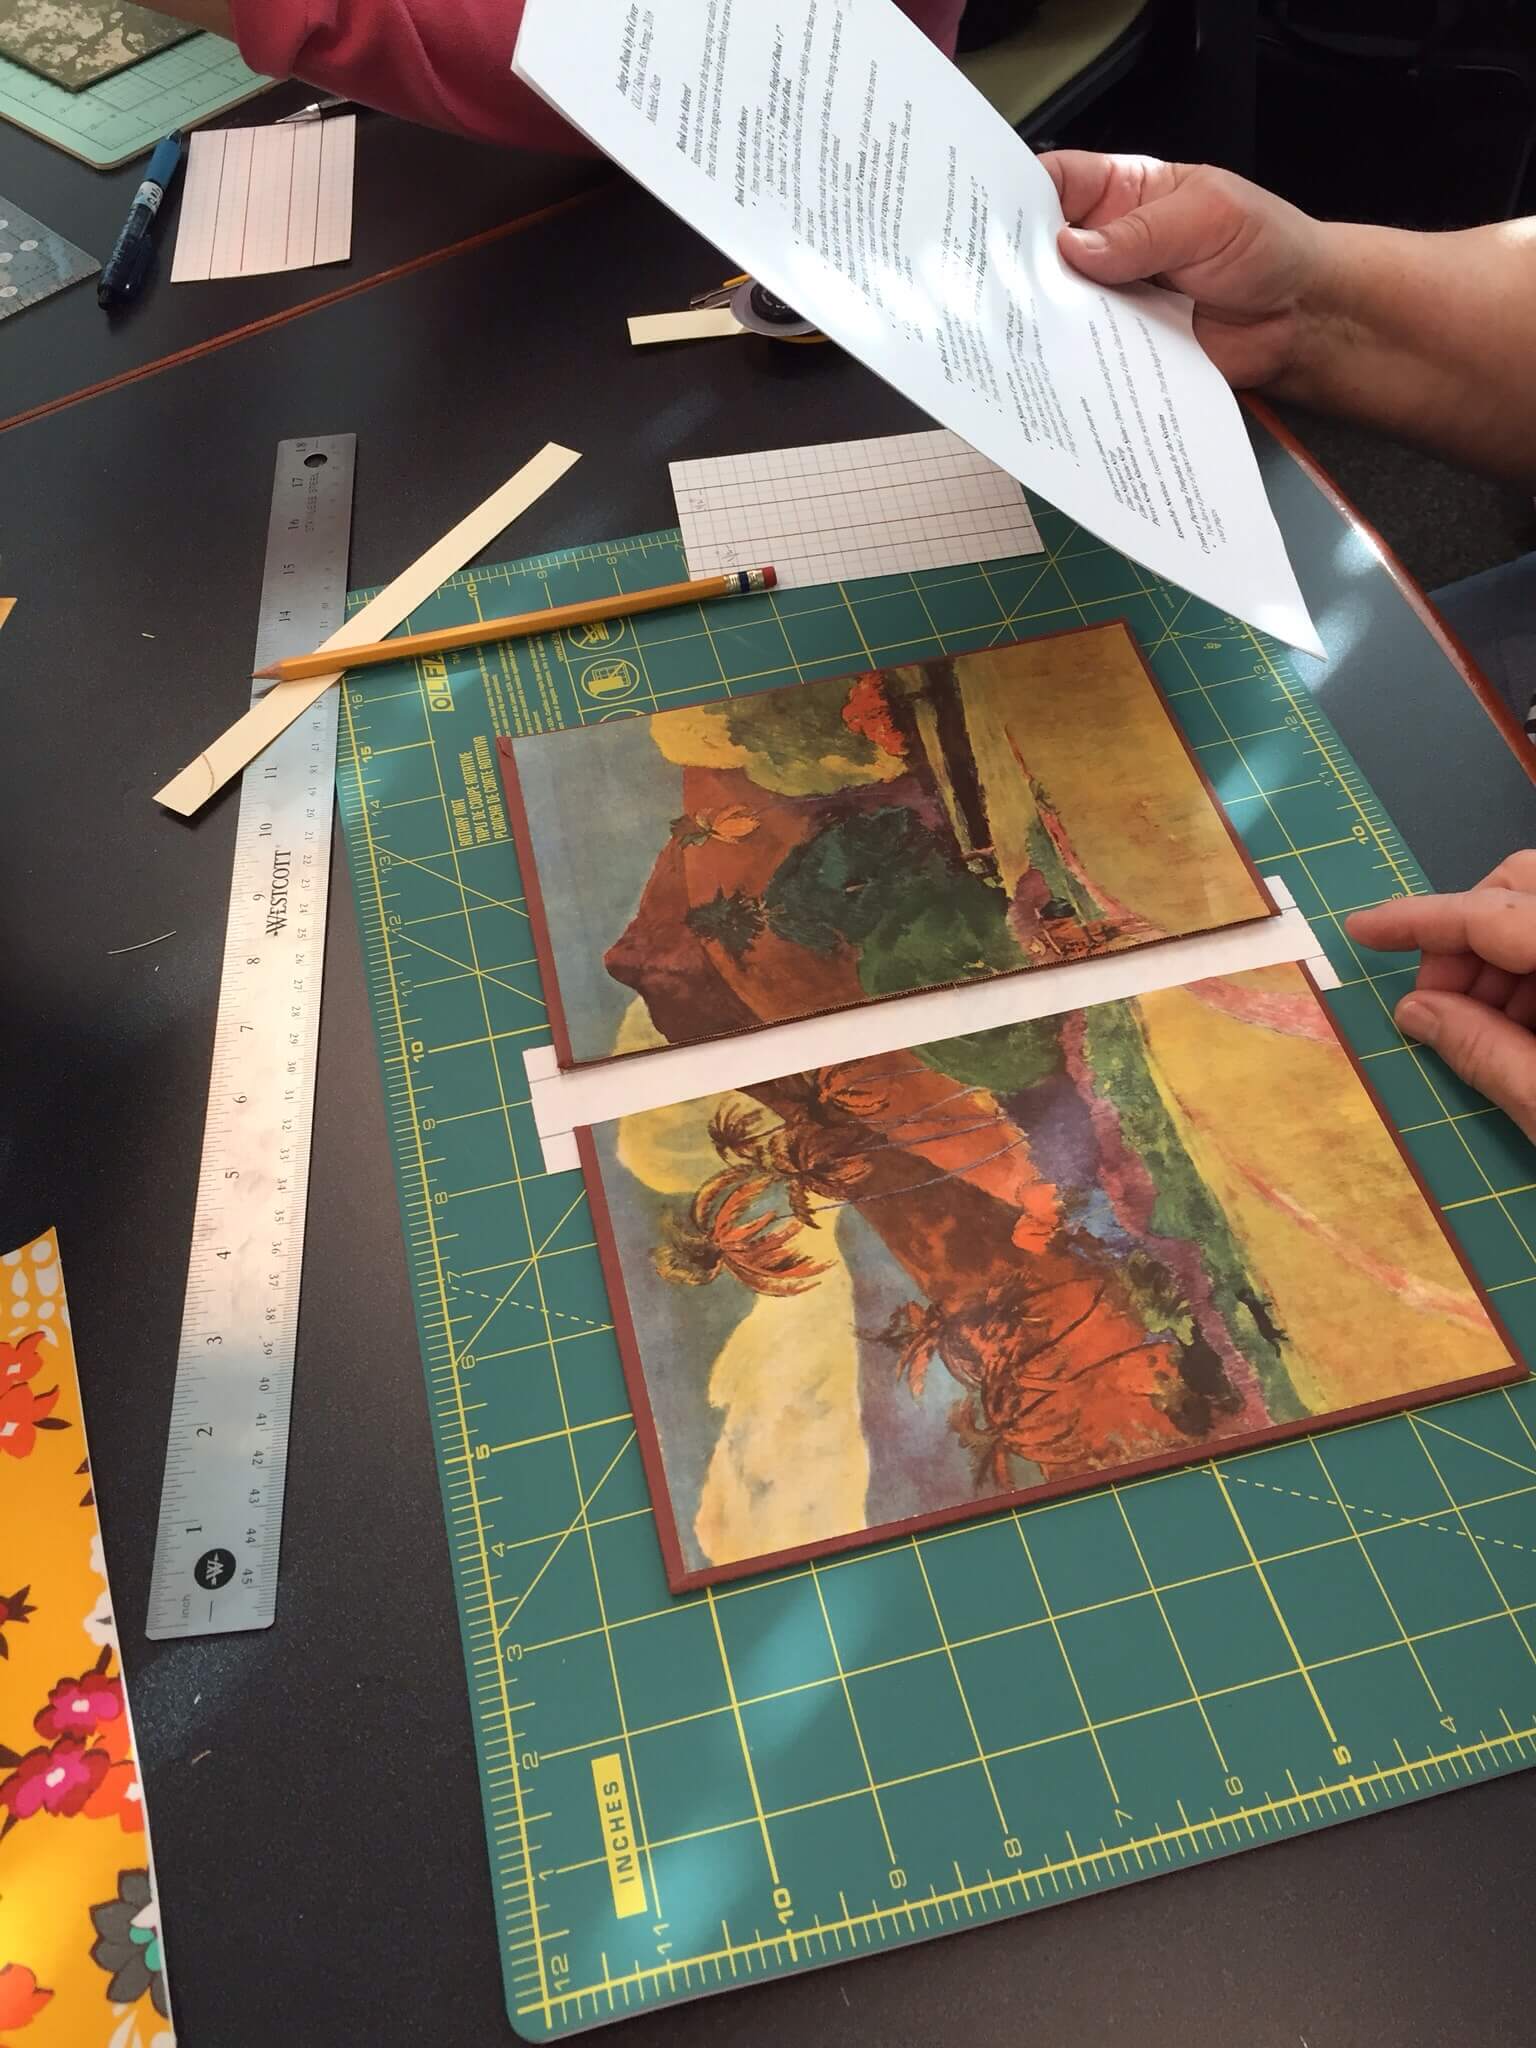
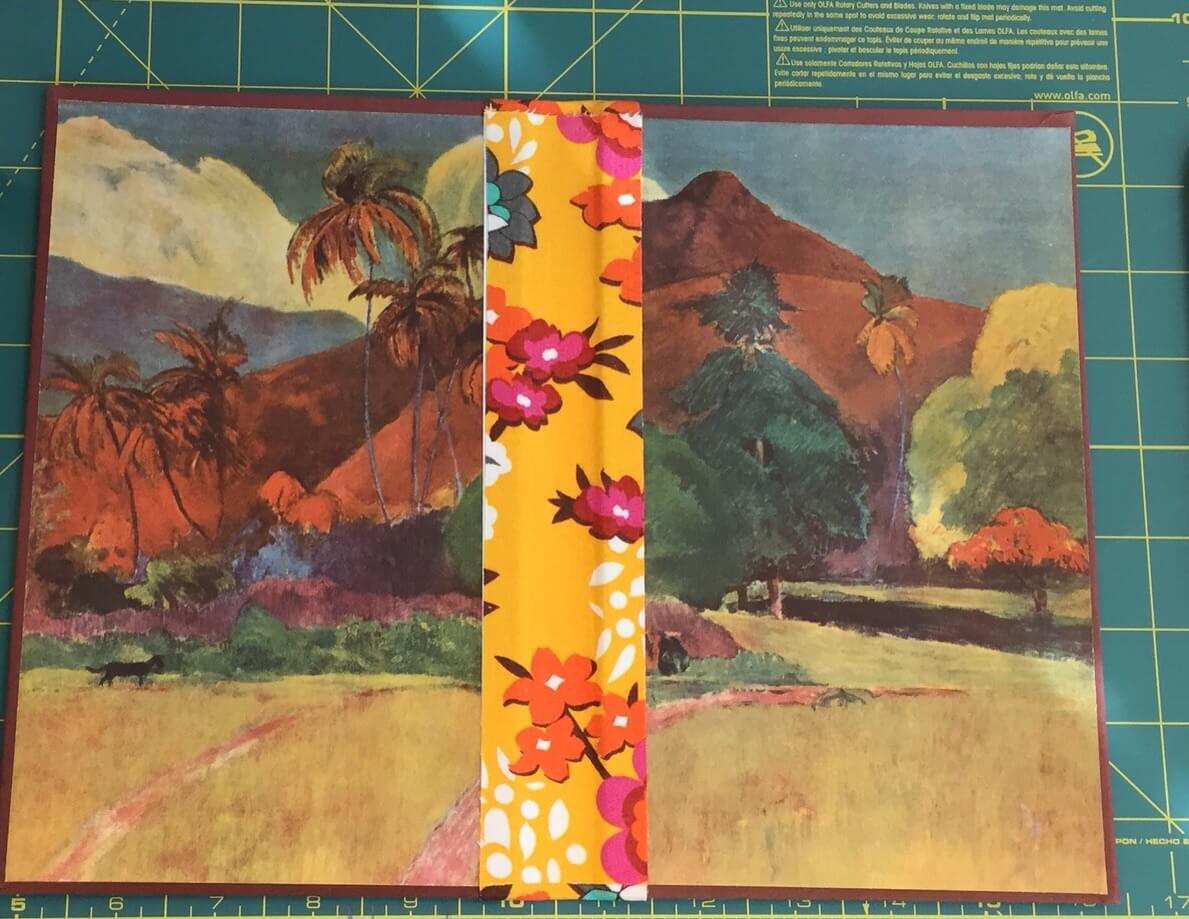
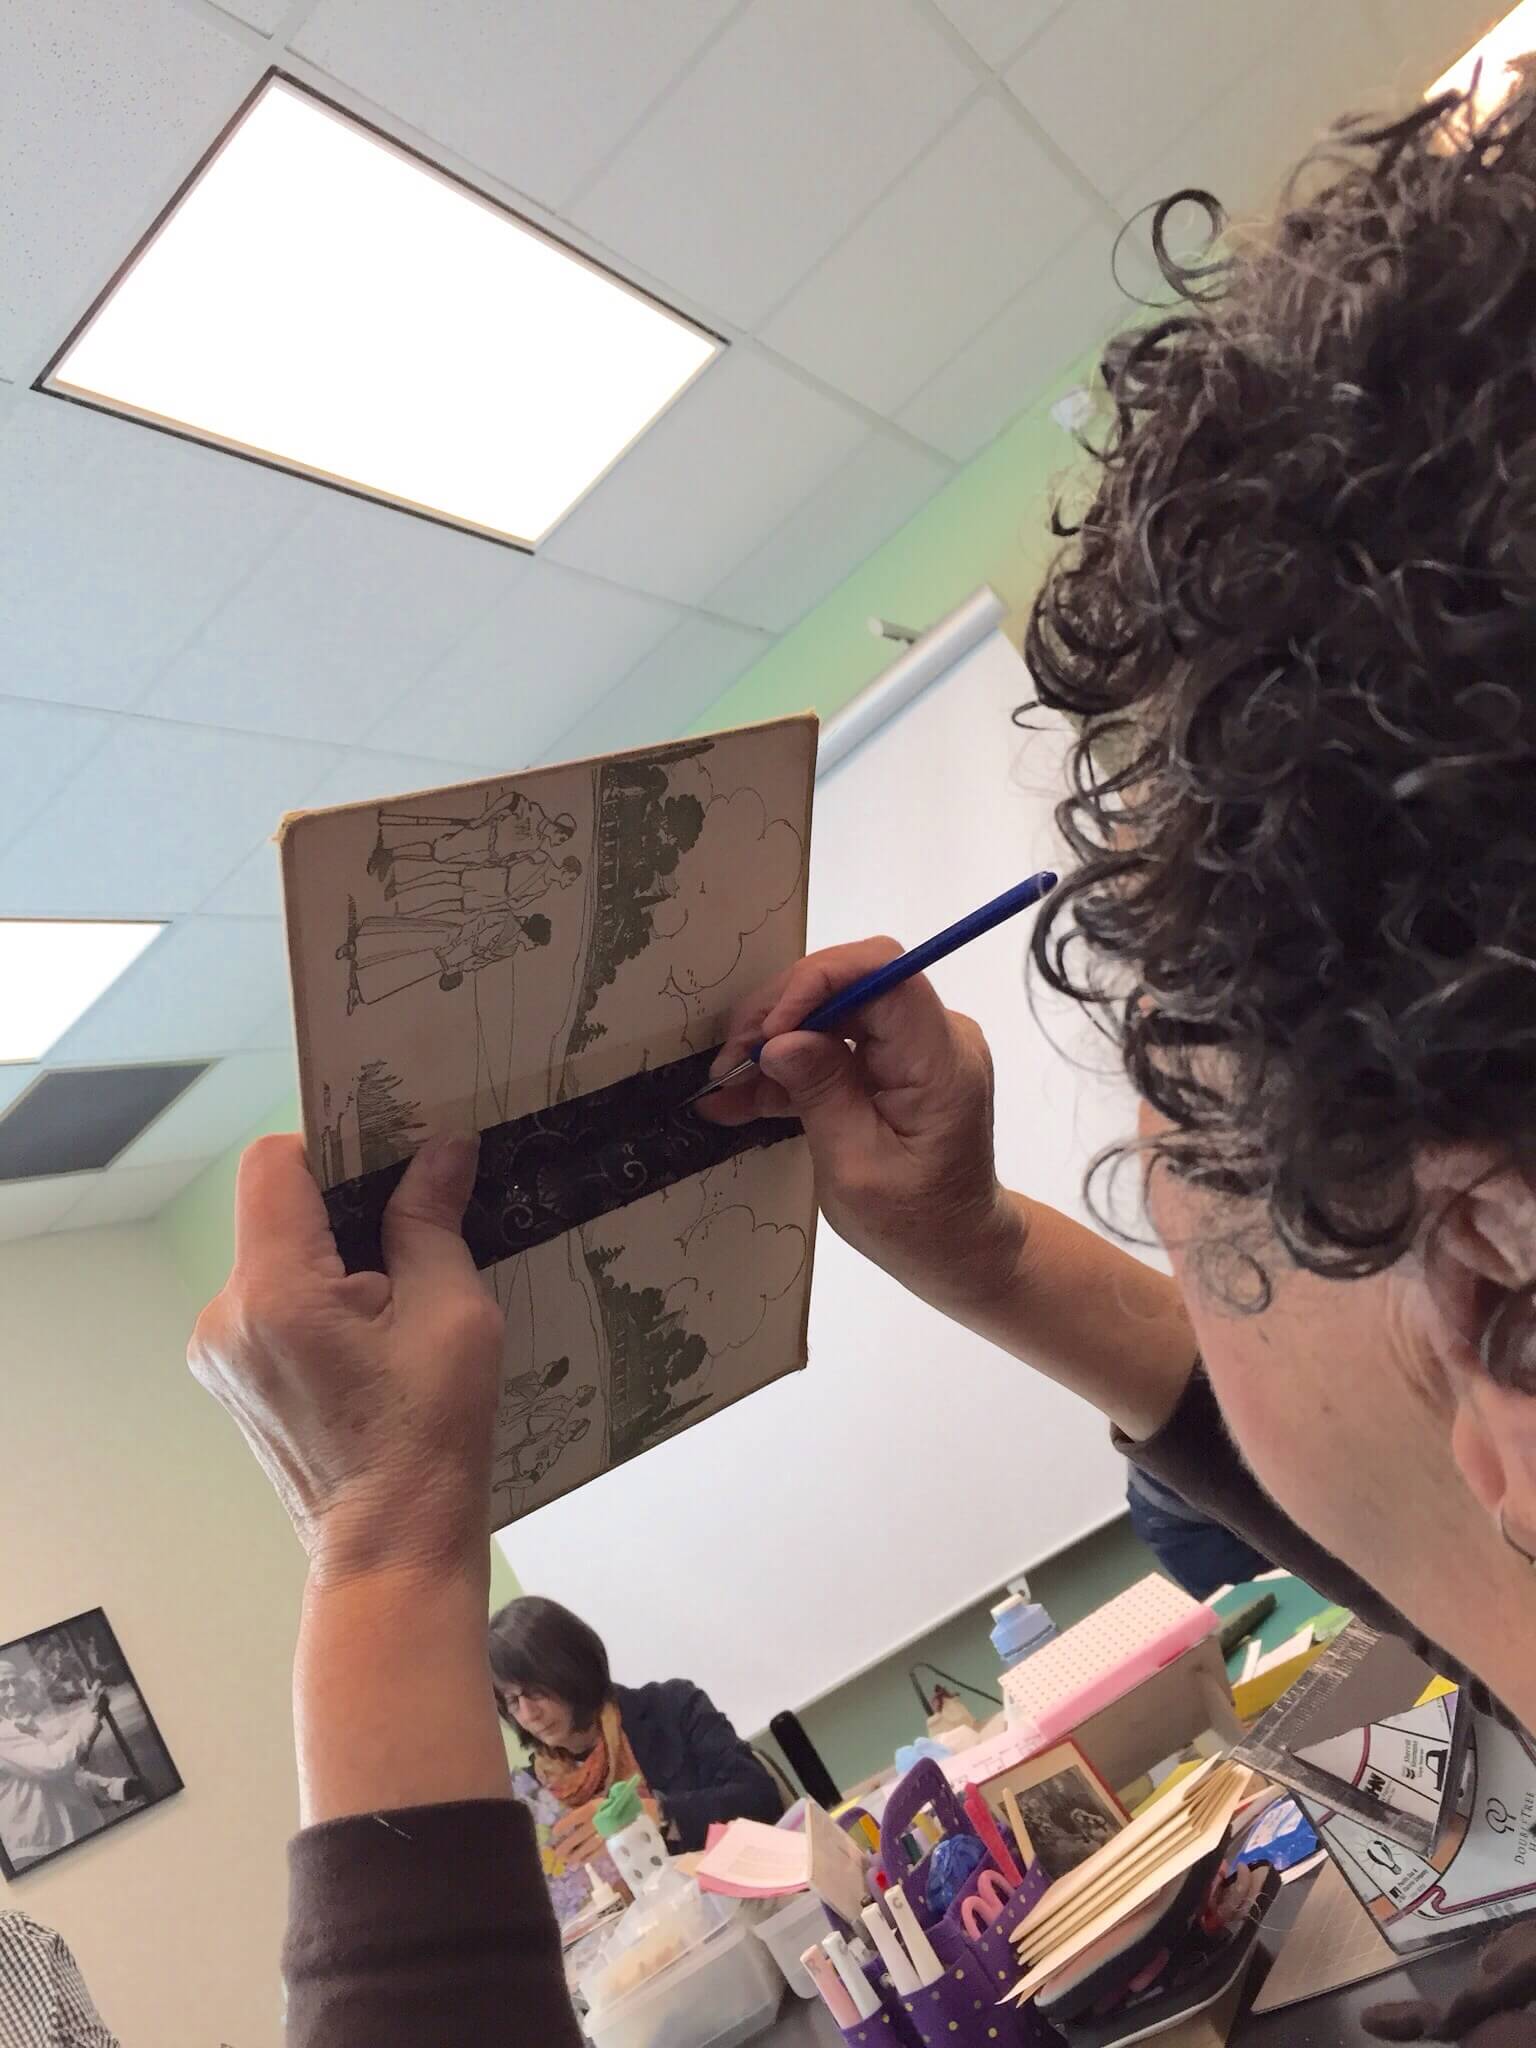
While the boxes dried we created a hinged cover. This particular technique is useful for all kinds of artist books. Boards were glued then applied to the wrong side of the paper. Rather than burnishing the right side we pressed the paper to the board to encourage wrinkles and texture.

IMG_3640.JPG
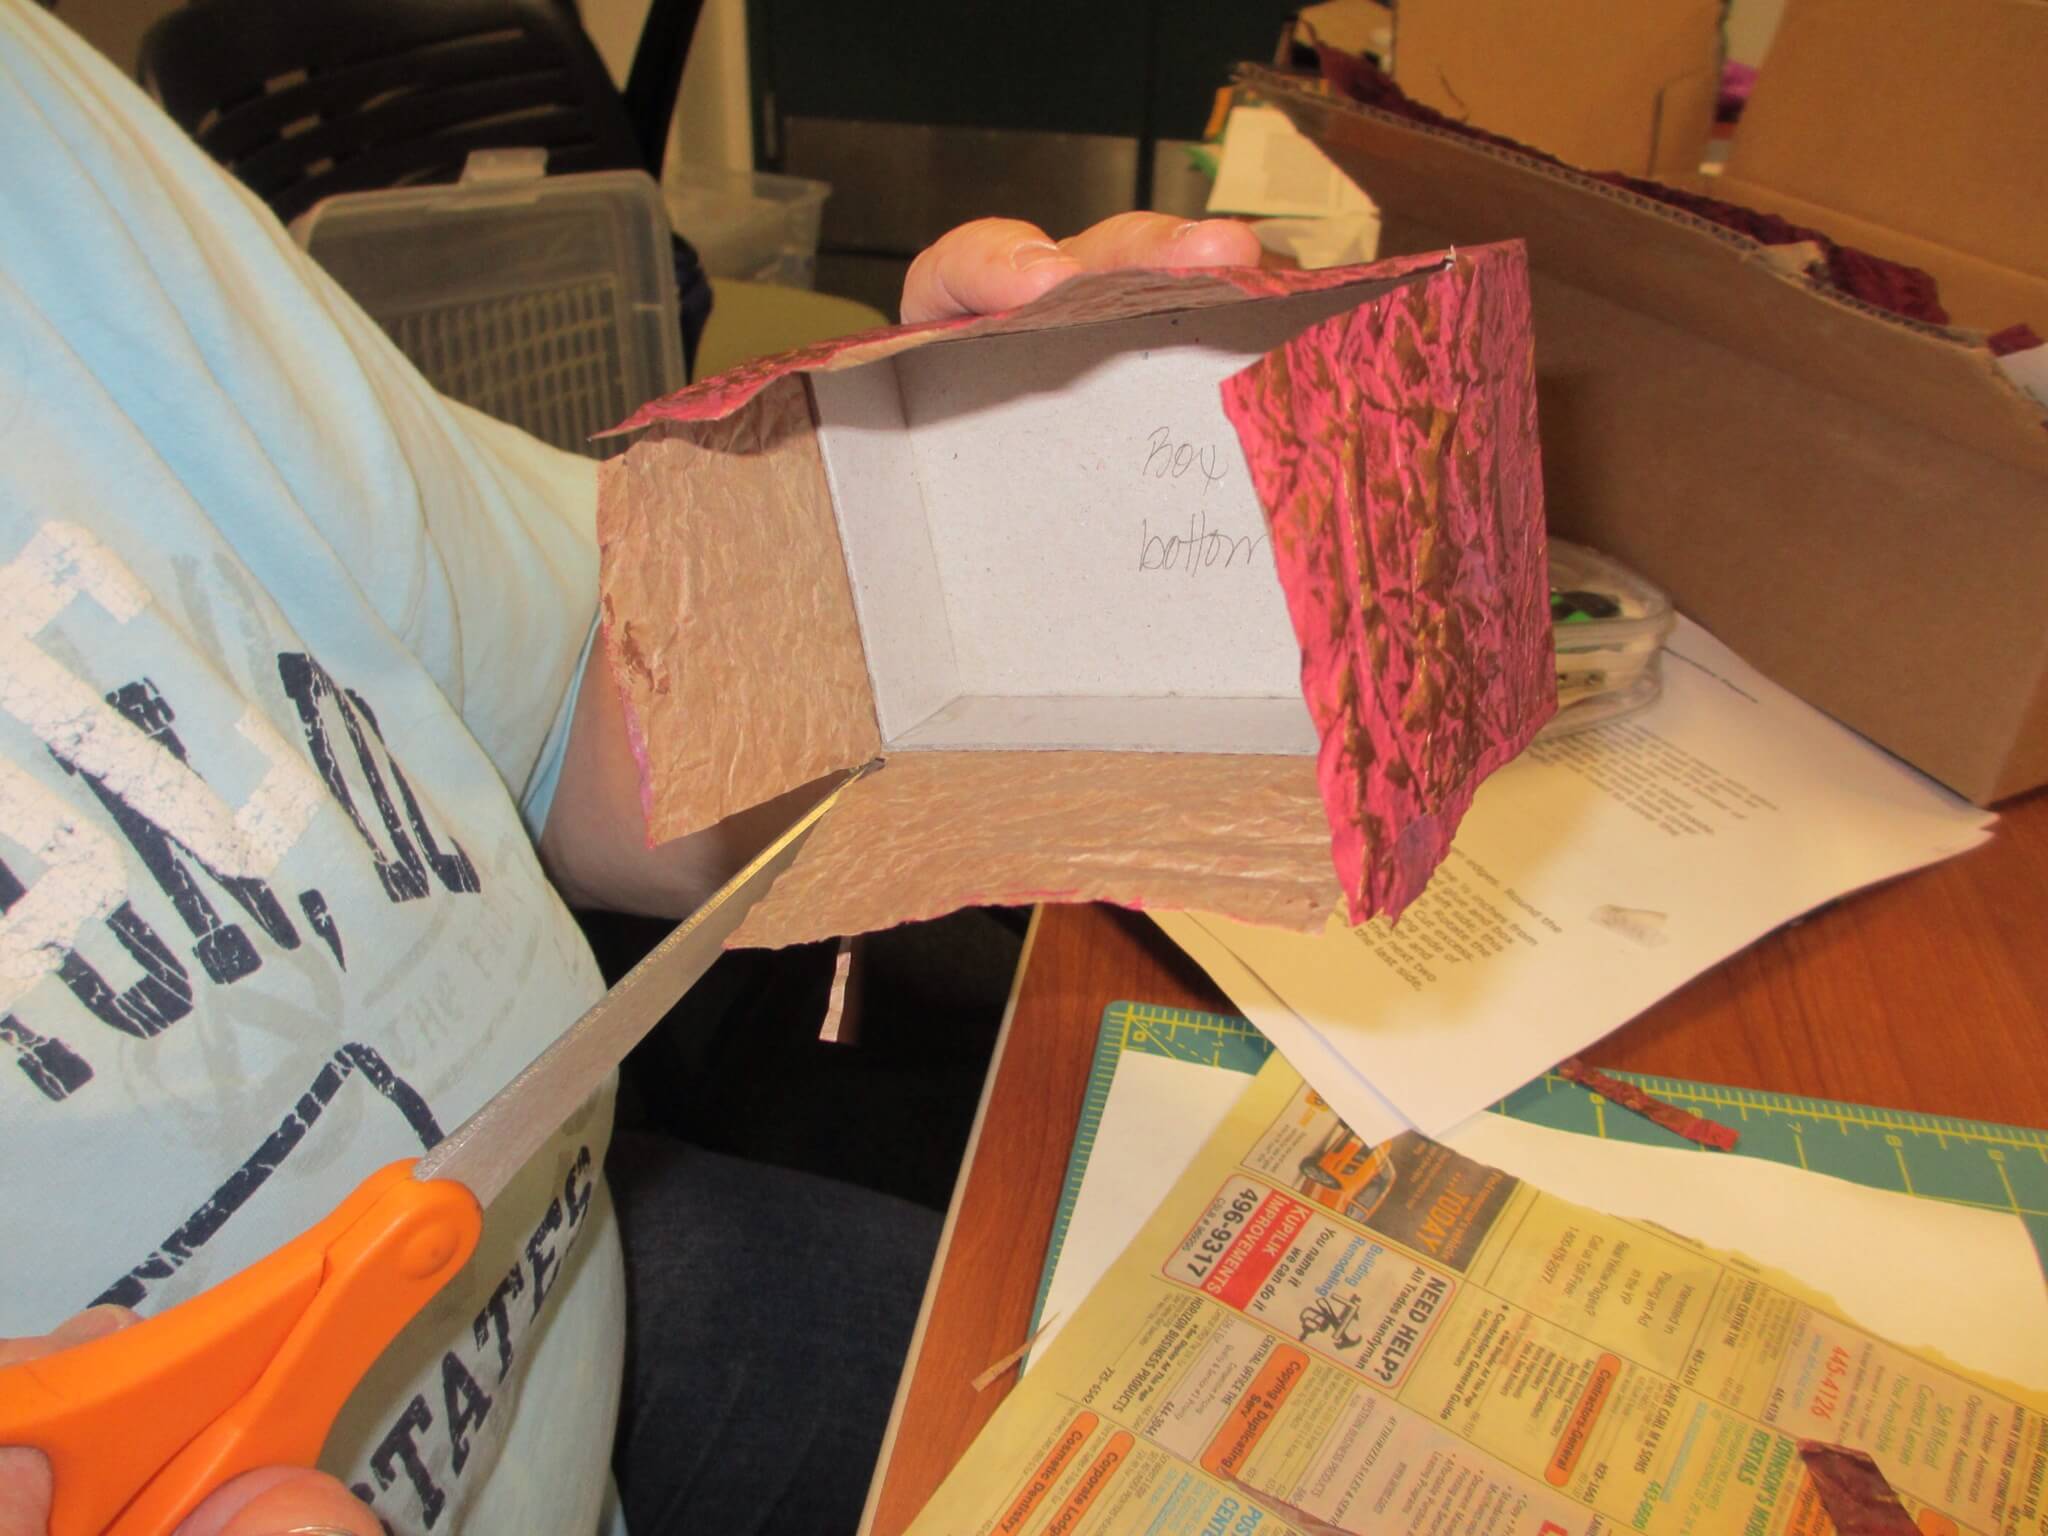
Covering the boxes was next.

IMG_3645.JPG

IMG_3637-0.JPG
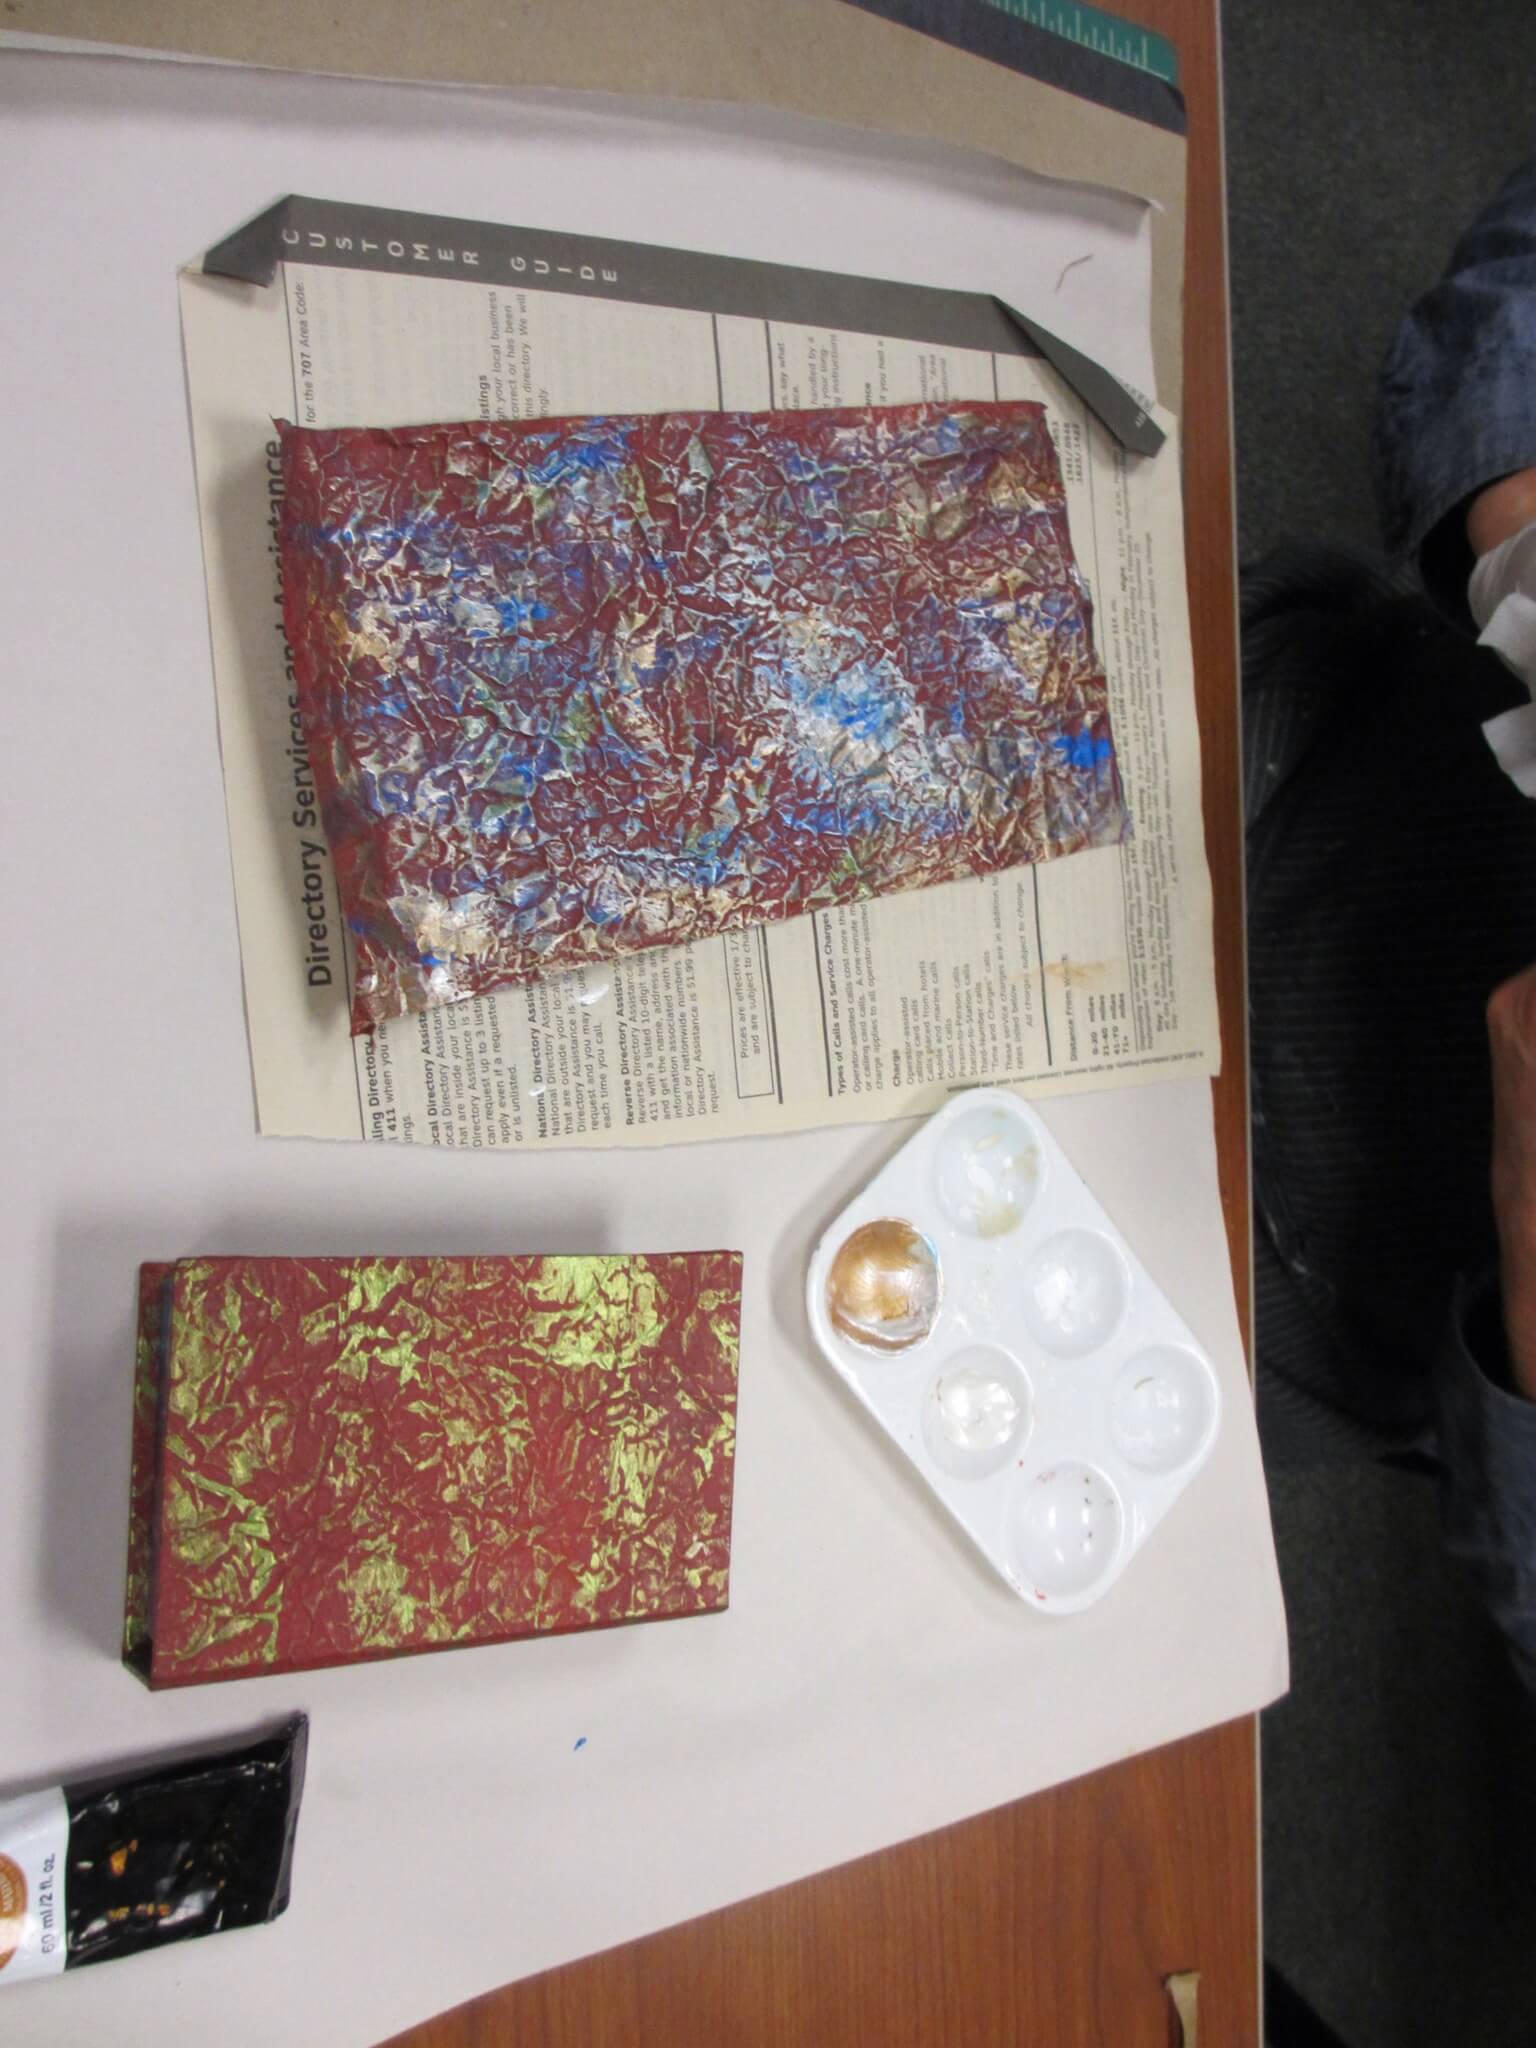
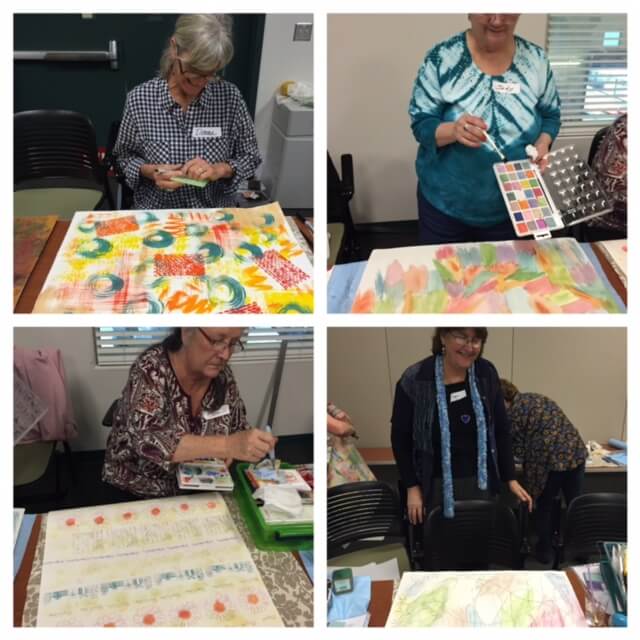
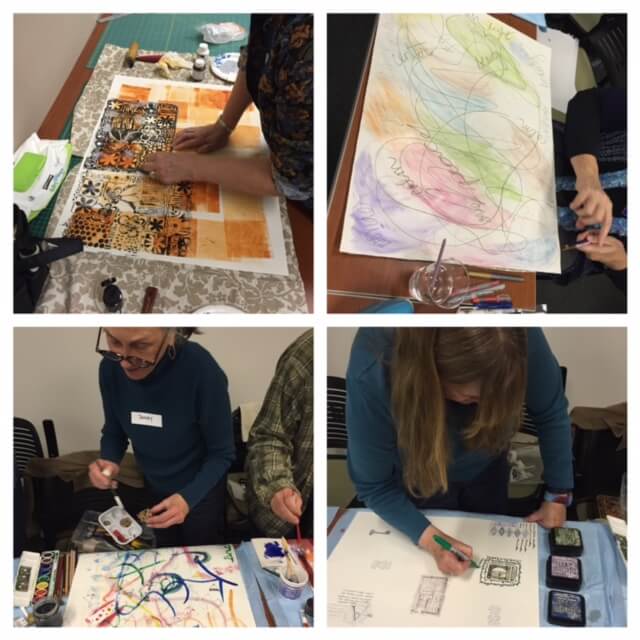
There was much variation in colors. Some decided to add more color and brought their acrylics…….

IMG_3636.JPG
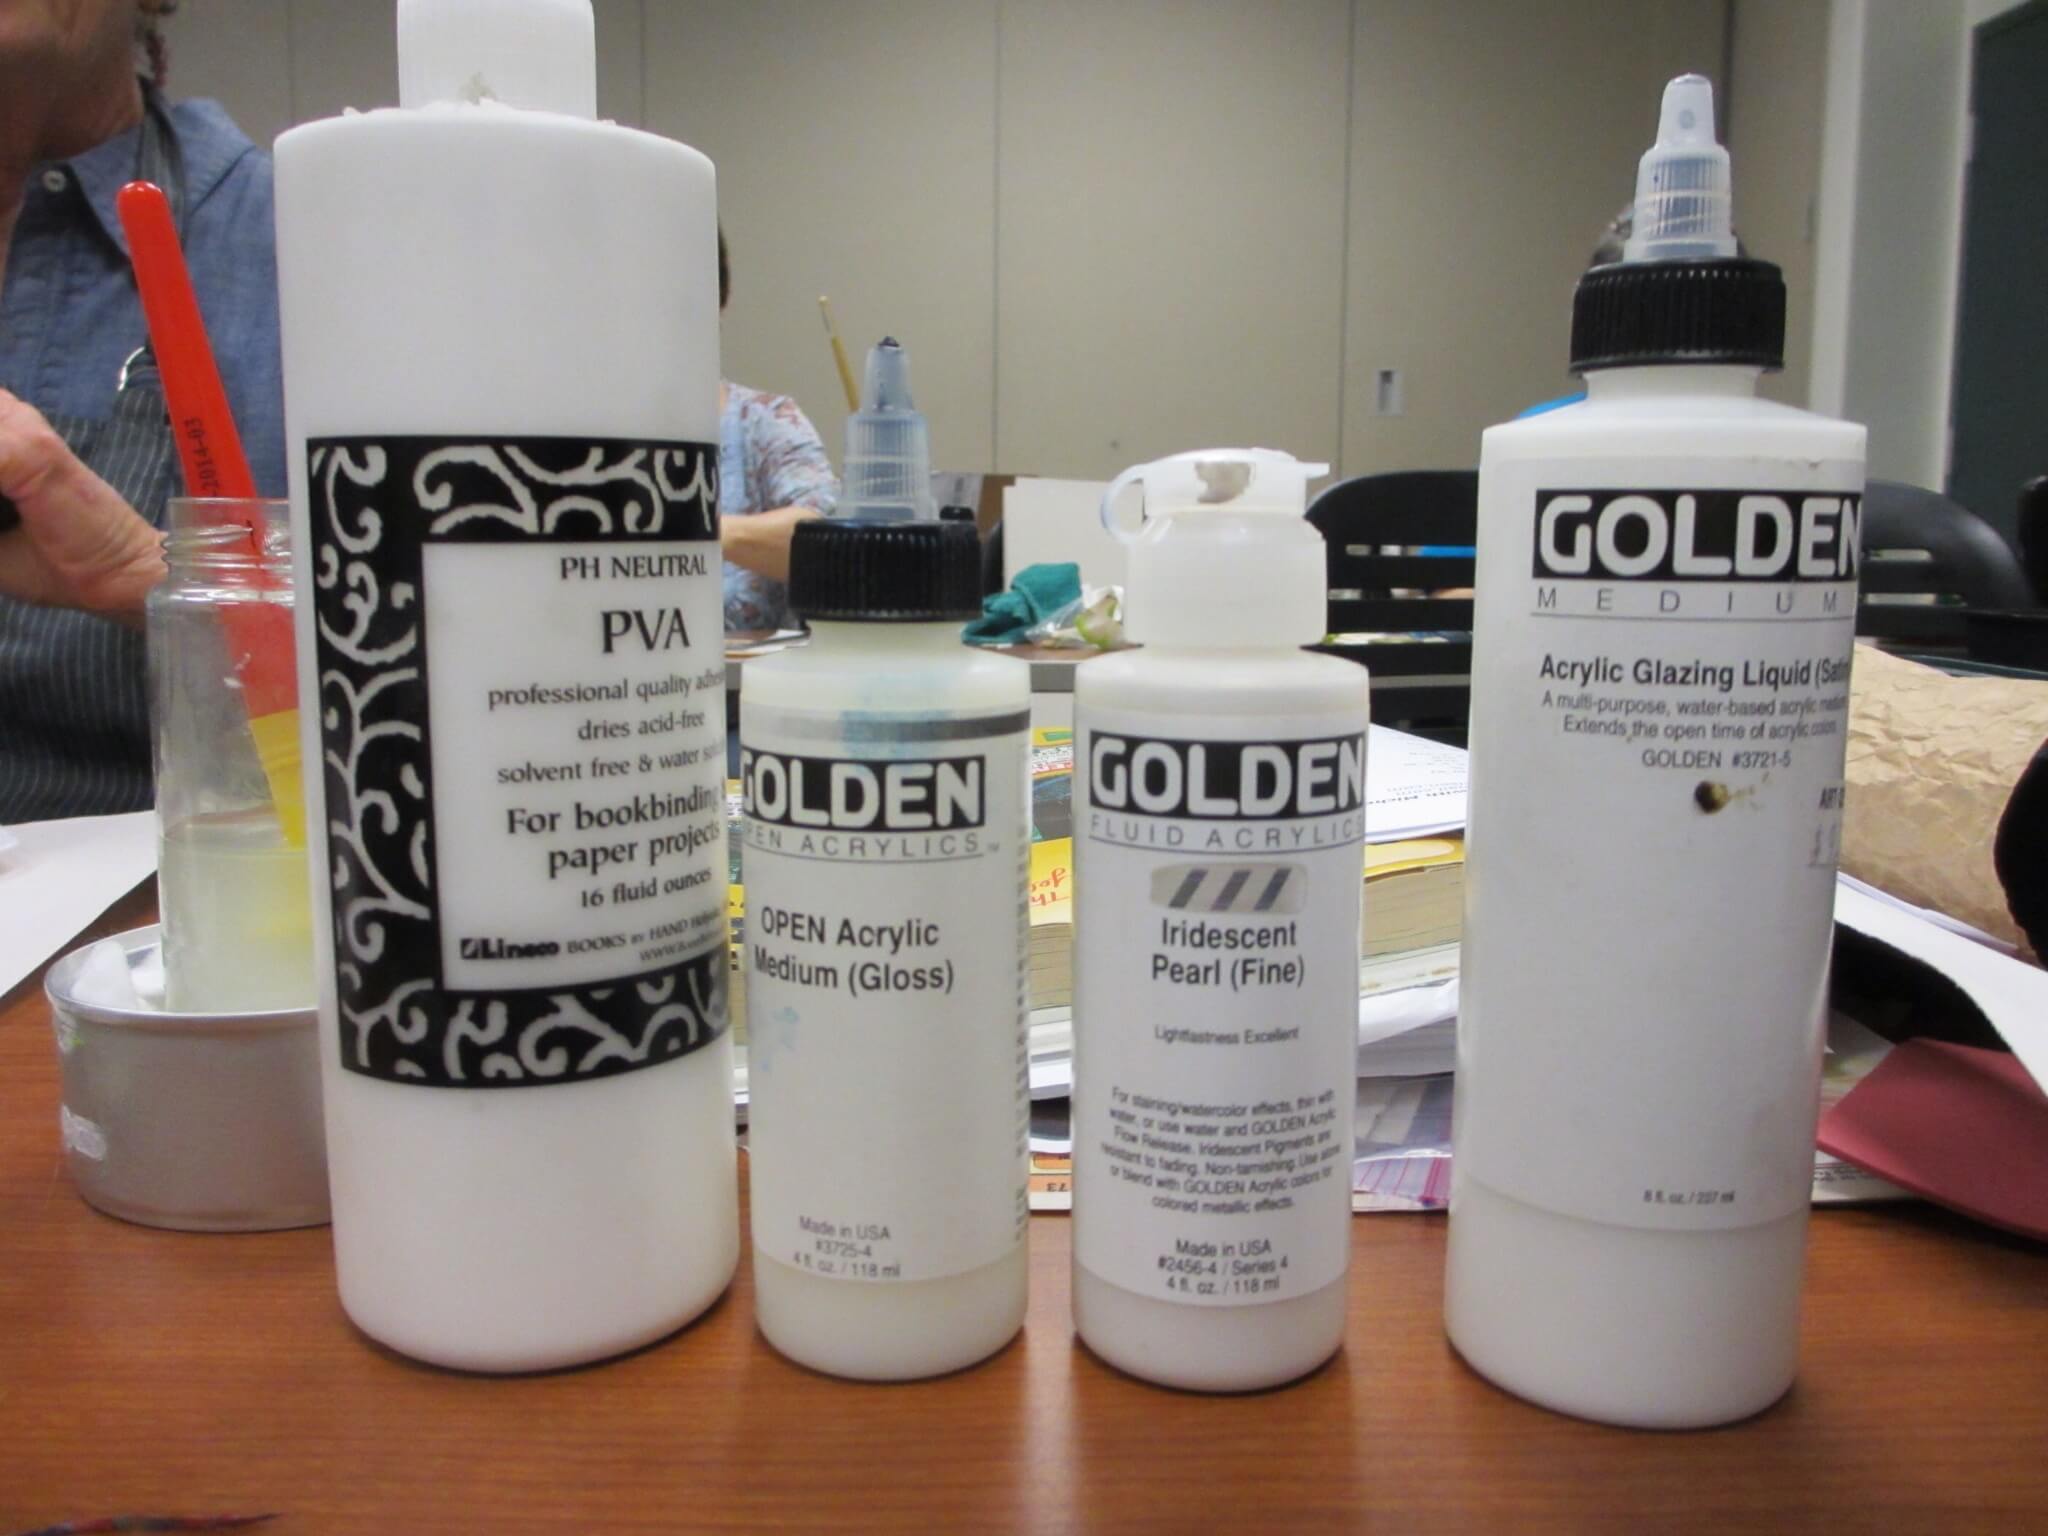
…..and acrylic enhancements. Check out “Products” on Golden’s website to see the many products available along with their uses.

IMG_3642.JPG

IMG_3644.JPG
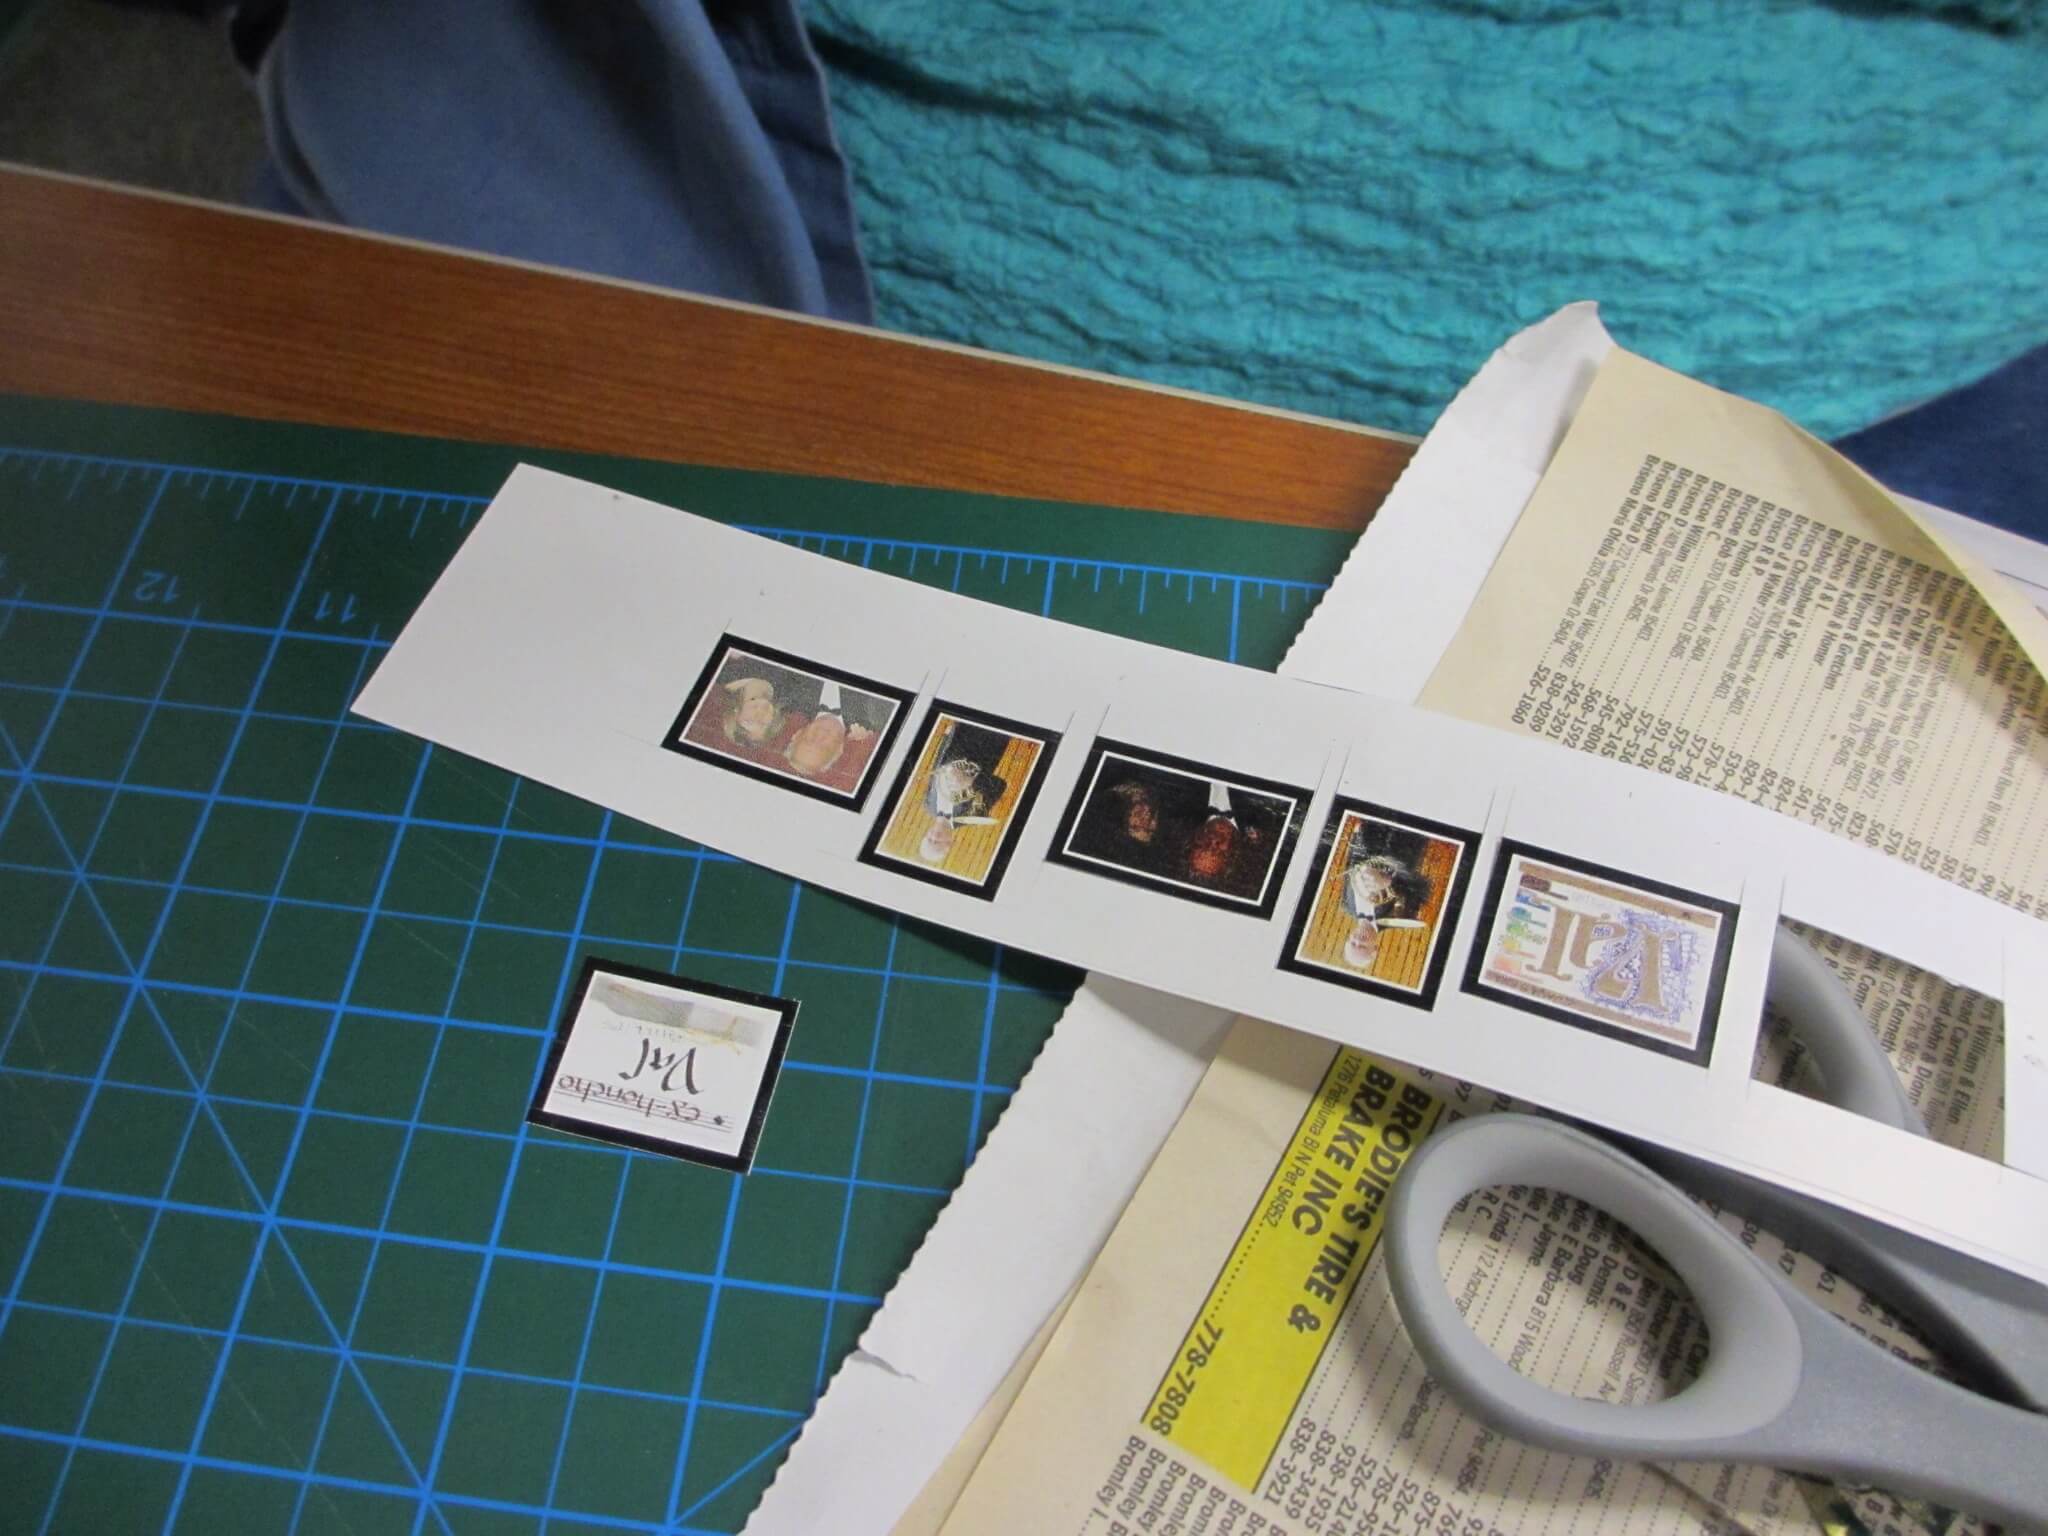
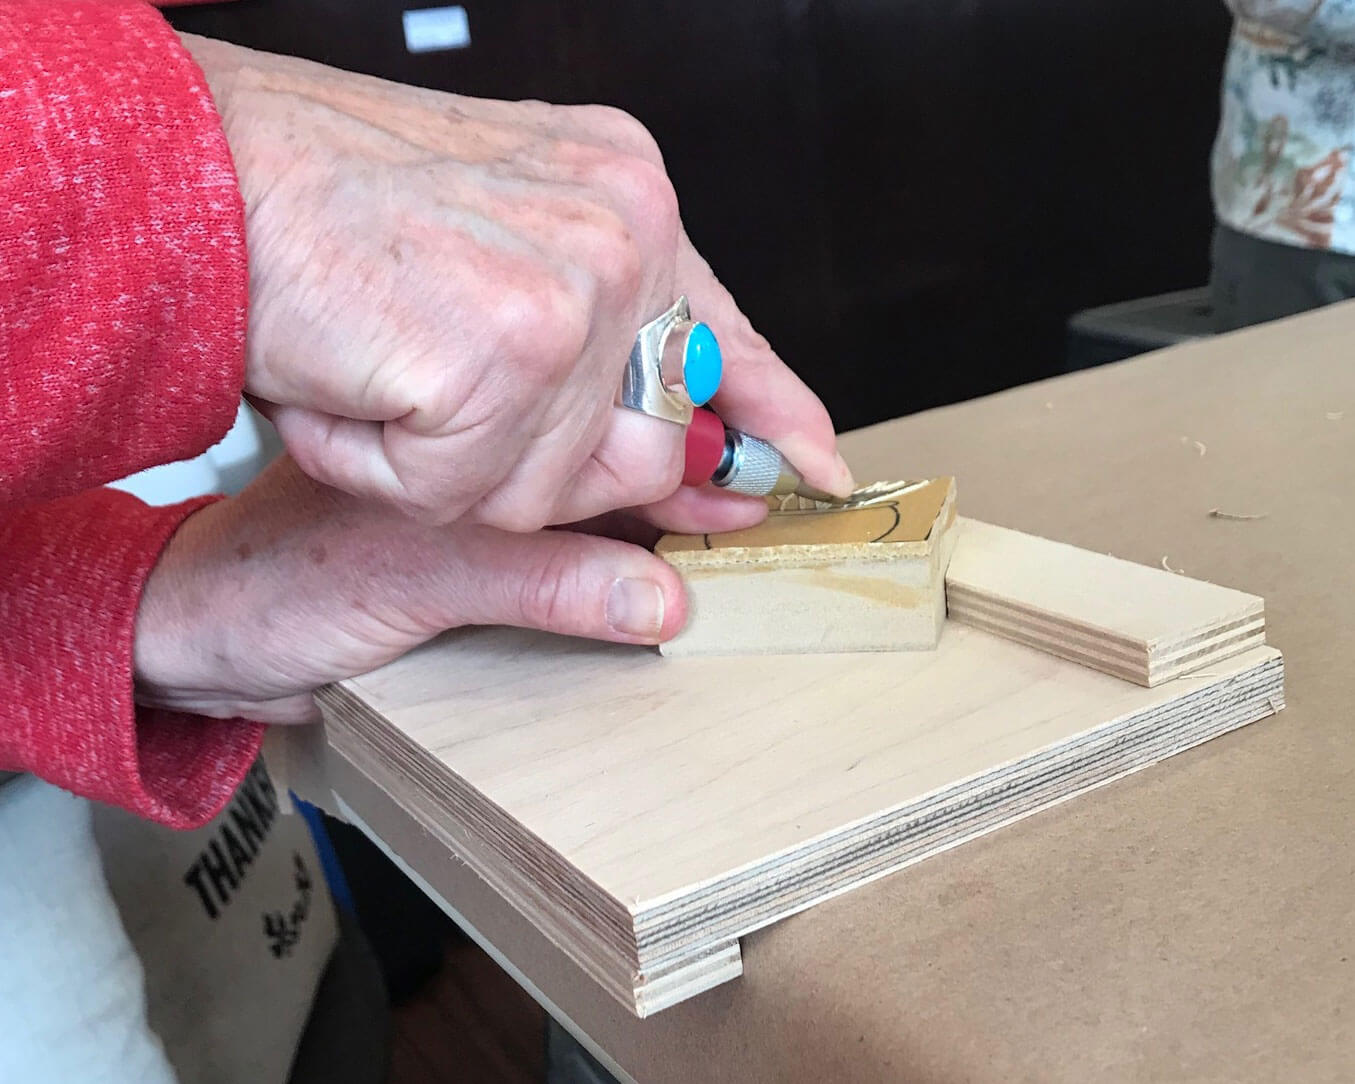
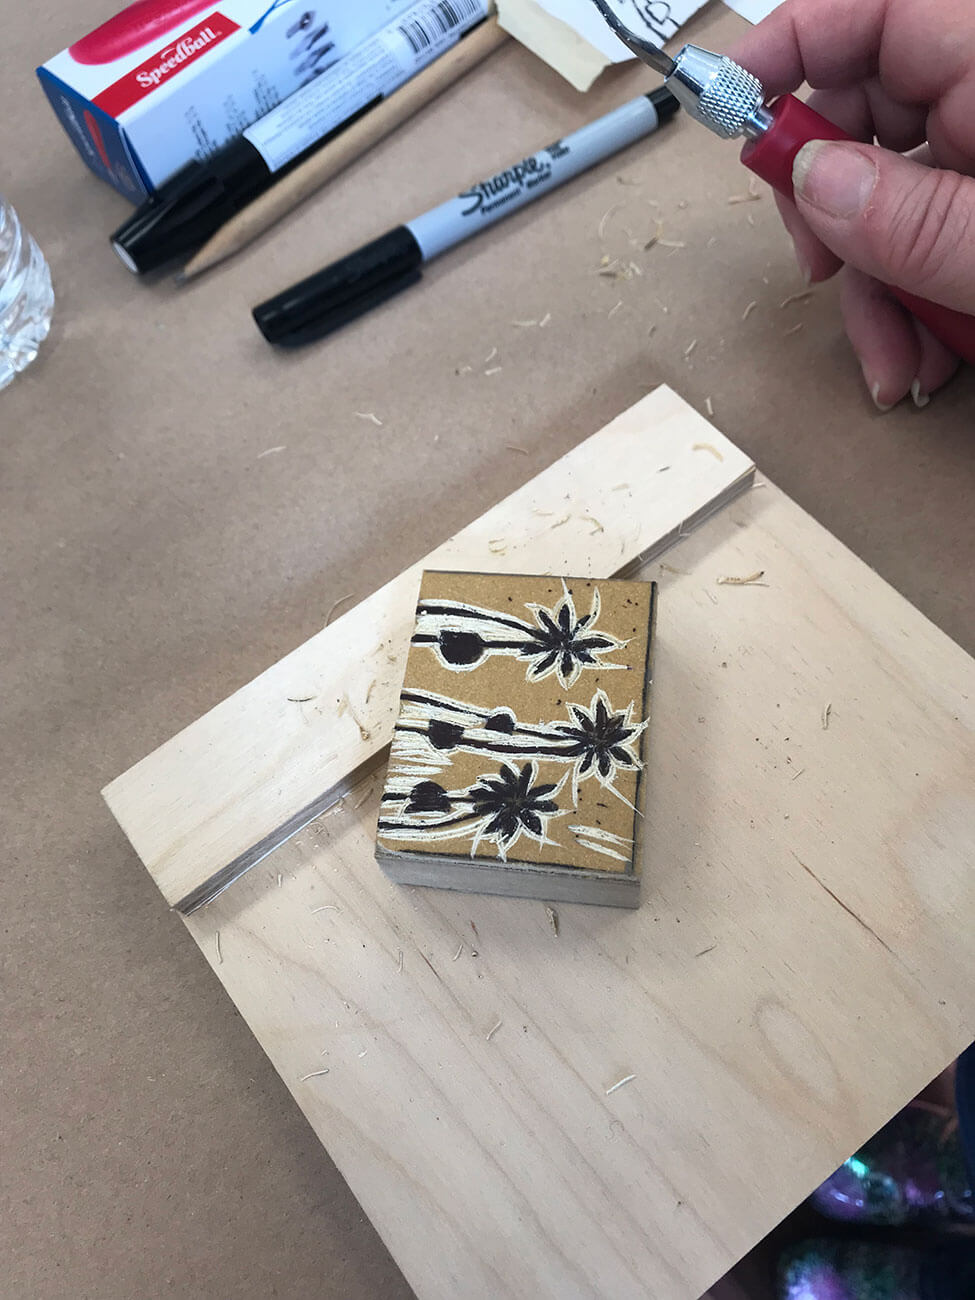
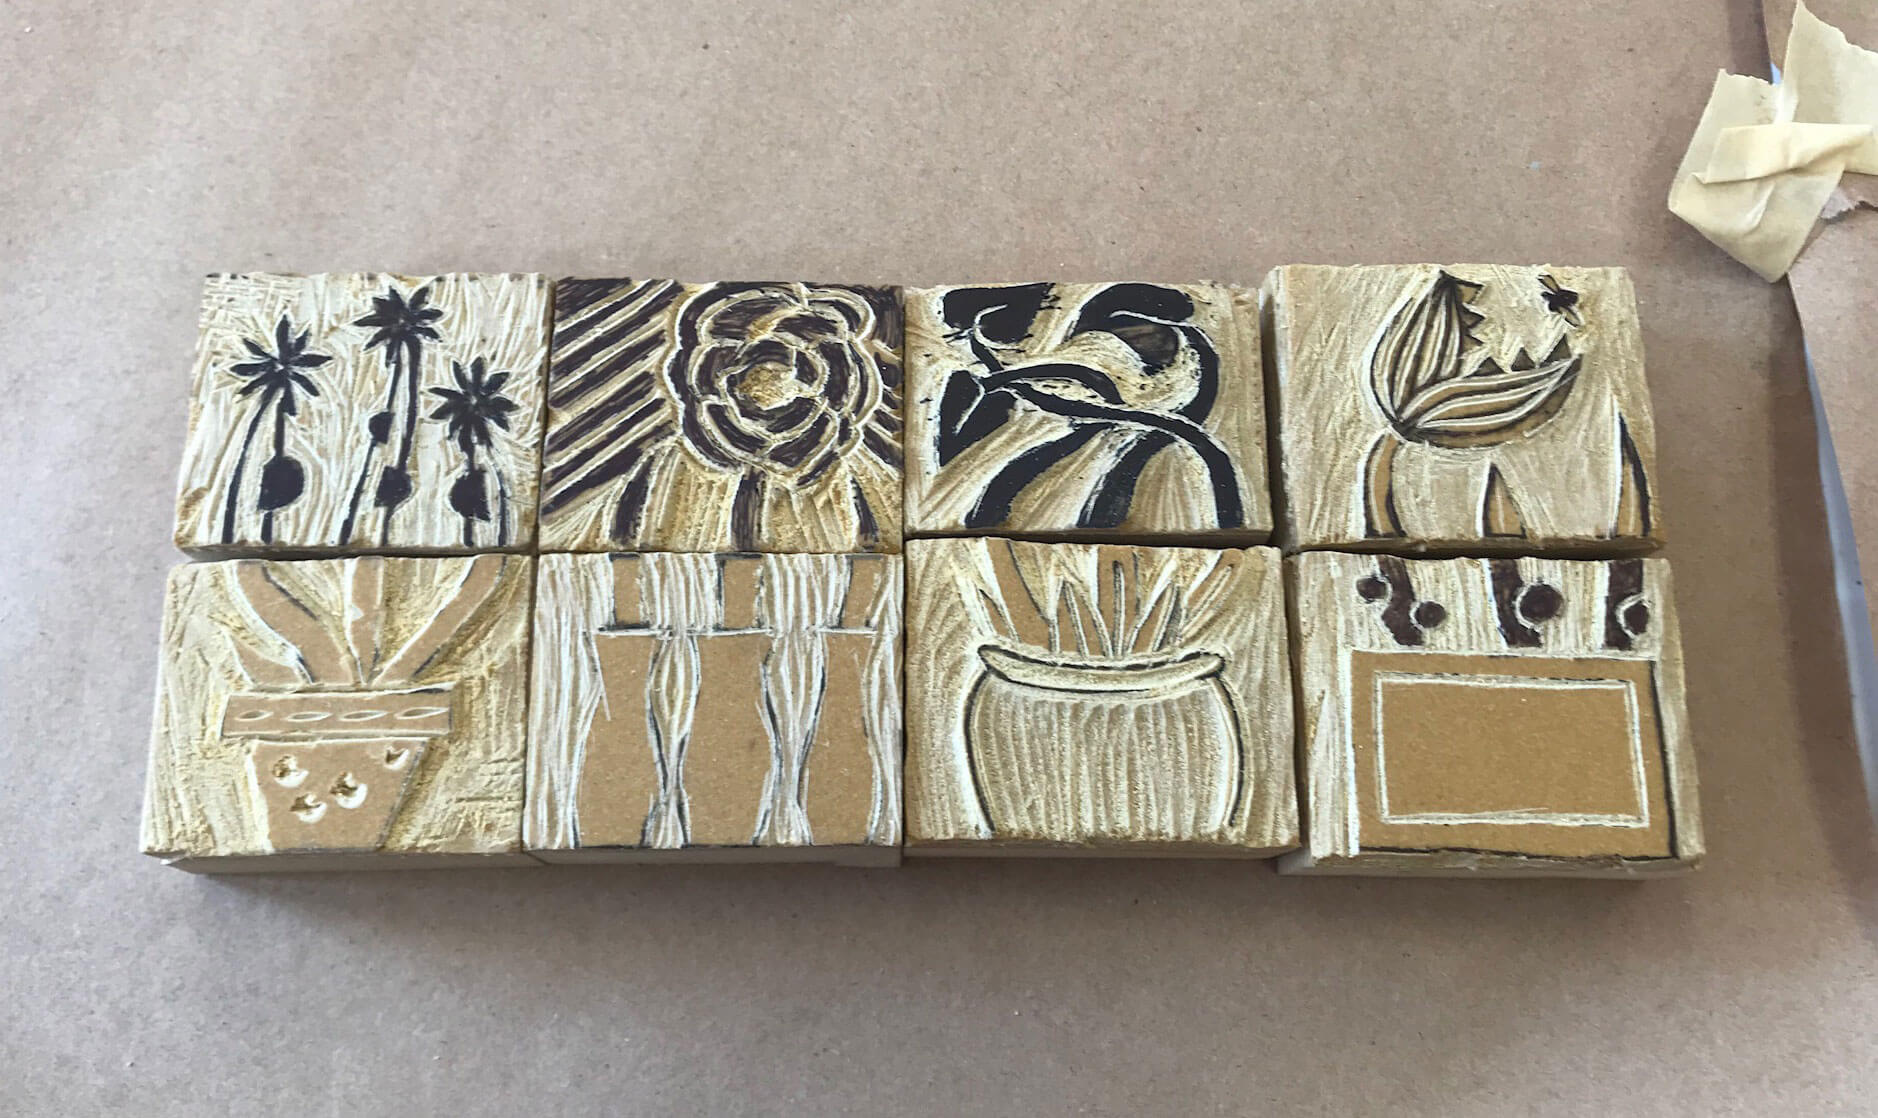
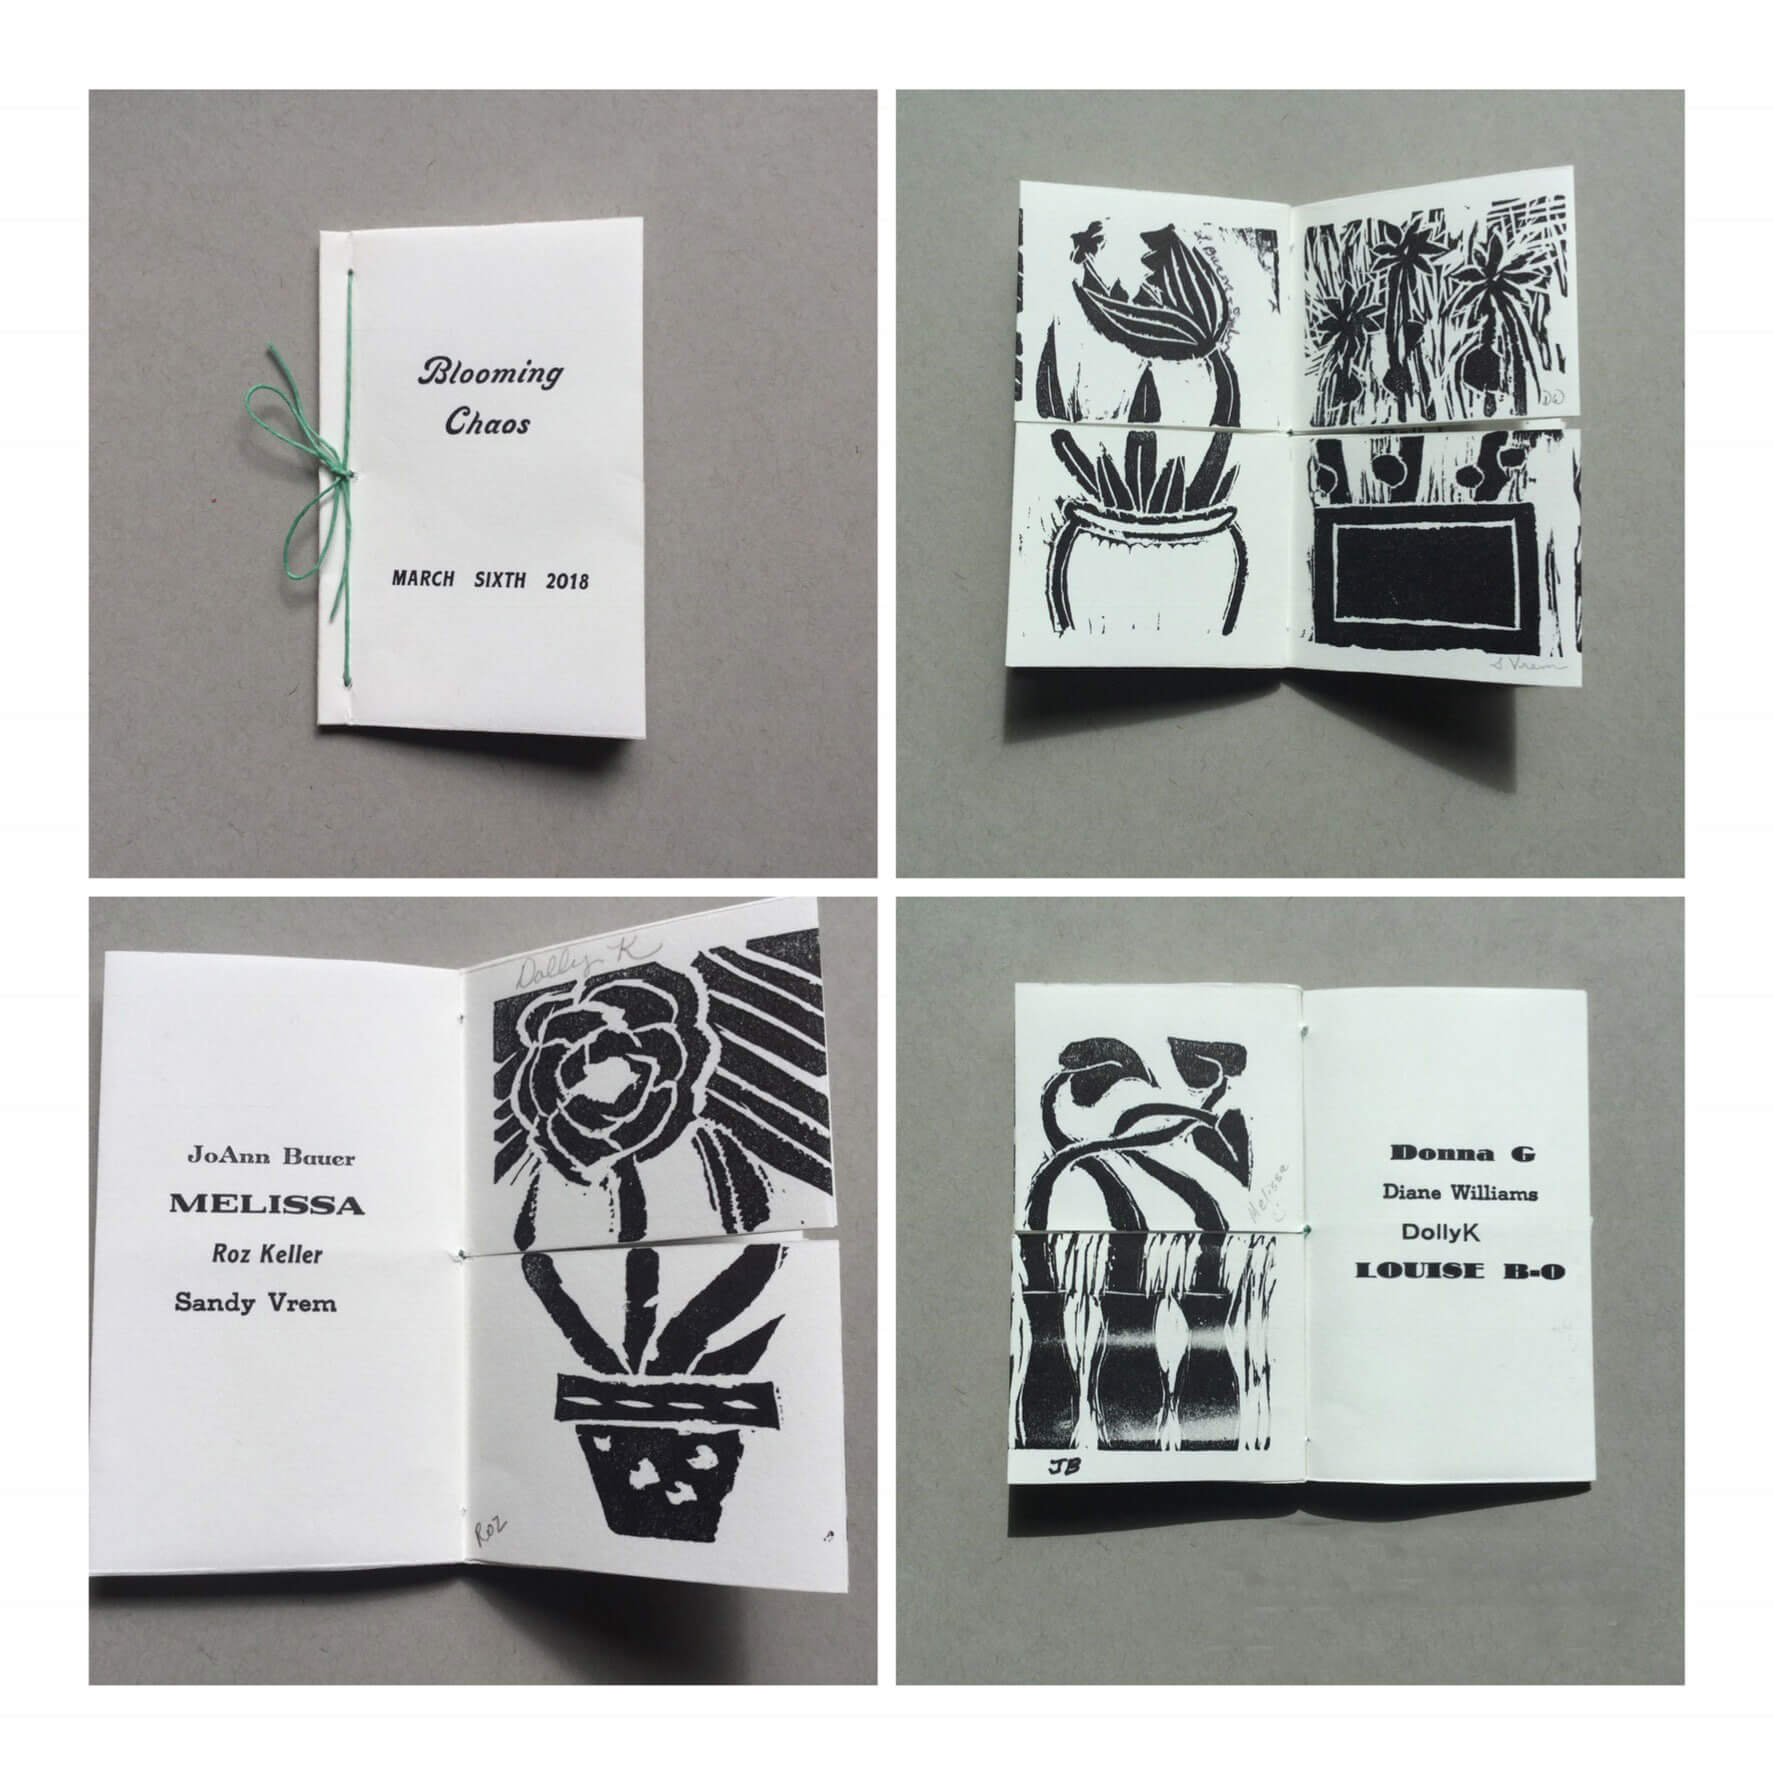
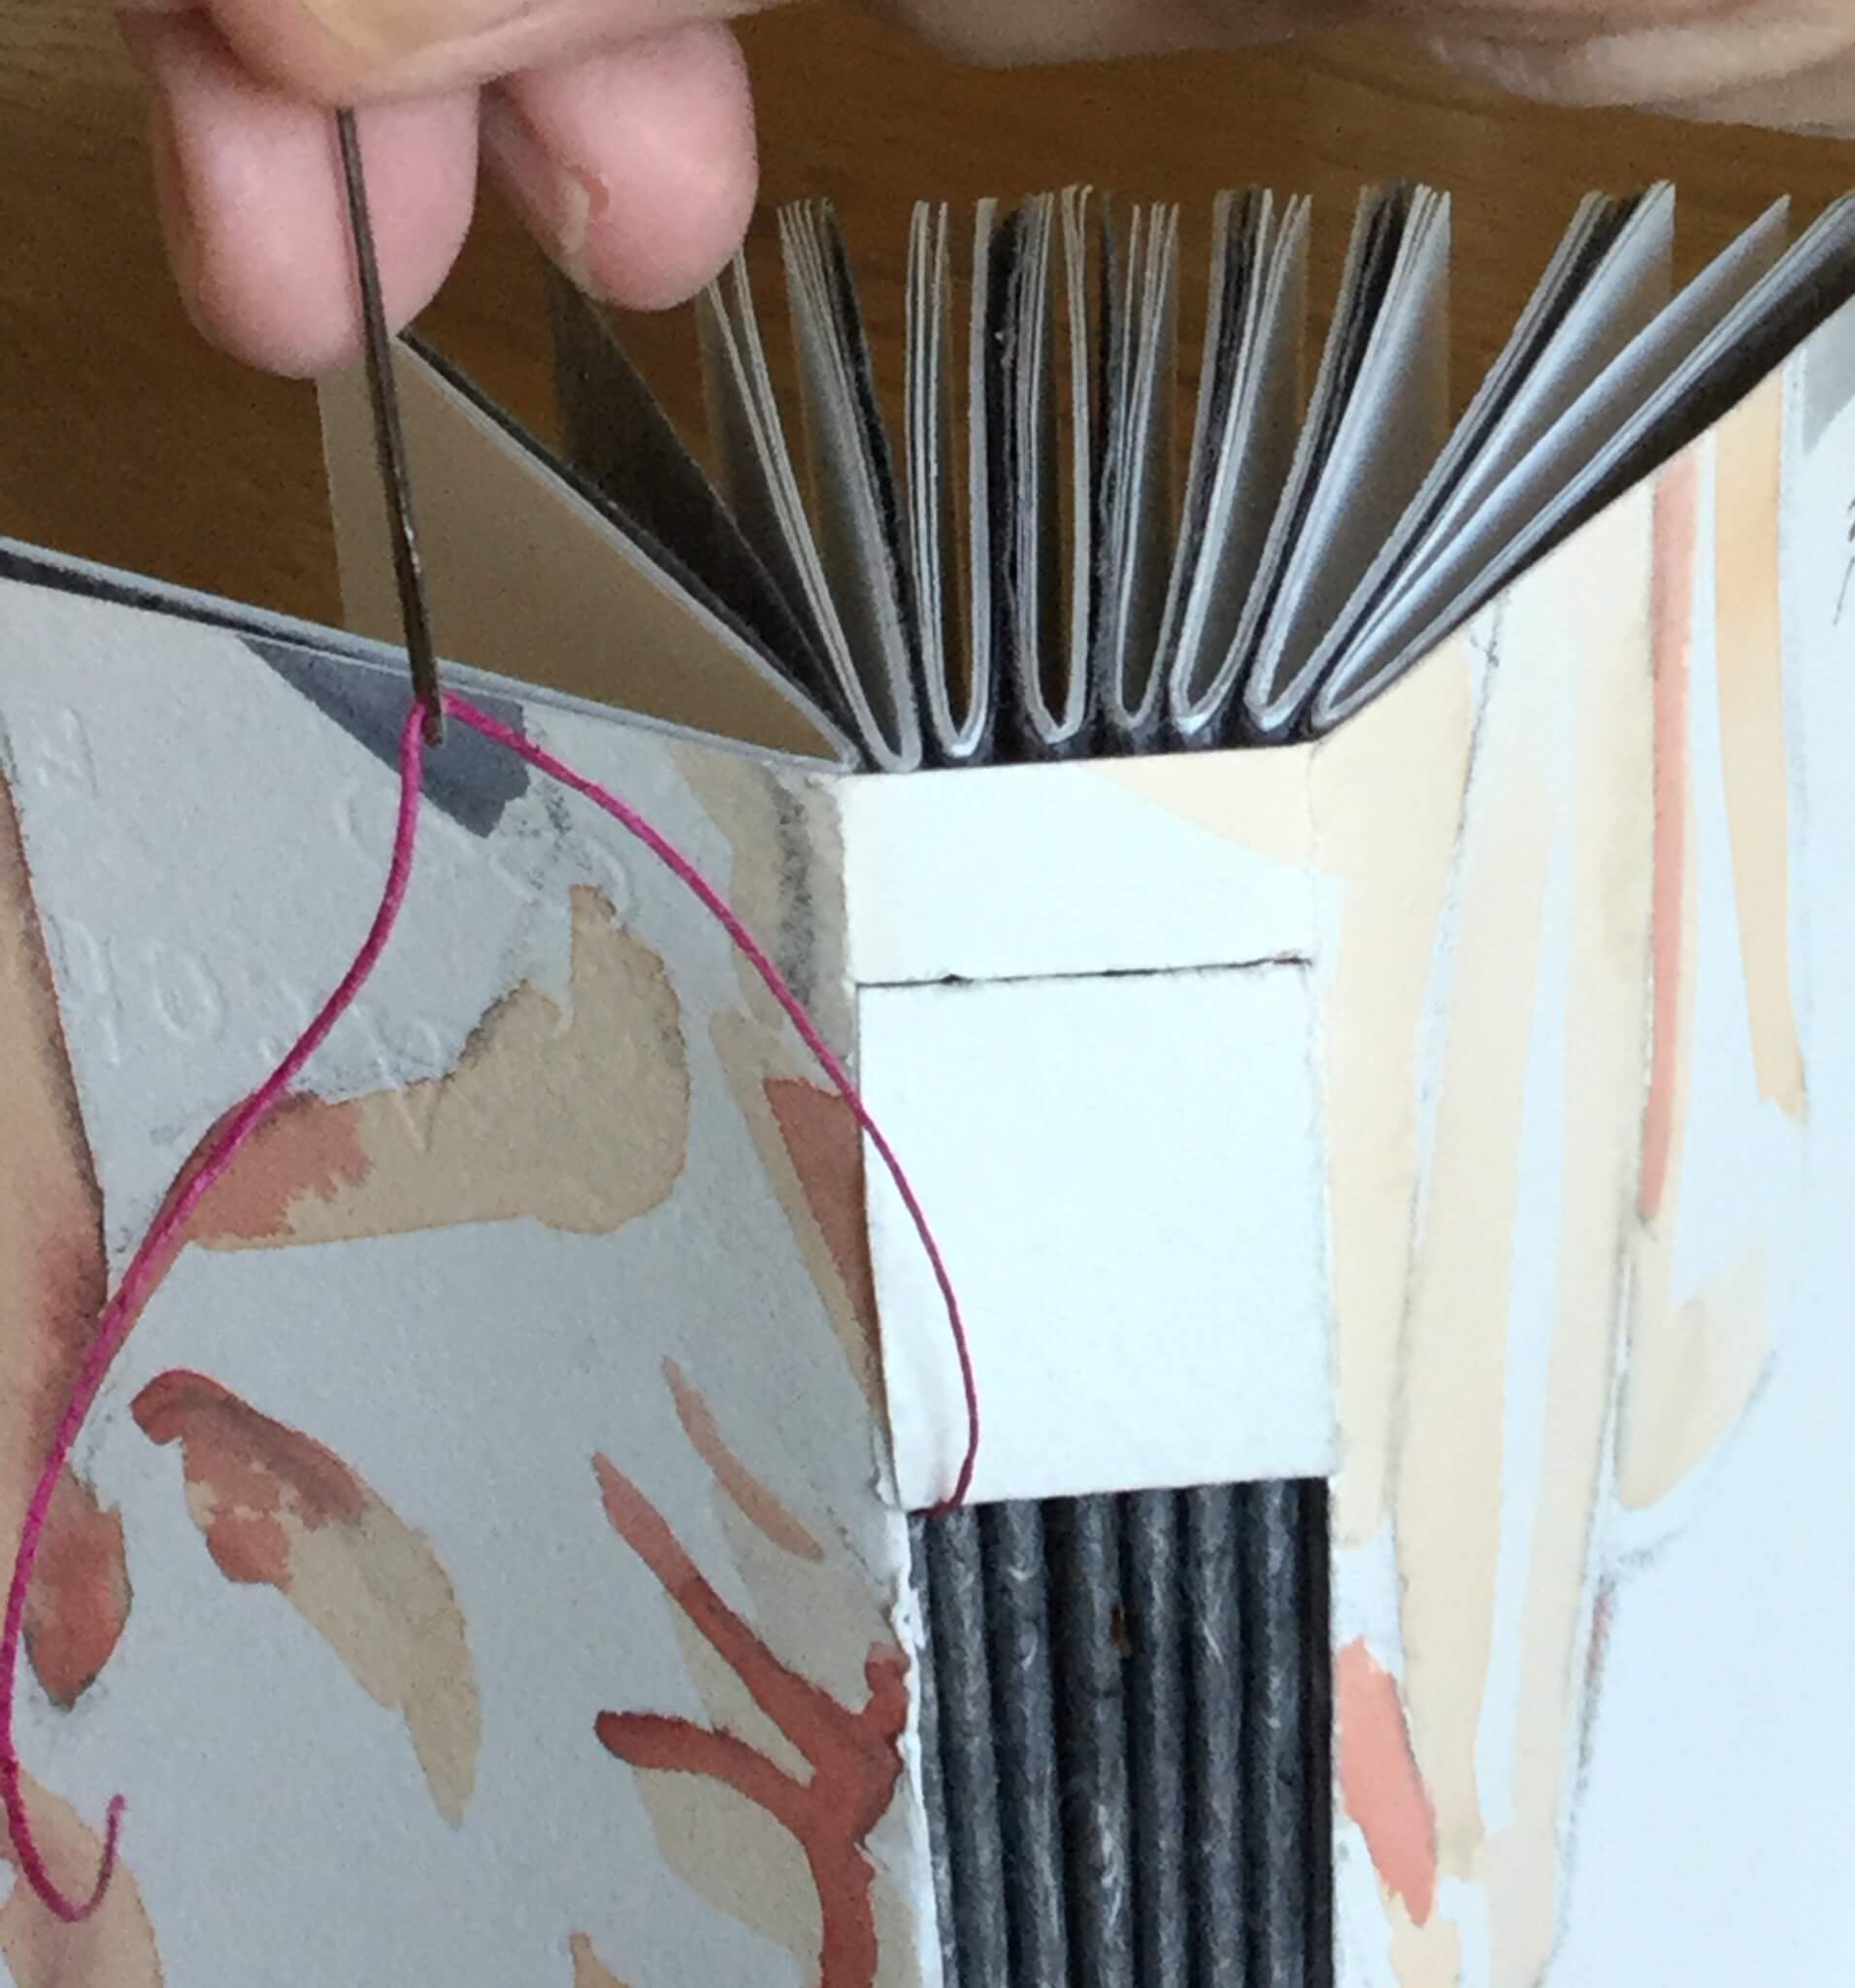
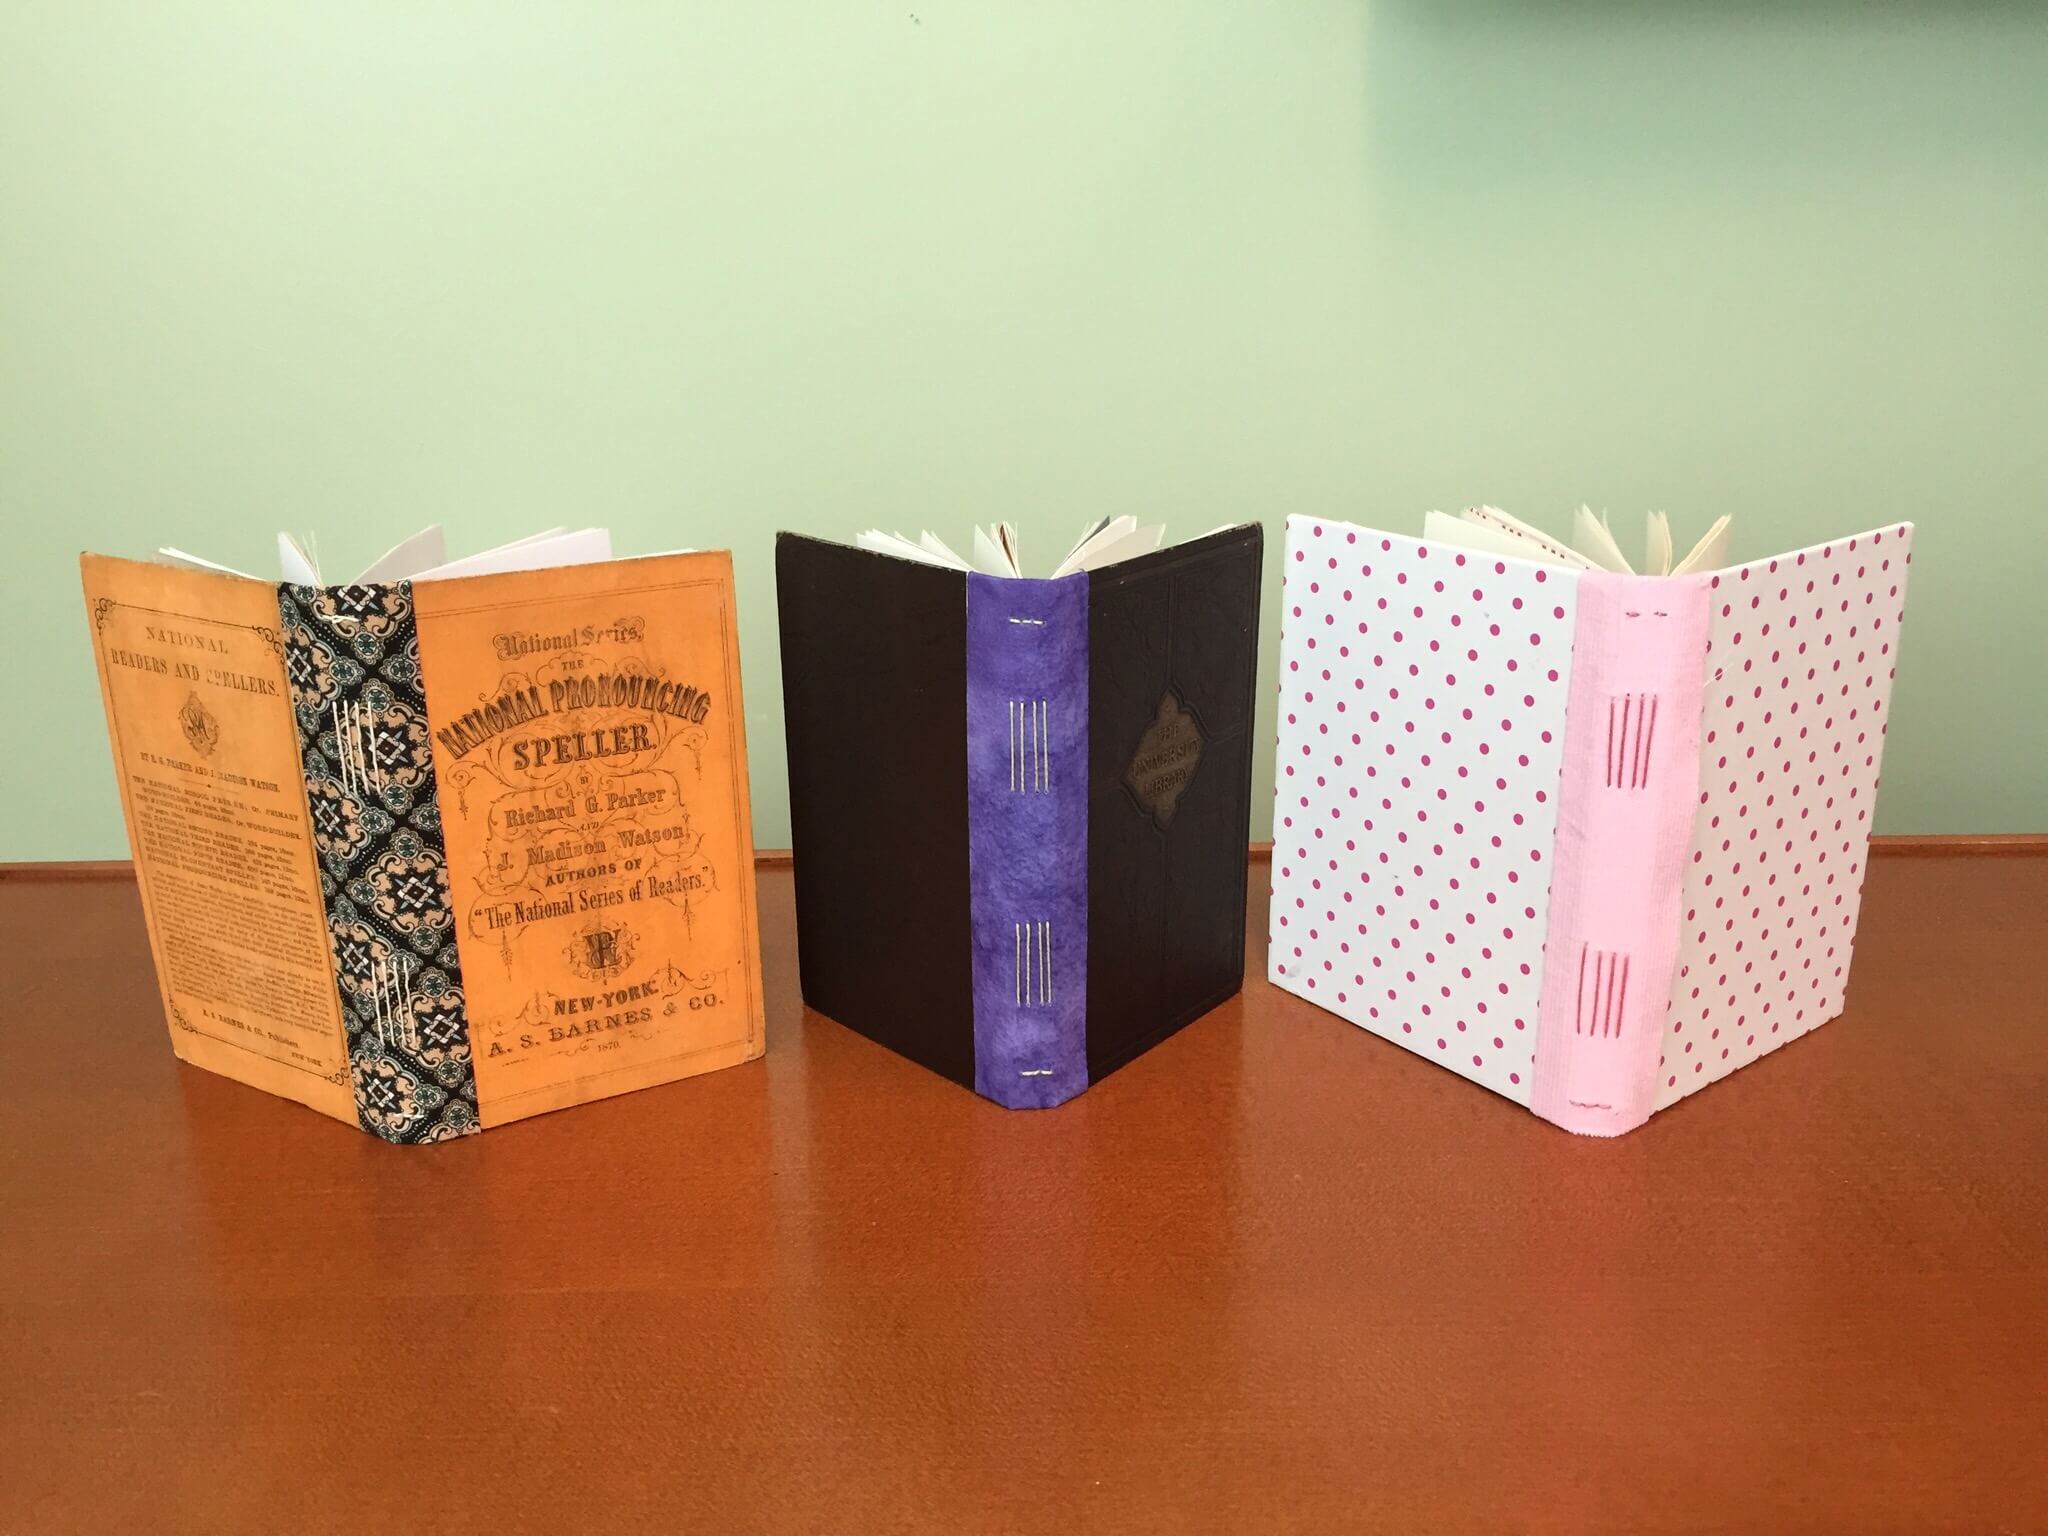
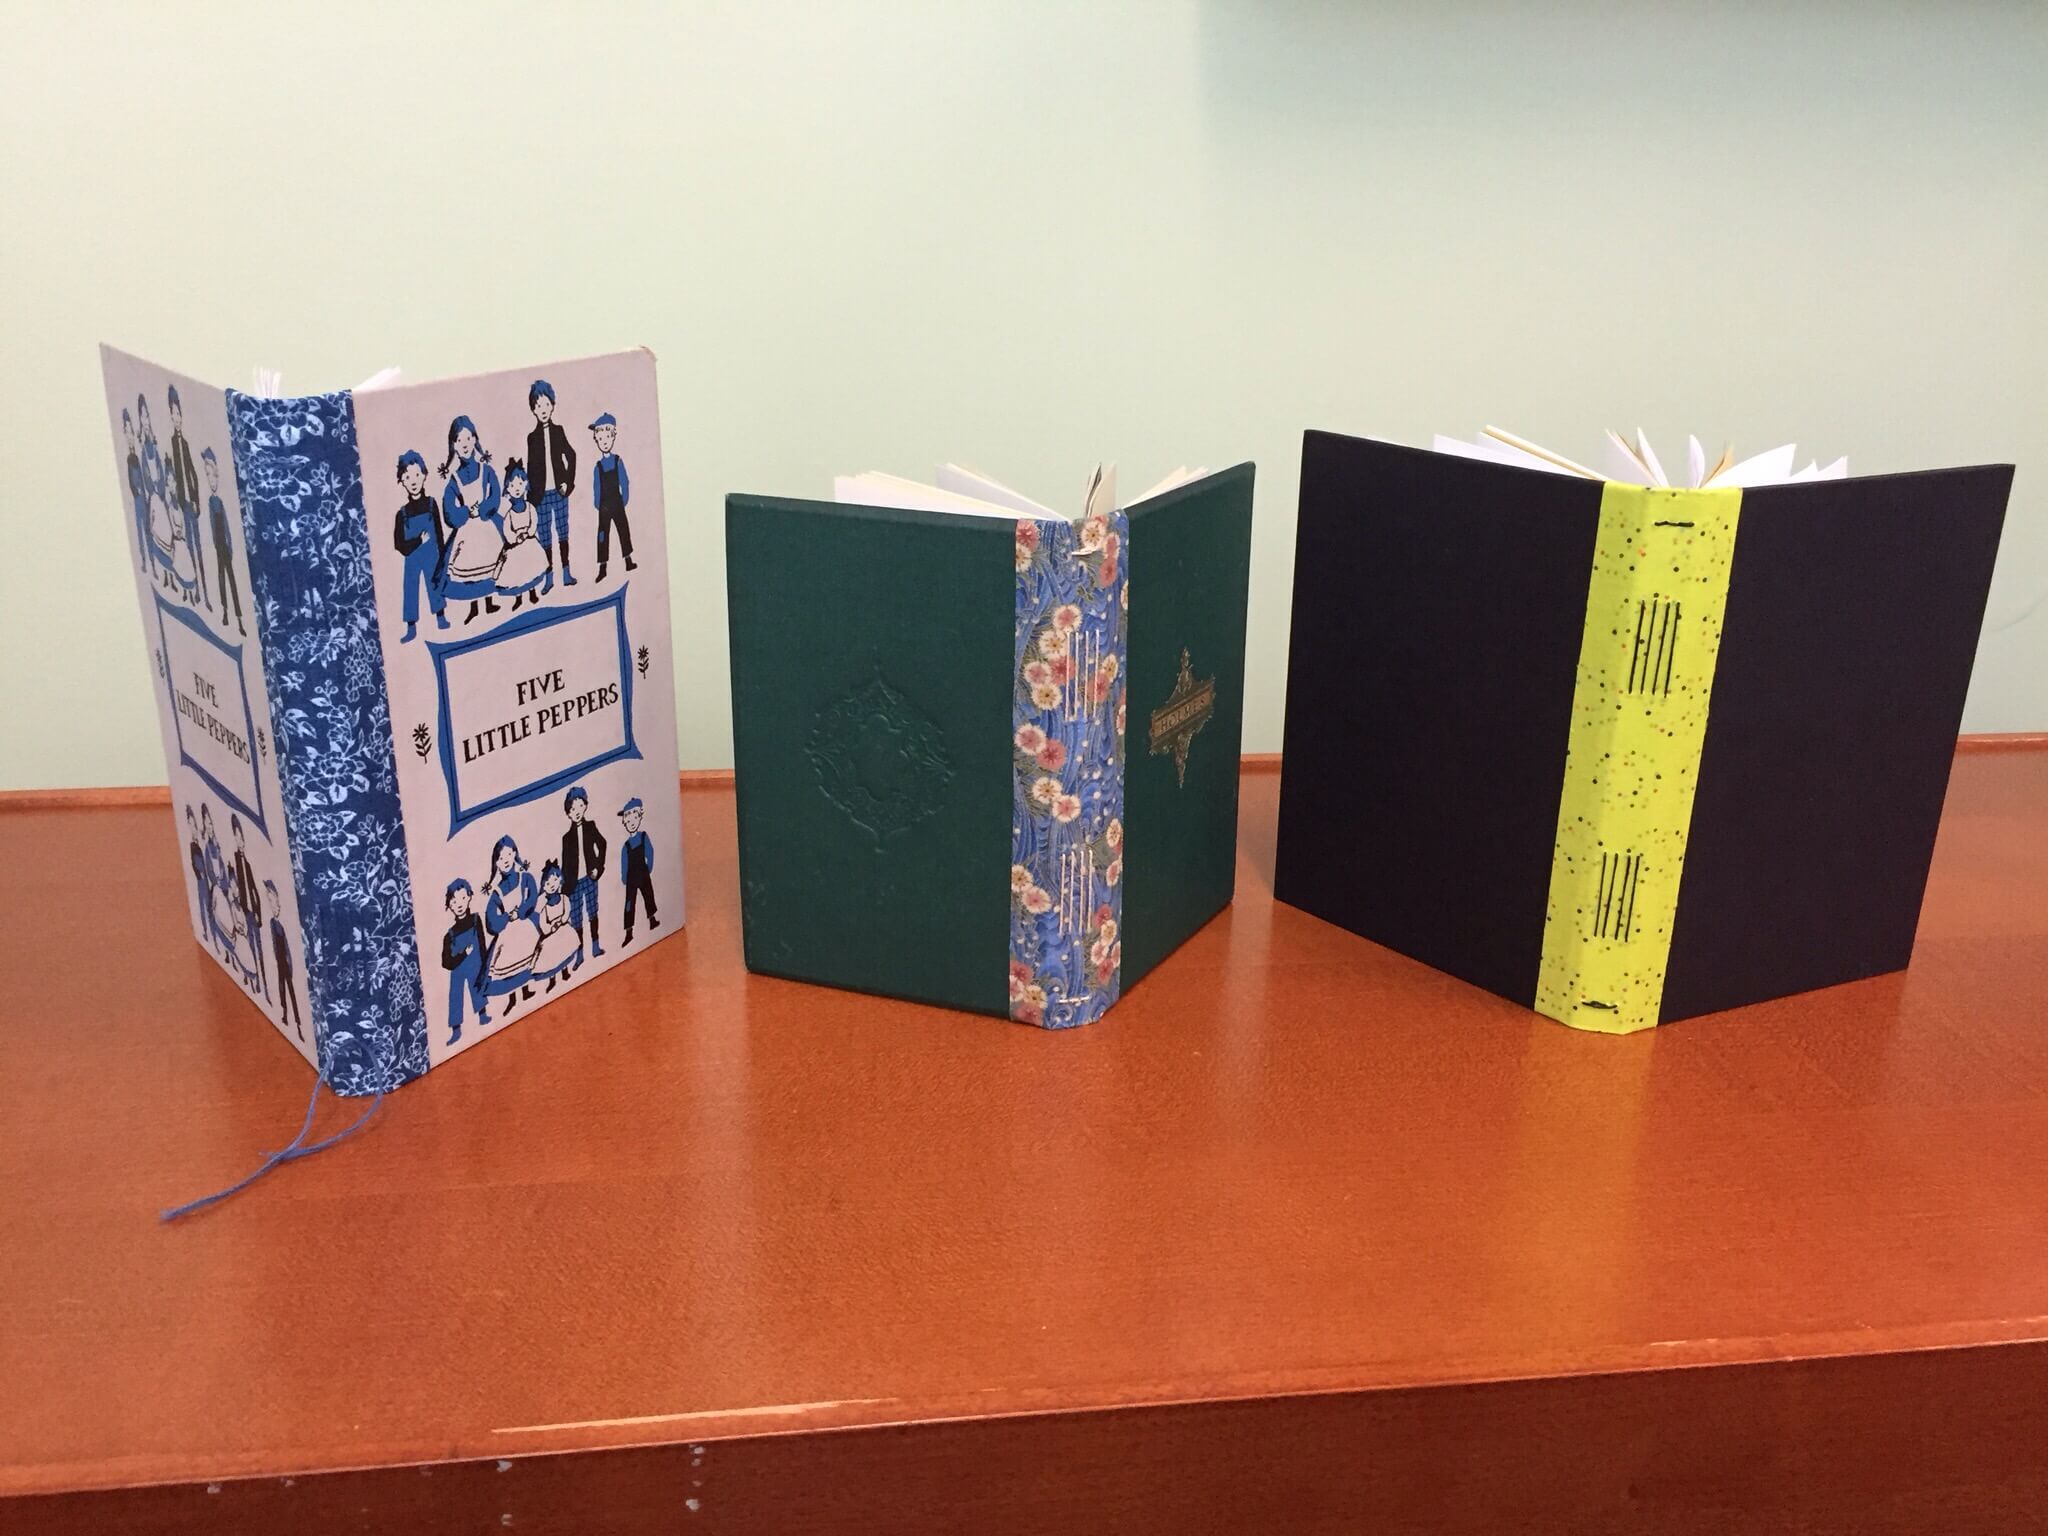
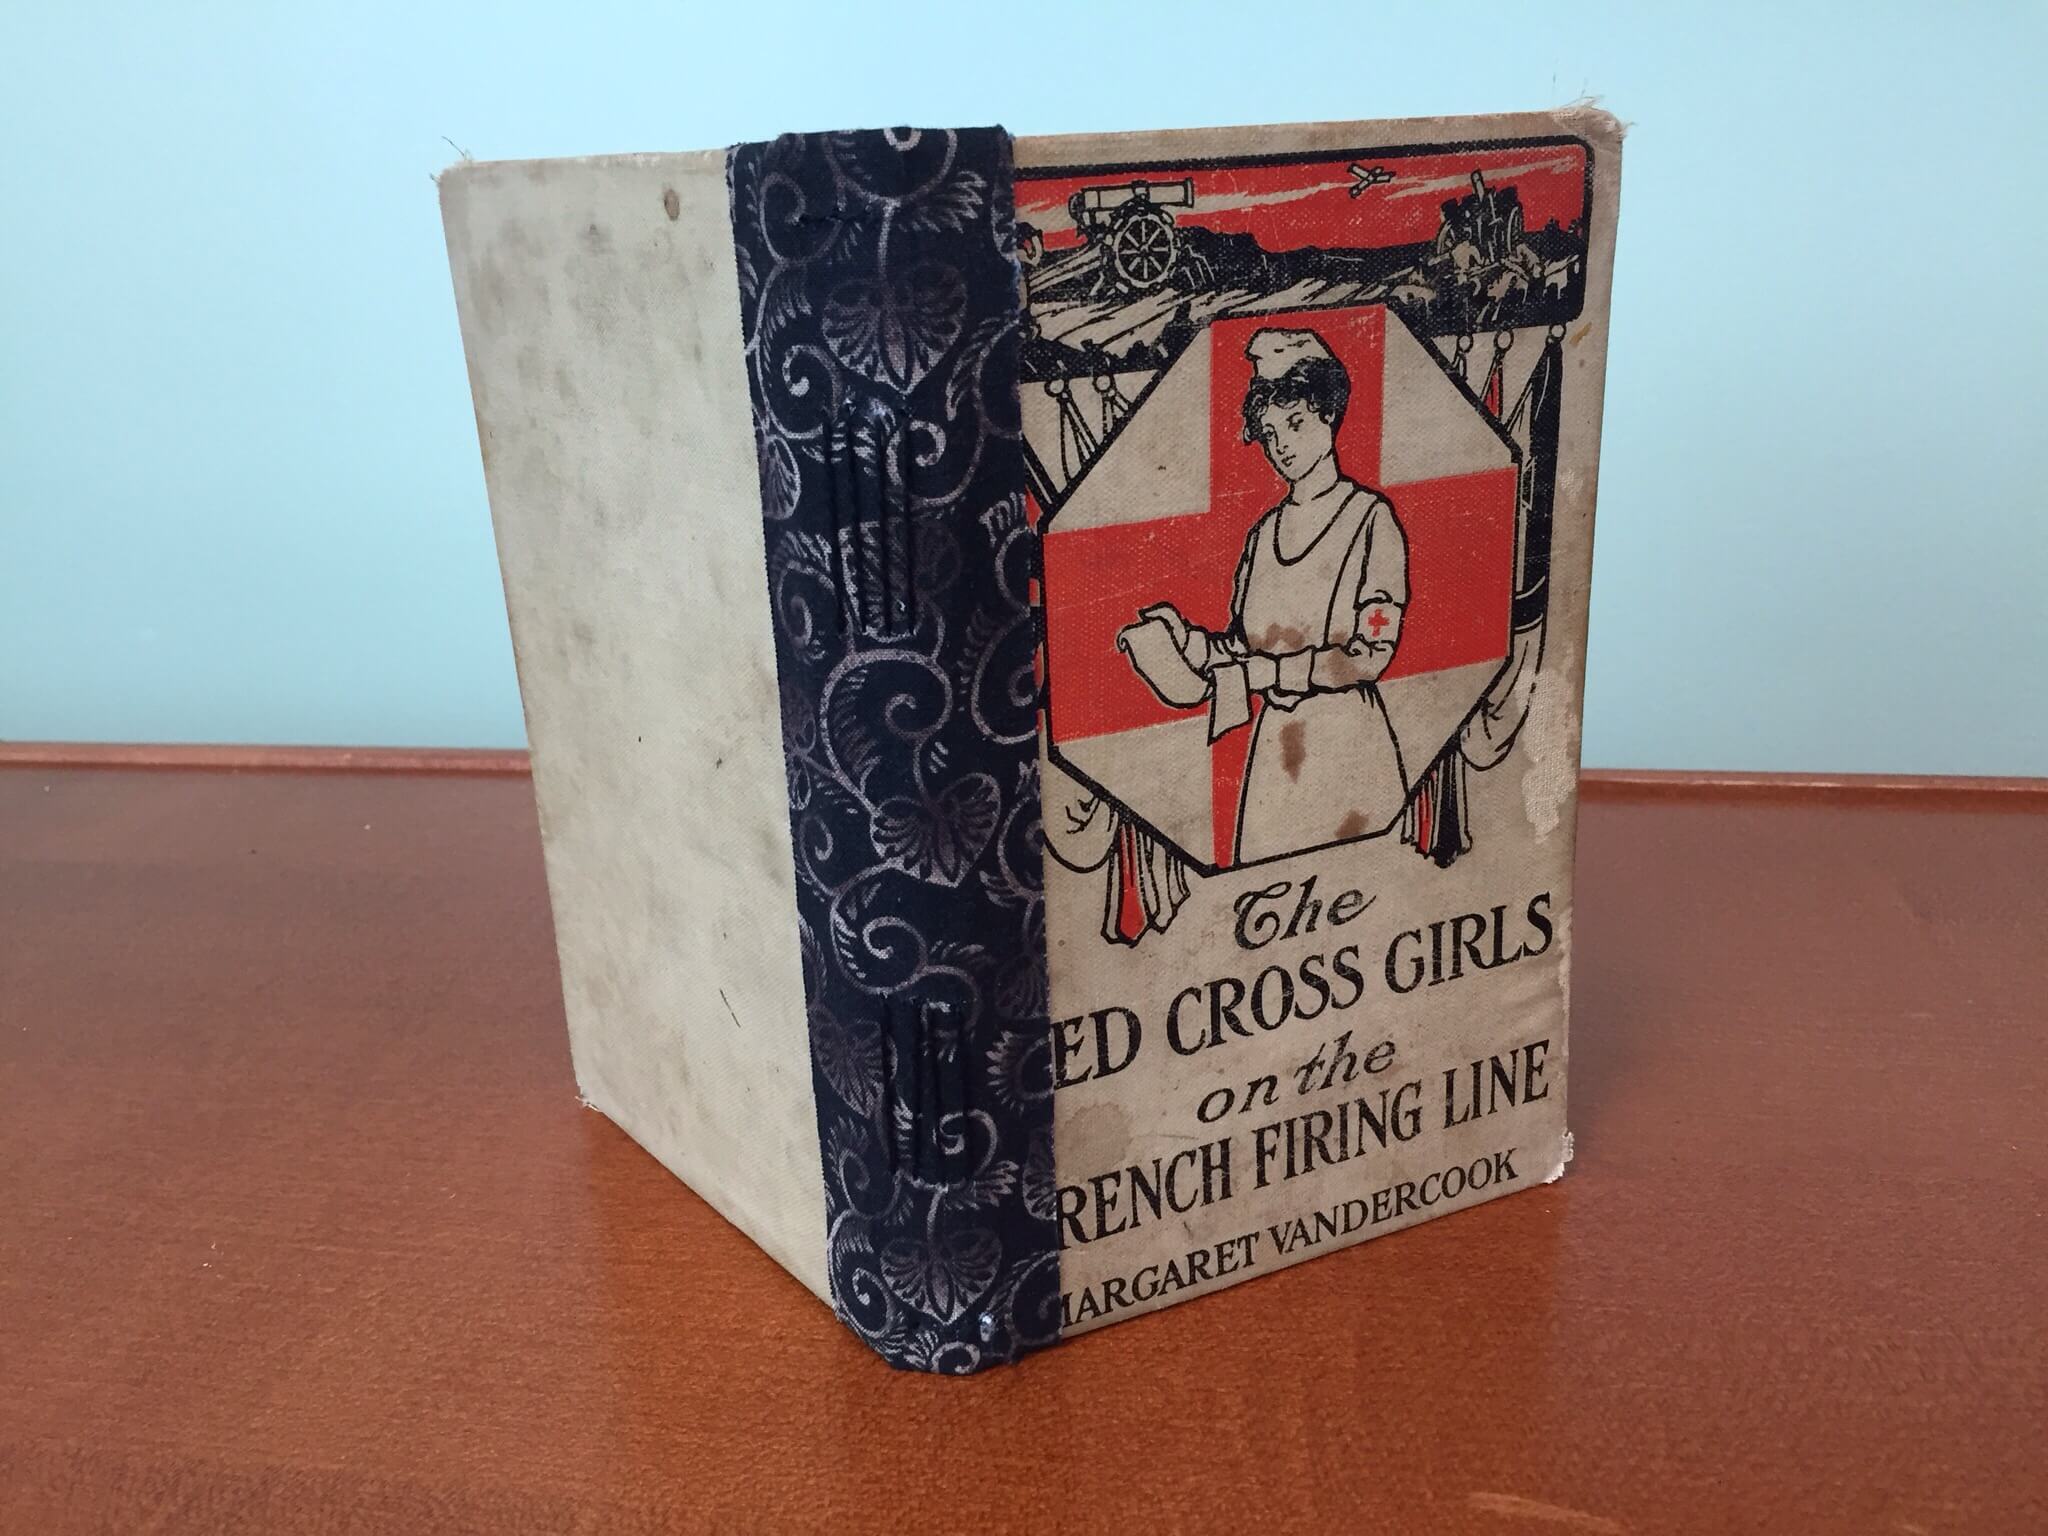
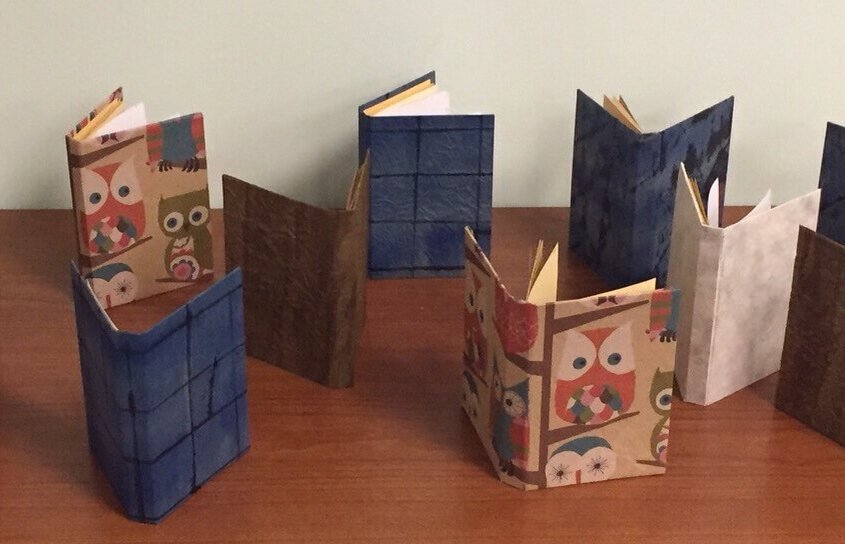
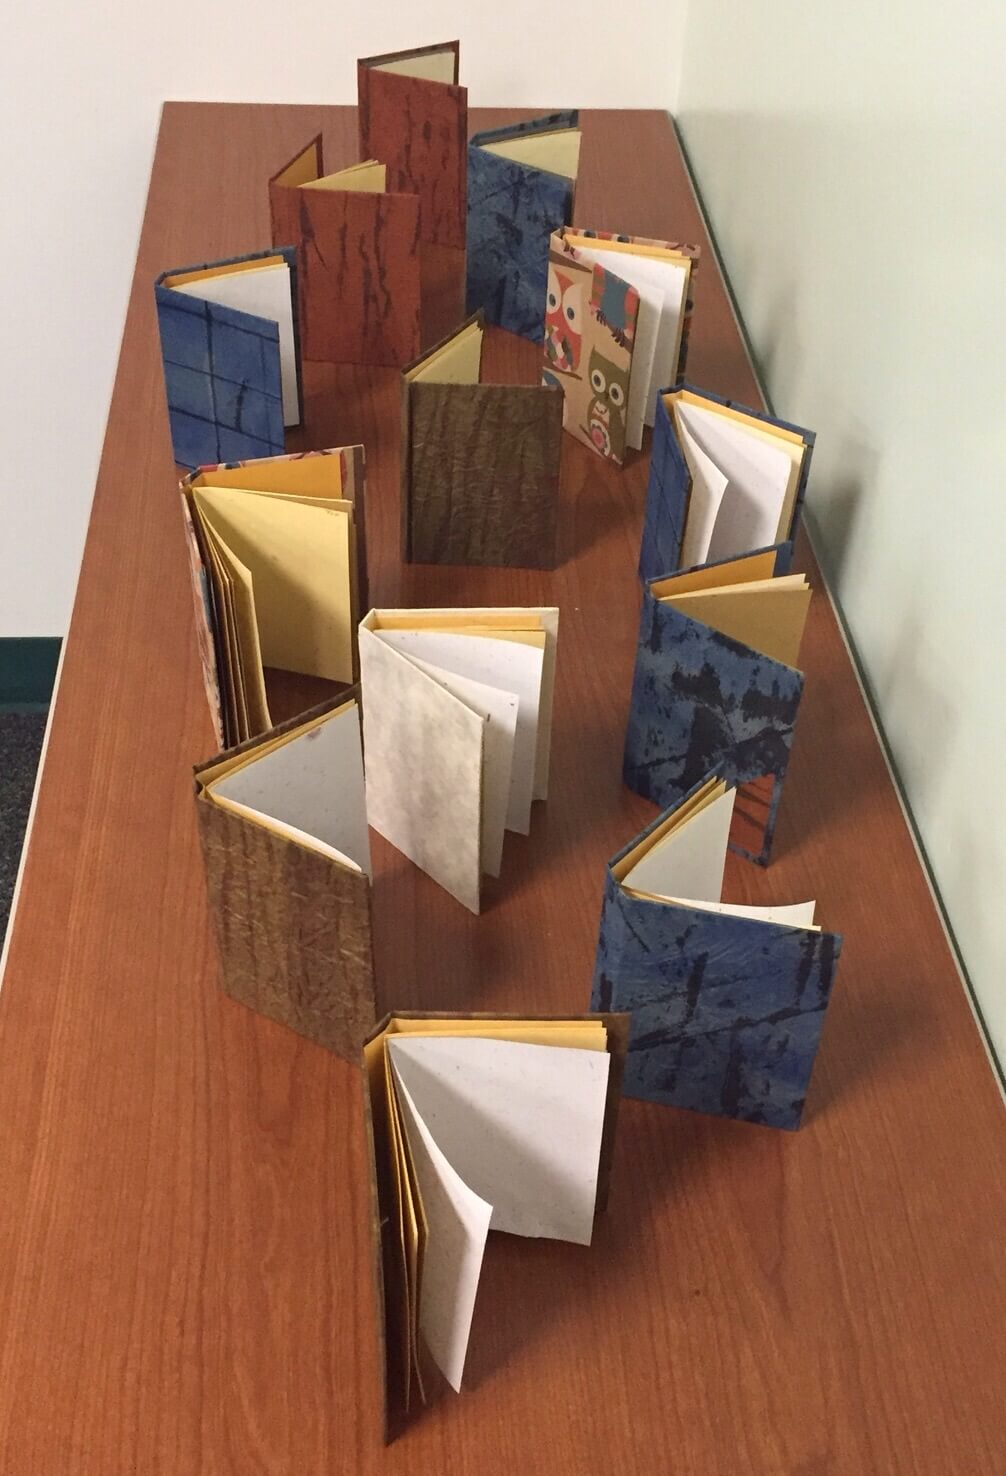
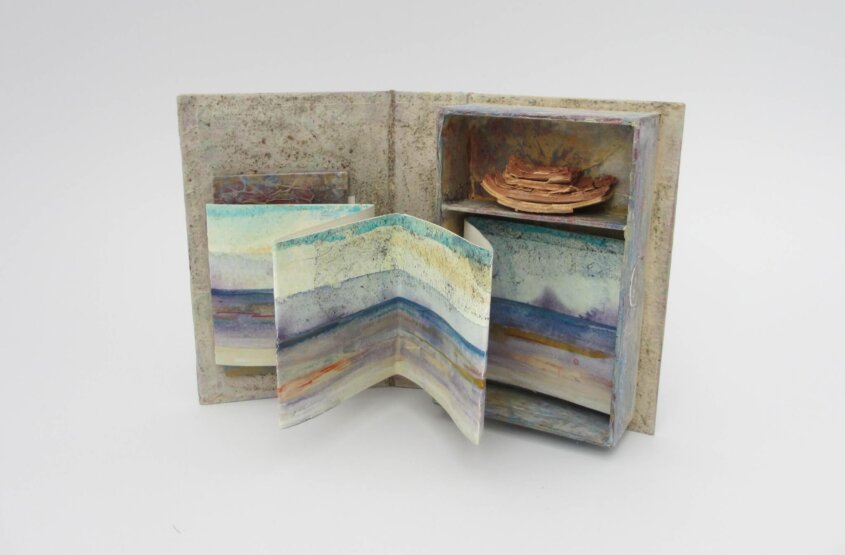
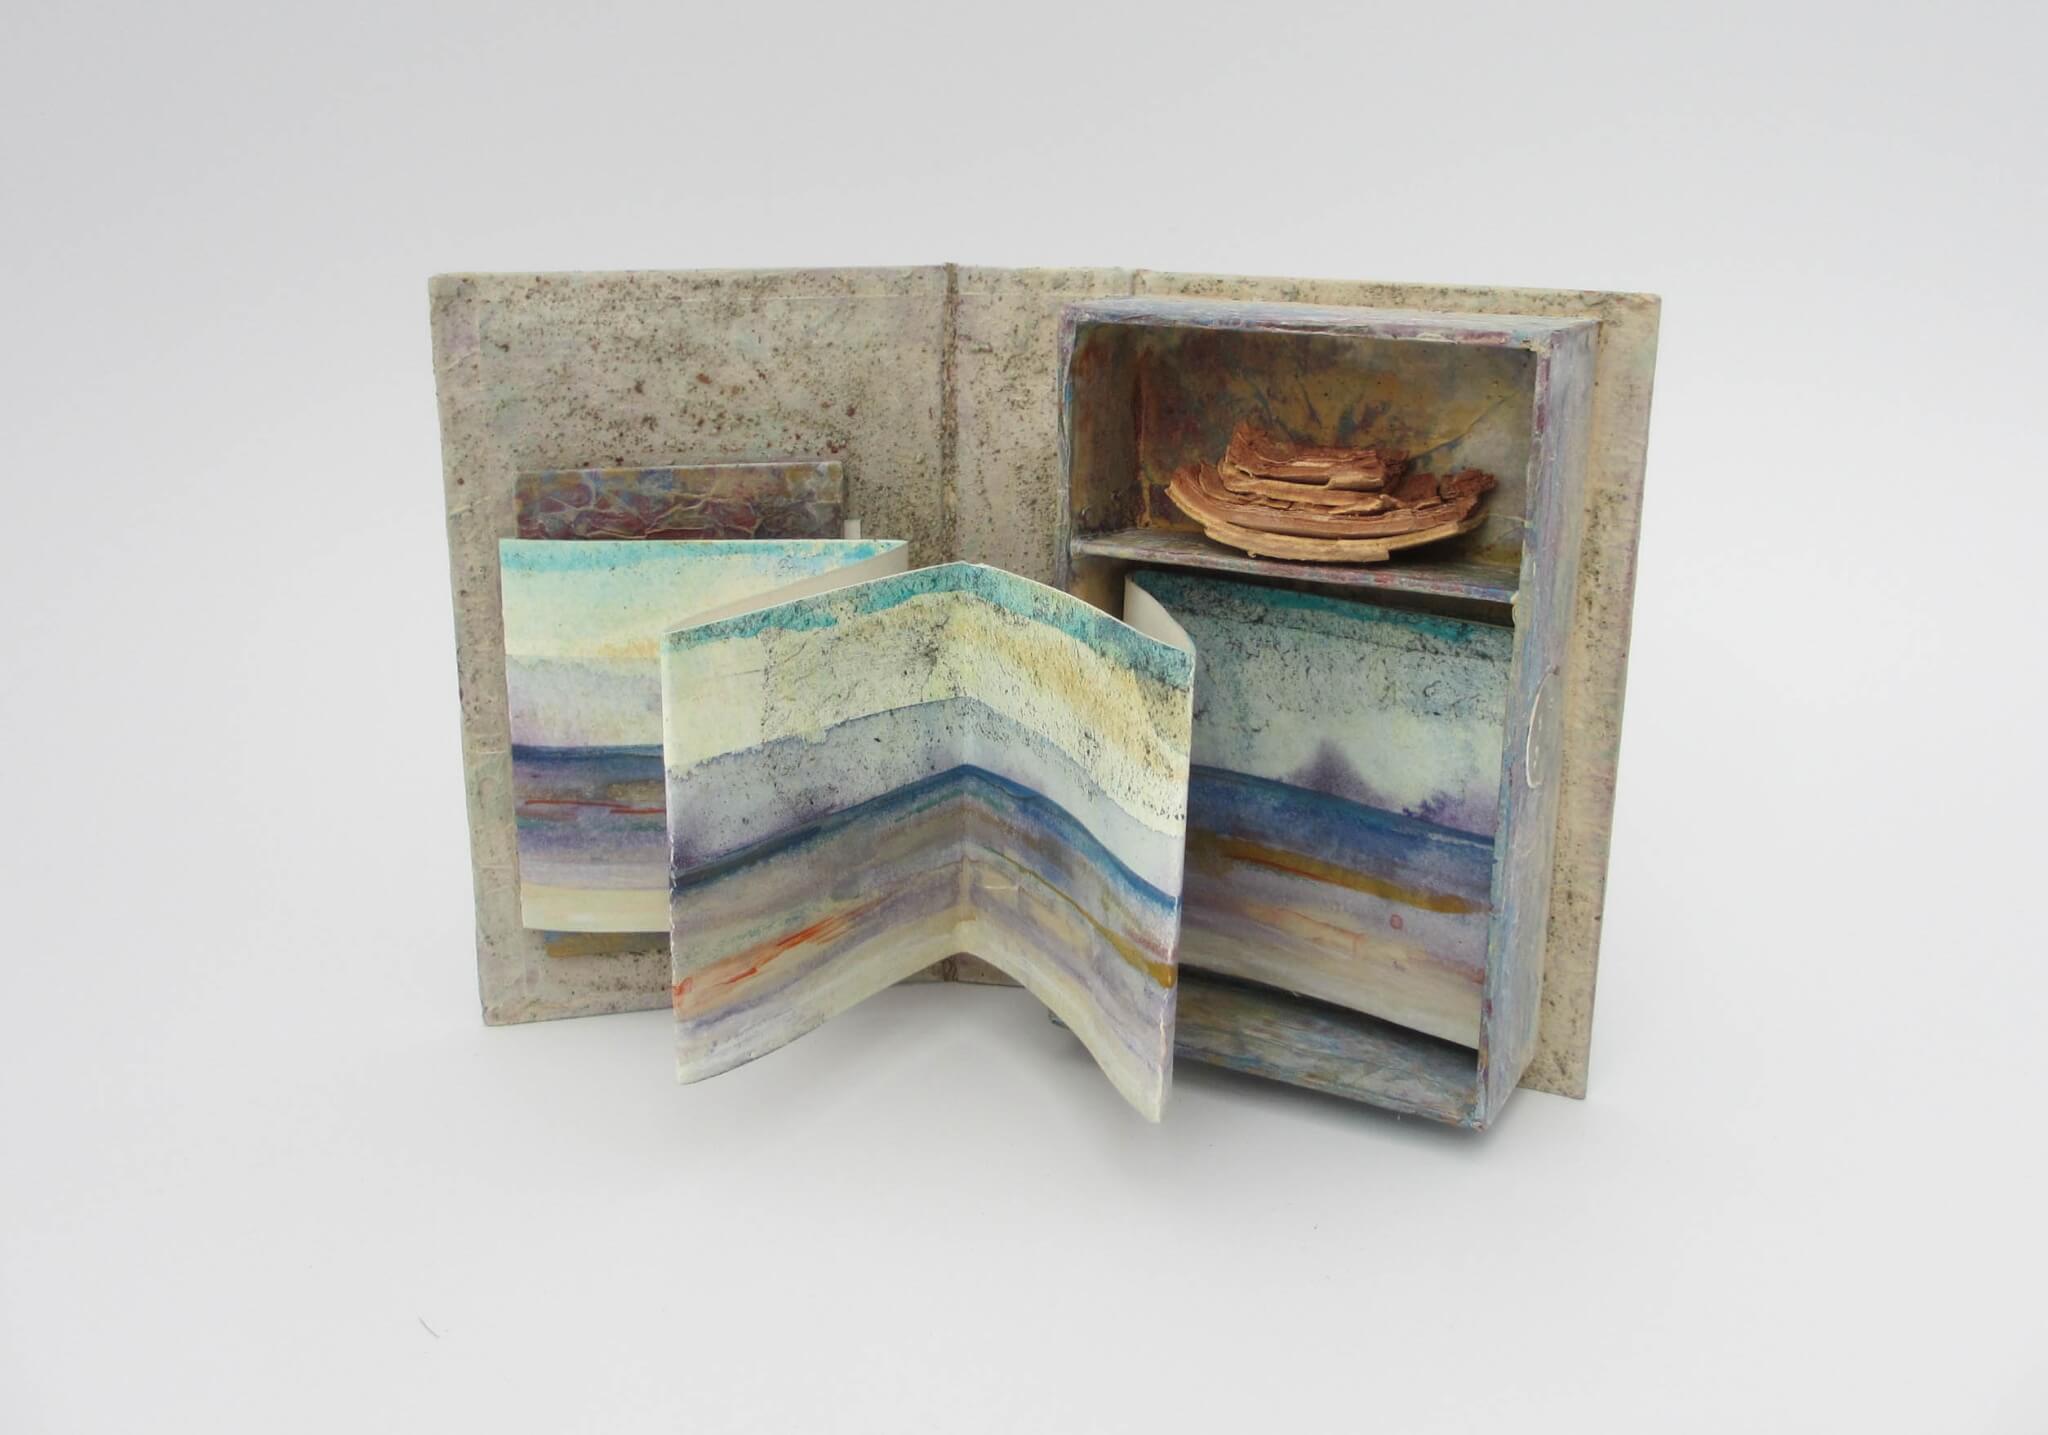
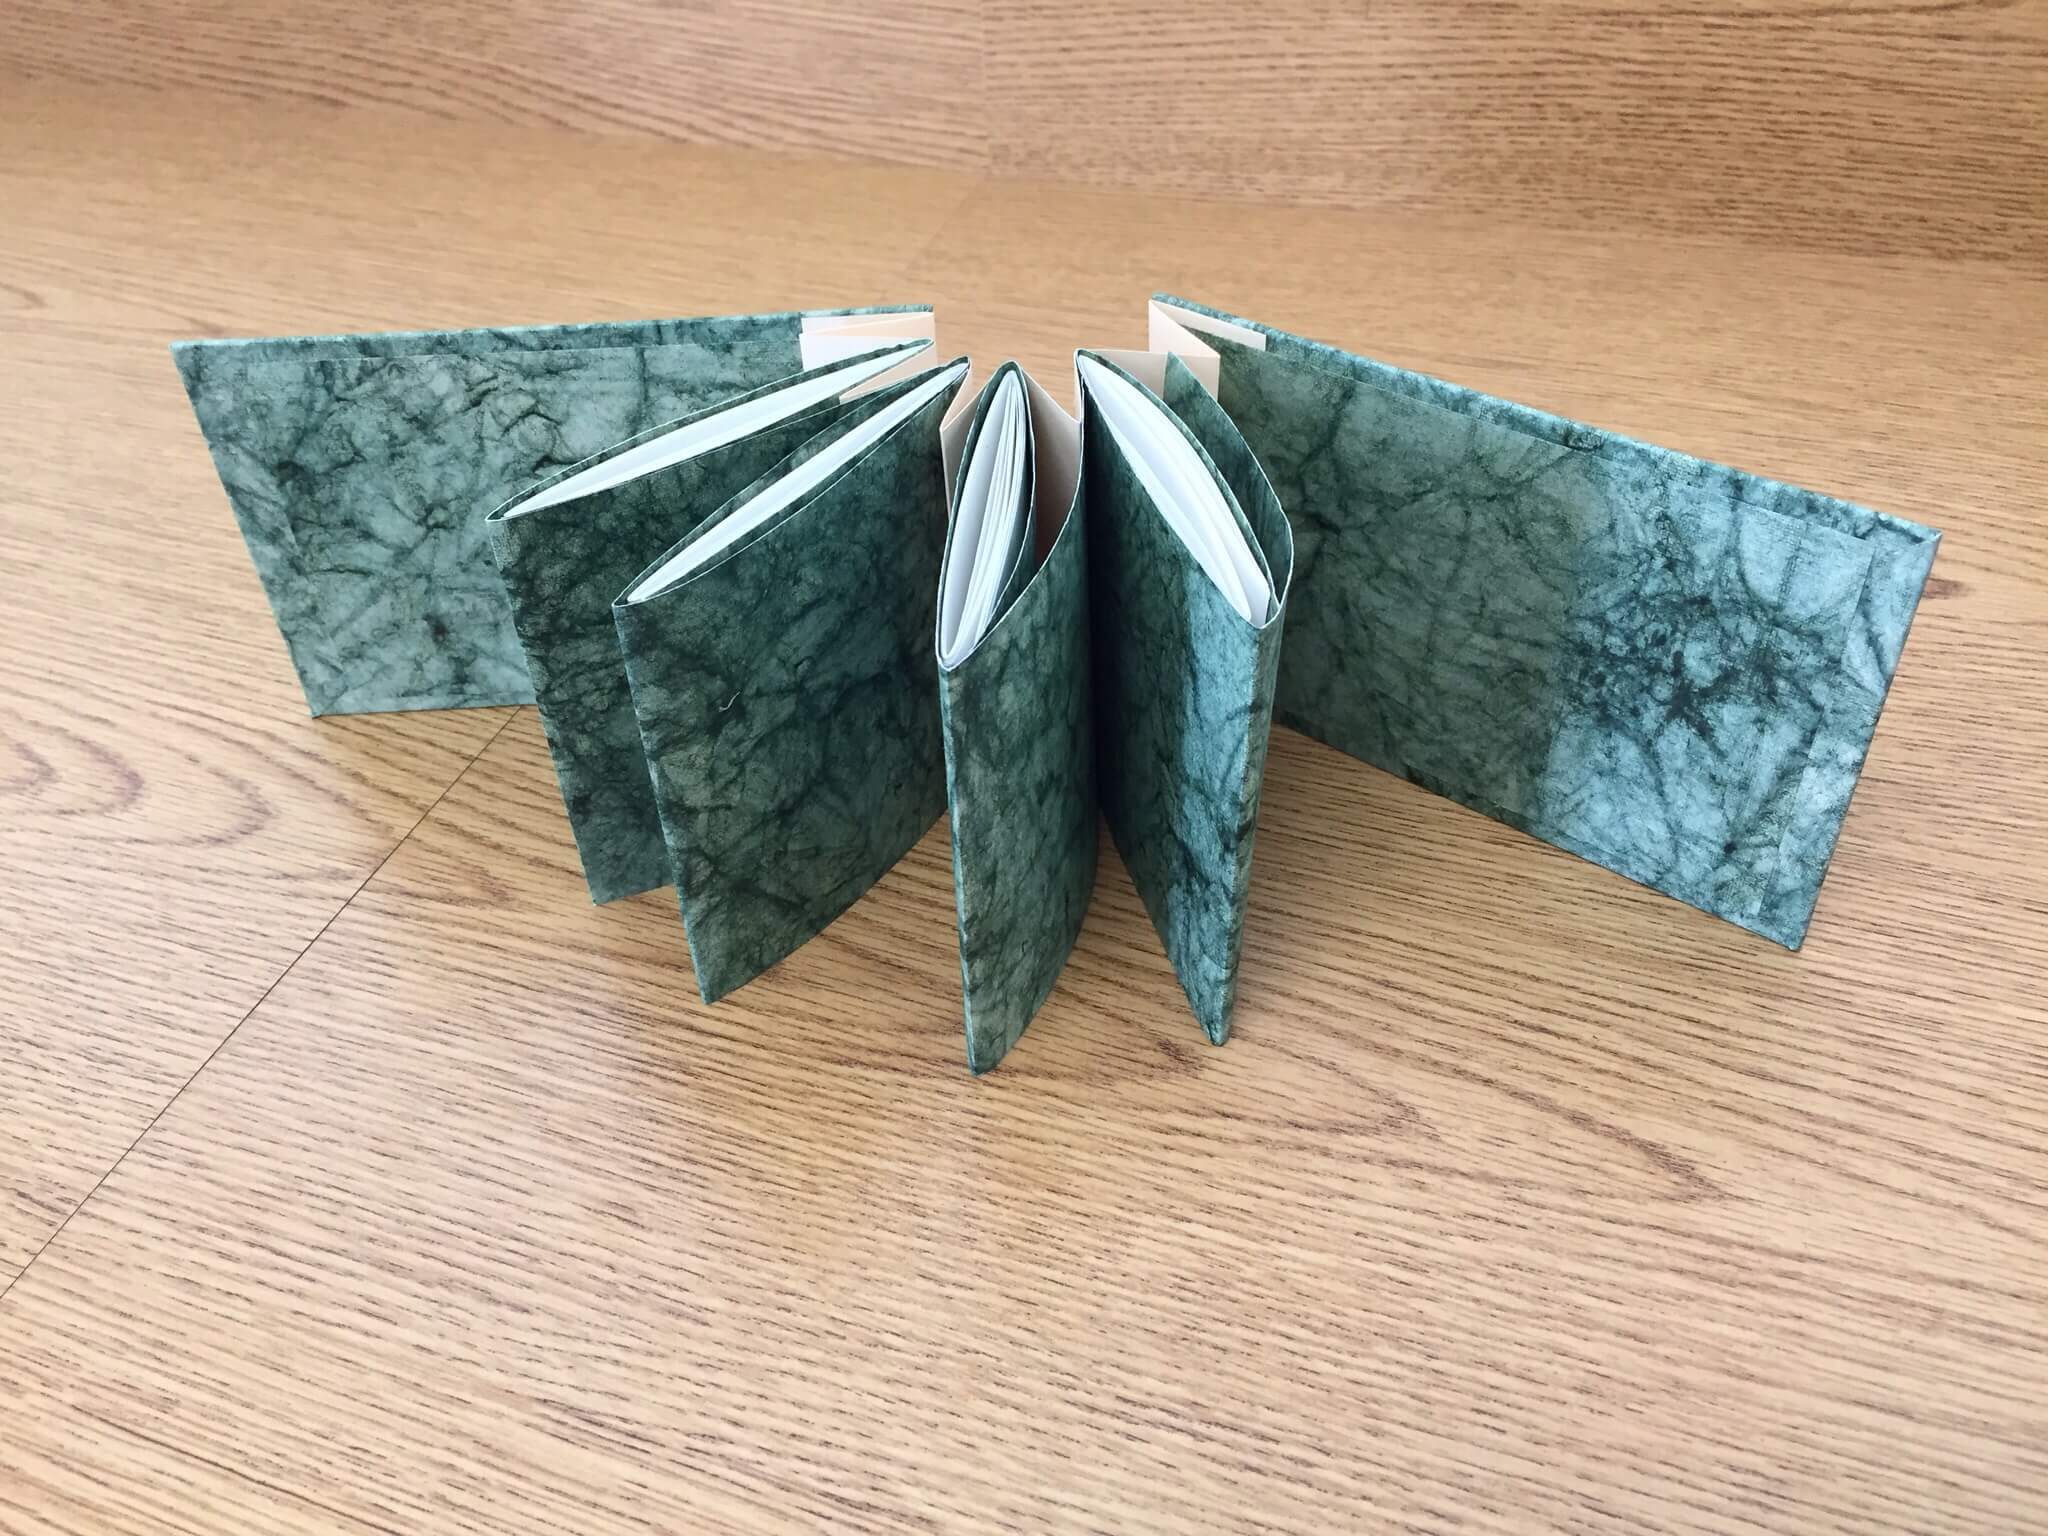
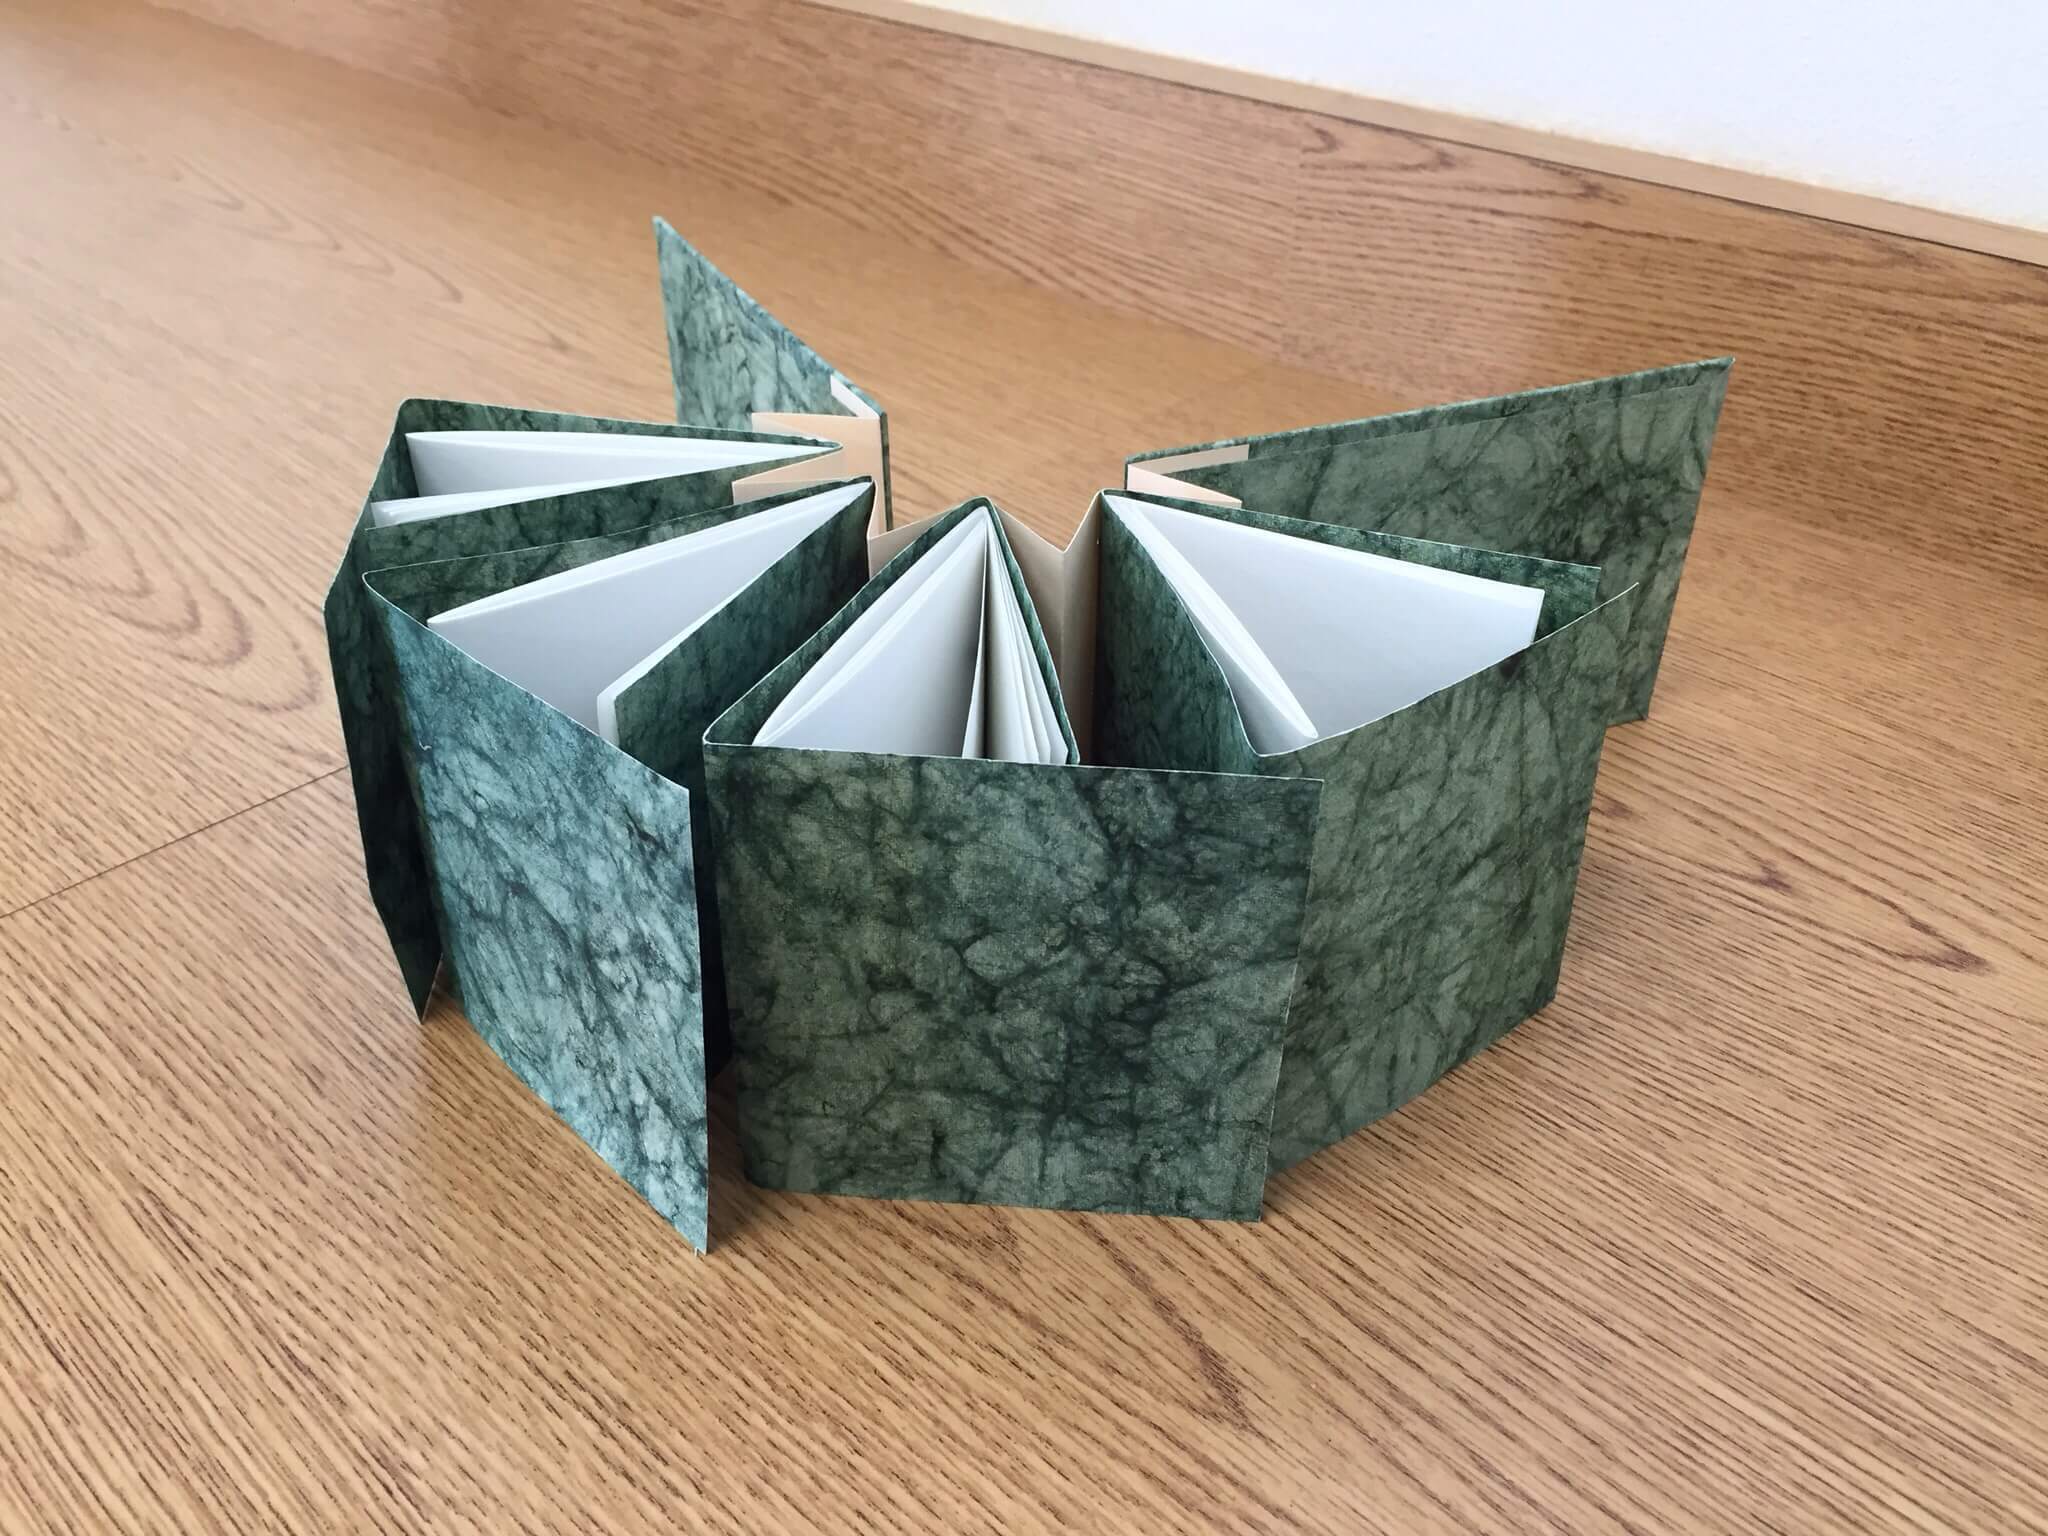
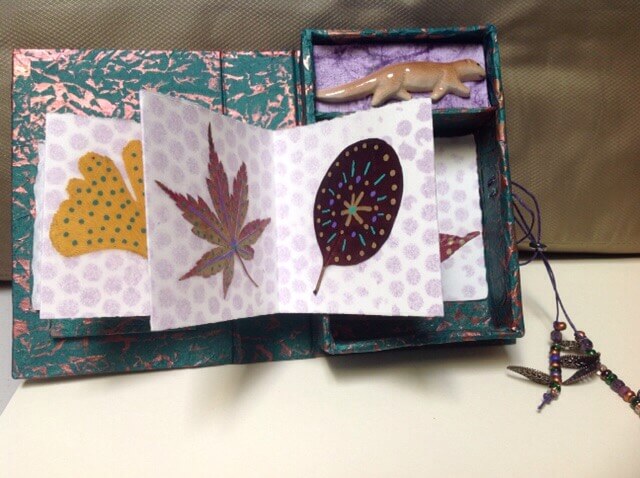
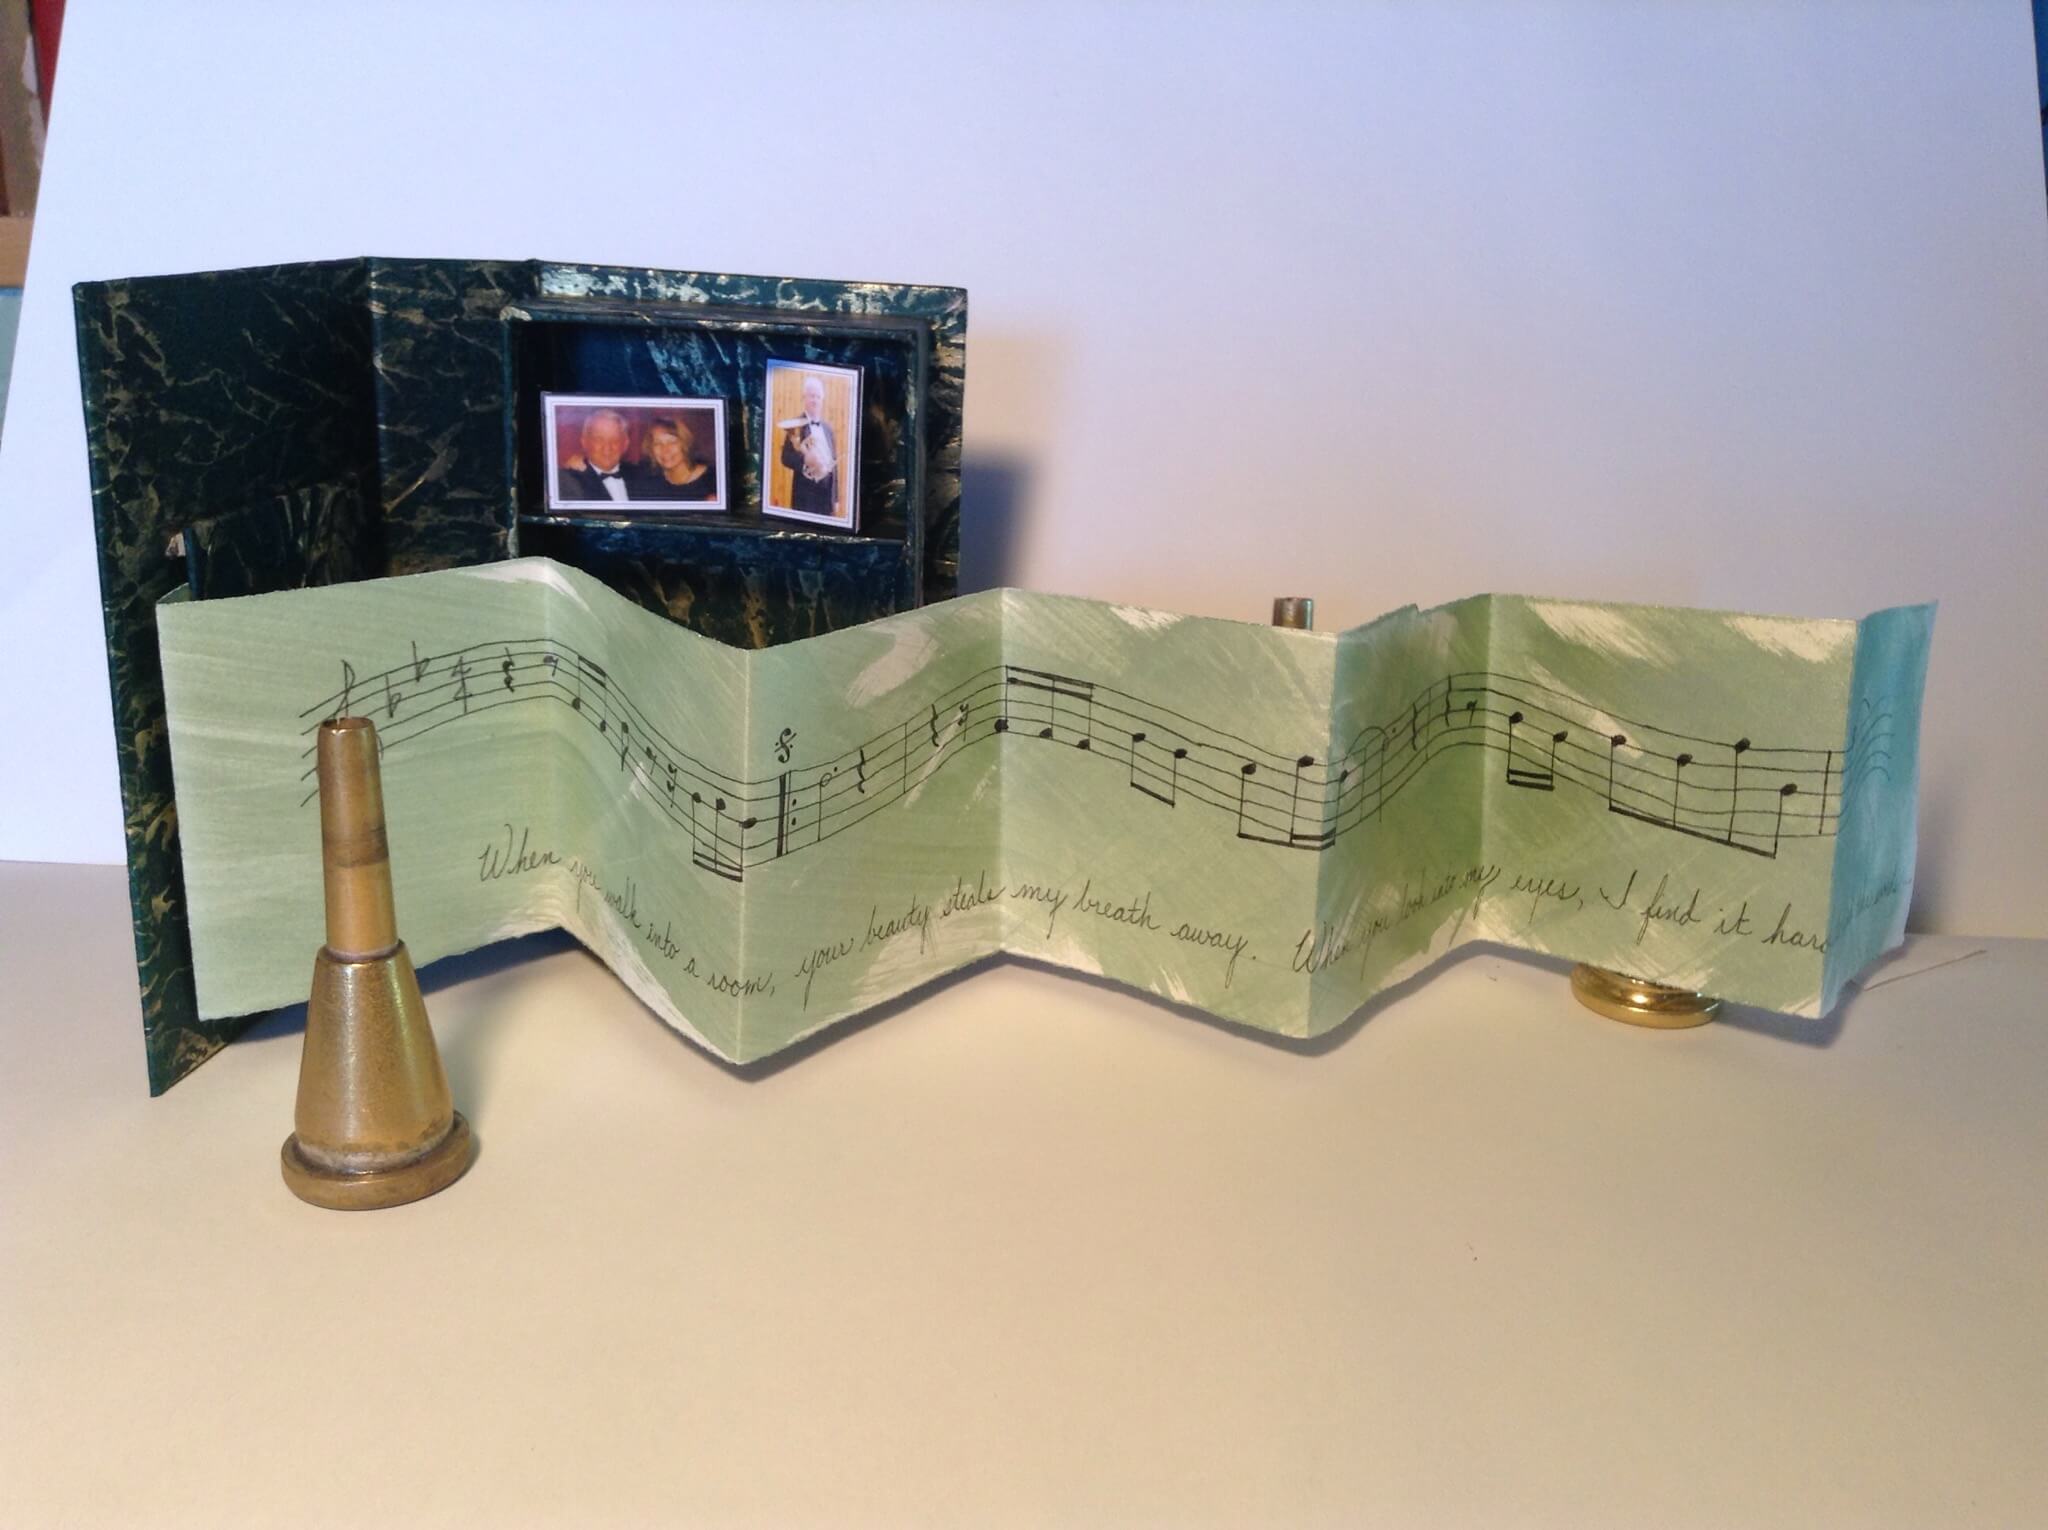
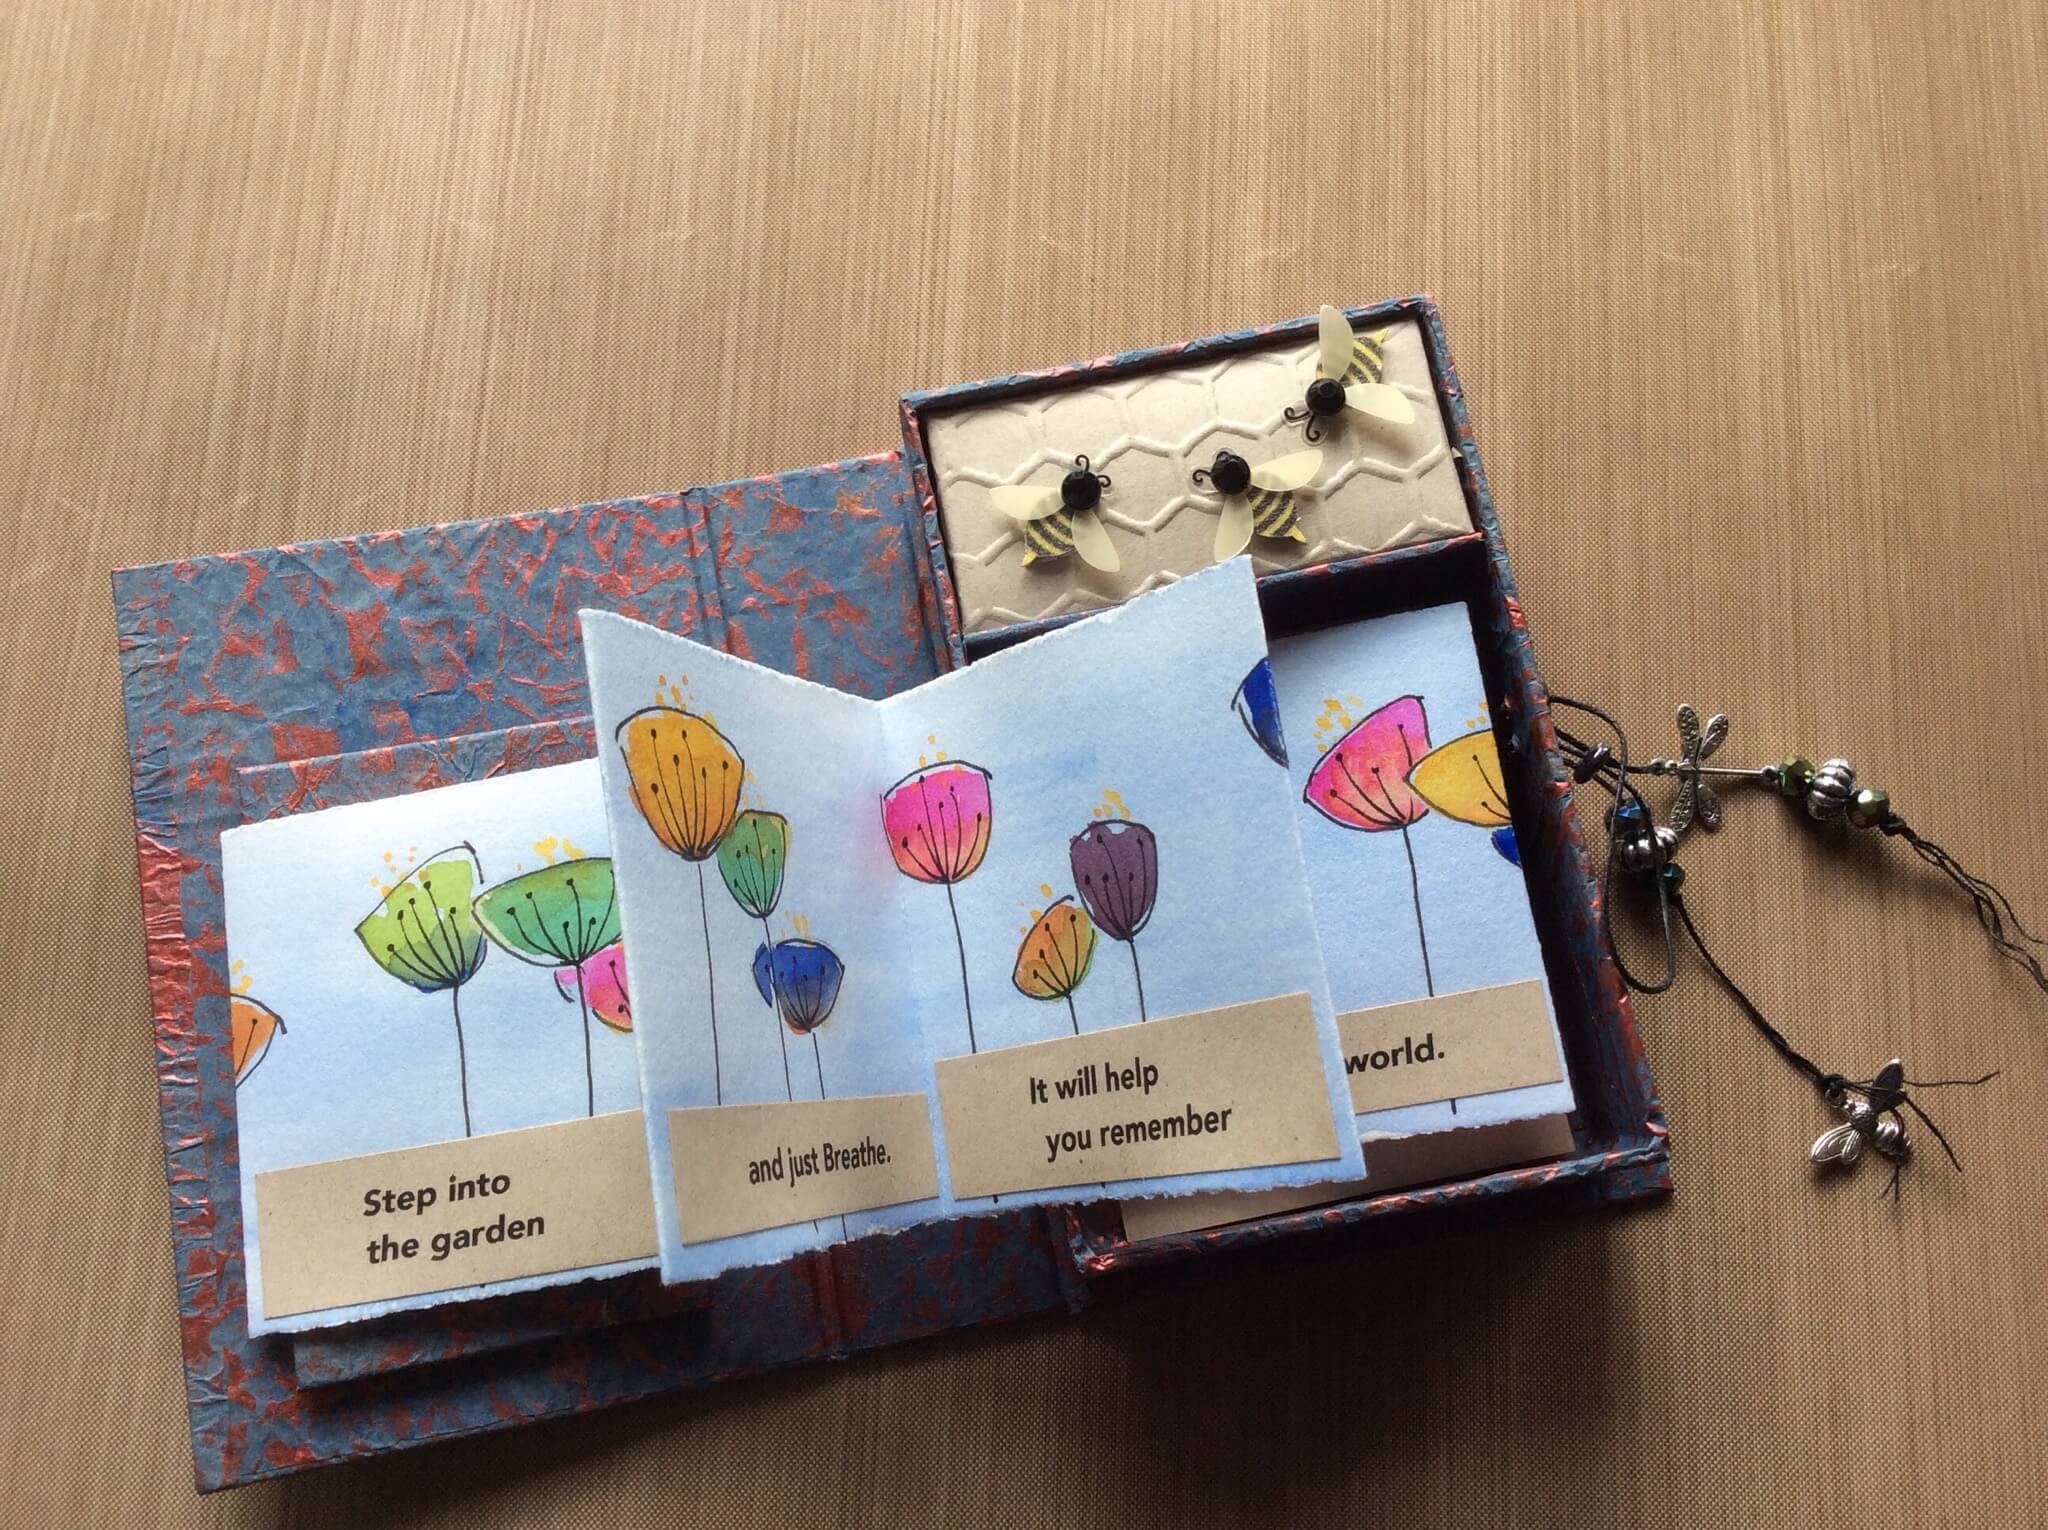
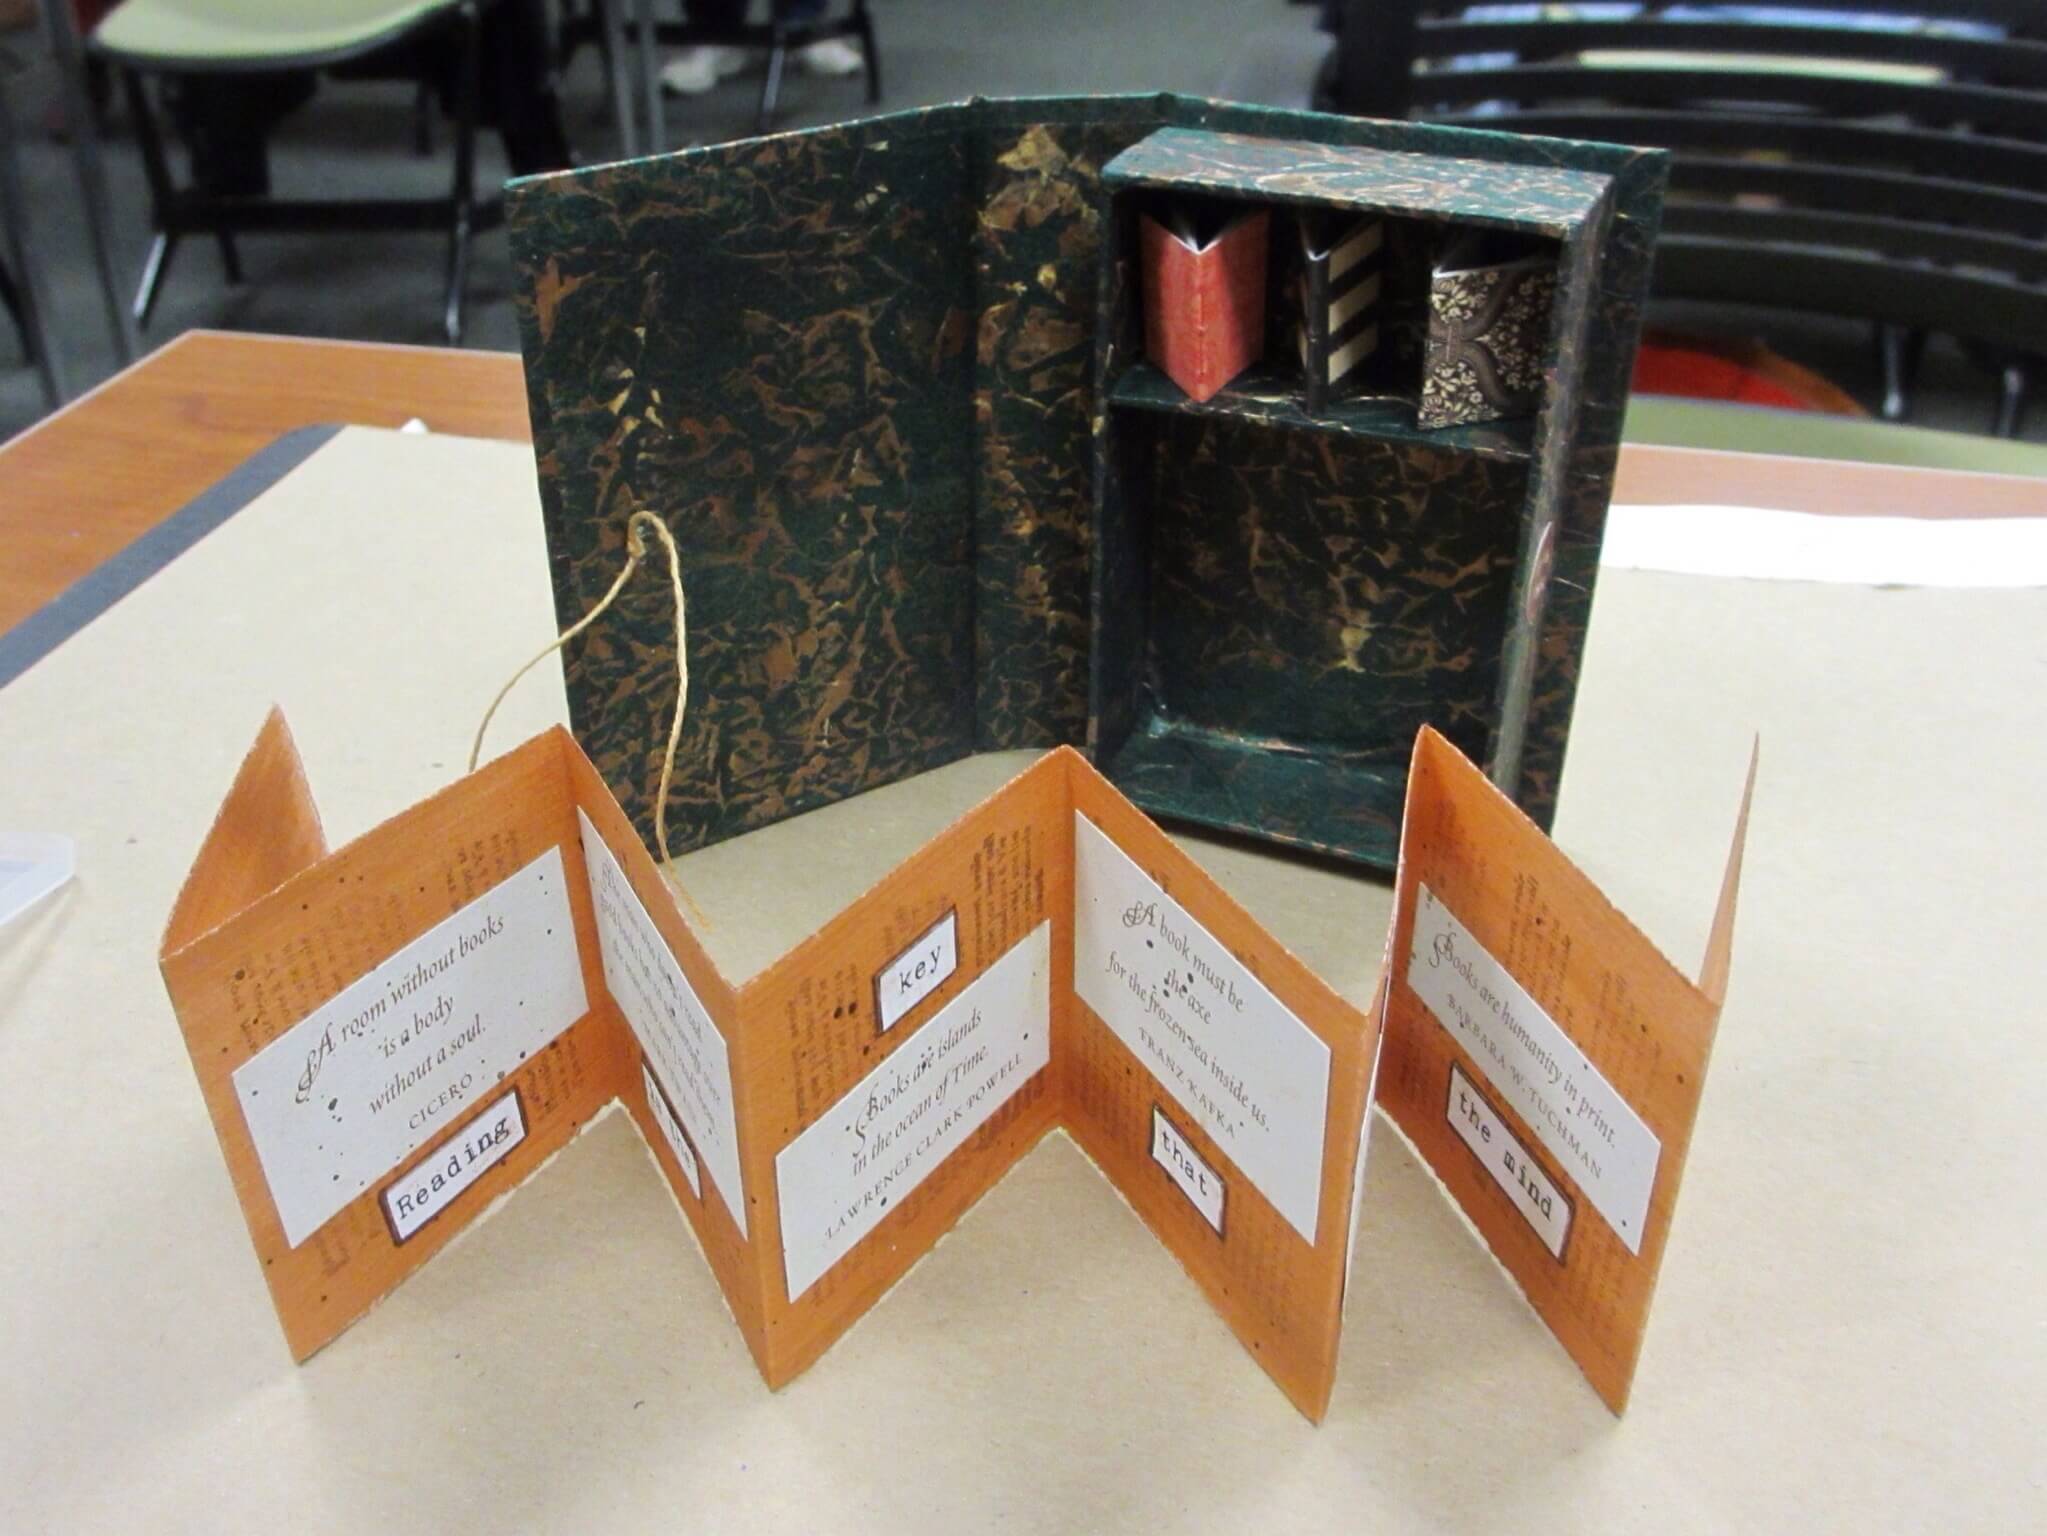
Then the real fun begins—getting ready to add our own miniature components to the book.

IMG_3643.JPG
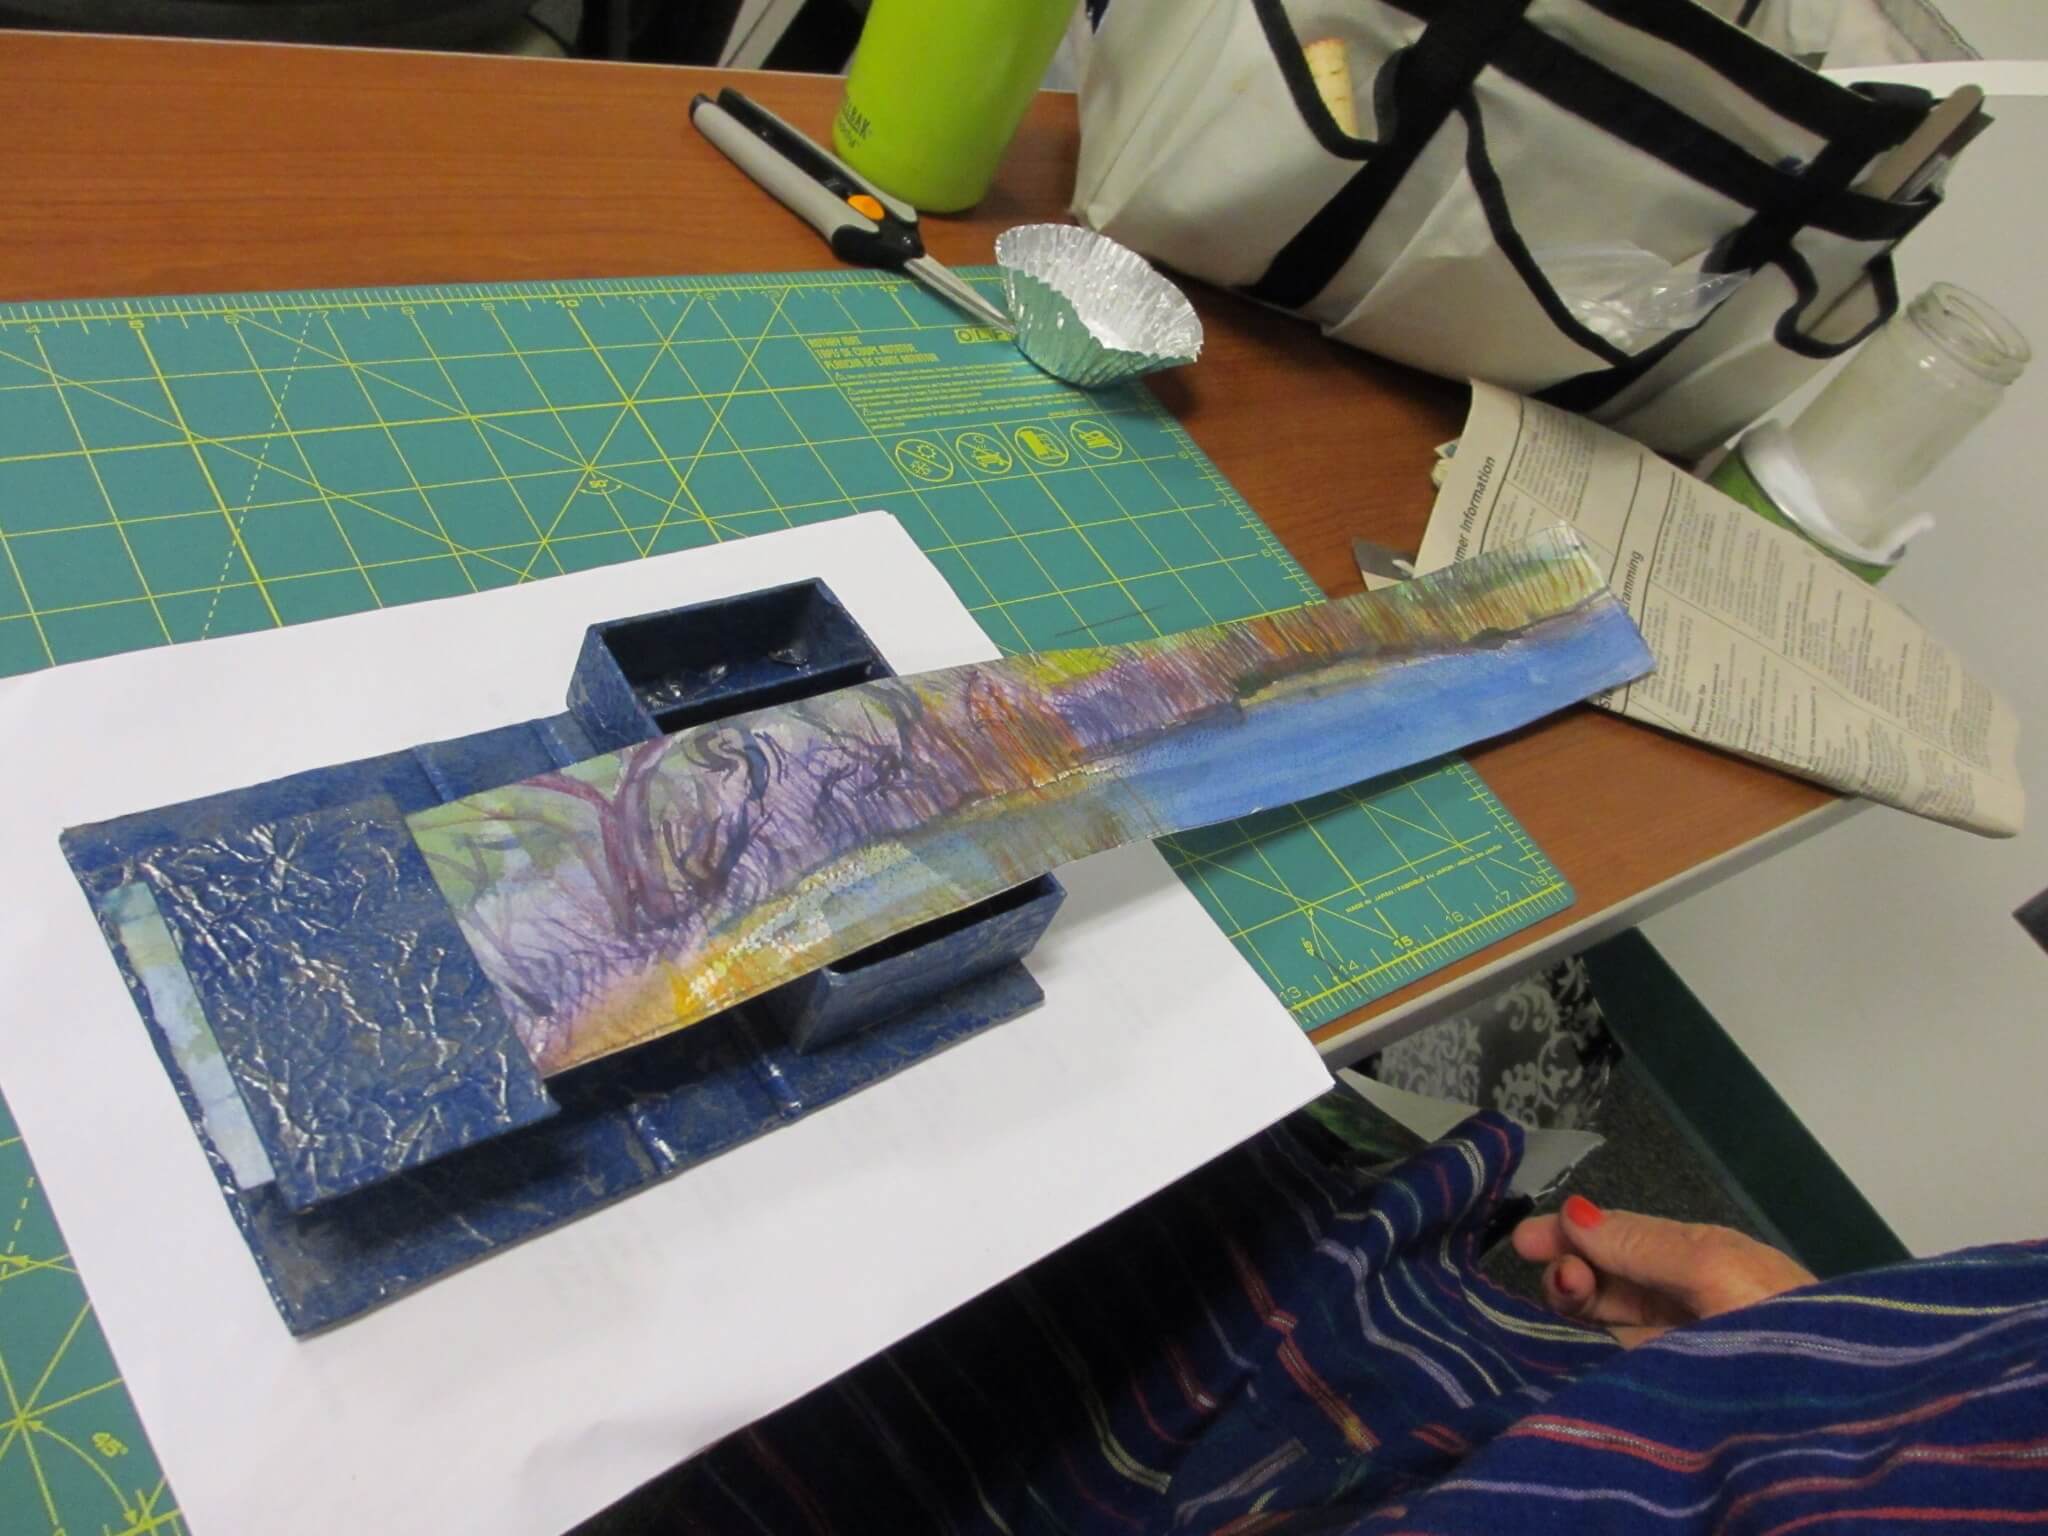
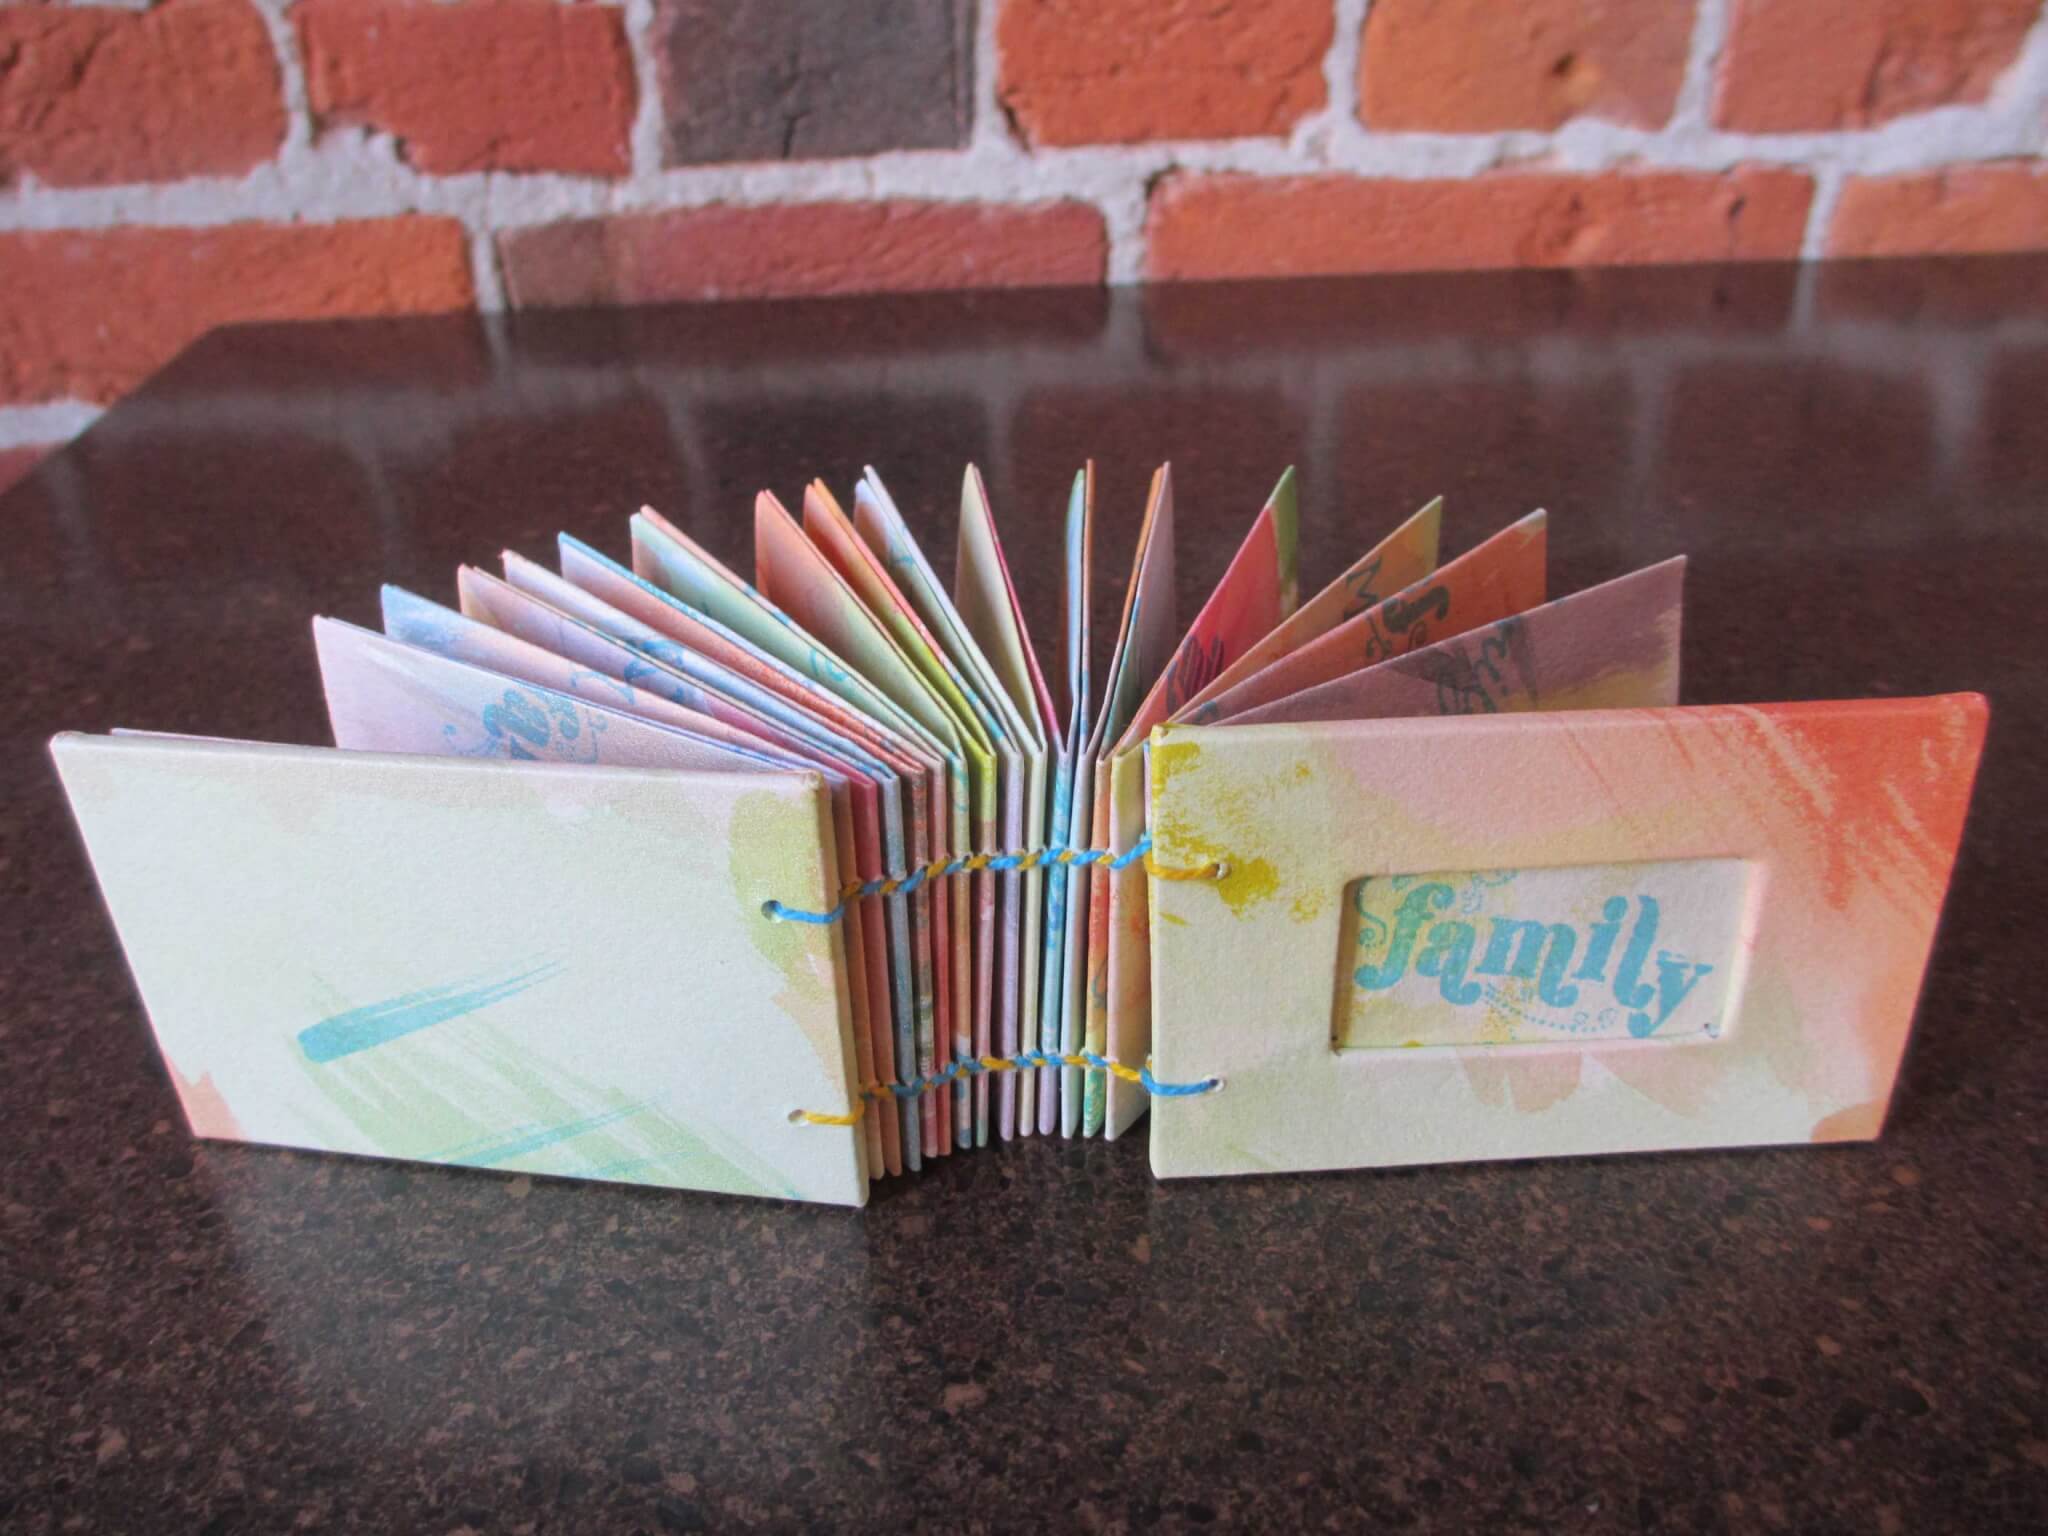
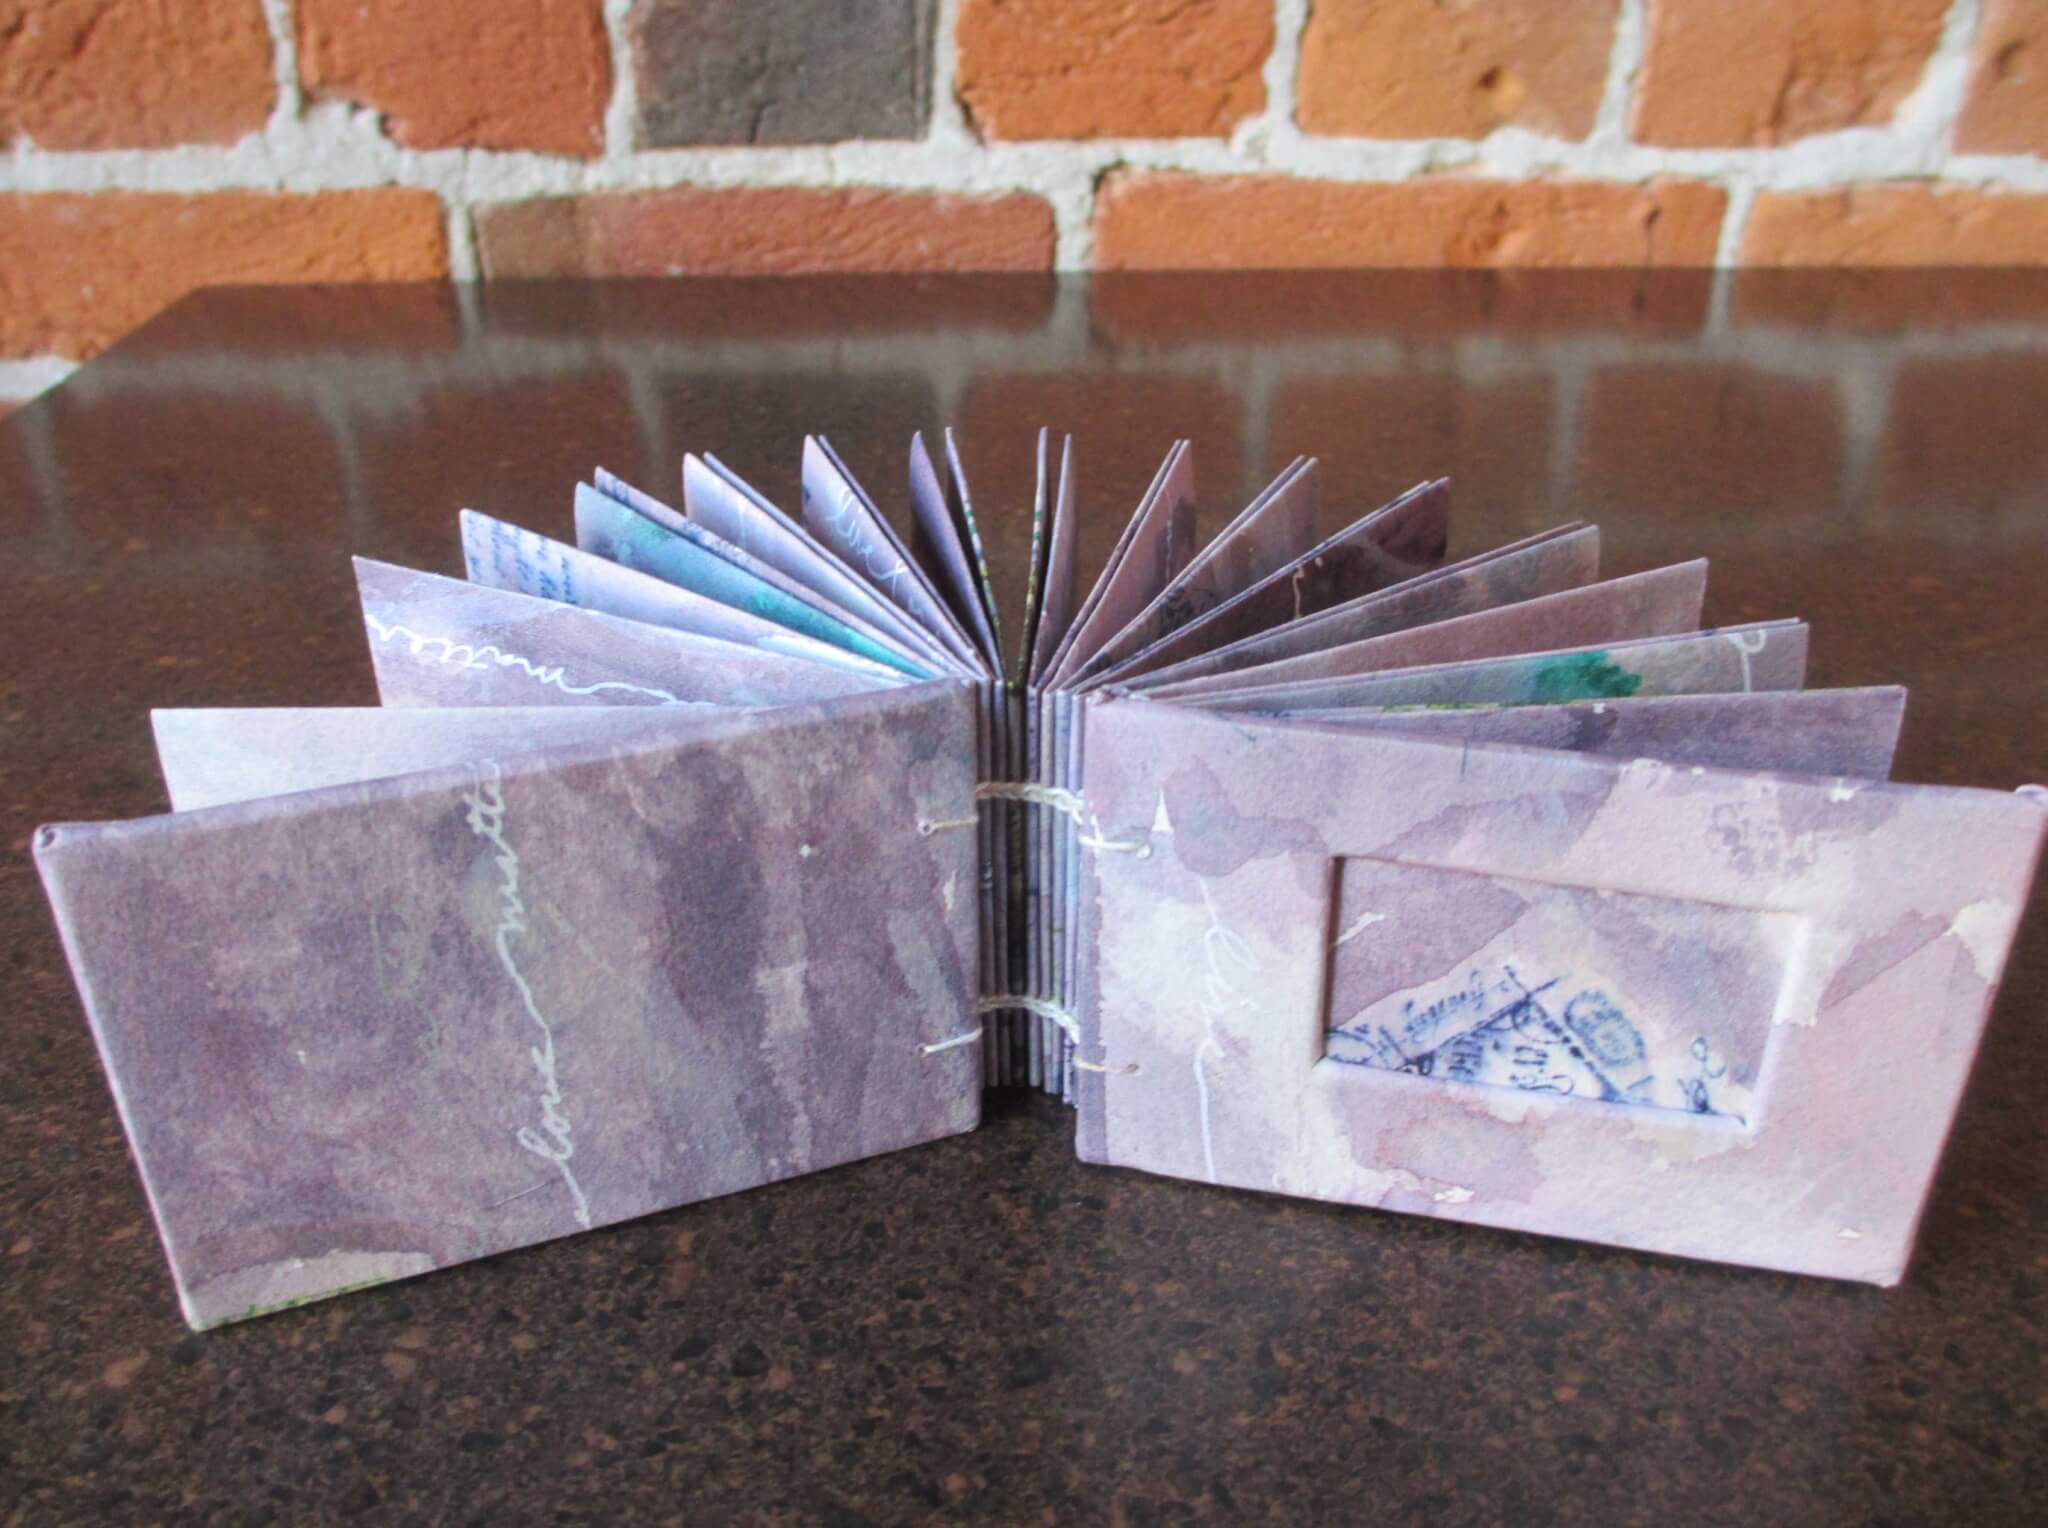
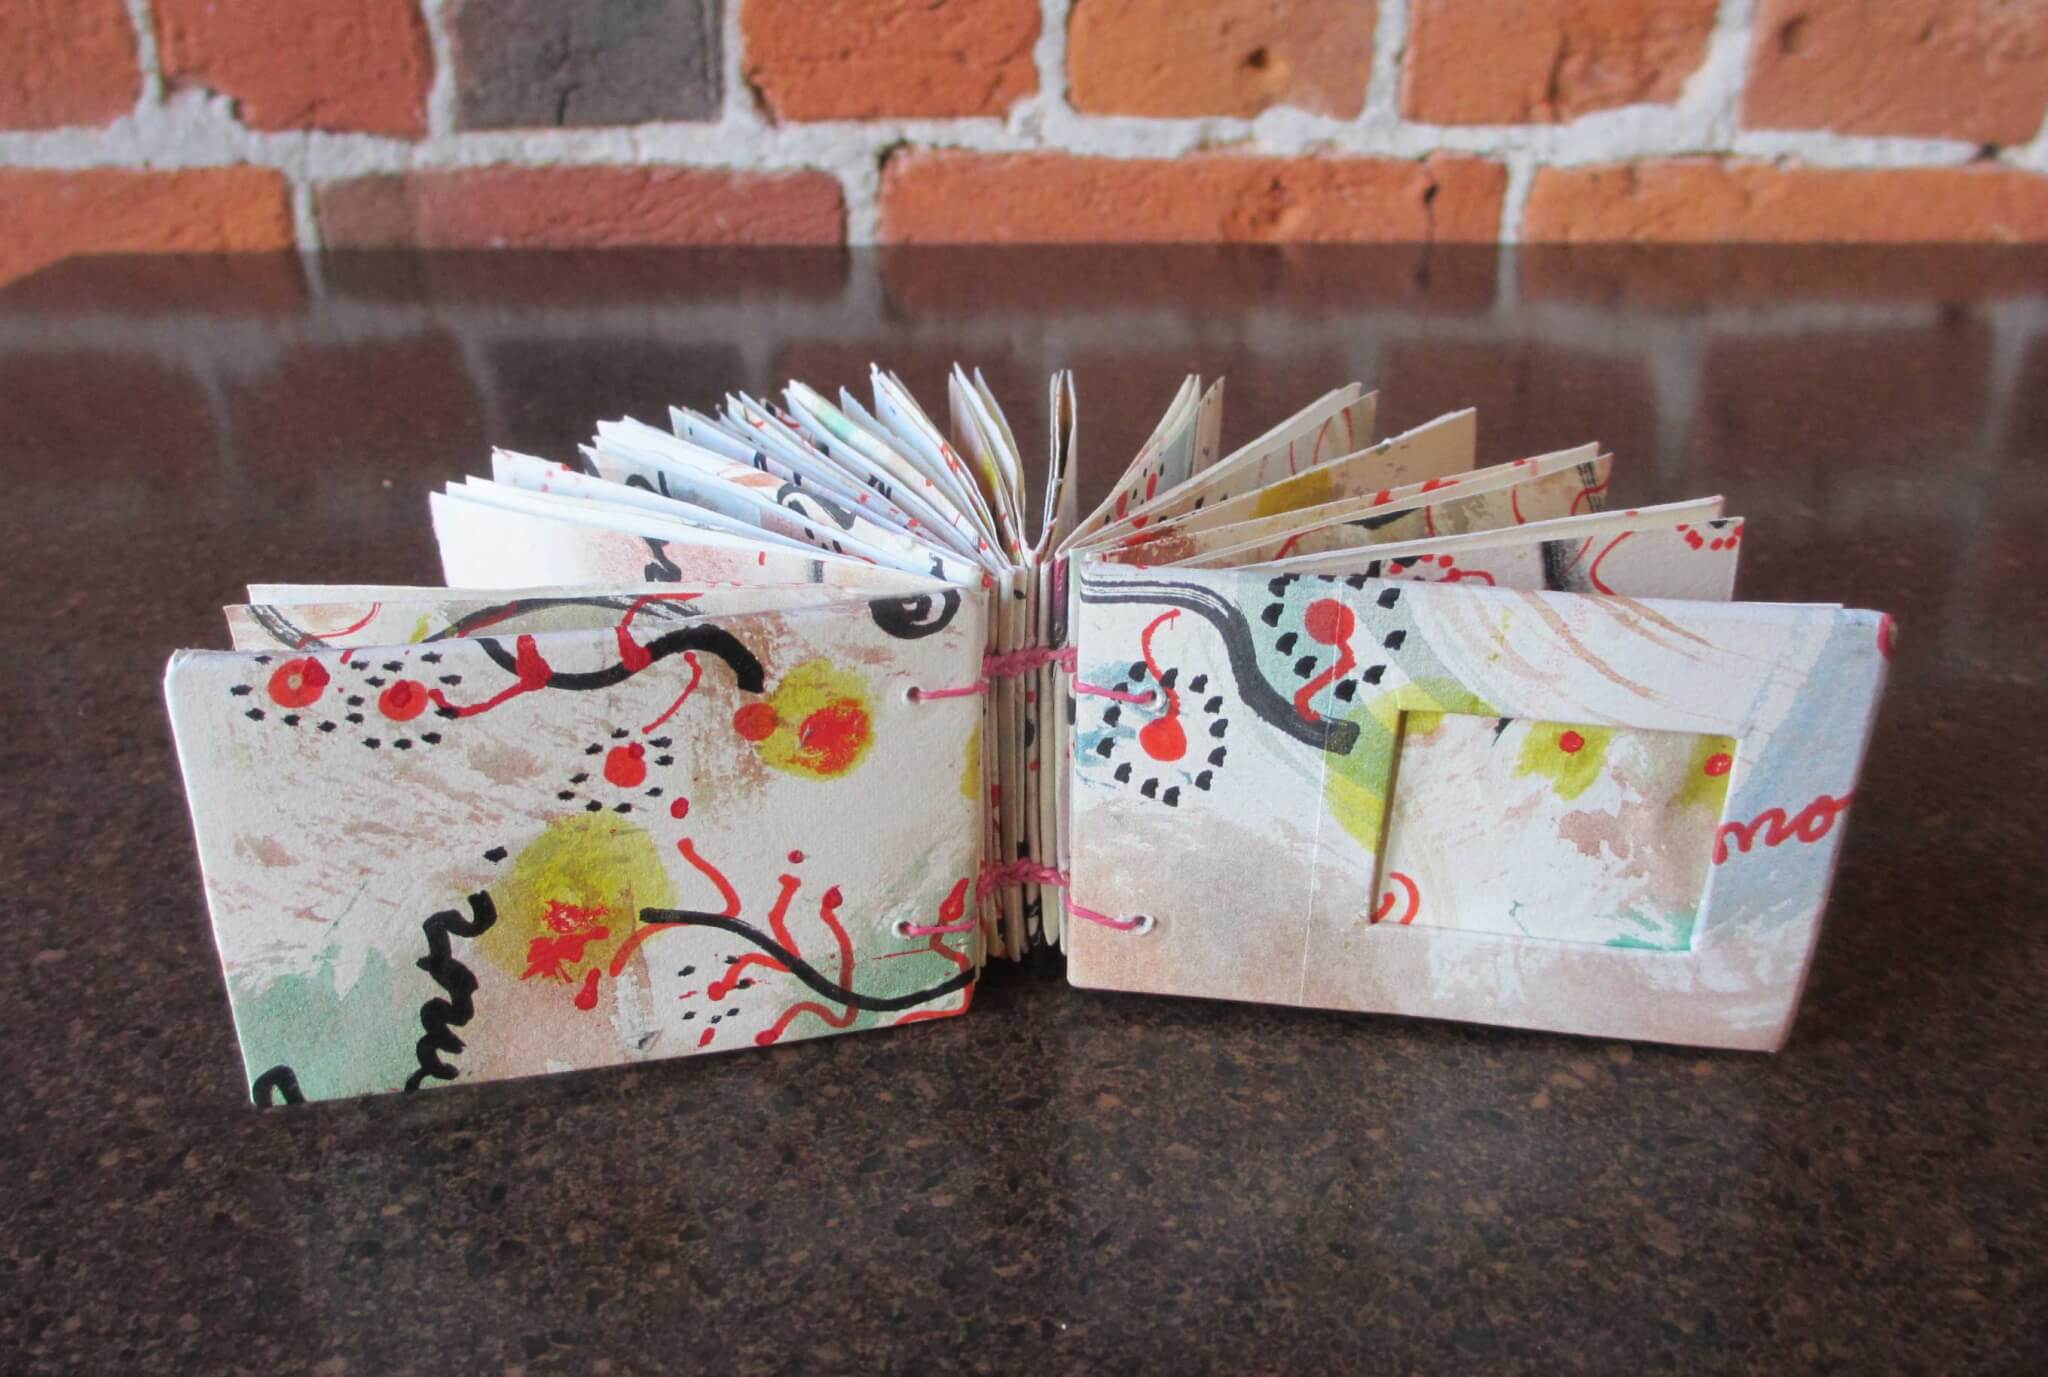
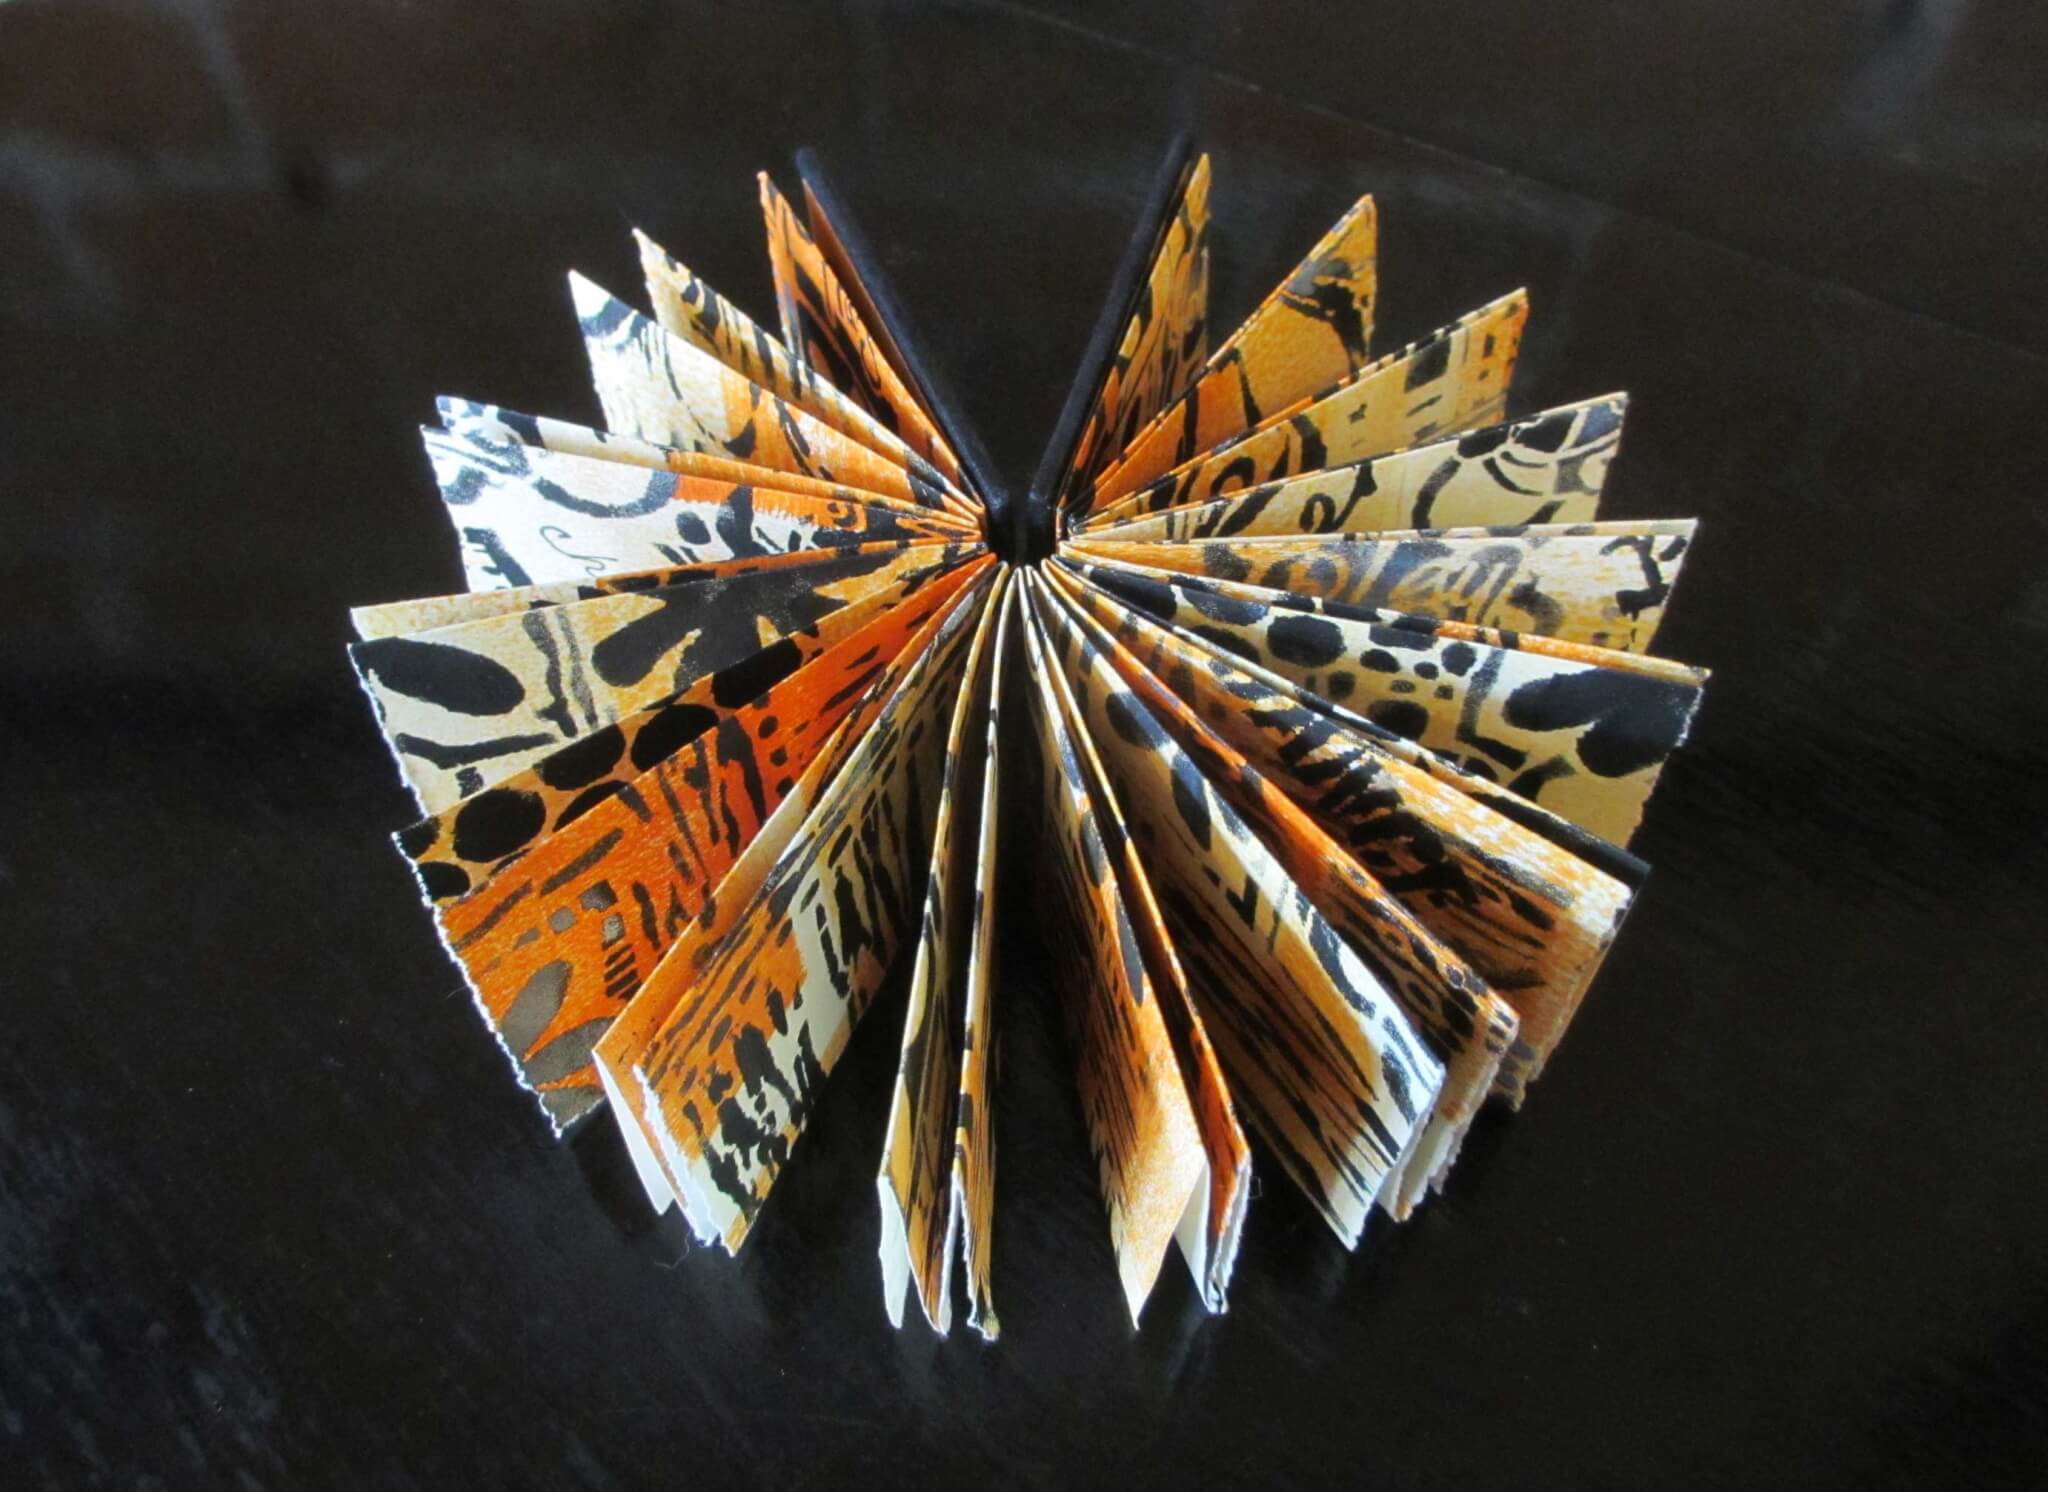
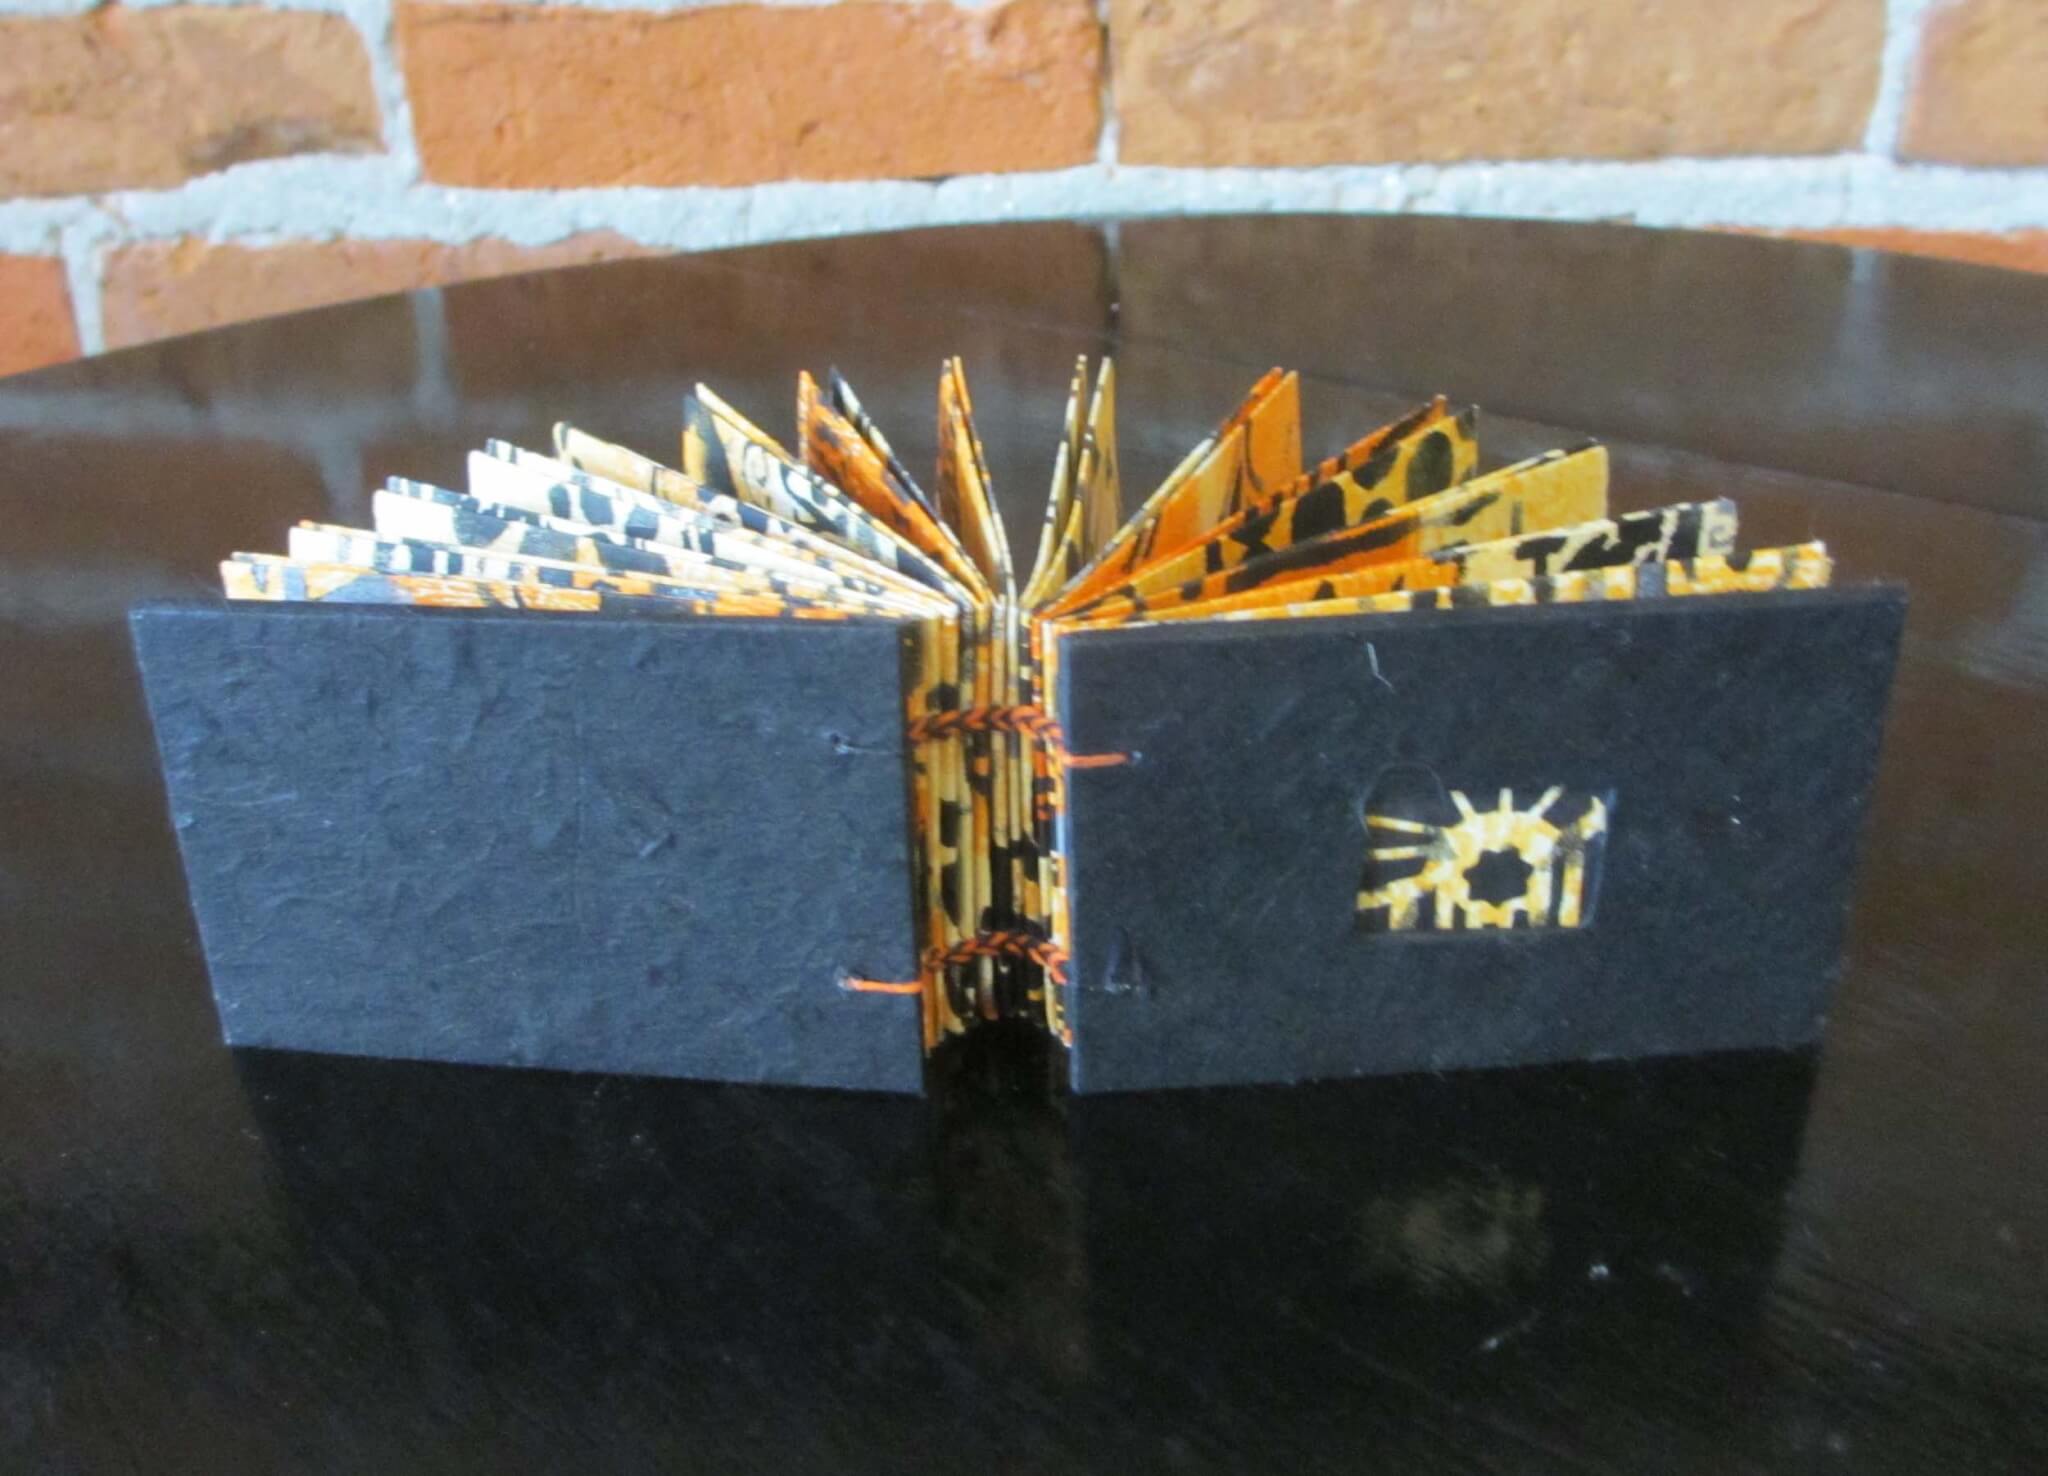
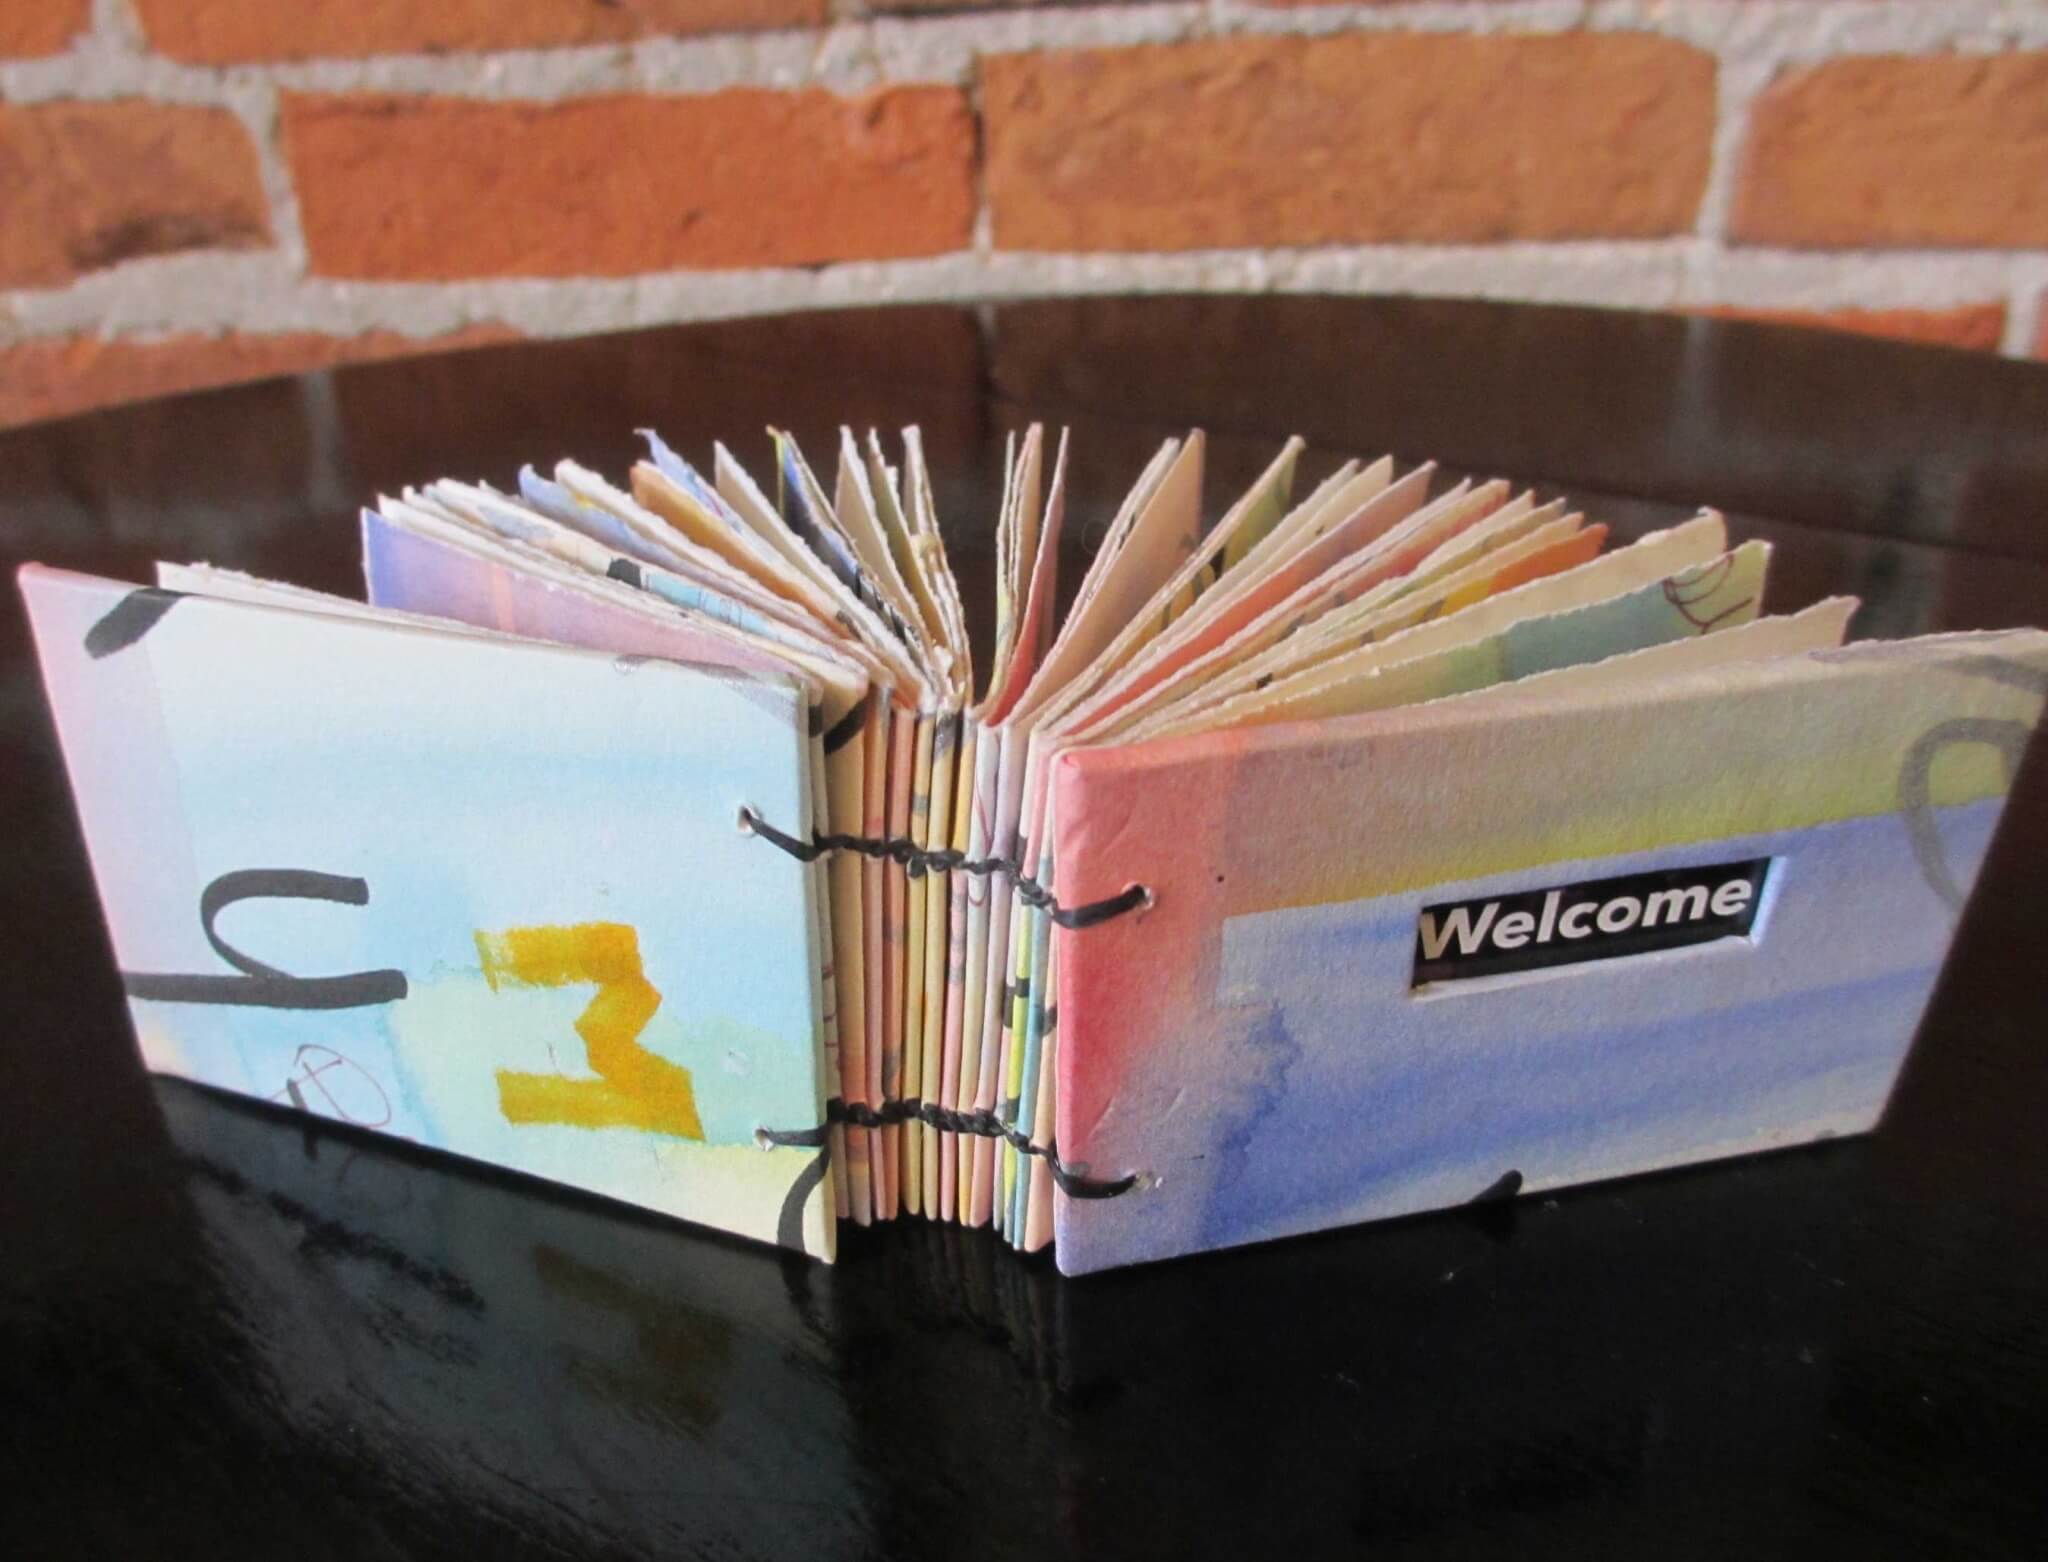
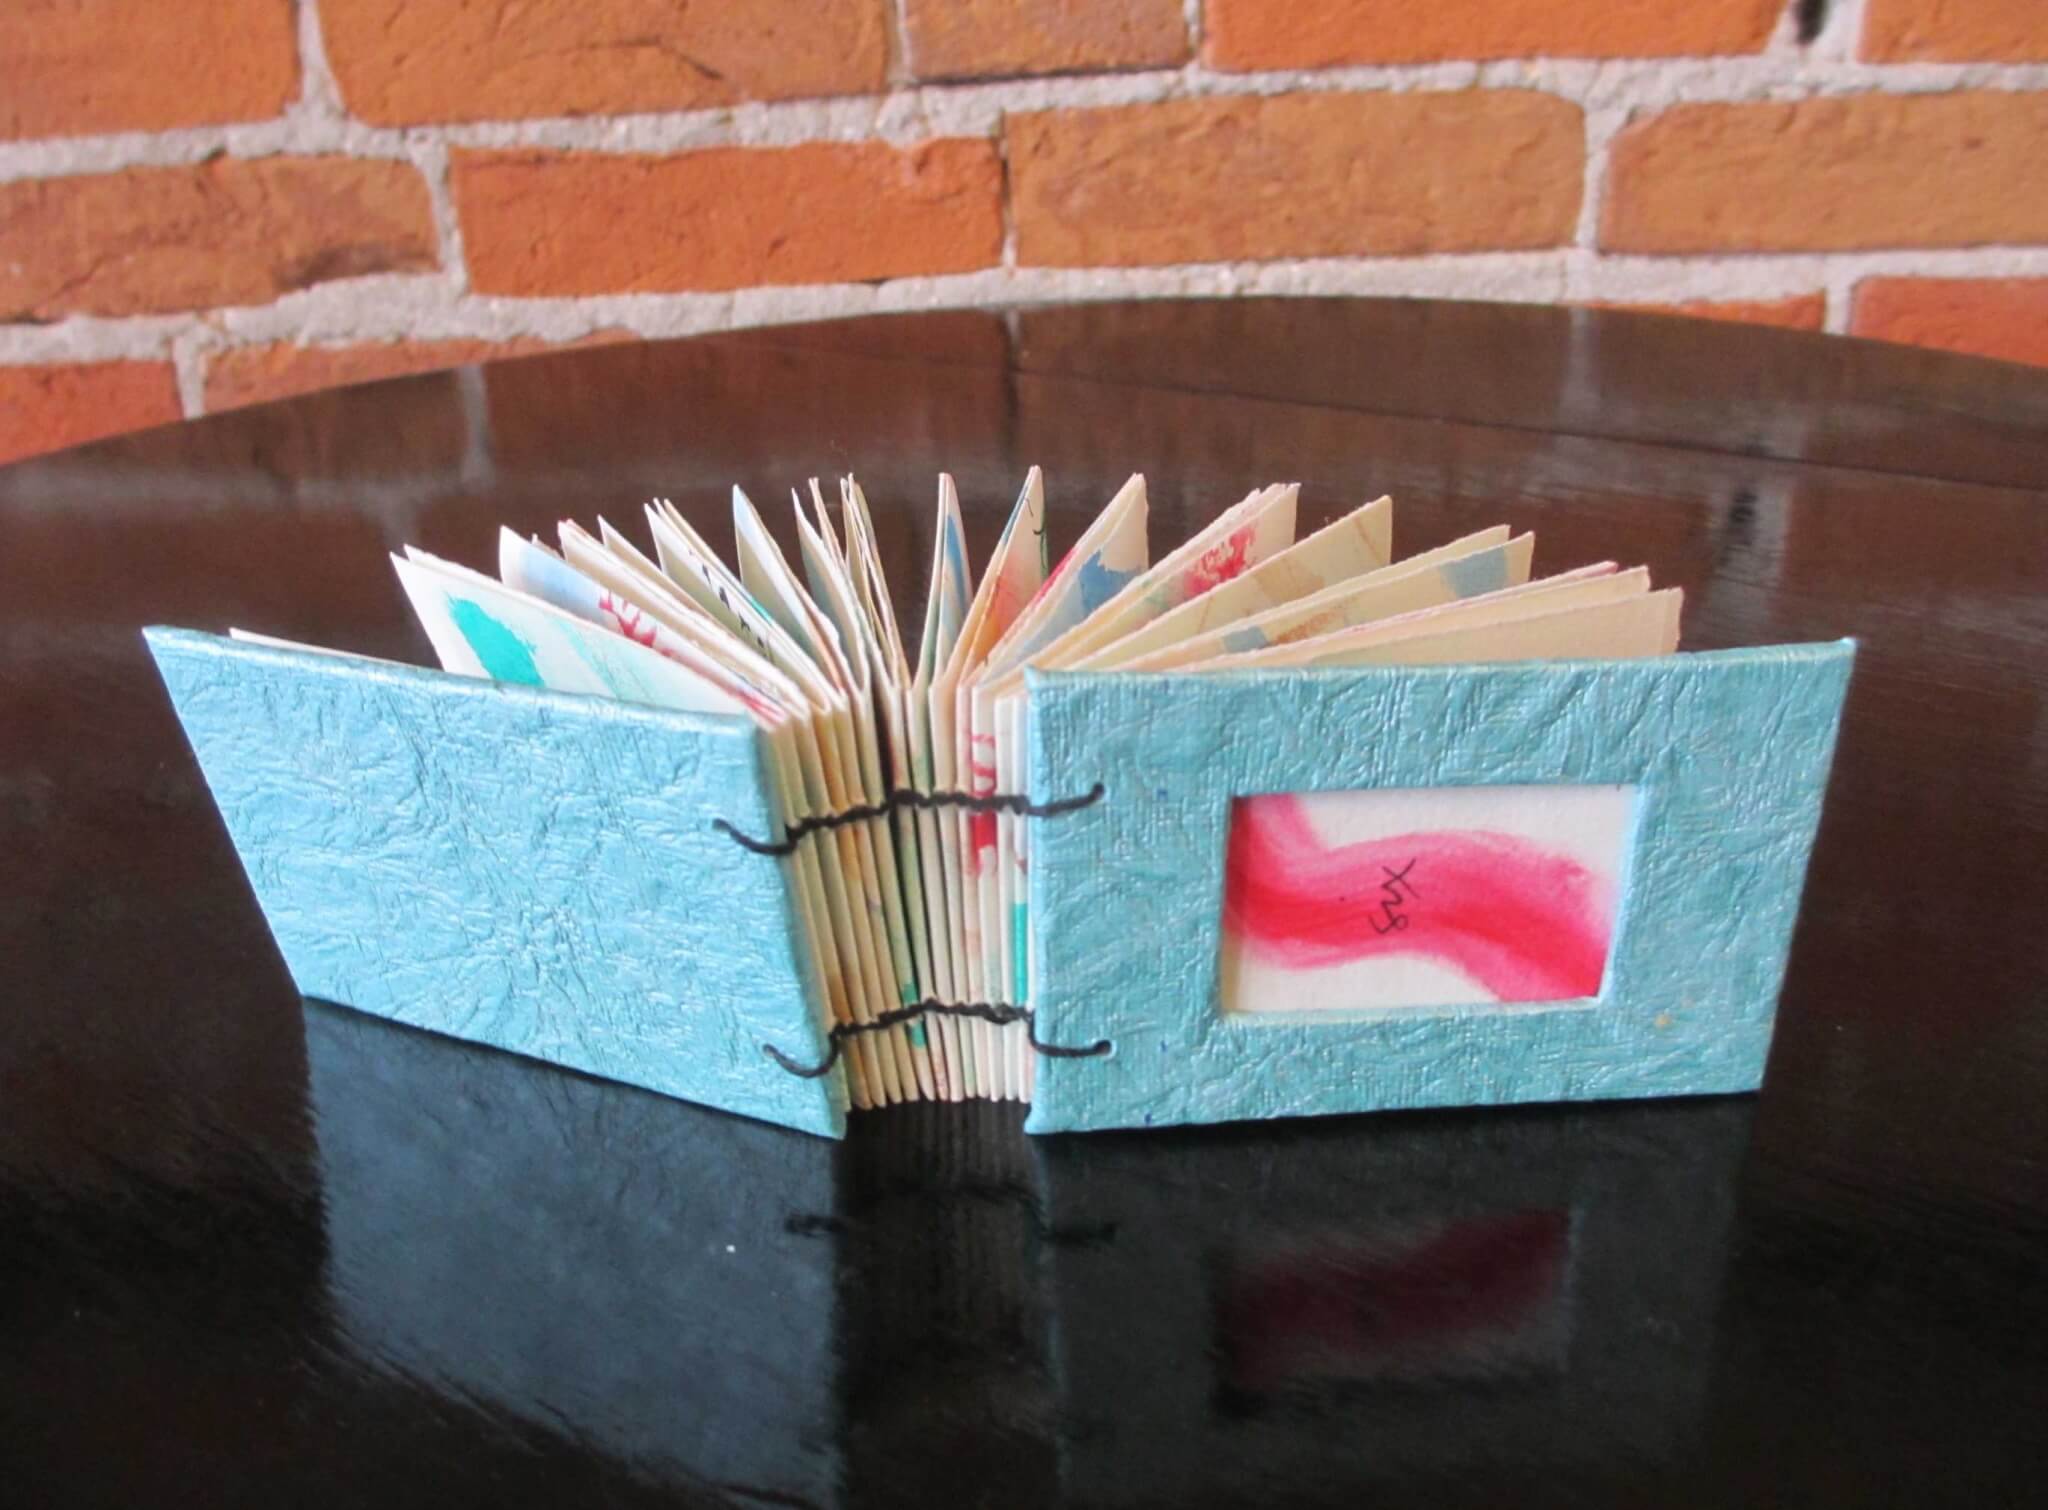
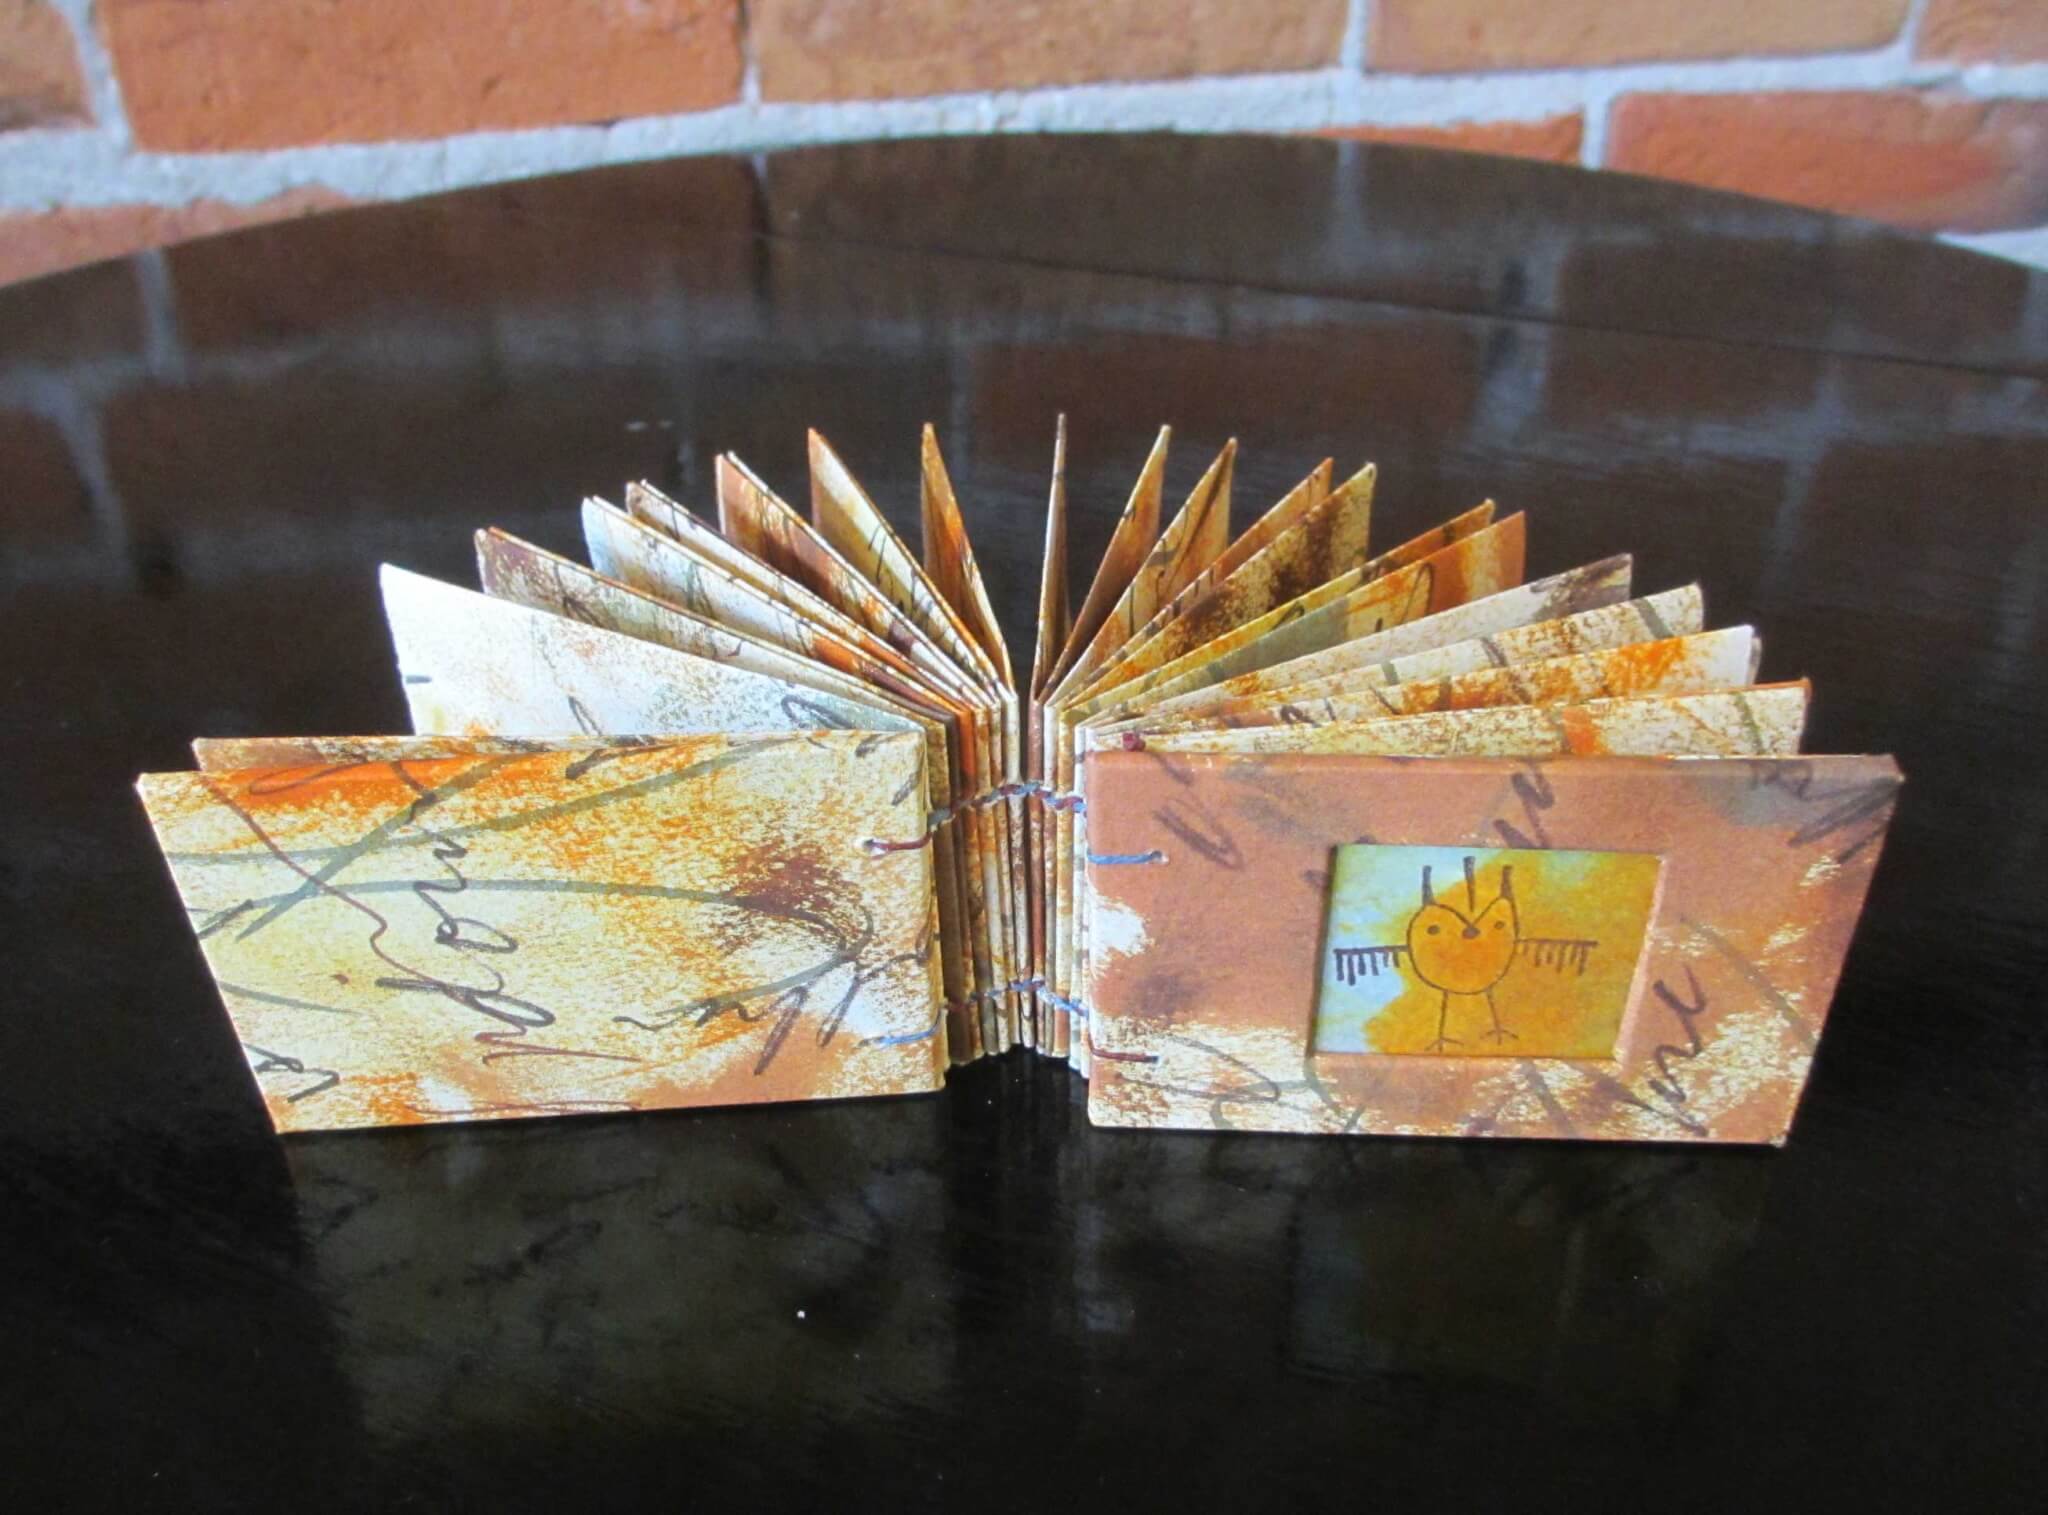
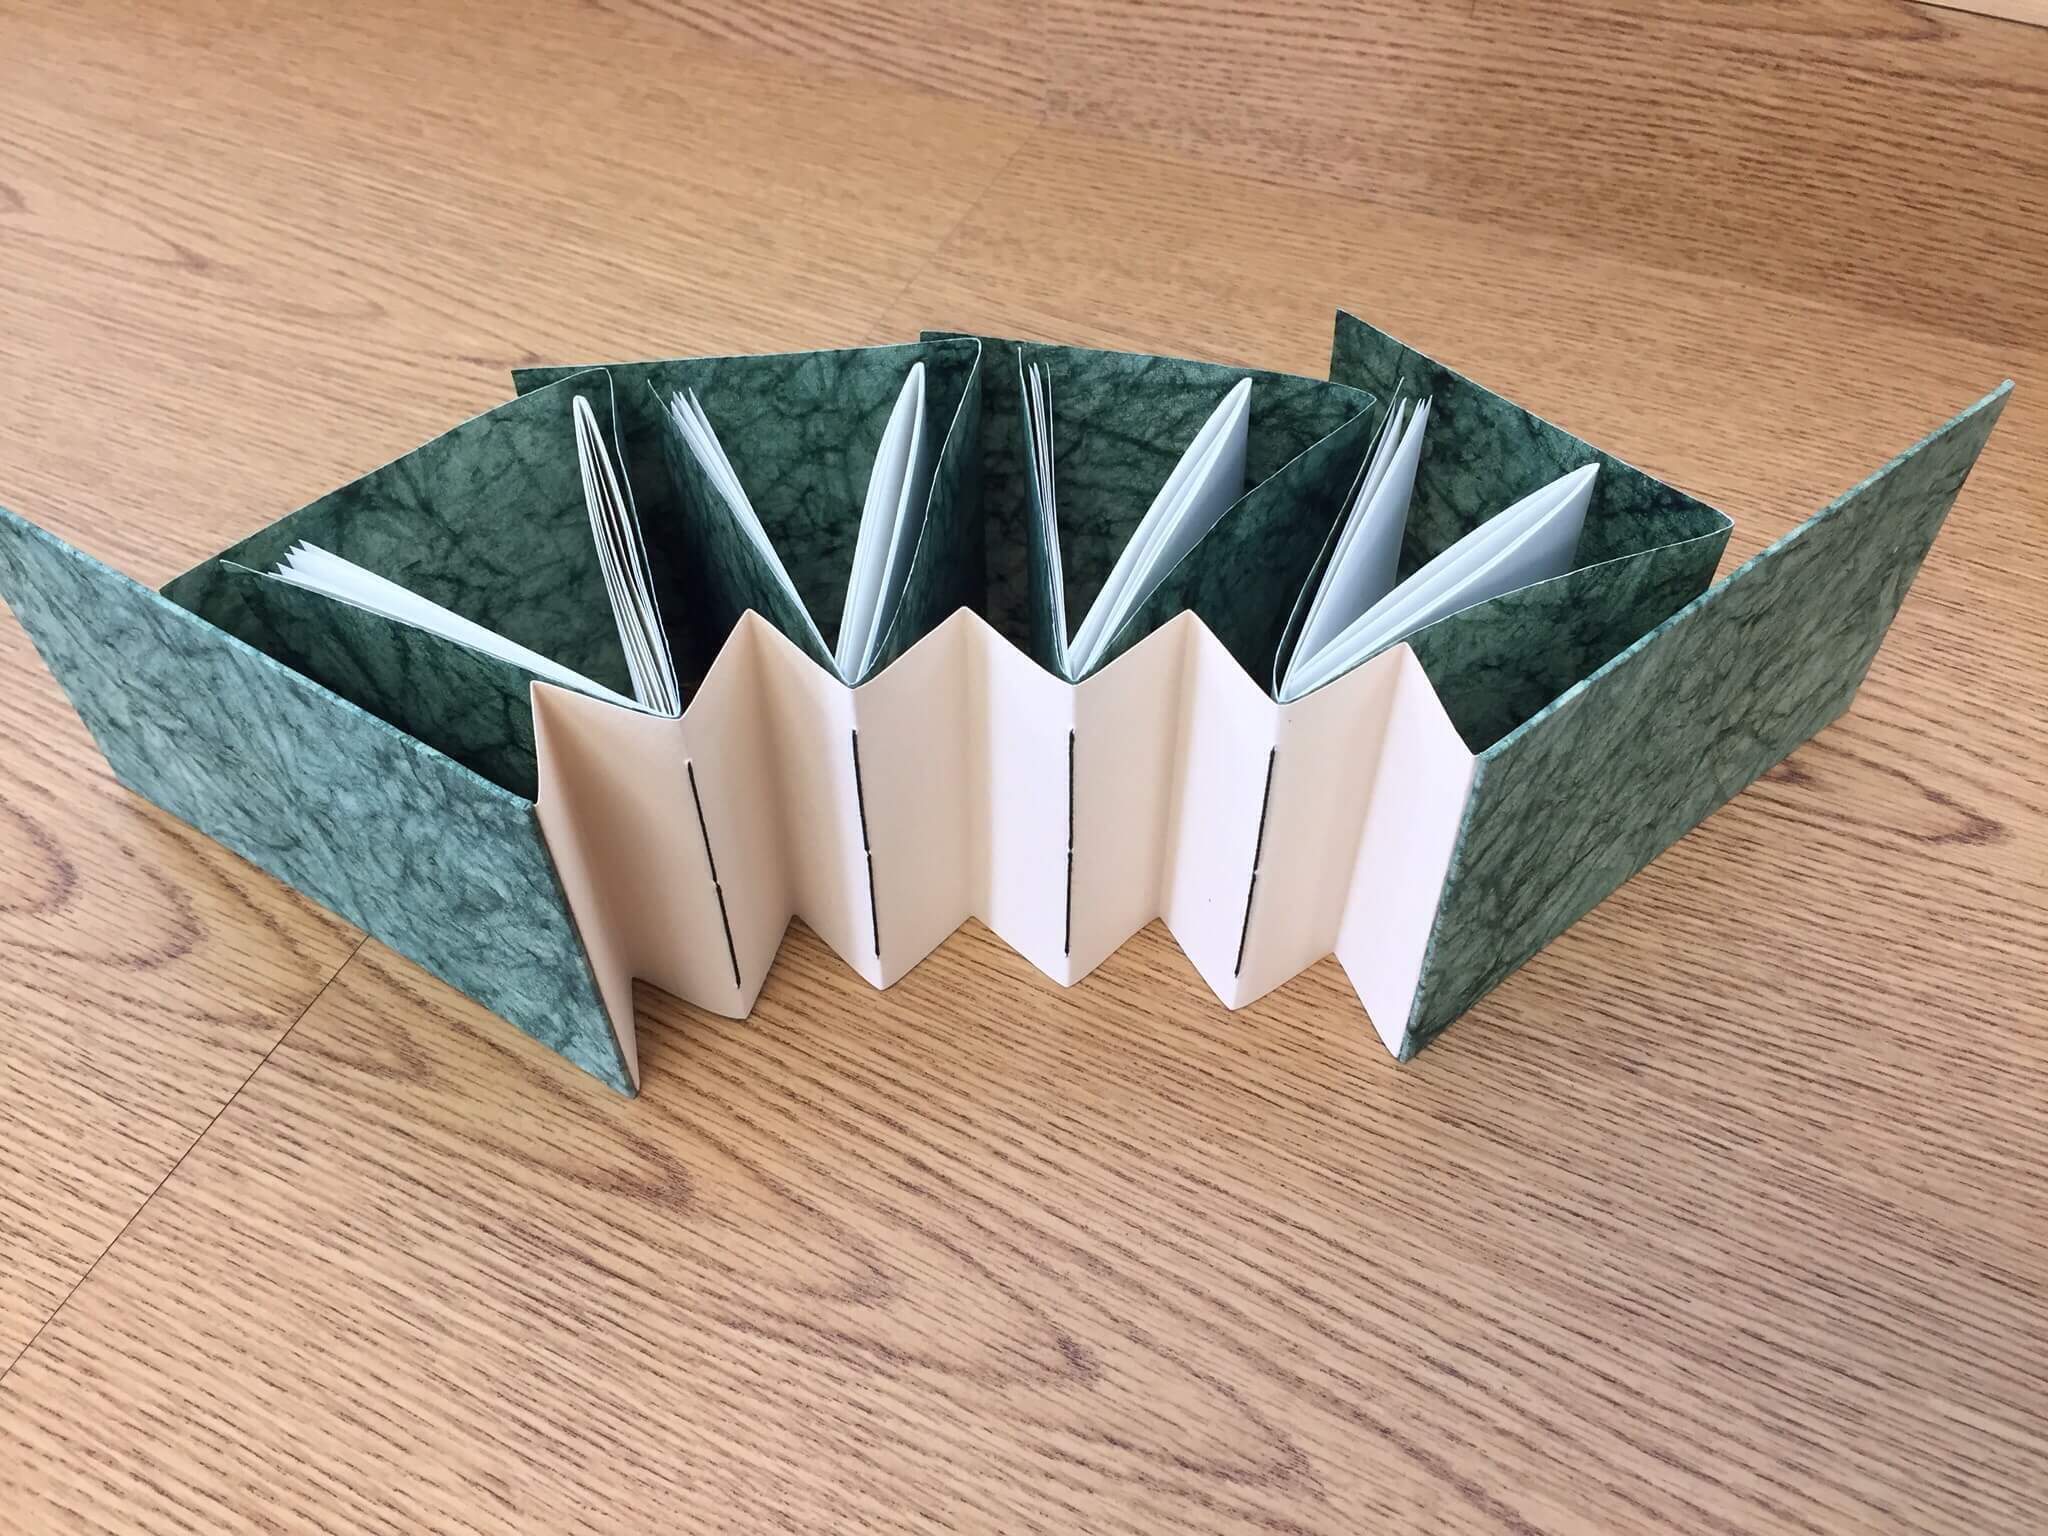
The strip of decorated Arches 90 HP watercolor paper was next. Each had her own idea of what to add to the book. These were folded like an accordion and will be attached to the inside front cover.

IMG_3646.JPG
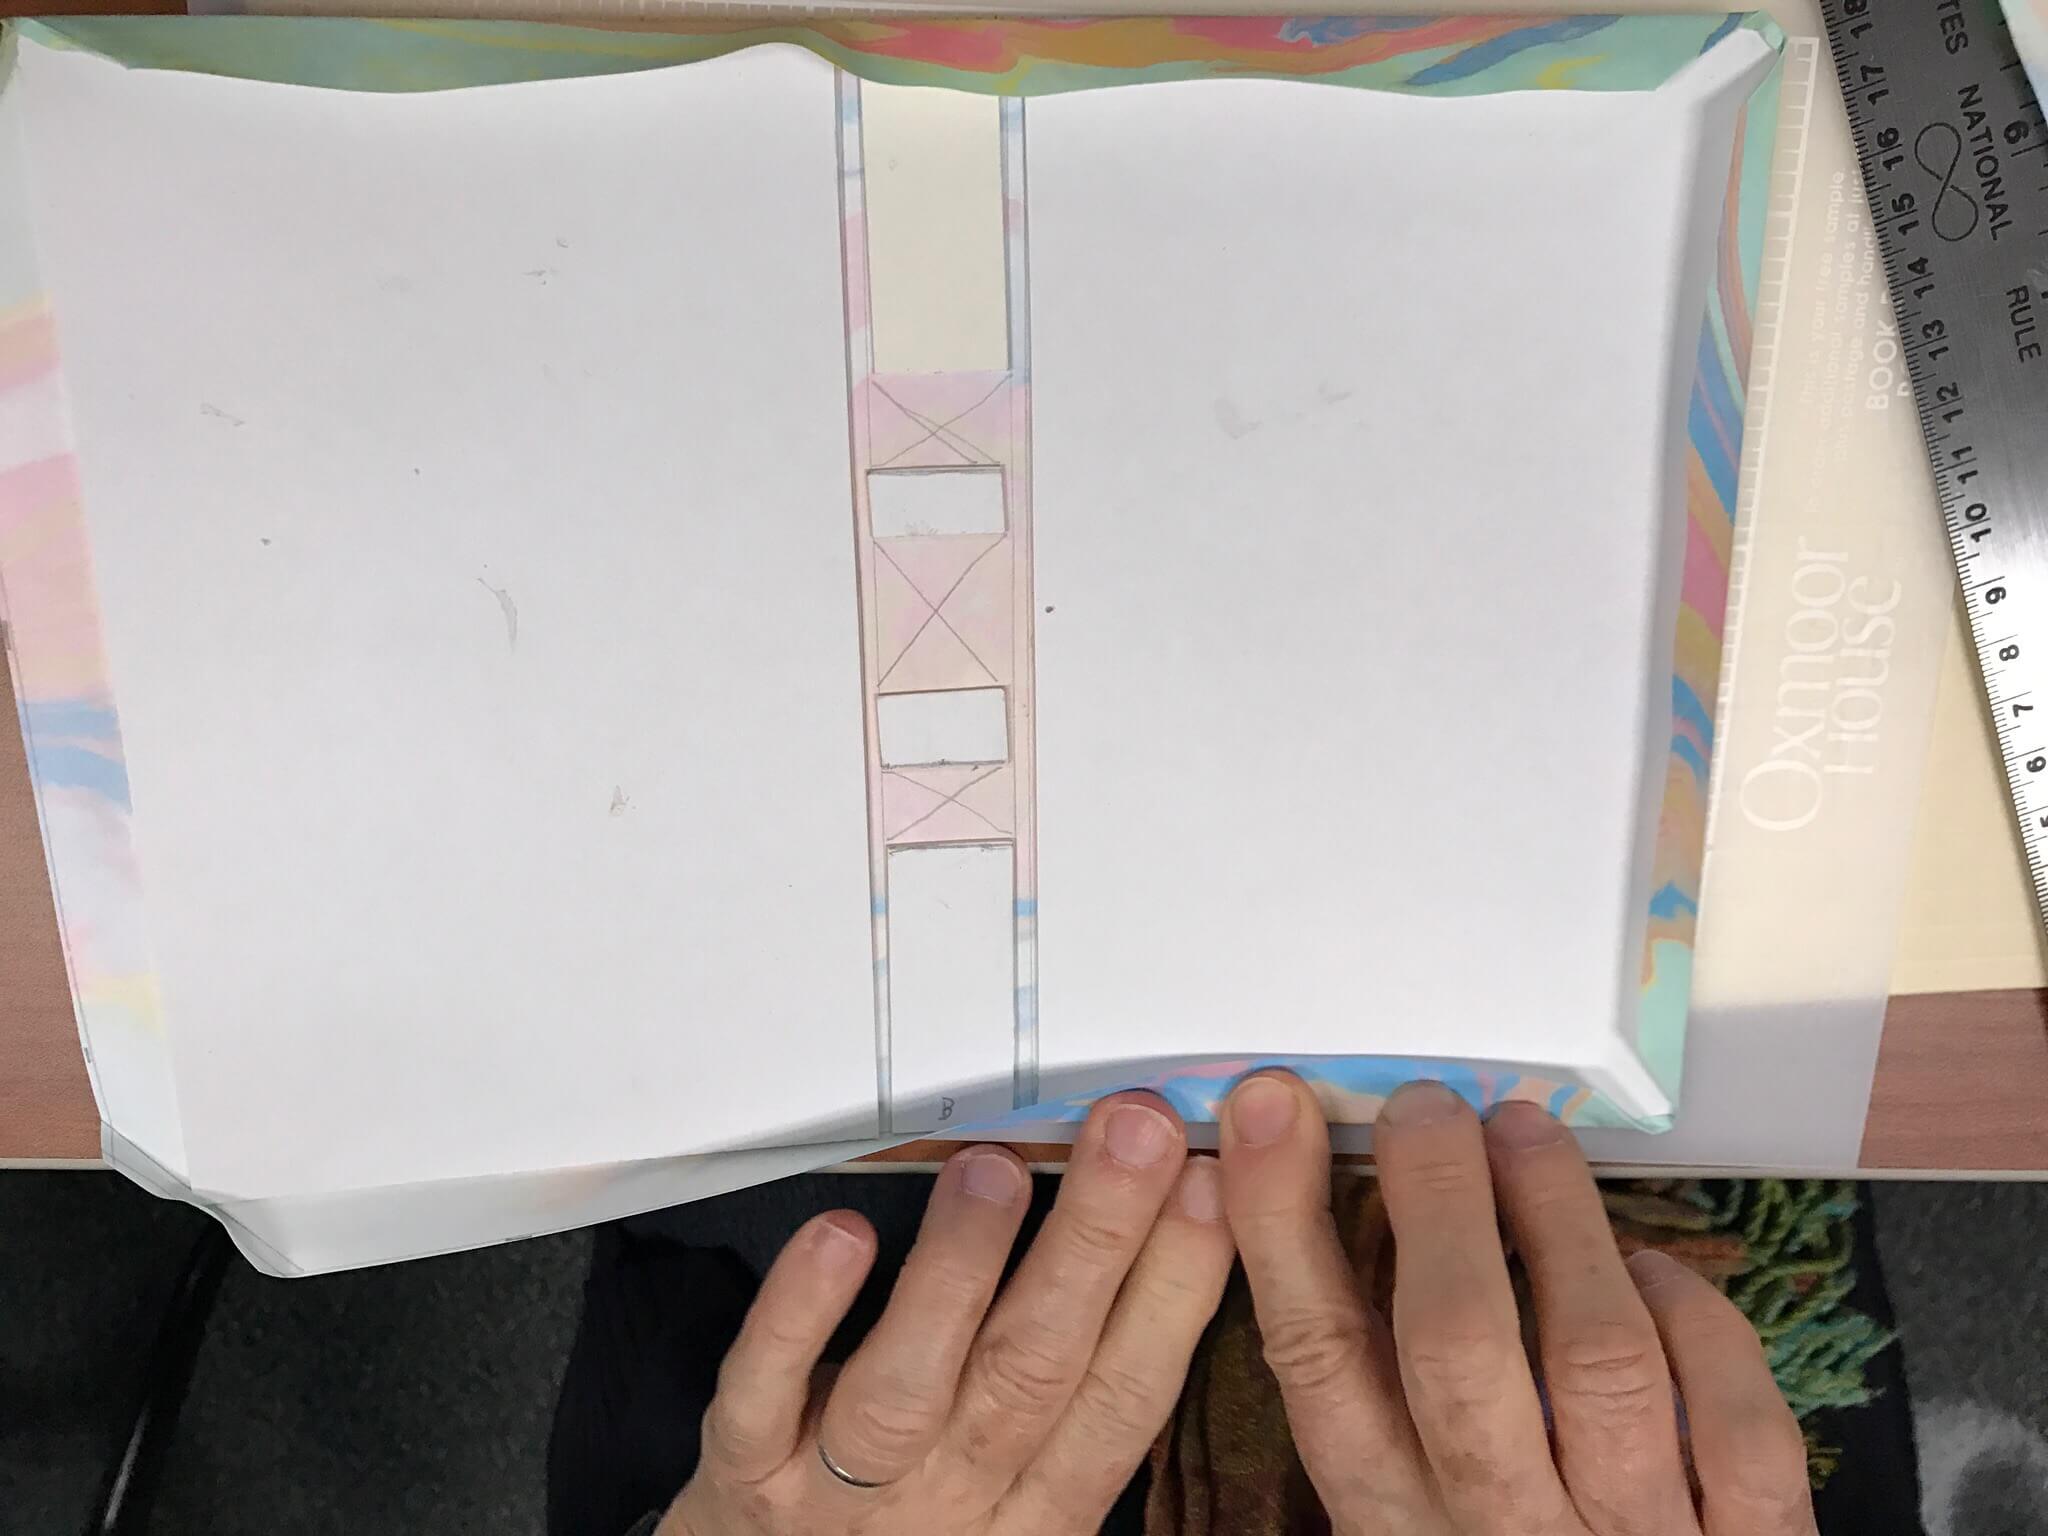
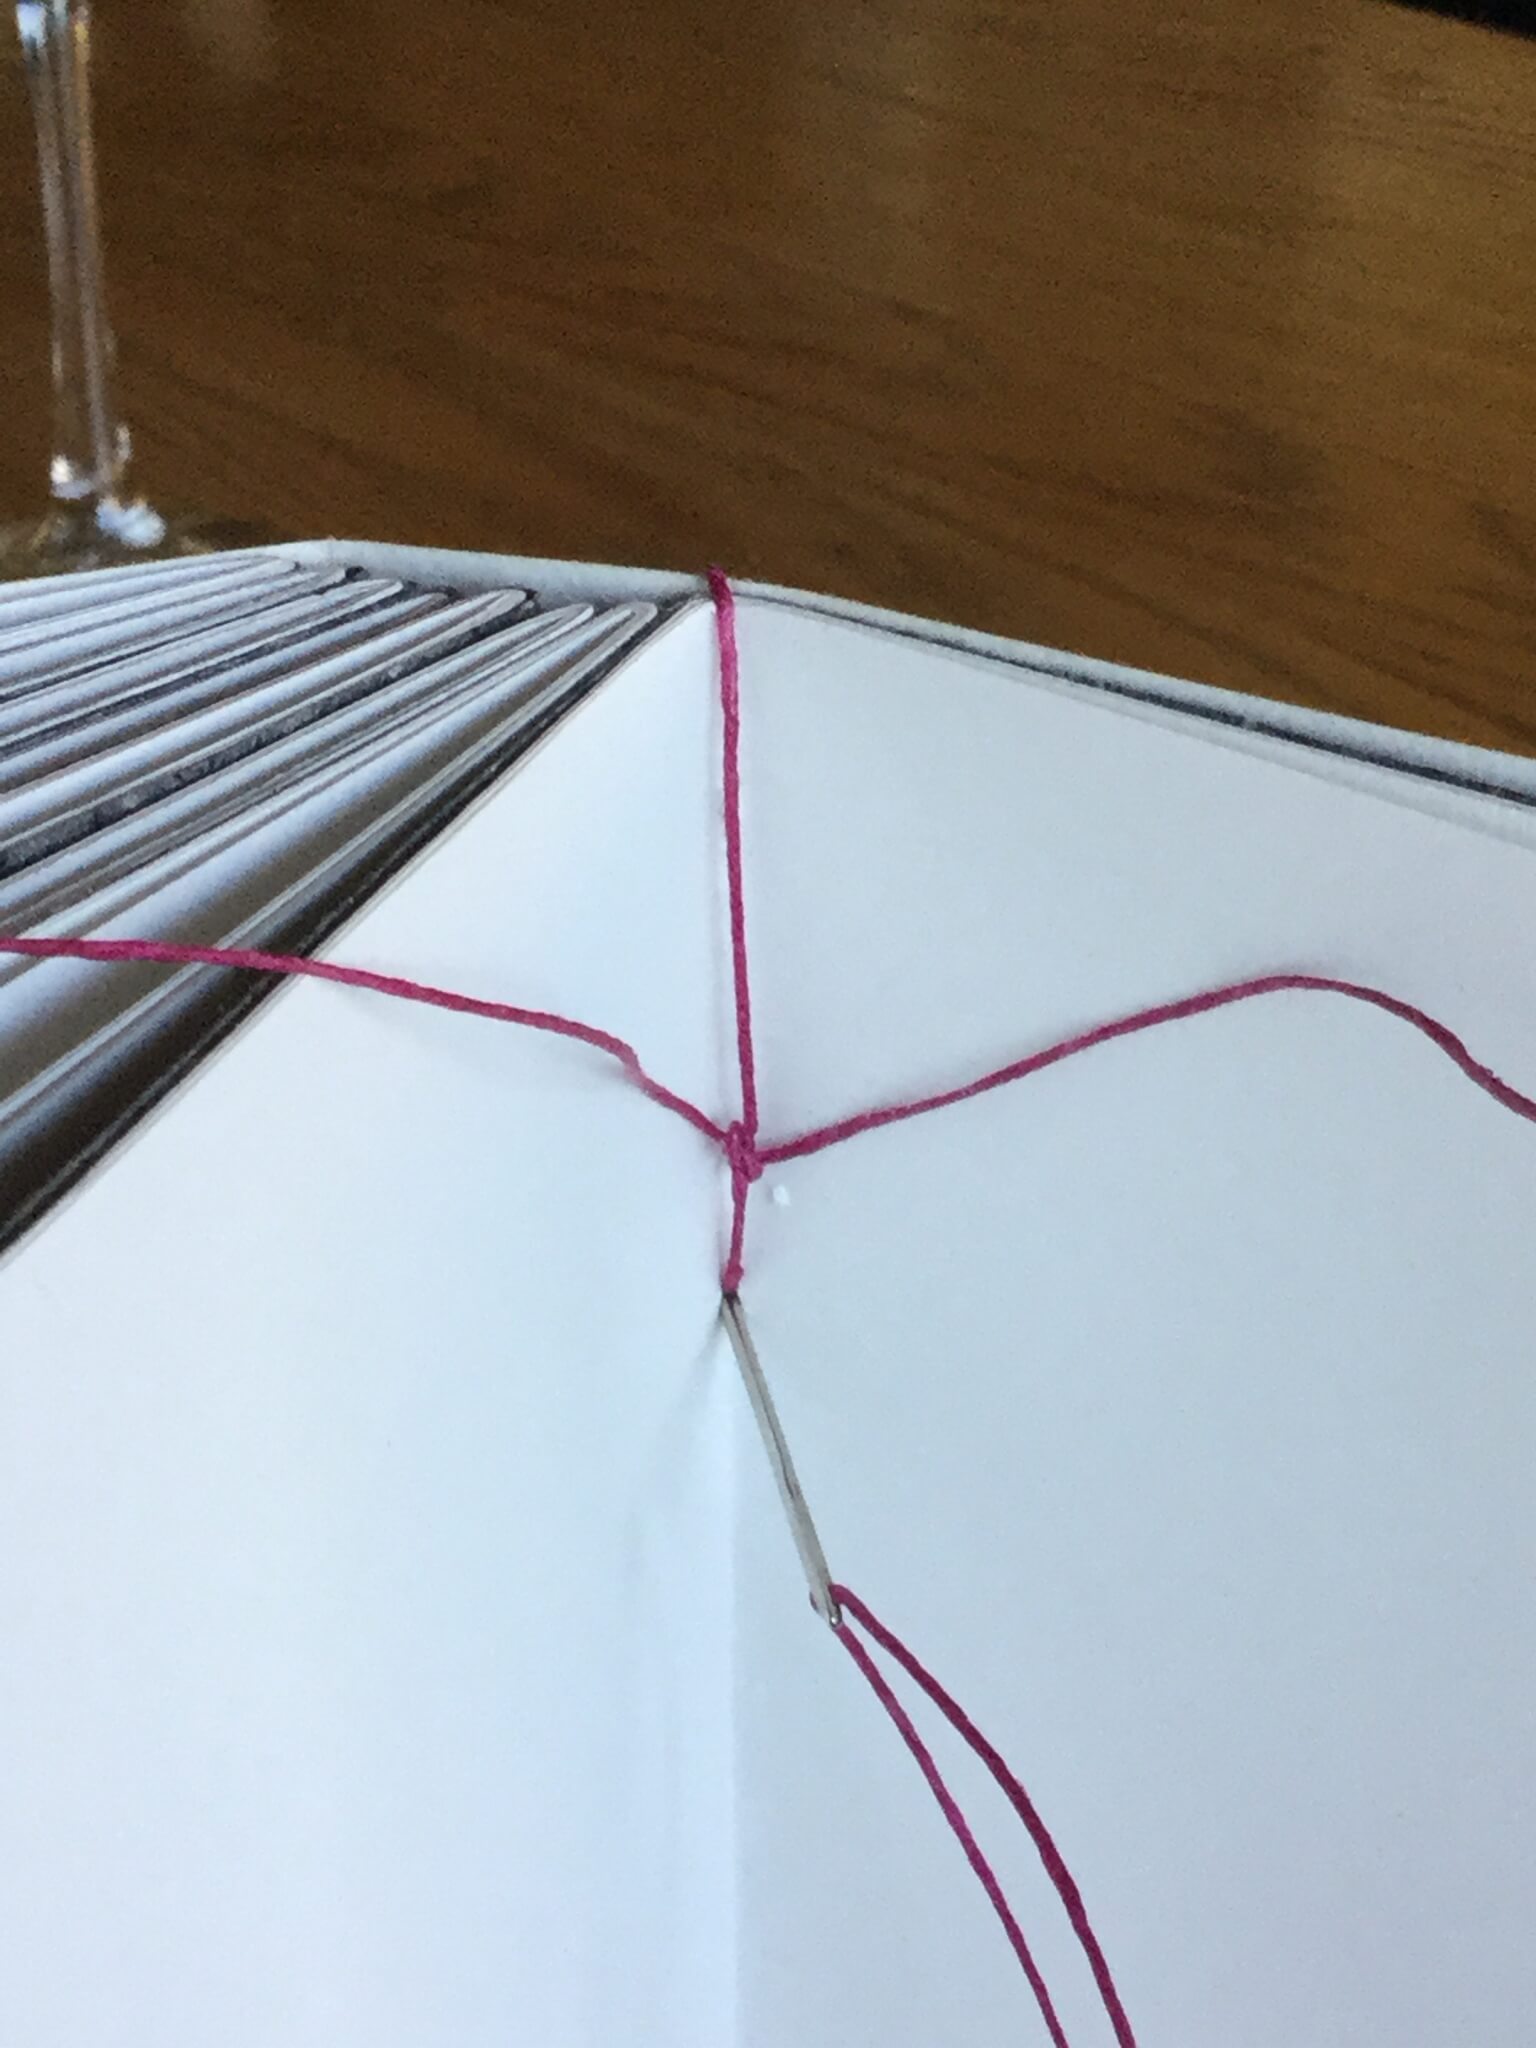
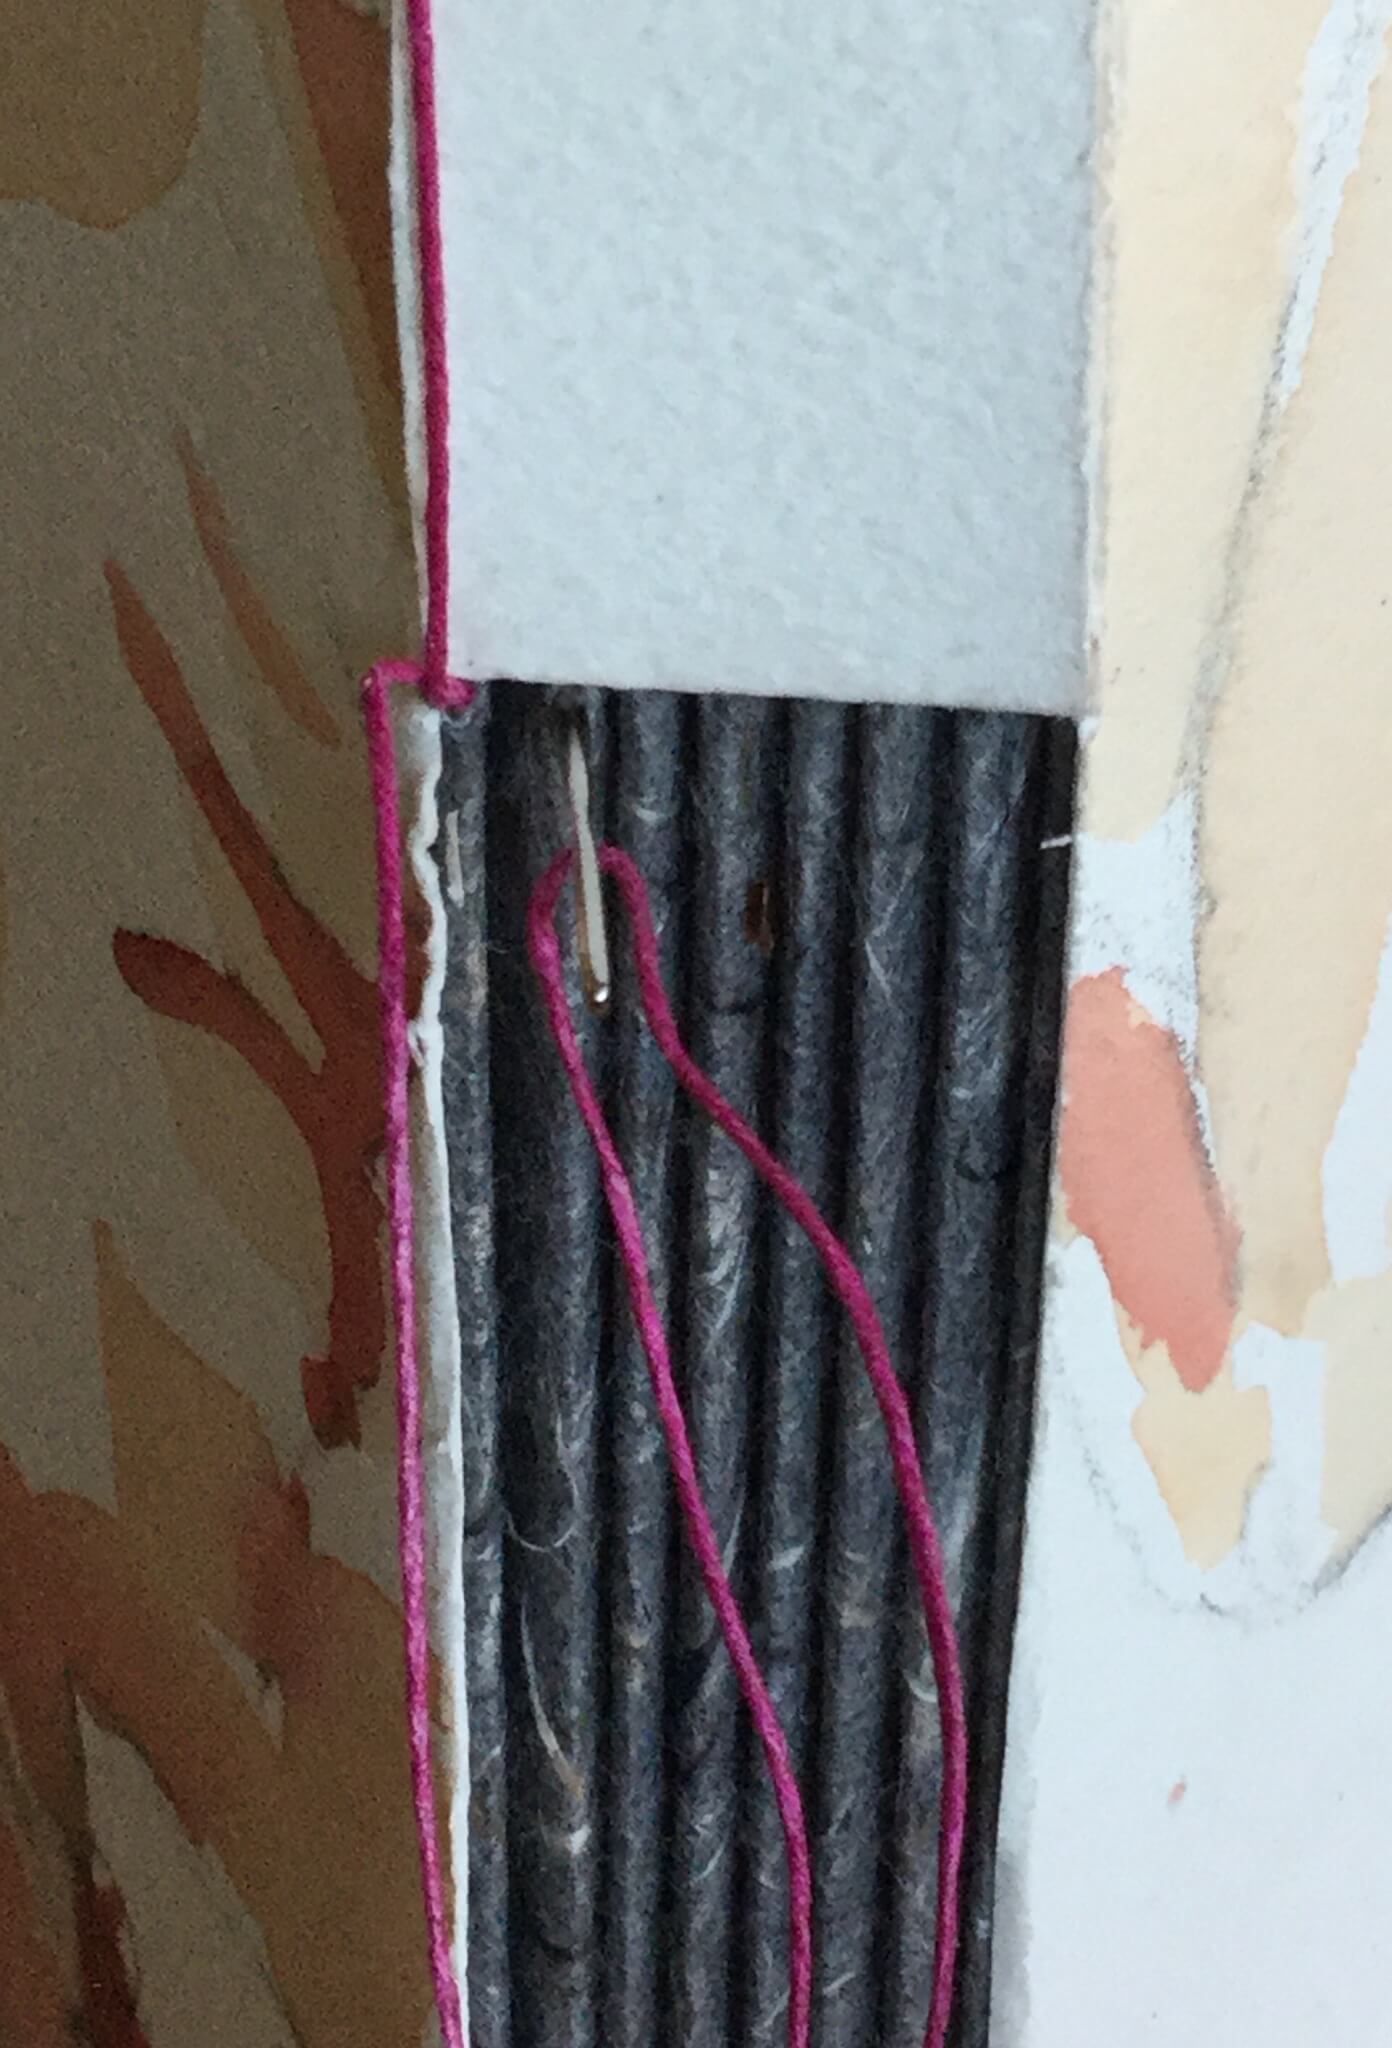
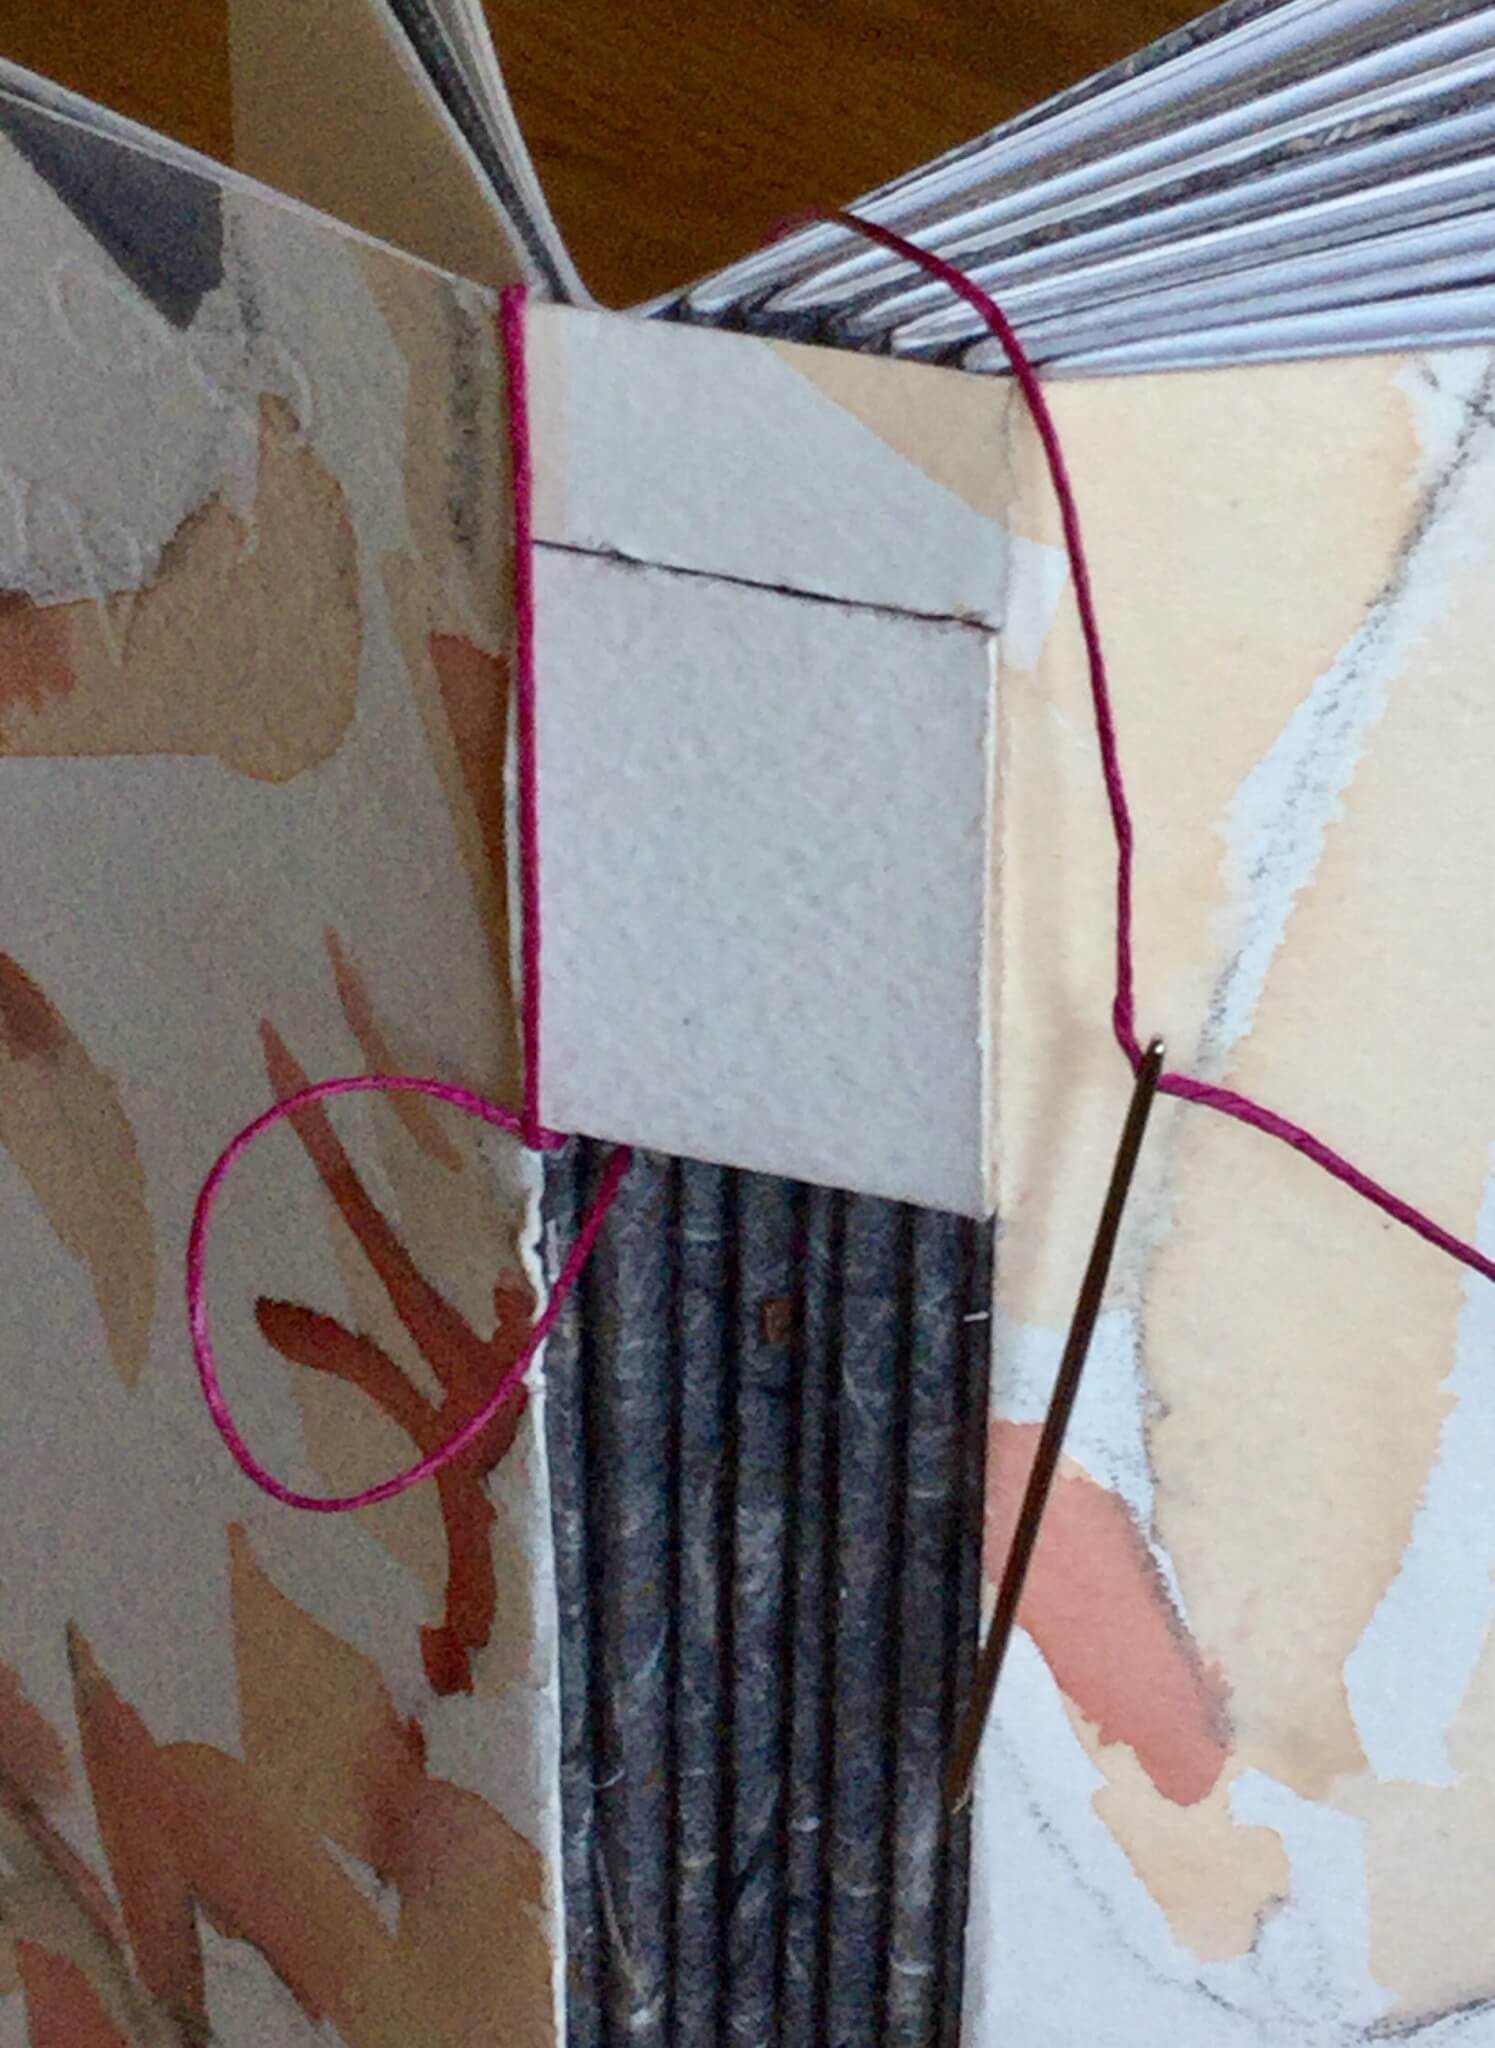
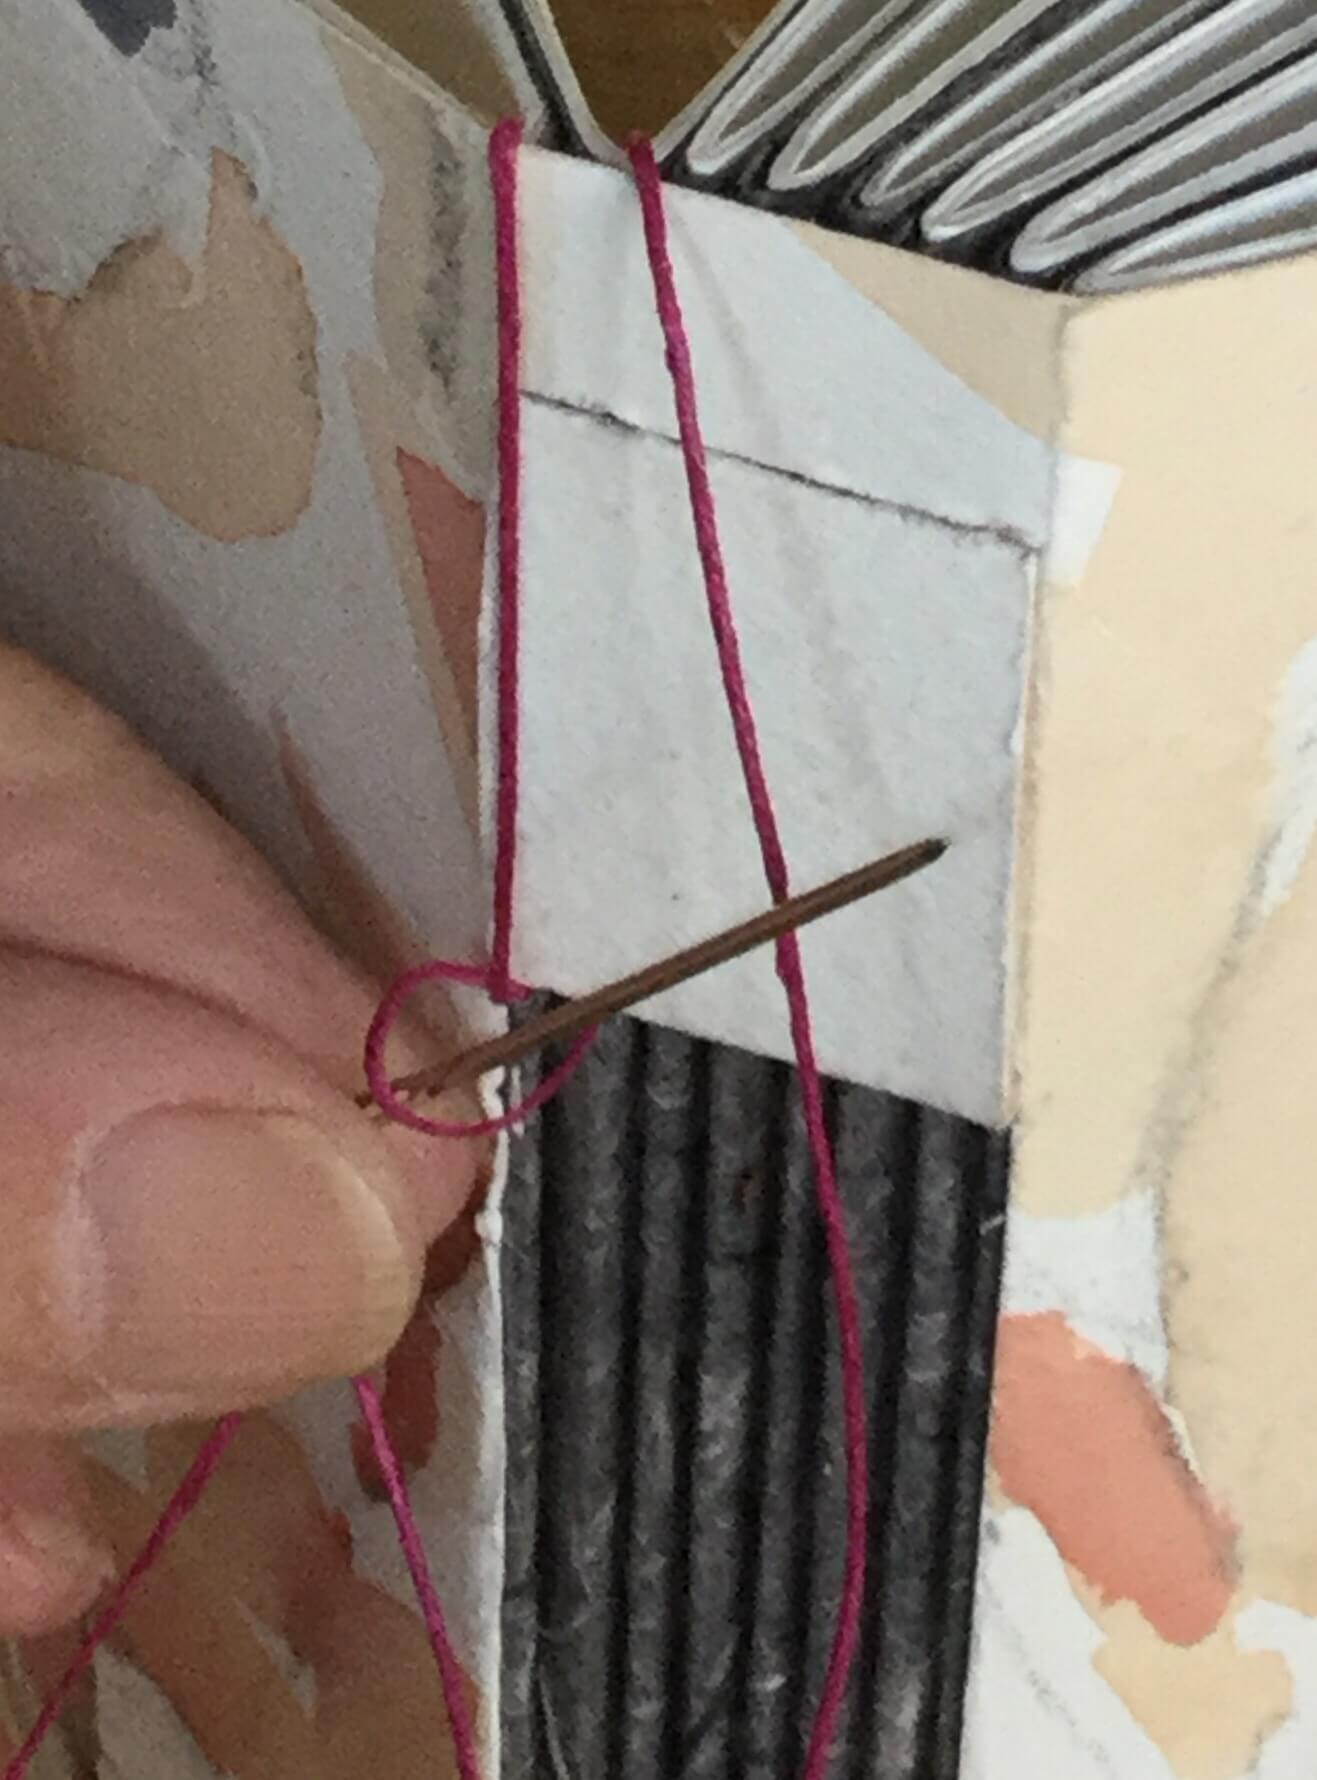
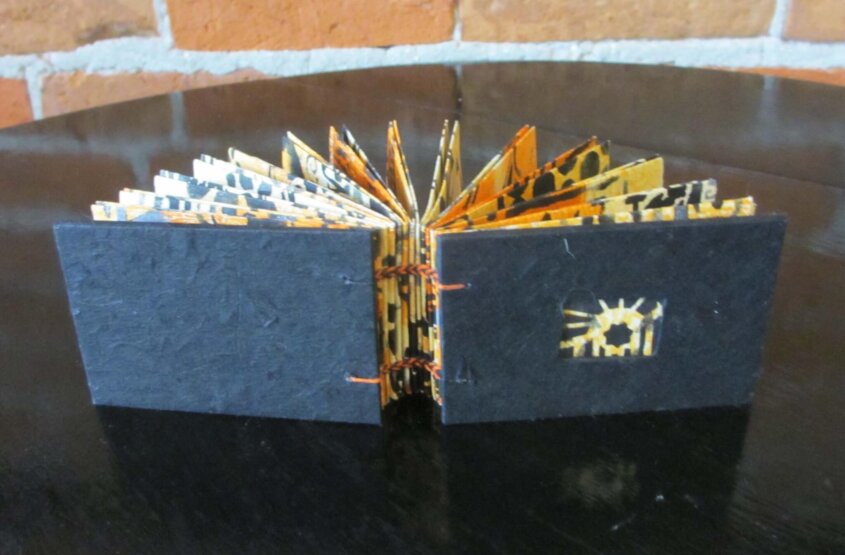
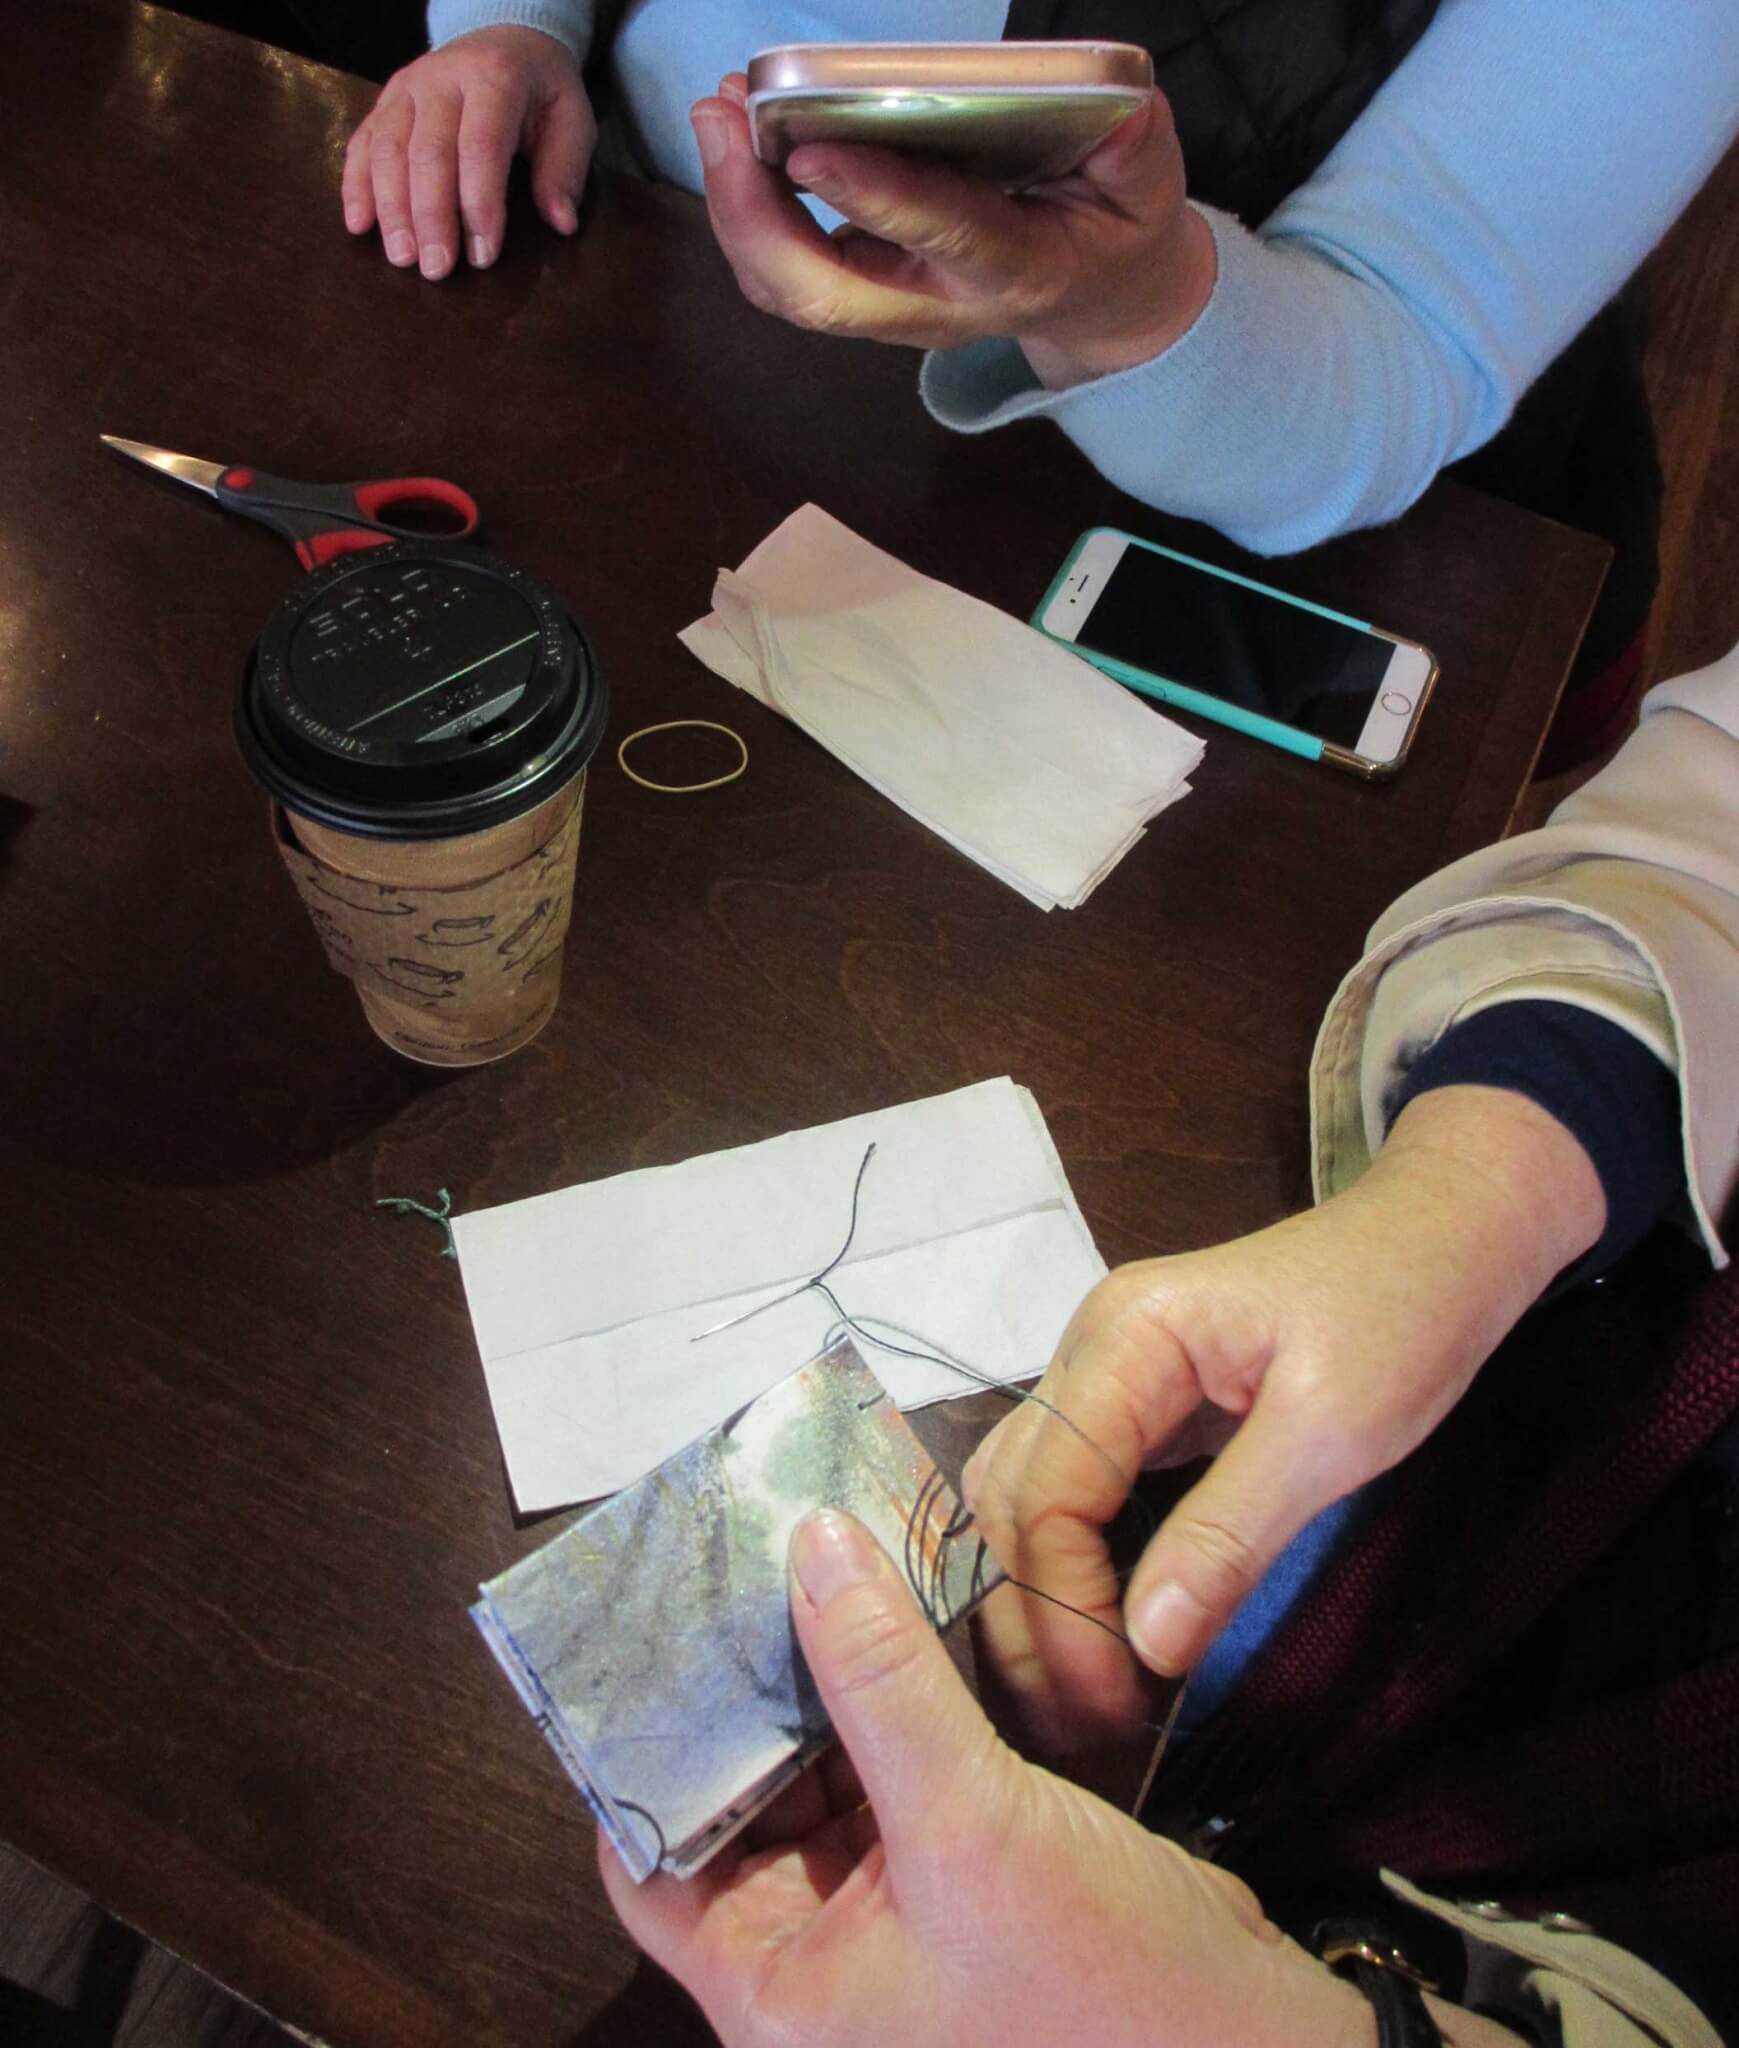
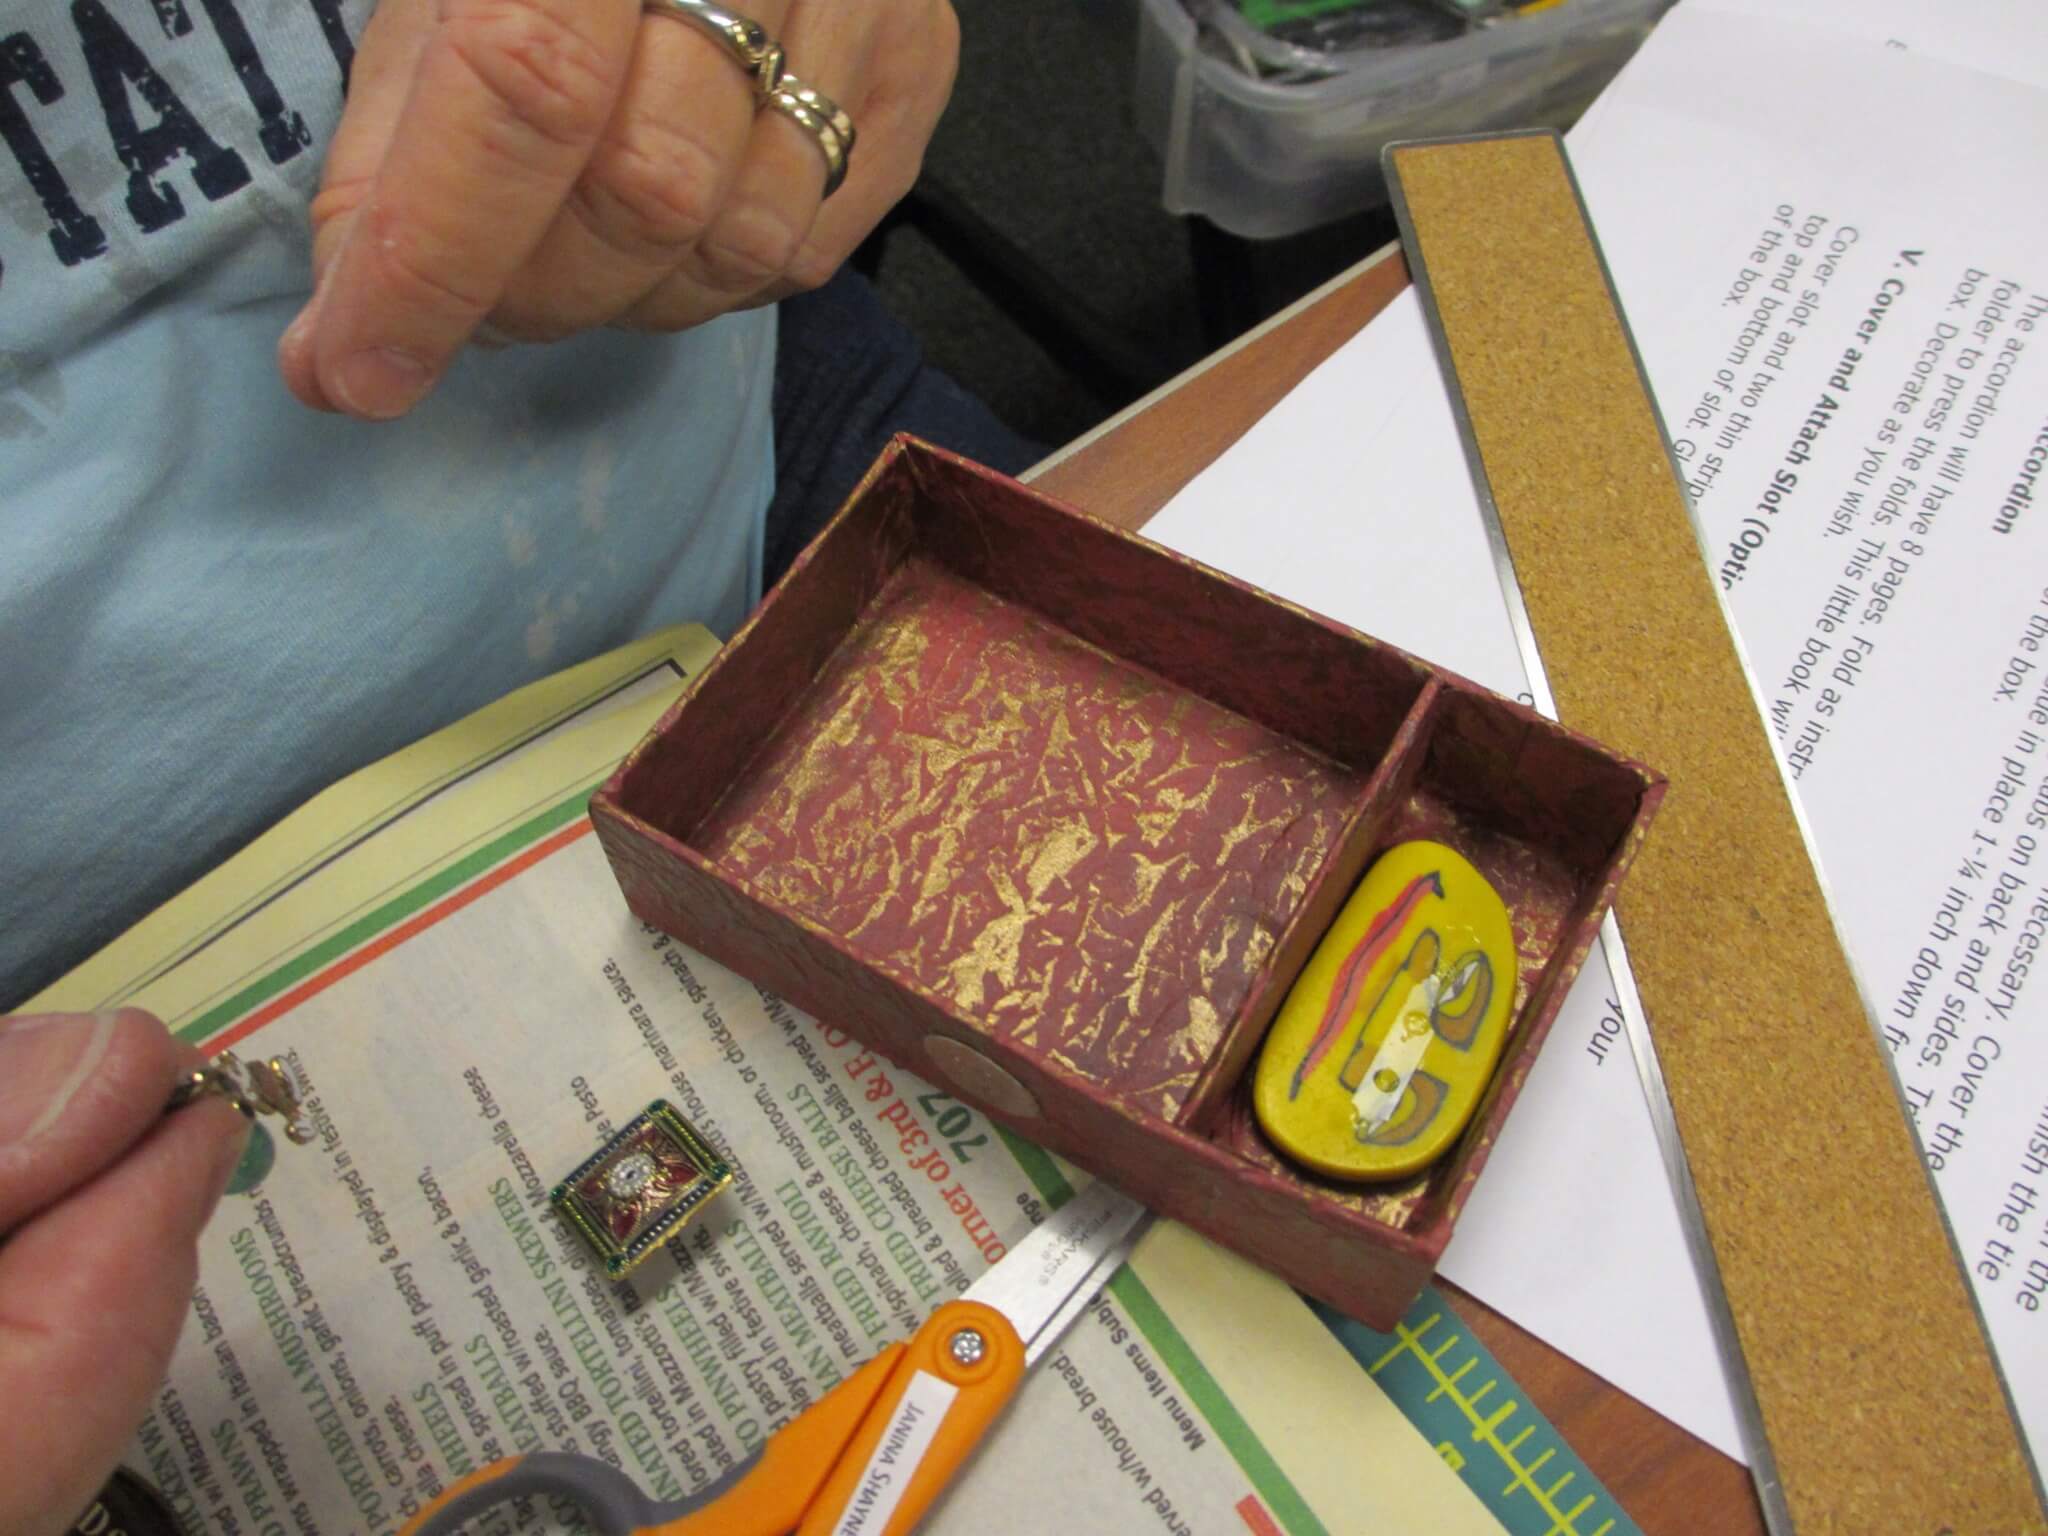
This book is almost finished. The thread needs to be trimmed and a slot added to hold the accordion fold. What a delight! The upper shelf holds miniature books and the accordion fold holds quotes about books.

Great job everyone. Working with you and your ideas is a treat in many ways. PS. Thanks for the real treats for our long work session today.

IMG_3641-0.JPG
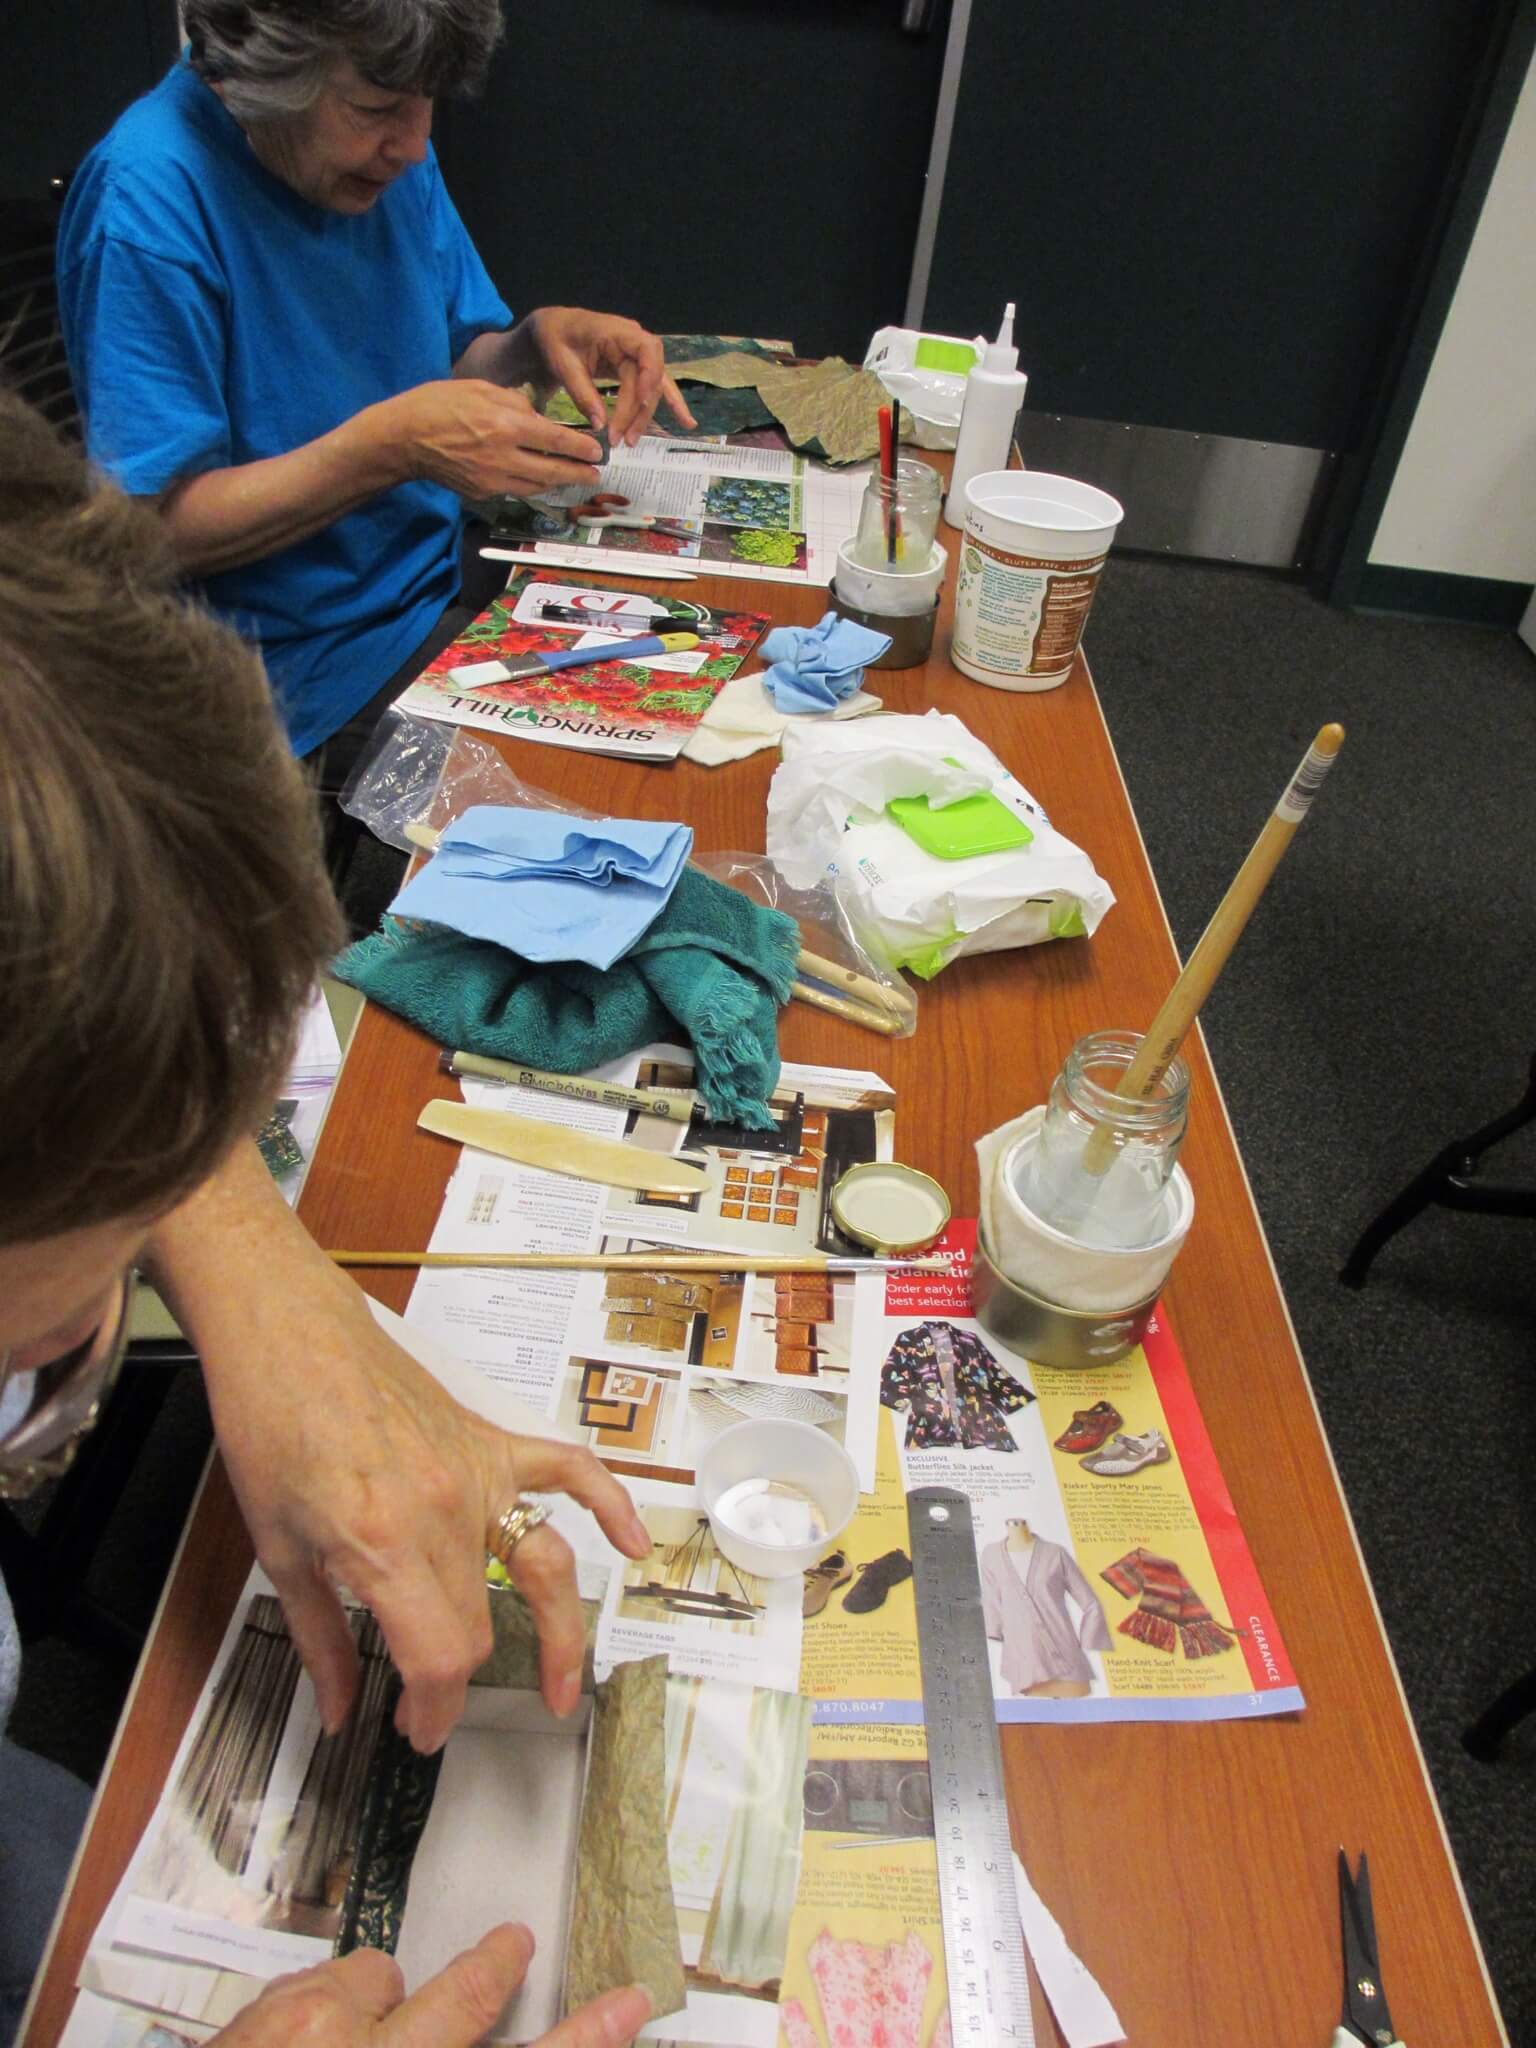
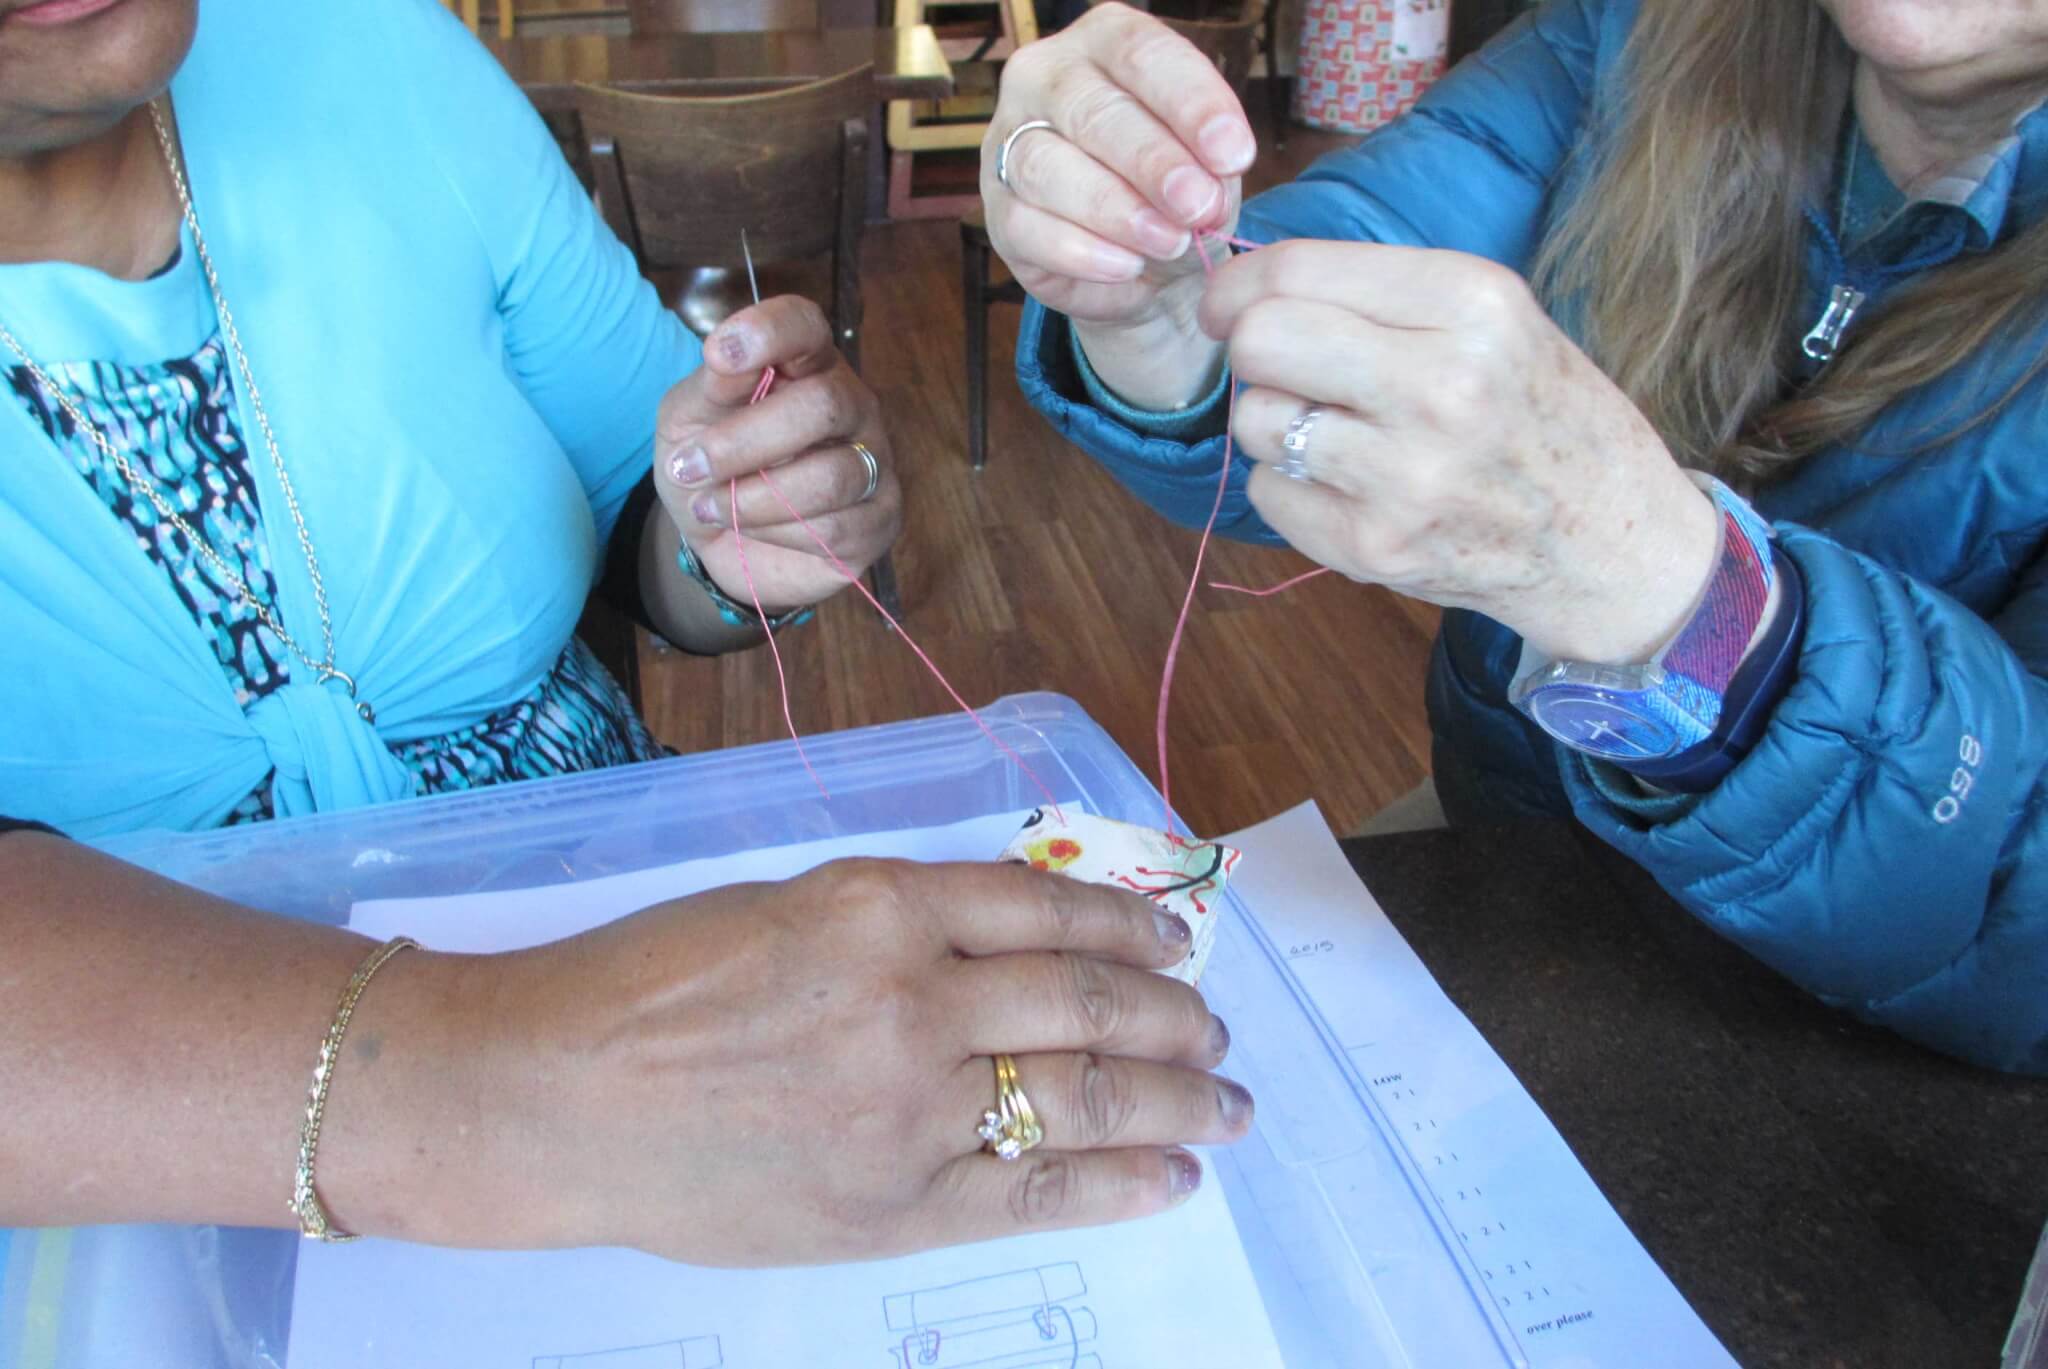
Busy hands….busy place.