Exposed spines are versatile, attractive, and provide opportunities to enhance the artistic qualities of the book.

Outside Cover

Outside Cover


With Michele Olsen, Book Artist

Make a no-nonsense, practical field journal that opens flat, has removable pages and a reusable cover. It’s easy to hold while standing or sitting, opens flat, and you can pick the paper that best suits your writing and drawing needs. Explore an array of materials and journaling tools that make it easy to journal in the field.

Tues., March 21 • 10-11:50 a.m.

Arcata, TBD

$30 • Class #: 23960

To register: https://extended.humboldt.edu/olli/course/field-journals-diy-journal

Additional information for your class: Instructor will provide materials for the 6” x 9” field journal. Students should bring a 12” ruler and tools for drawing, painting, or writing. (Optional: If you have an adjustable 3-hole paper punch, please bring it).
You can see a sample of the book at: https://www.micheleolsen.com/easy-functional-diy-journal/

Kodachrome SP, Bryce NP

As a long-time book artist I have made many of my own elaborate (but always functional) journals. I taught a class on making a leather-bound nature journal sewn with long-stitch, with a beaded spine and a braided linen thread closure. Students were afraid to write in them for fear of “messing them up”!

  • Pros: Opens flat (almost), 6″ x 6″ size is better than the small Moleskins I’ve been using.
  • Cons: Pages are not removable. Cover is not reusable. \

Leather Journal

I wanted something easier to make and easier to use. I was intrigued by the journal made by nature journalist Roseann Hanson. She uses 90 pound,  6″ x 9″ watercolor paper by Bee Paper, punched with a three-hole punch. The pages were then inserted inside of a custom leather cover and sewn with a pamphlet stitch. The attraction of this easy style of book is that the pages can be removed and placed in 3-hole binders and the leather cover can be used to create another book.  If a leather shoestring (or any other stretchy cord) is used for sewing, the book will open flat (very important).

Pros: Larger size (6″ x 9″) closed, pages truly open flat. Pages are removable and can be shuffled in any order. Good size for laying across my arm while drawing.

Cons: There are three holes in your papers. I find I hardly notice them and creating full spreads works just fine.

Outside Cover

Inside of journal

I do draw more when I use this journal and love the idea that I can move the pages around and use the same cover with each new addition of paper. I have also switched to Swathmore 90-lb. watercolor paper because it easier to find and my pens love it too.

Want to make one of your own? I created the book above using materials I had on hand, which wasn’t much. Here’s a short outline of how this structure was made:

1) Covers: I had a scrap of leather I cut to size with a rotary cutter. Button closure.

2) Paper: I used Strathmore 90-lb watercolor paper cut to size and a 3-hole punch adapted to make holes that work on a 6″ x 9″ page.

3) Sewing material: I used oval elastic – no needle necessary.

4) Pamphlet Stitch: Making a 3-hole pamphlet stitch from Instructables

I am enjoying the larger size of book!! I am able to clip my small watercolor palette to one side of the book which makes it very portable. It also fits nicely in the crook of my arm.


I love making books with wooden covers and I have come to realize that the covers are just a good excuse to come up with interesting bindings. Of course, the book covers can be made of other things too. I just rearranged my books to highlight the bindings and walking by them every day has inspired me to begin another projects.

Bindings (L to R): Cross Structure; The Rope; Headbands, Coptic, Caterpillar; French Link; Double Needle Coptic, Soid Pack Raised Supports; French Link; Flitch, Coptic.

Bindings (L to R): Buttonhole, Buttonhole, The Rope, Tacket, Buttonhole, Cross Structure, Buttonhole, Tacket, The Rope, Long Stitch, Long Stitch. (Book on far left was purchased)

All of these book structures are non-adhesive and feel good in the hand. In the first collection the Flitch Book on the far right is my favorite way to introduce more wood on the spine; I have a large collection of these in my Wooden Books section. In the second collection one of my favorites is the leather book second from the right—used for sketching.

Lynn Jones of Just My Type Letterpress Paperie was my co-teacher for our second class for OLLI Book Arts. Eight women worked together to produce collaborative books with the title Blooming Chaos. You can share in our creative journey by viewing the photos below. Students – thank you all for two wonderful afternoons of inspiration and comraderie!

Transfer of image to block

Carving the block using jigs made by my husband, Rollie.


One of eight blocks being carved.

Lynn guides their carving.

Finished blocks.

Time to pick out our type from vintage type cases.

Each student chose their own type font.

Setting the type with carved blocks.

Check out the press in action!

After much adjusting, Lynn presented us with this page for Day 2’s book.

I am demonstrating the construction of the Winter Fold book – made from the single sheet of paper.


The final results!

To a job well done!


Thank you all for a great class. You inspire me so much. Until next time!

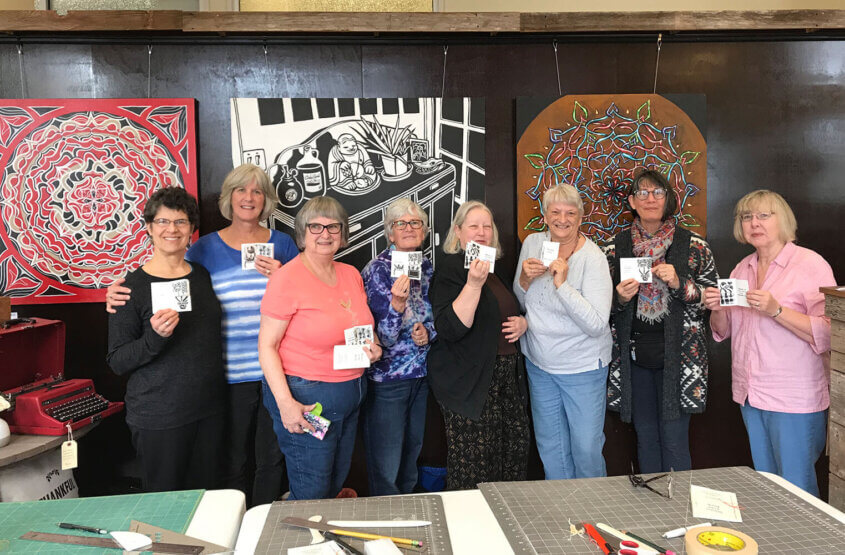
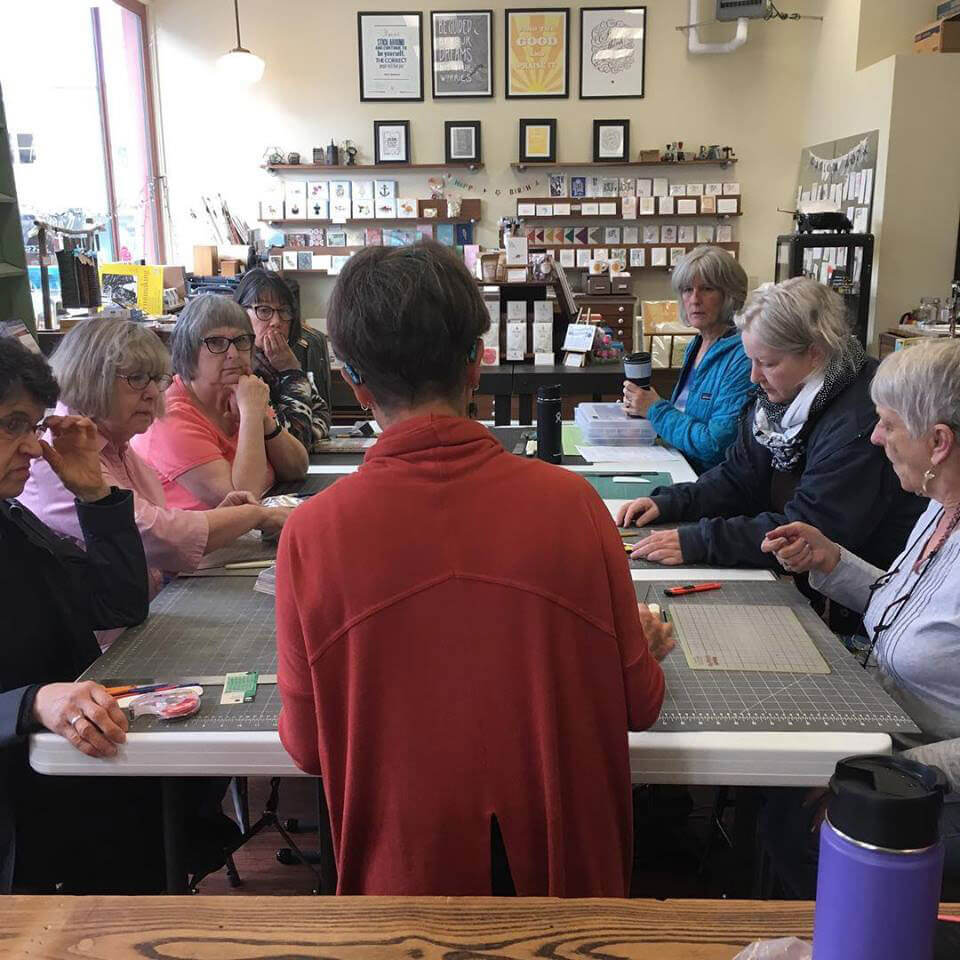
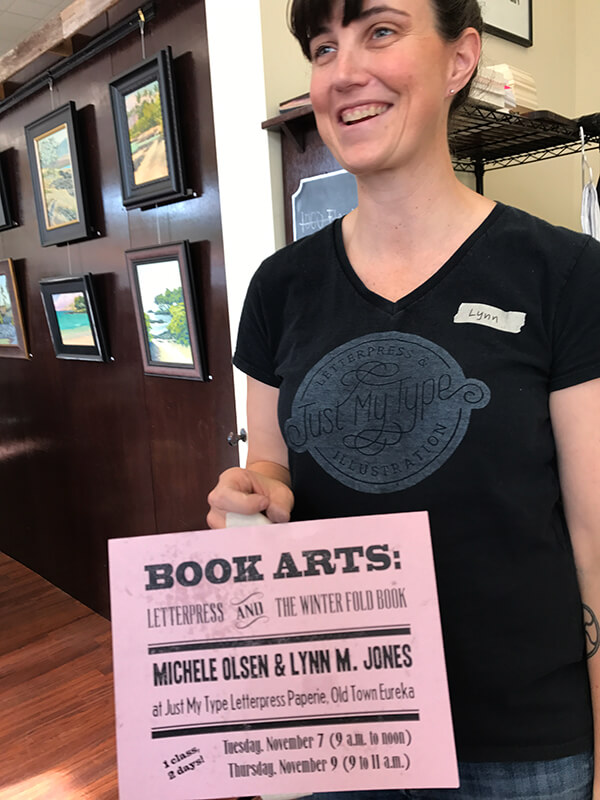
An eager group of would-be typographers met at Just My Type Letterpress Paperie in Old Town, Eureka. The workshop is a collaboration with artist and printmaker, Lynn Jones, and book artist, Michele Olsen.

A_Lynn

Lynn surprised us with her letterpress flyer.

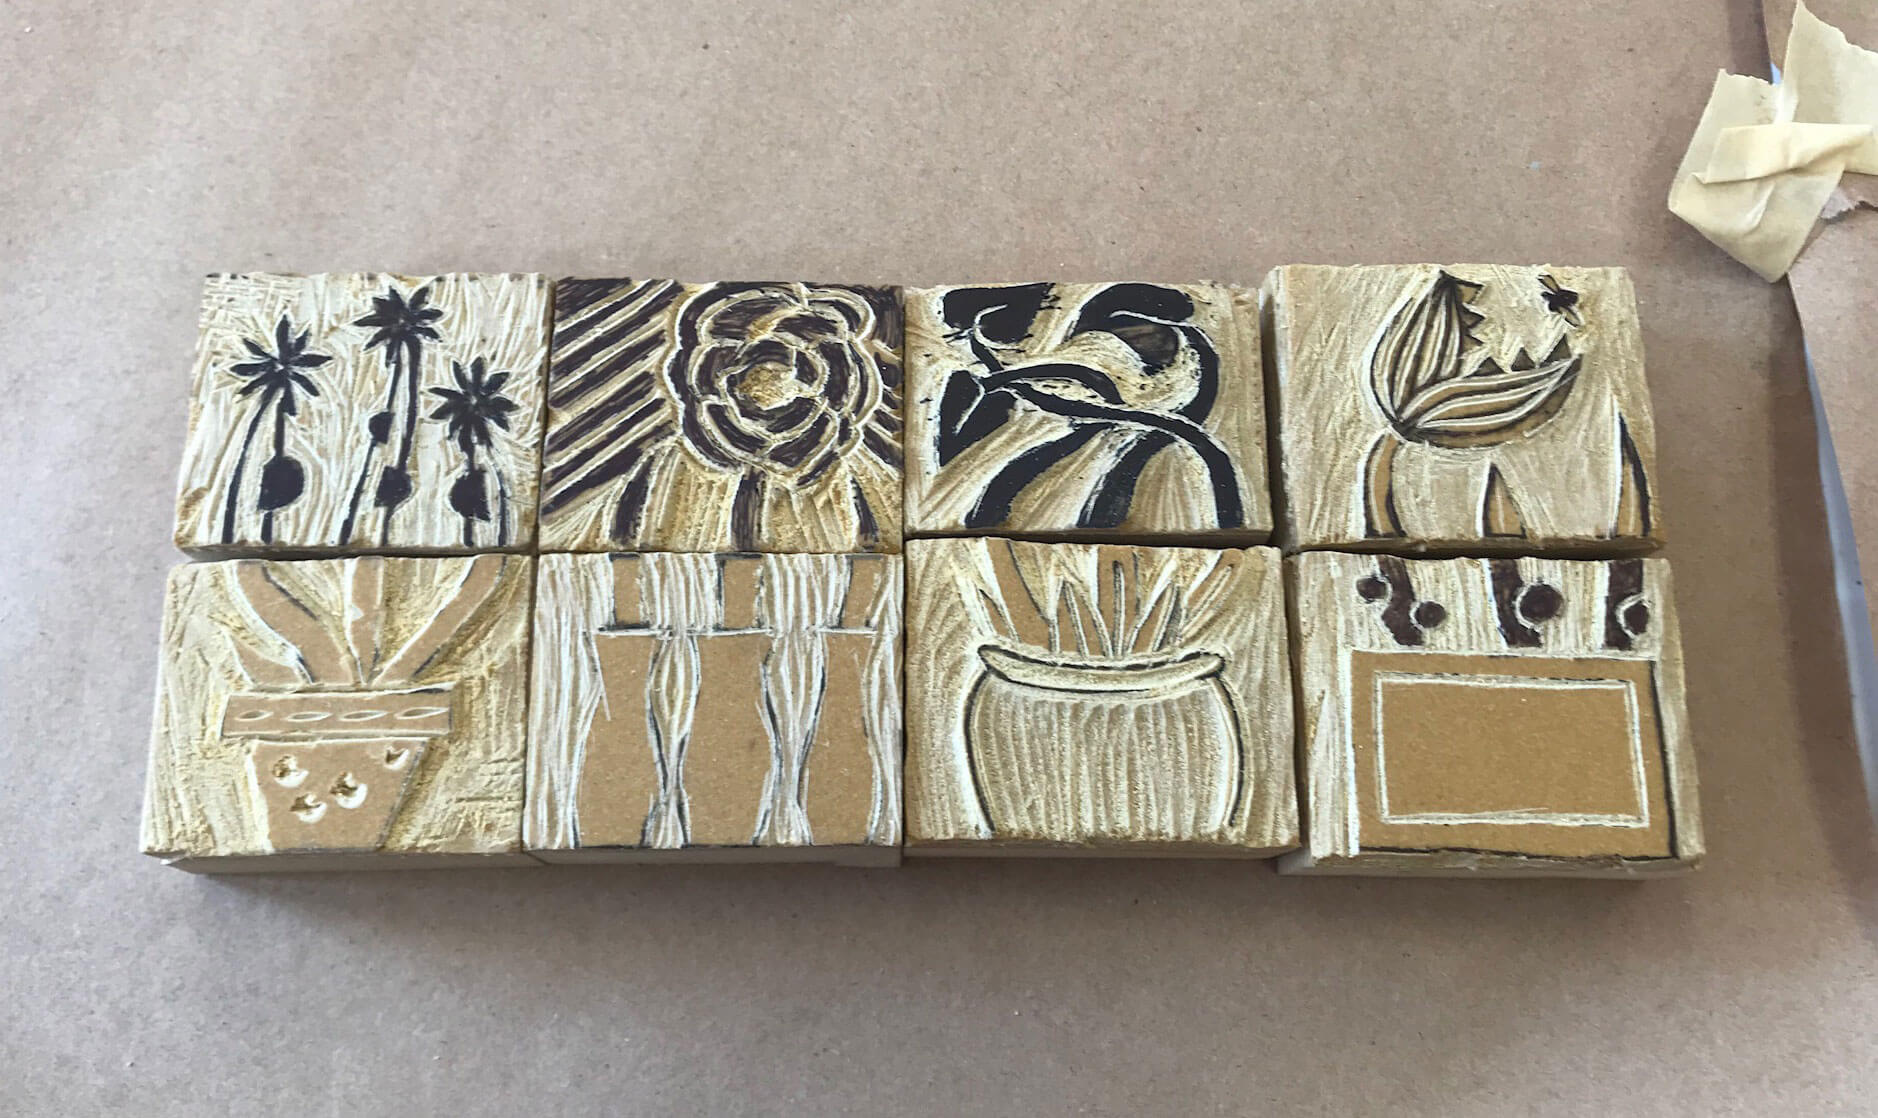
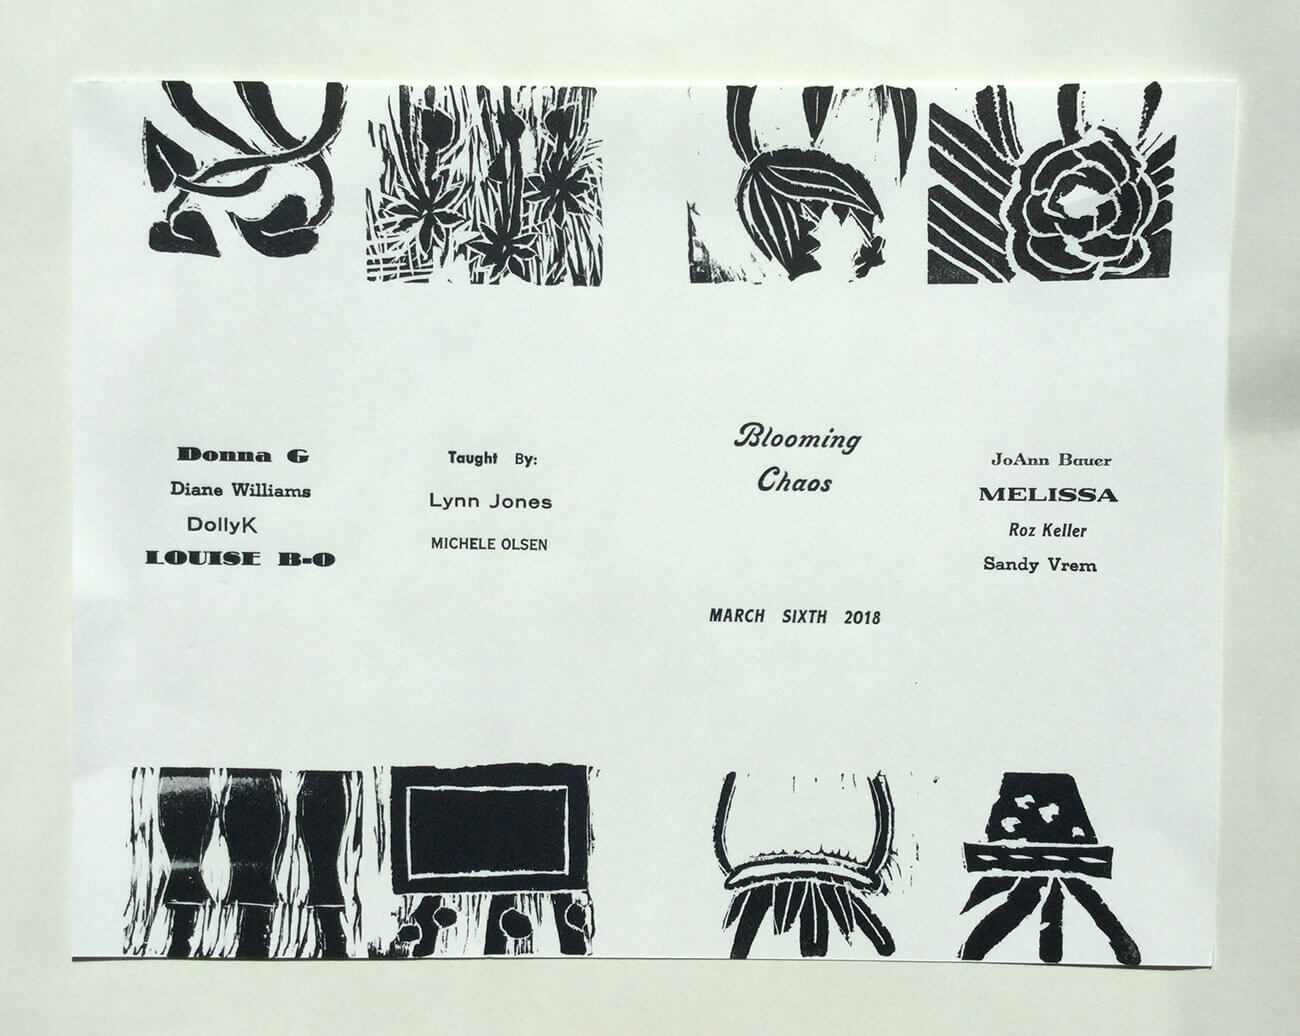
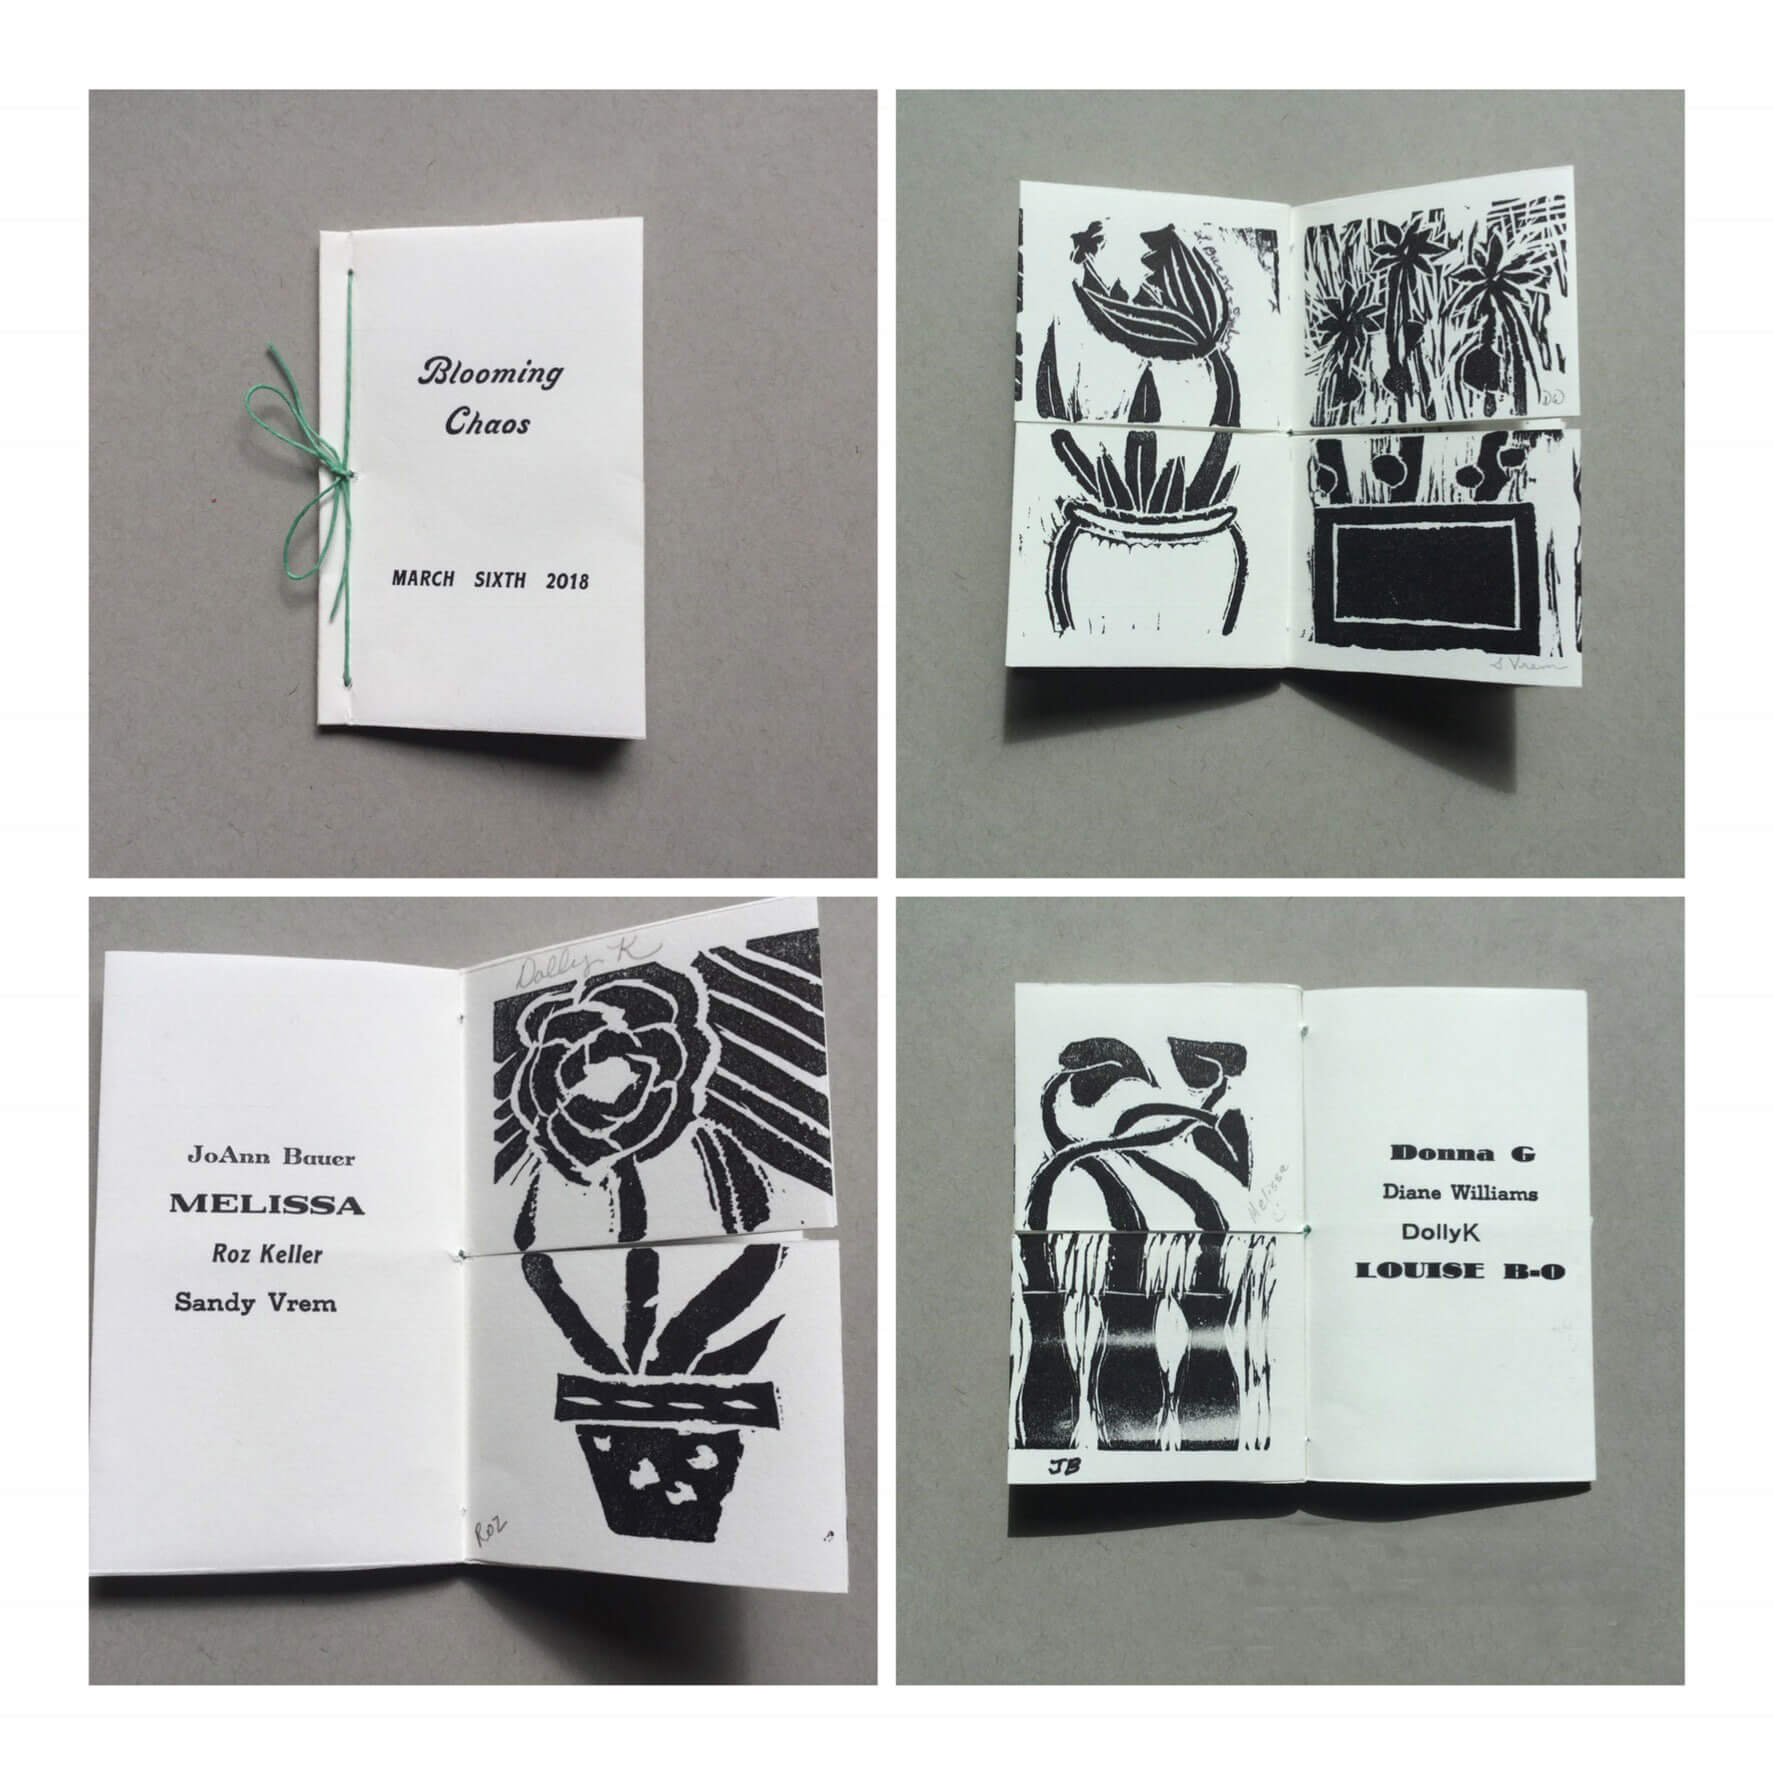
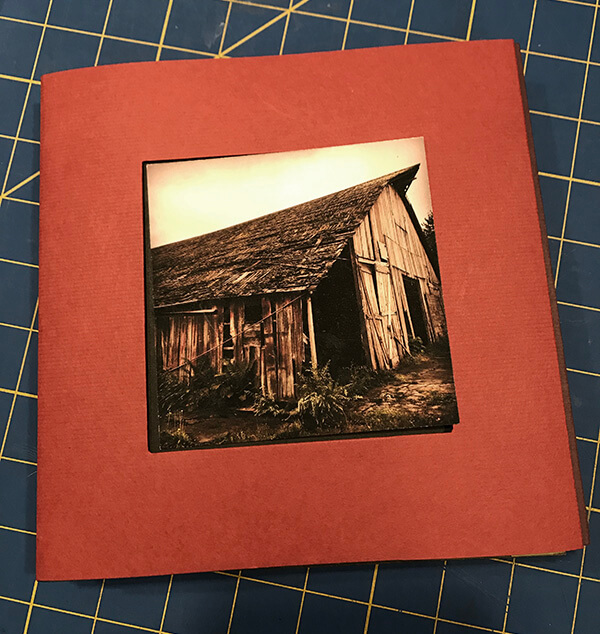
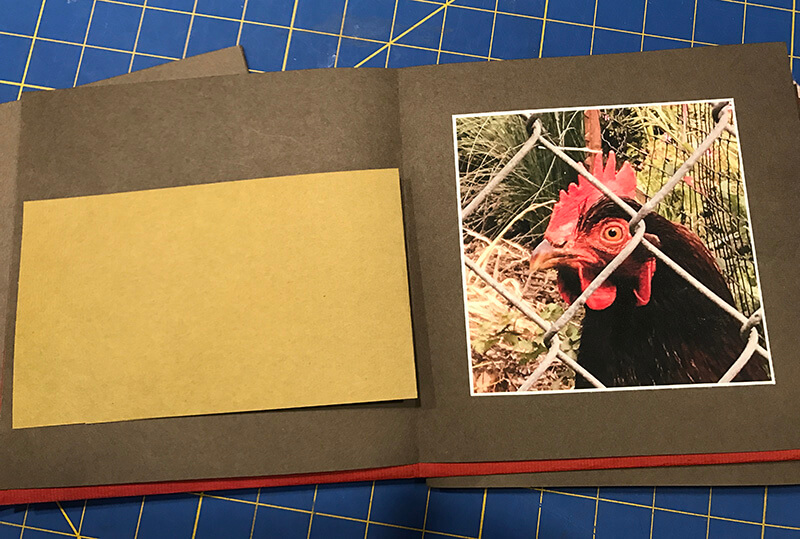
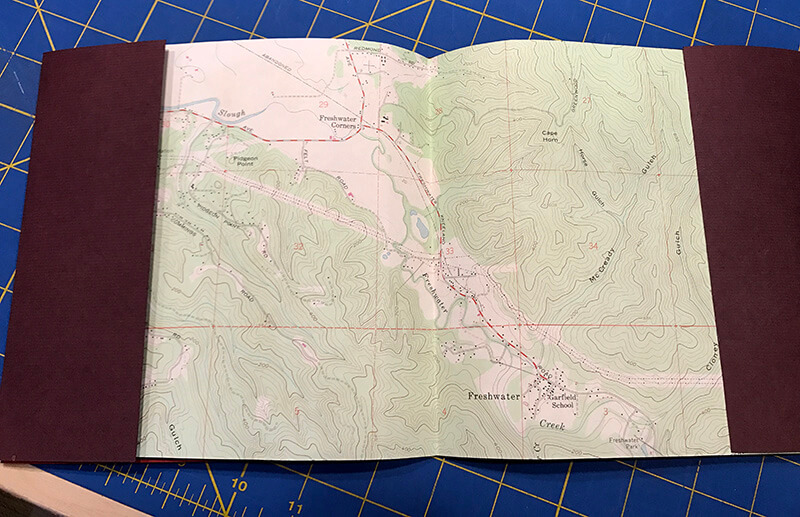
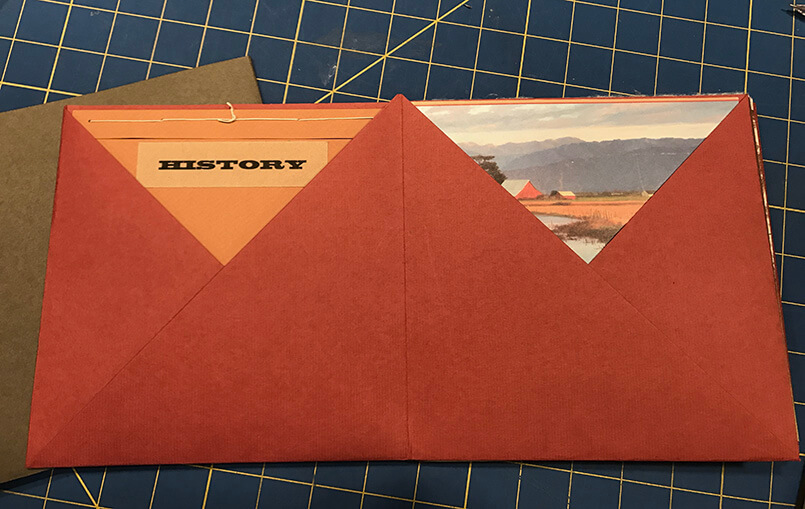
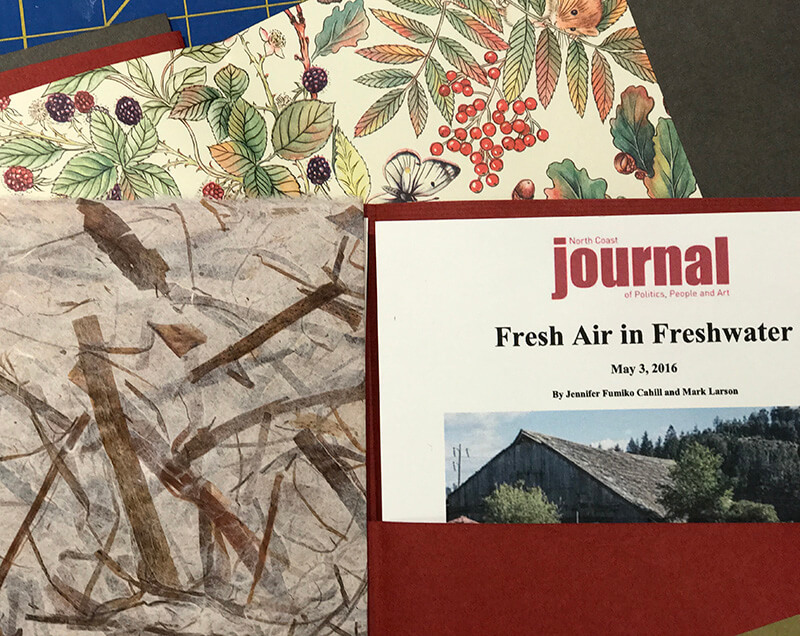
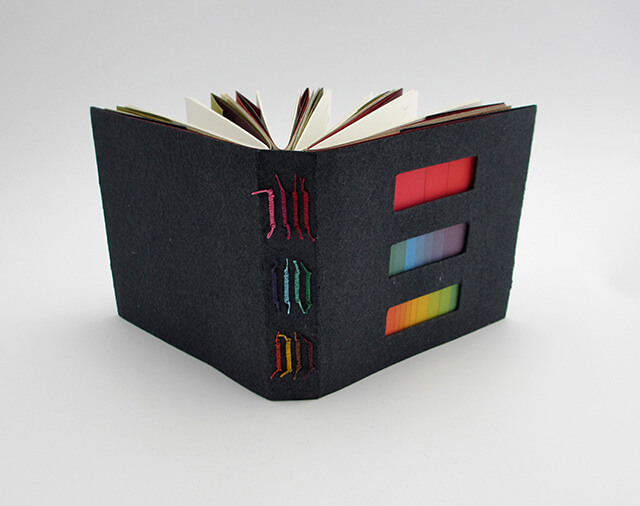
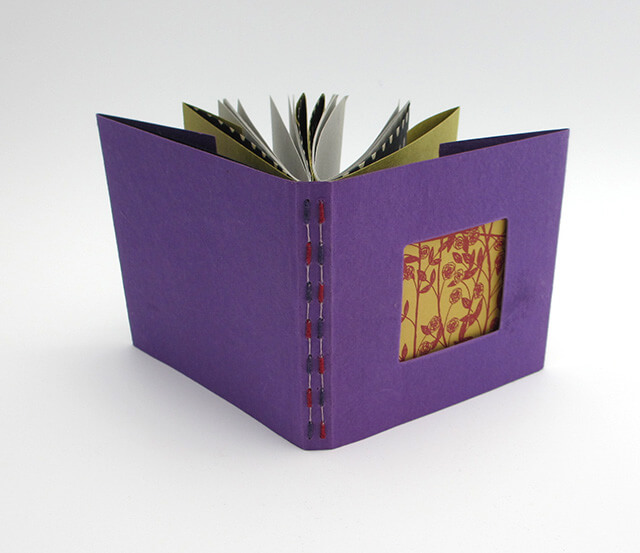
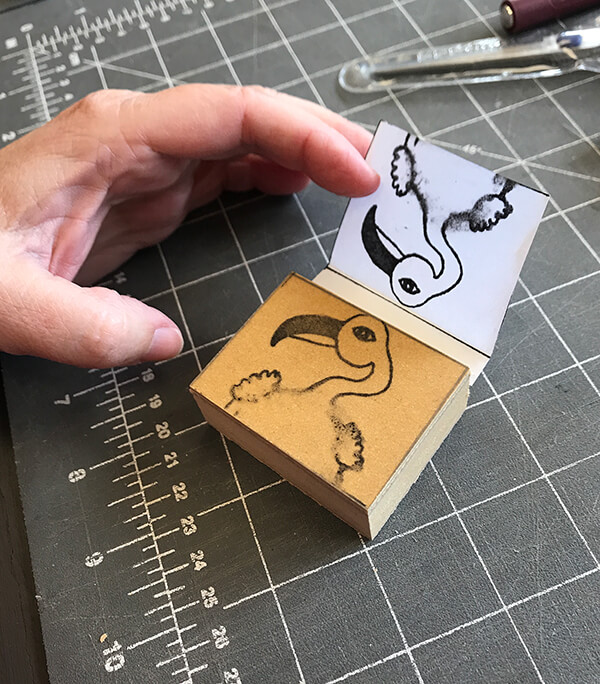
Day 1 of the course covered linoleum block cutting, typesetting, and printing. The resulting book will be assembled on Day 2. Lynn’s studio workshop is in a beautifully restored Victorian building in Old Town, Eureka. We were blessed with sunlight streaming through the ceiling height windows making it easy to see what we were doing! The book will be a collaborative book that is a combination Exquisite Corpse and Winterfold Book formed from a single sheet of 8.5″ x 11″ printed paper.

critters

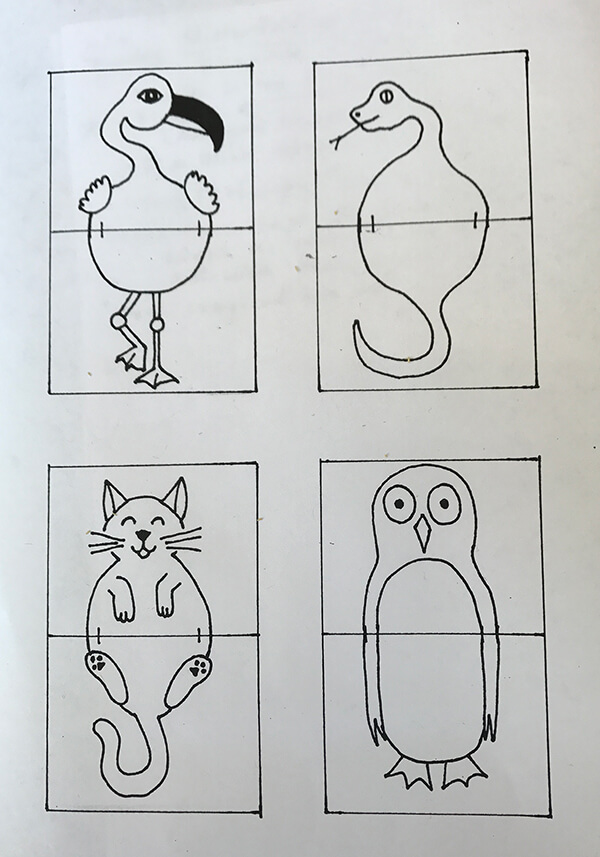
Lynn designed these pages. Each of the eight students took a top or bottom to cut as they chose.

transfer

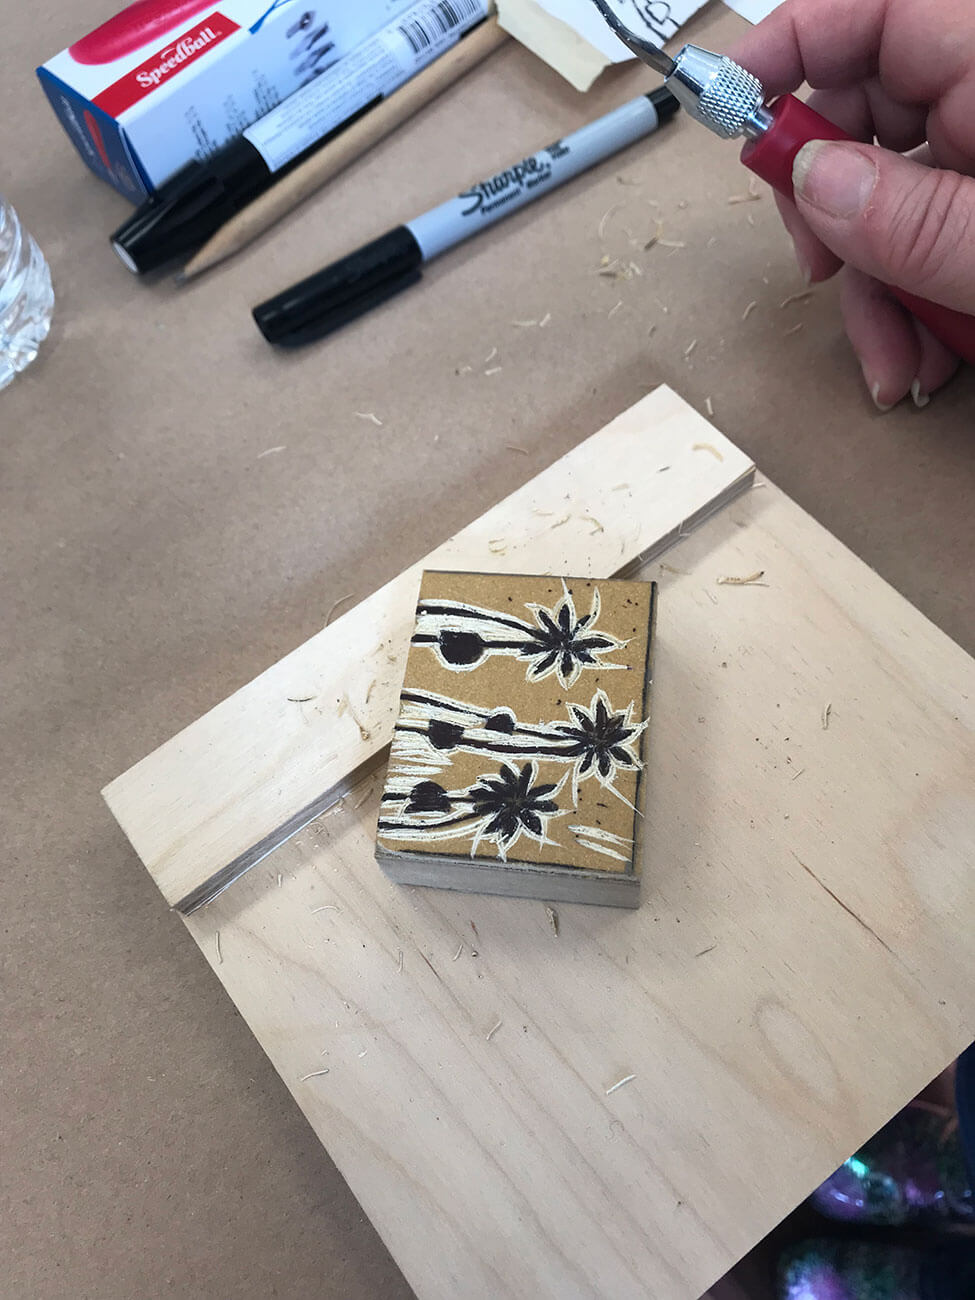
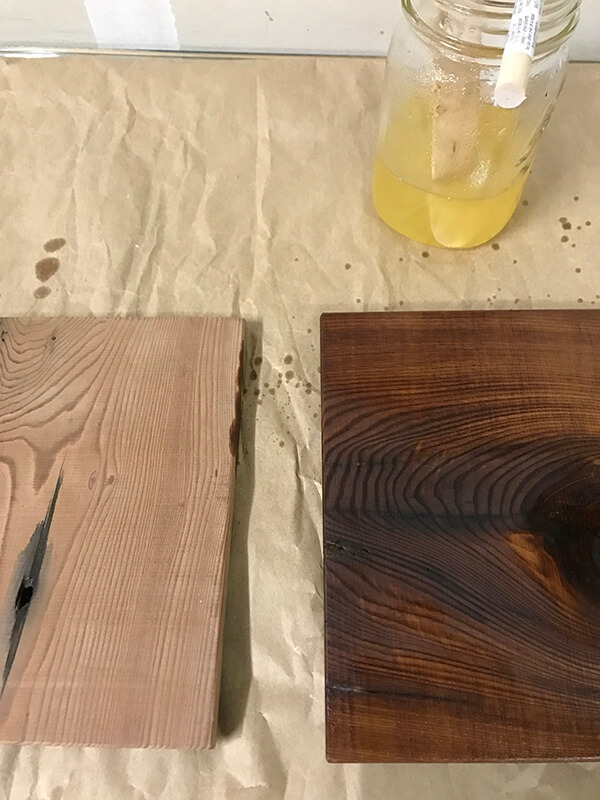
The original image was on copy paper (photocopy or laser) and after taping it to the block carbon side down, the image was transferred to the block using a blender pen. It was then redrawn on the block using a fine line Sharpie.

To_Work

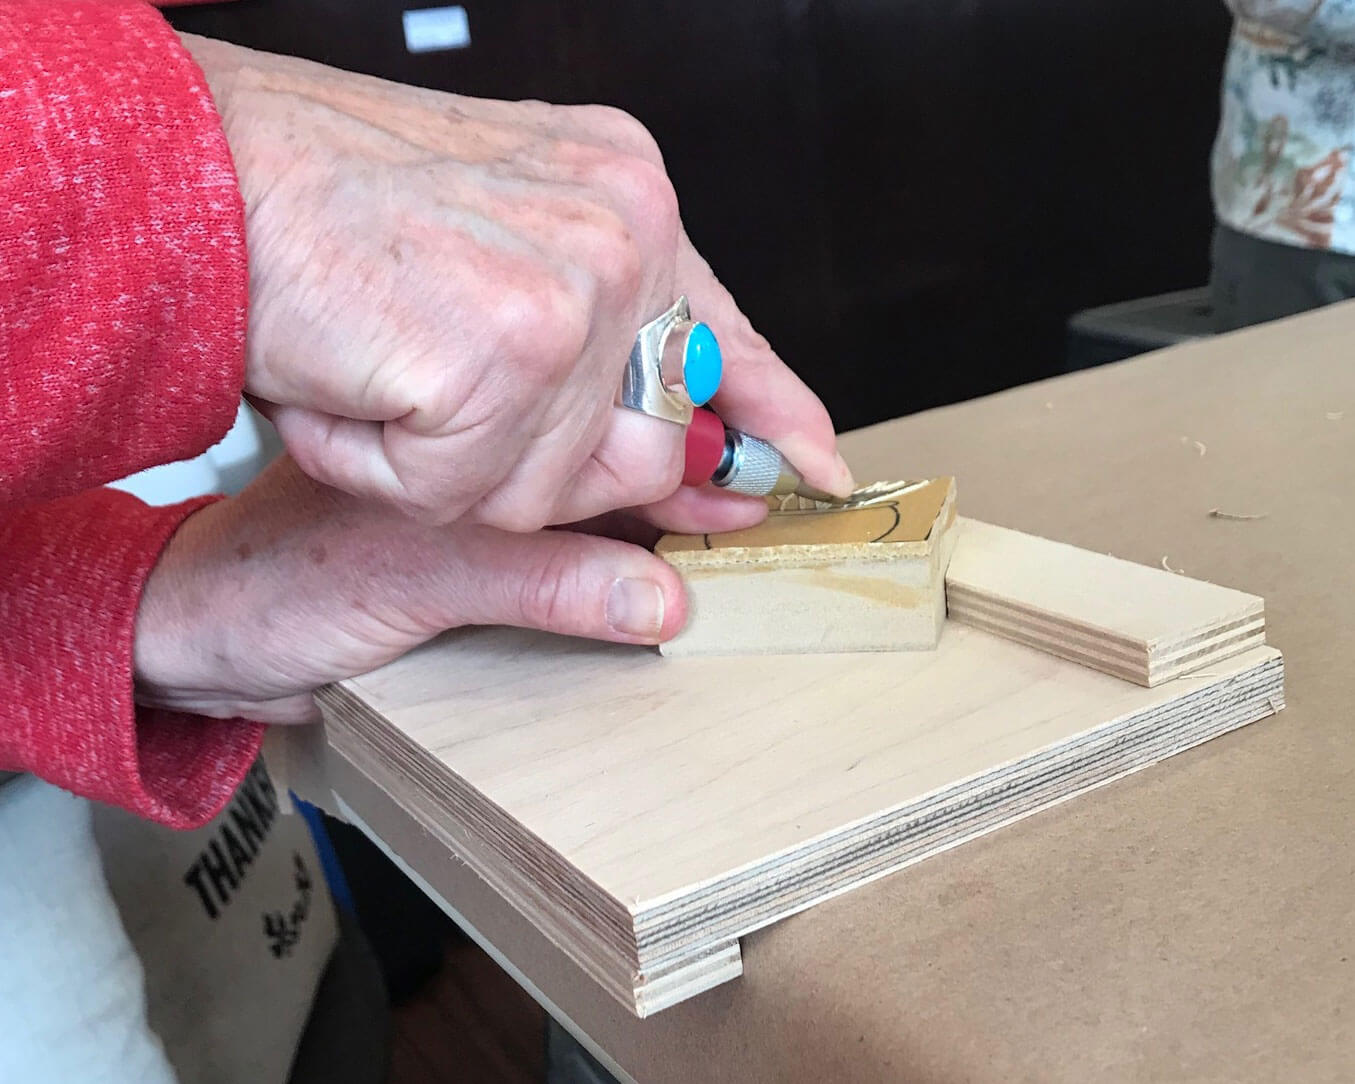
After instruction in the use of the Speedball linoleum tool were were off and carving.

Carving

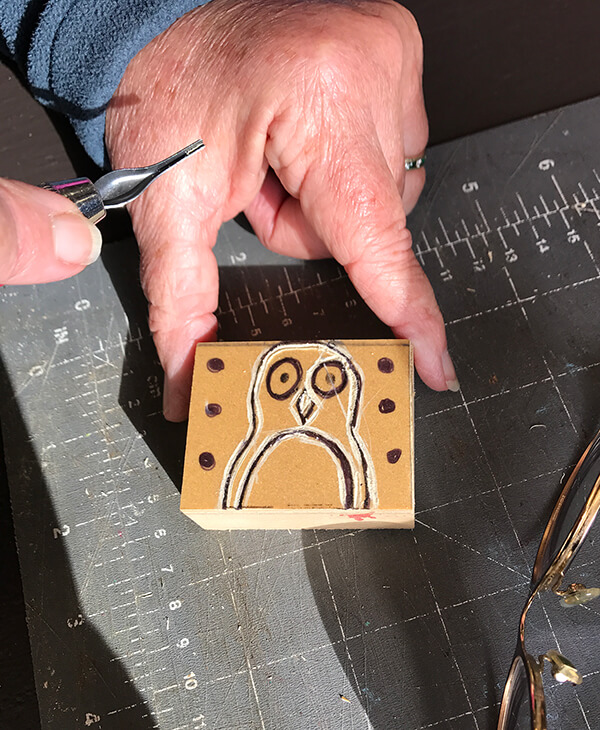
We started with the small gouge and cut around the outlines.

gouge

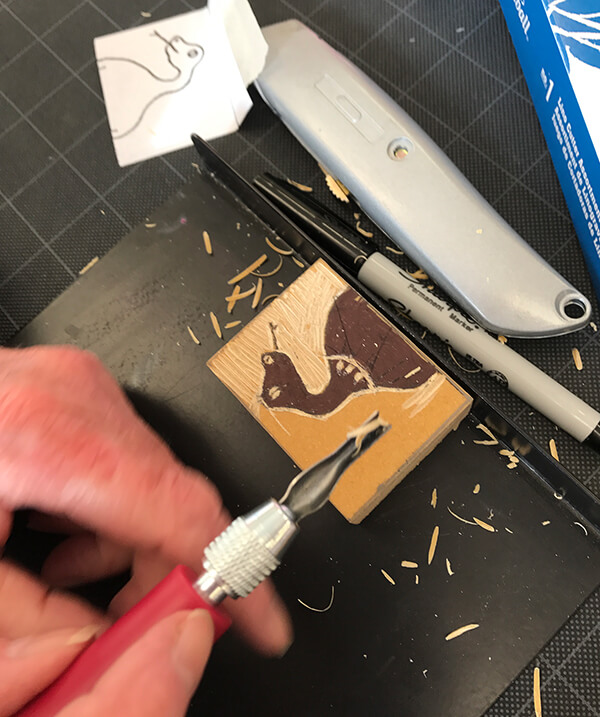
Larger areas were removed using a large gouge.

TypeChoose

TypeChoose2

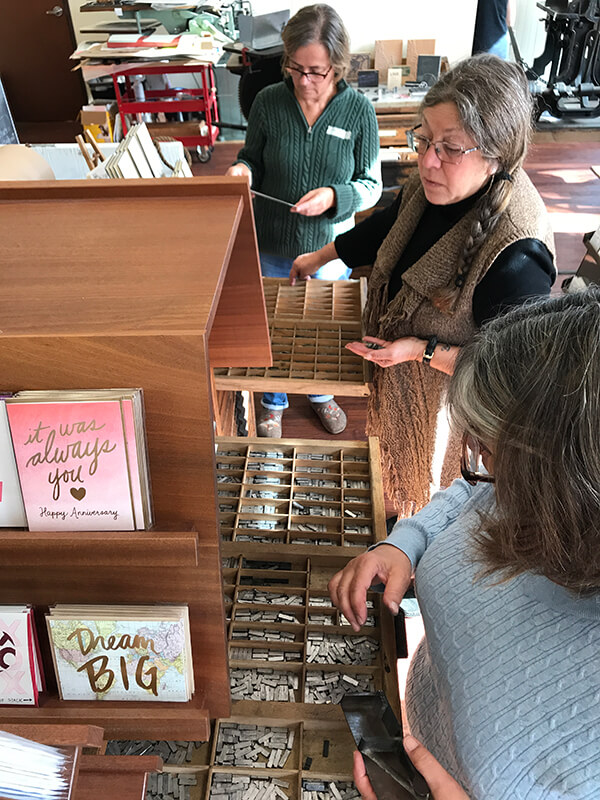
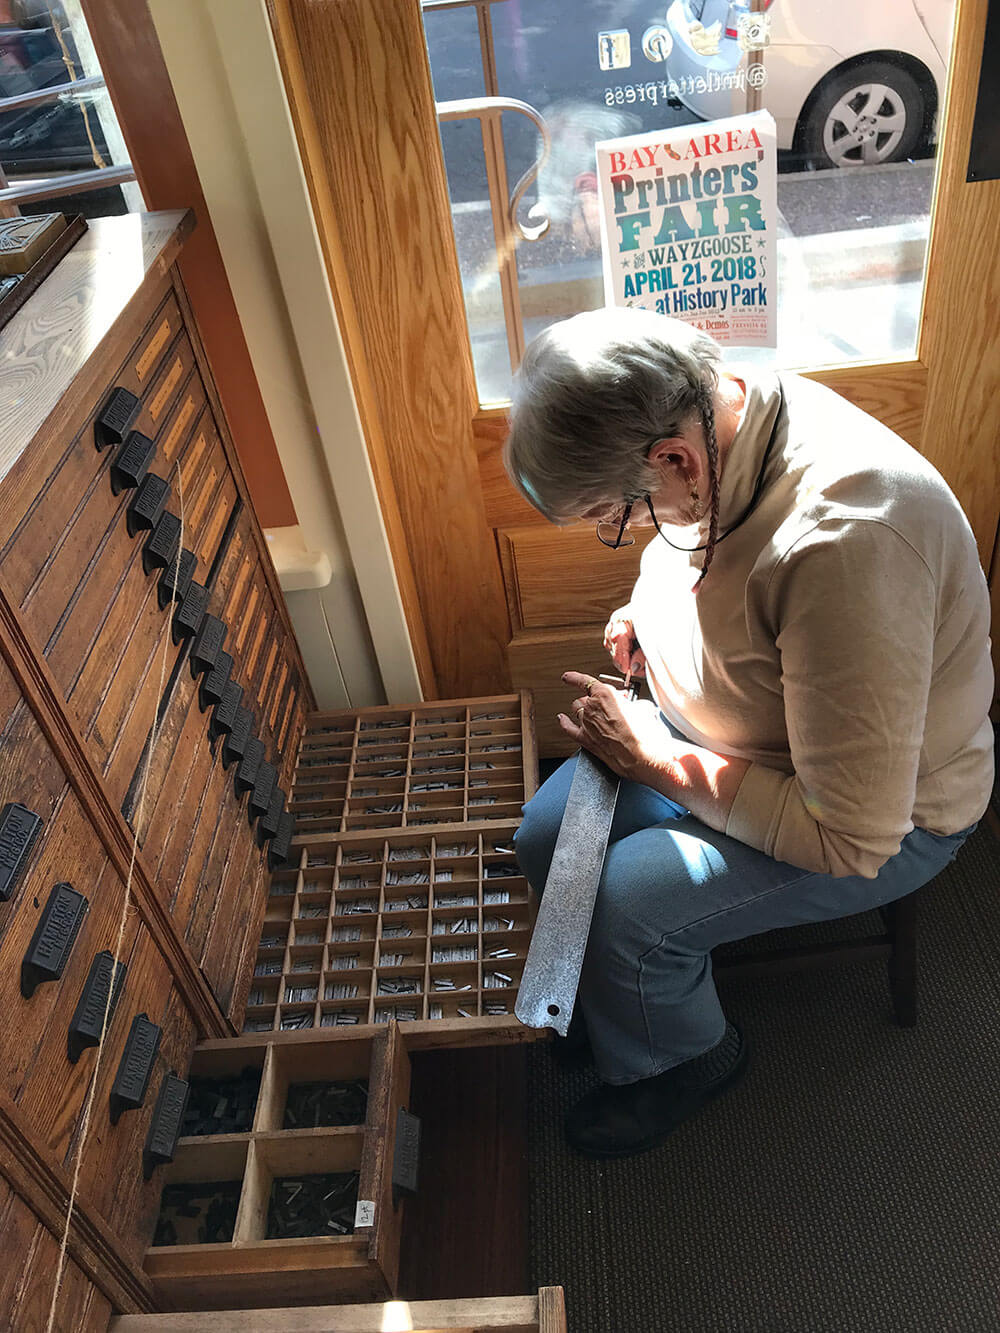
Lynn has drawers and drawers of type. Most of us have never set type – an older art form and very different than choosing the font from a drop down menu in a word processor.

Names

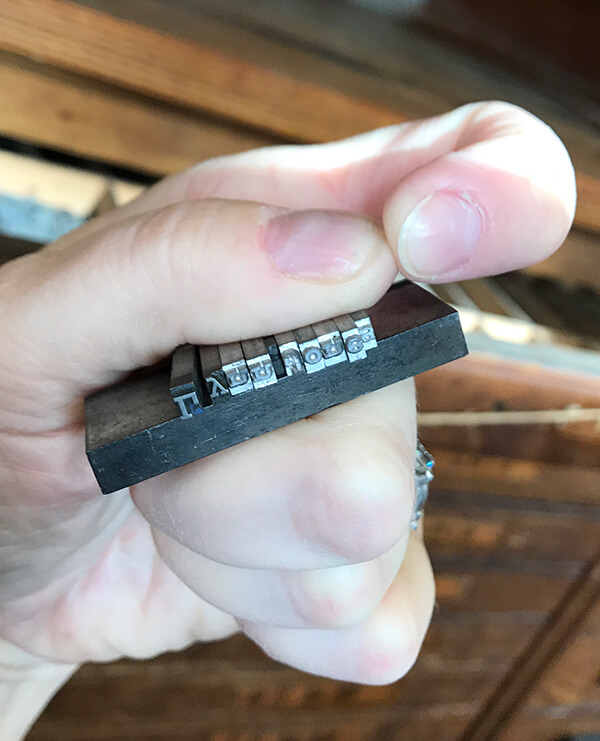
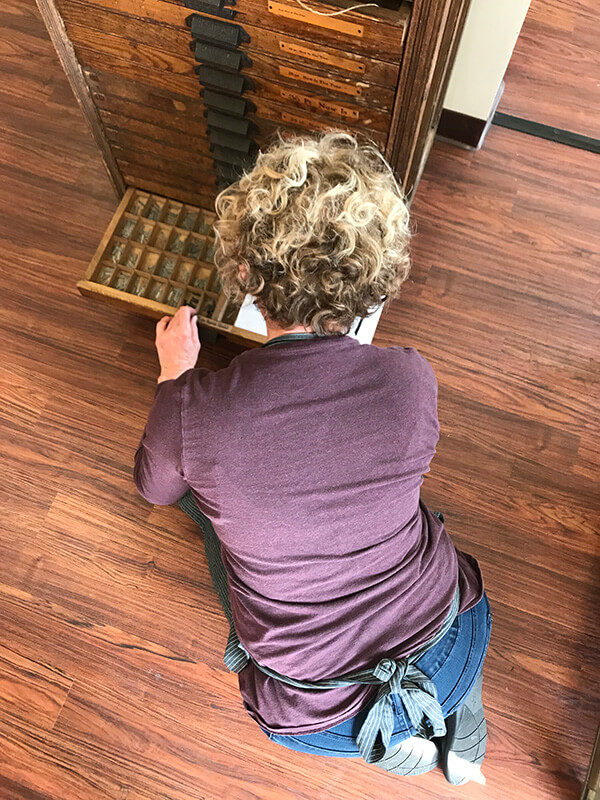
We had to pick out our names and set them – upside down and backwards using 12 point type of our choosing. The mathematician in me sees this as a 180 degree rotation on the horizontal axis. Whose name is this? How many times do you think we dropped these little bits and had to start over?

SetType

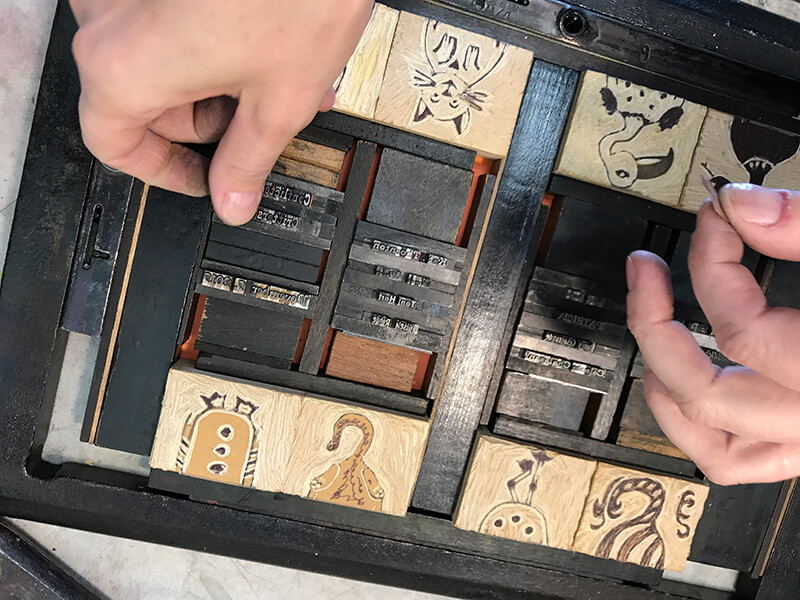
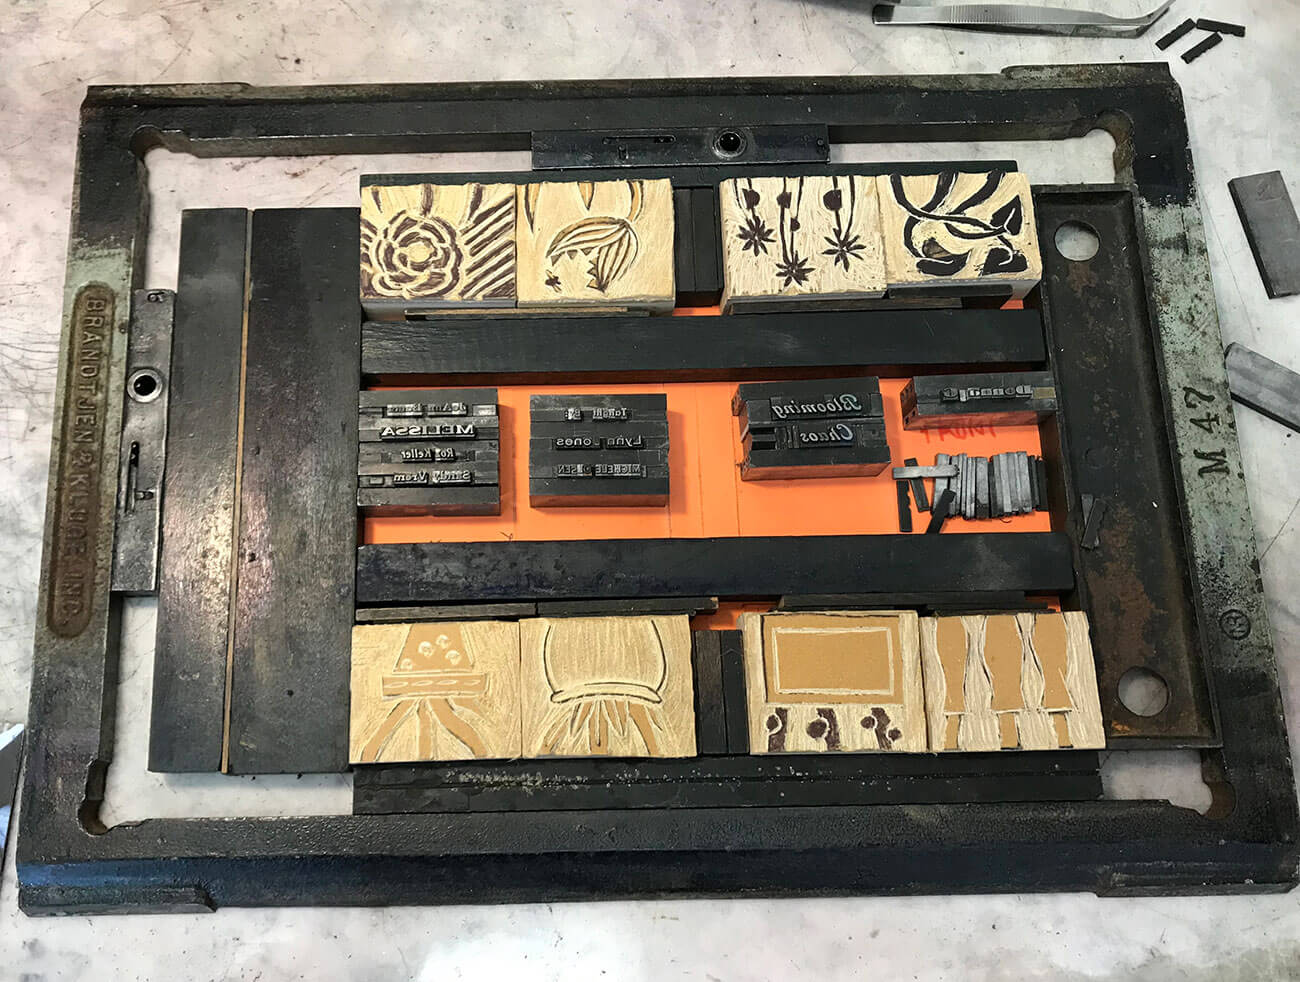
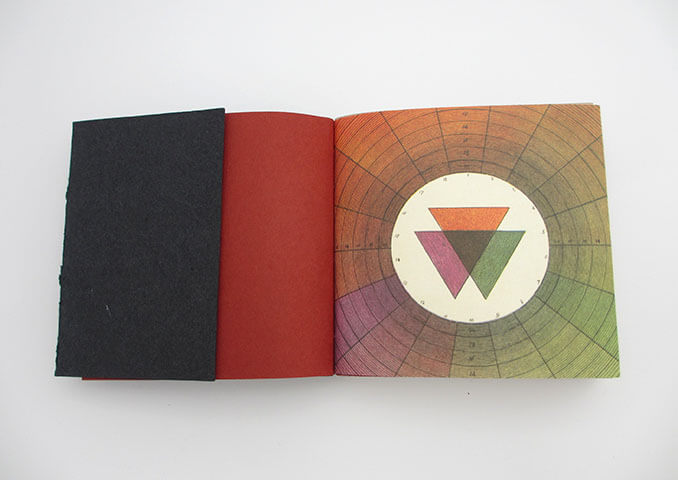
At last Lynn showed us how she set the type. You’ll notice that everything isn’t “right” side up because that’s the nature of the Winter Fold book.

Press

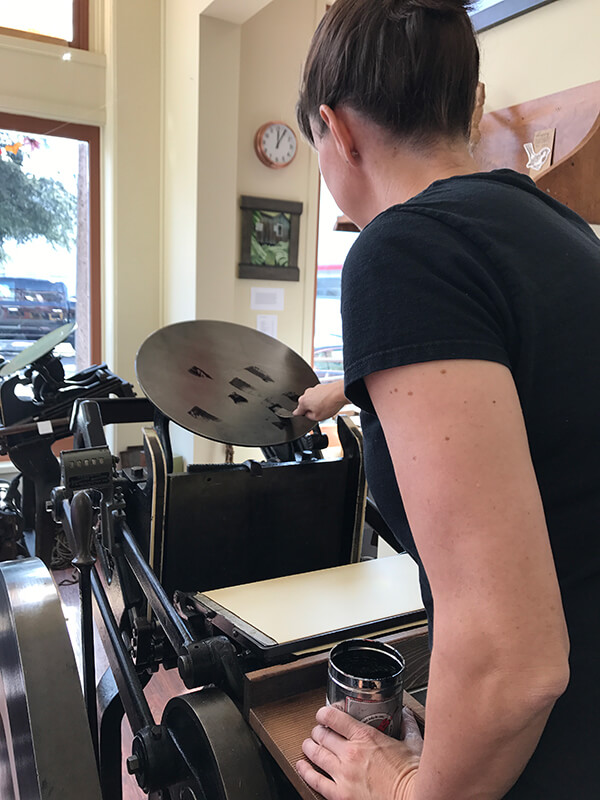
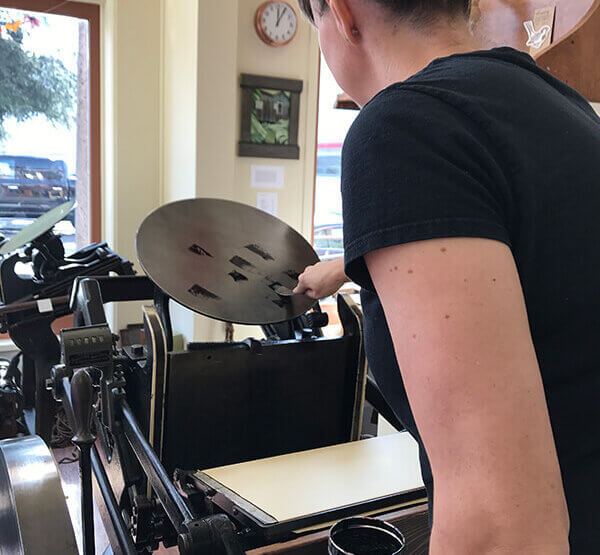
Lynn is inking the press and getting ready to print some samples. Isn’t this press just exquisite!

STAY TUNED FOR RESULTS ON DAY 2.

Store

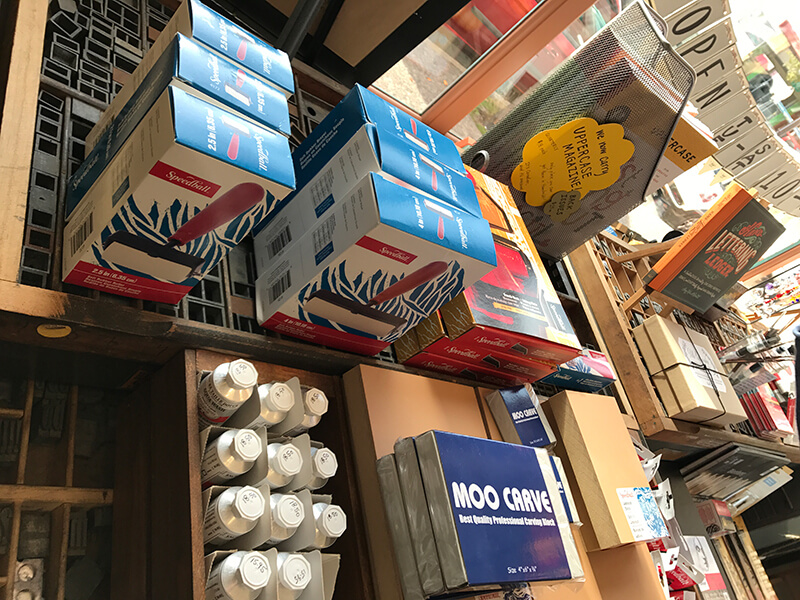
Just My Type is more than a printing business. Co-owners Lynn and Siobhan also carry calligraphy and printmaking supplies as well as art papers. This business is a wonderful addition to our business and art community. Did you know that Eureka is one of the top 10 art cities in the USA? Here’s one reason why.

linocut letterpress singlepage book

Join printer Lynn Jones at her business, Just My Type Letterpress Paperie, where you will learn to carve linocuts and set type for letterpress printing. A single collaborative print will be produced for each student which will then be used to create a Winter Fold book. The Winter Fold book is an invention of the creative book artist, Hedi Kyle; There are a number of simple fold and cuts that along with a easy sewn spine create a wonderful little book. Registration is limited, so enroll early.

When: Tuesday, March 6, 2018  •   9 a.m.-noon &  Thursday, March 8  •   9-noon.

Where: Just My Type Letterpress Paperie, 501 Third St., Eureka

Materials: Materials and linocut tools will be provided but bring cutting mat (or old phone book), small utility knife, small sharp scissors, metal ruler, sharp pencil, bone folder (or small wooden spoon), bookbinder’s awl (or T-pin).

Register hereOsher Lifelong Learning Institute

Michele Olsen was a college mathematics instructor for 25 years. She has been making custom books for 10 years, since joining the North Redwoods Book Arts Guild. For more information, or to contact Michele, visit www.micheleolsen.com.

Lynn Jones studied graphic design at Humboldt State University, interned with David Lance Goines where she cut linoleum blocks for Alice Waters’ Chez Panisse Café Cookbook. She is co-owner of Just My Type Letterpress Paperie in Old Town Eureka.

I’ve spent much of the last few weeks finishing four books for my recent exhibit at the Humboldt County Airport Gallery. While I had books that I could have put in the exhibit, it became clear to me that I wanted them all to involve wood. So, making the last books was a real stretch given the other things happening in my life at the moment. I didn’t even have time to photograph them in my photo cube before taking them to the gallery! So what follows is a really informal photo session with four books that were my companions for several weeks.

IMG_4844_web

IMG_4845_web

This book is a favorite because of it’s construction and title: Margarete Finds Her BuJo is named after a dear friend who has been such an inspiration to me; she introduced me to Bullet Journals (BuJo) and her middle name is Margarete. I loved making this—the red handmade paper was chosen at the last minute and I absolutely love it. I used goat leather, mahogany for the spine, waxed Irish linen thread, and BFK printmaking paper for the three sections. I think the binding looks like barbed wire but it’s called a rope binding.

IMG_4843_web

This book called Sticks and Stones uses spalted maple, redwood branches, local beach rock, waxed Irish linen thread, and Hahnemuhle Ingres paper for the sections.

IMG_4849_web

Burl Journal  is just that. It has a Bradel binding with leather and the cover paper is handmade flax paper from Cave Papers in Minnesota.

IMG_4840_web

Barn Journal was created using old growth redwood (repurposed from a early 20th century carriage house) and walnut. Hahnemuhle Ingres papers were used for the sections and heavyweight linen thread for the binding. The binding came from Keith Smith’s Exposed Spine Sewings, Volume III; two pairs of double needle Coptic stitches were sewn on the ends of the spine and serve as a pre-set tension sewing frame for the remaining four solid pack raised supports. I truly loved sewing this. This books is chunky, earthy, tactile, and filled with historical significance.

So now I need to take a break. I lie. I’m already working on a new structure on saw on the Internet. Thanks for visiting.

Ramone's

Did you know that the Humboldt County airport is also an art gallery? I’ve always enjoyed the work I’ve seen there when I’m leaving, arriving, or picking someone up. Nine of my wooden books were just installed in the three cases outside of the fabulously delectable Ramone’s cafe. I wanted the books to have that “Humboldt” feel so most incorporate wood on the spine or covers: spalted maple, old growth redwood, walnut, lacewood, burl, cherry. I’ve also incorporated a variety of sewn bindings: coptic, packed cord, rope, caterpillar, French link, Japanese stab binding, Bradel binding. There are three cases:

Case1

Case2

Case3

After the installation, my husband, Rollie Lamberson, and art director, Natalie Craig, and I decided to have an impromptu opening reception and enjoyed cappuccinos and cookies from Ramone’s while we sat and looked at the books. In the background were three Alan Sanborn watercolors. It all seemed to work together and celebrate Humboldt’s beautiful environment and art scene.

reception

I’ve been busy in the studio creating a new book. It features the history and reconstruction of the Long-Graham barn owned by the Northcoast Regional Land Trust in Freshwater, California. I didn’t have a fixed idea of what the book would look like when I started but it has evolved into a vessel containing memorabilia about the history of the barn. It’s a kind of miniature barn. I will be sewing it together with sticks on the spine and the sections contain pockets, foldouts, etc. I love making this kind of book: history, local materials, creative challenges, and s a snapshot in time. For now, here is a sneak preview! I still have time to add more memorabilia. The historical research has been fascinating. I found the 1880 Census records of the Long Family and listed below them were about 15 Chinese immigrants who were there to work on the railroad – I’m assuming the Freshwater Railroad. All Chinese were forced out of Humboldt County in 1885 and my Dutch ancestors arrived in 1890 to jeers and taunts on the Eureka dock; they were in native dress with clogs. The was not a proud moment in our local history.

After sewing it together, I still have time to add memorabilia. Research never ends.

Title Page

Title Page

Photos

Photos

Map of Freshwater

Map of Freshwater

Matchbook Book in a Pocket

Matchbook Book in a Pocket

Straw Paper, Articles from Local Newspapers, Blackberry prints

Straw Paper, Articles from Local Newspapers, Blackberry prints

Redwood Boards from the Original Barn (1910)

Redwood Boards from the Original Barn (1910)

I


I was distraught when I realized that I had scheduled a book workshop with Margo Klass at the Newport Paper and Book Arts Festival on the day of the Science March! I have taught or tutored mathematics for over 30 years and know the importance of encouraging young people to love science/mathematics and to support scientific research in the US. My husband is a mathematician who worked with modeling endangered species, my daughter has a degree in applied mathematics and is a web designer, and my son is a mechanical engineer who works on instruments that are sent into space. We have many friends who work tirelessly in the sciences – even my ex-husband was an electrical engineer. We are awash in science!

Margo’s classes are always wonderful and I was eager to learn her techniques and variations for the ancient Tacket Binding. We were asked to pick out one sheet from many gorgeous printed Italian papers and to use it to inspire the artistic decisions regarding our book. Ha! There on the table was a beautiful sheet of paper printed with color wheels and historical diagrams used by Sir Isaac Newton! Once again, books arts provide for personal expression. The sheet was calling my name.

Isaac Newton was a professor at Cambridge University, England. His mathematical research was so advanced that few could understand what he was doing and he often lectured to an empty lecture hall. He also understood that light was “Physics” and proceeded to separate white light into a color spectrum using a prism. He then developed the color wheel; this discovery and publication in the sciences changed the world of ART. Never mind that he is considered the father of calculus (with a nod to Archimedes and Leibniz). You can read about his discovery at this “colorful” web exhibit.

The Italian papers served as section covers. I’d never thought about using paper with such large images because so much of the print wasn’t used (my linear side again) but Margo spent time discussing the interplay of parts of images and the importance of considering how adjacent section covers could play off of each other. The result was just wonderful.

Windows Reveal the Color Spectrum

Windows Reveal the Color Spectrum

The Tacket Binding provides a wonderful opportunity to use different colors and mine are mimic the color spectrum on the cover. I absolutely love this stitch. The cover is made from Khadi paper, the cover liner and portions of the text block are Japanese Shin paper, I used waxed linen thread for the binding.

Inside Front Cover: Flap, End Paper, Section Cover.

Inside Front Cover: Flap, End Paper, Section Cover.

Inside Binding. You can see the colors used in this section.

Inside Binding. You can see the colors used in this section.

Adjacent Section Covers

Adjacent Section Covers

Adjacent Section Covers

Adjacent Section Covers

We also made a two section book and used another variation of the Tacket Binding.

Three Colors

Three Colors

Inside a Section

Inside a Section

This variation has  many tie offs inside the section. Each bar on the outside of the spine requires a separate piece. While the inside looks a bit untidy, it’s worth it for the colorful possibilities for the spine.

So, with that, I plan on continuing to work on my “Science” Color Wheel book. I’m so happy with the way it turned out and very grateful for the number of people who marched for Science on April 22 in Arcata, California.