Tag Archive for: WWNJC2020

Decorative Words

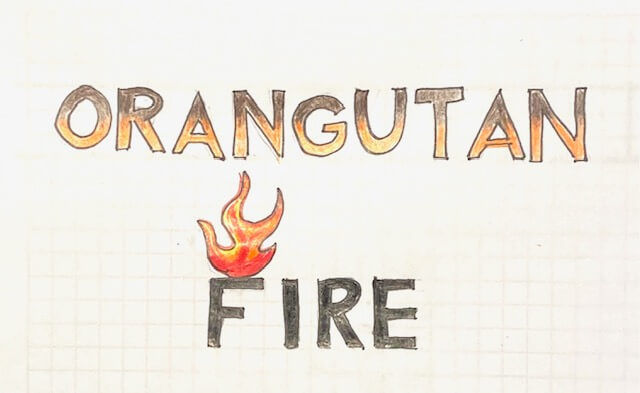
Of course, nature journals require some handwriting. This is a place for calligraphers to jump in and dress up the page. However, there is much that can be done to make your page more interesting without a lot of fuss. I find that I print in my journals rather than using longhand; I like titles to be a different size,  font, and color. John Muir Laws, an organizer of the Wide Wonder Journaling Conference 2020 uses bullets, titles in boxes, colored letters, and letters that feature artwork. This long video on his website features  Bev Brady teaching lettering. She is a graphic artist for Trader Joe’s (and I do love their store signs). Her workshop at WWNJC included block lettering which I really enjoyed.

Decorative Words

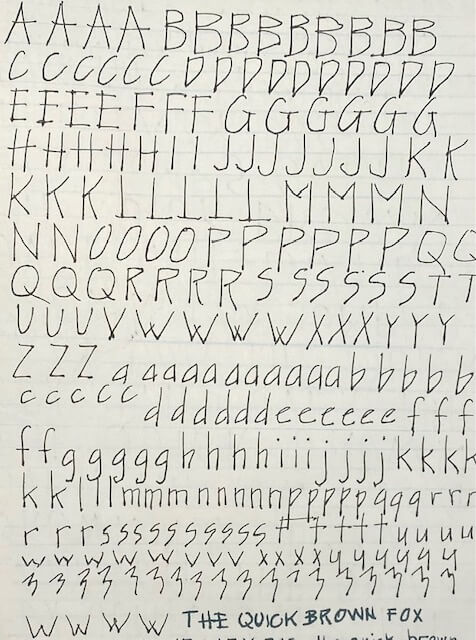
I like to print using architect’s handwriting as described by the urban sketcher and instructor Liz Steel.

architect's script

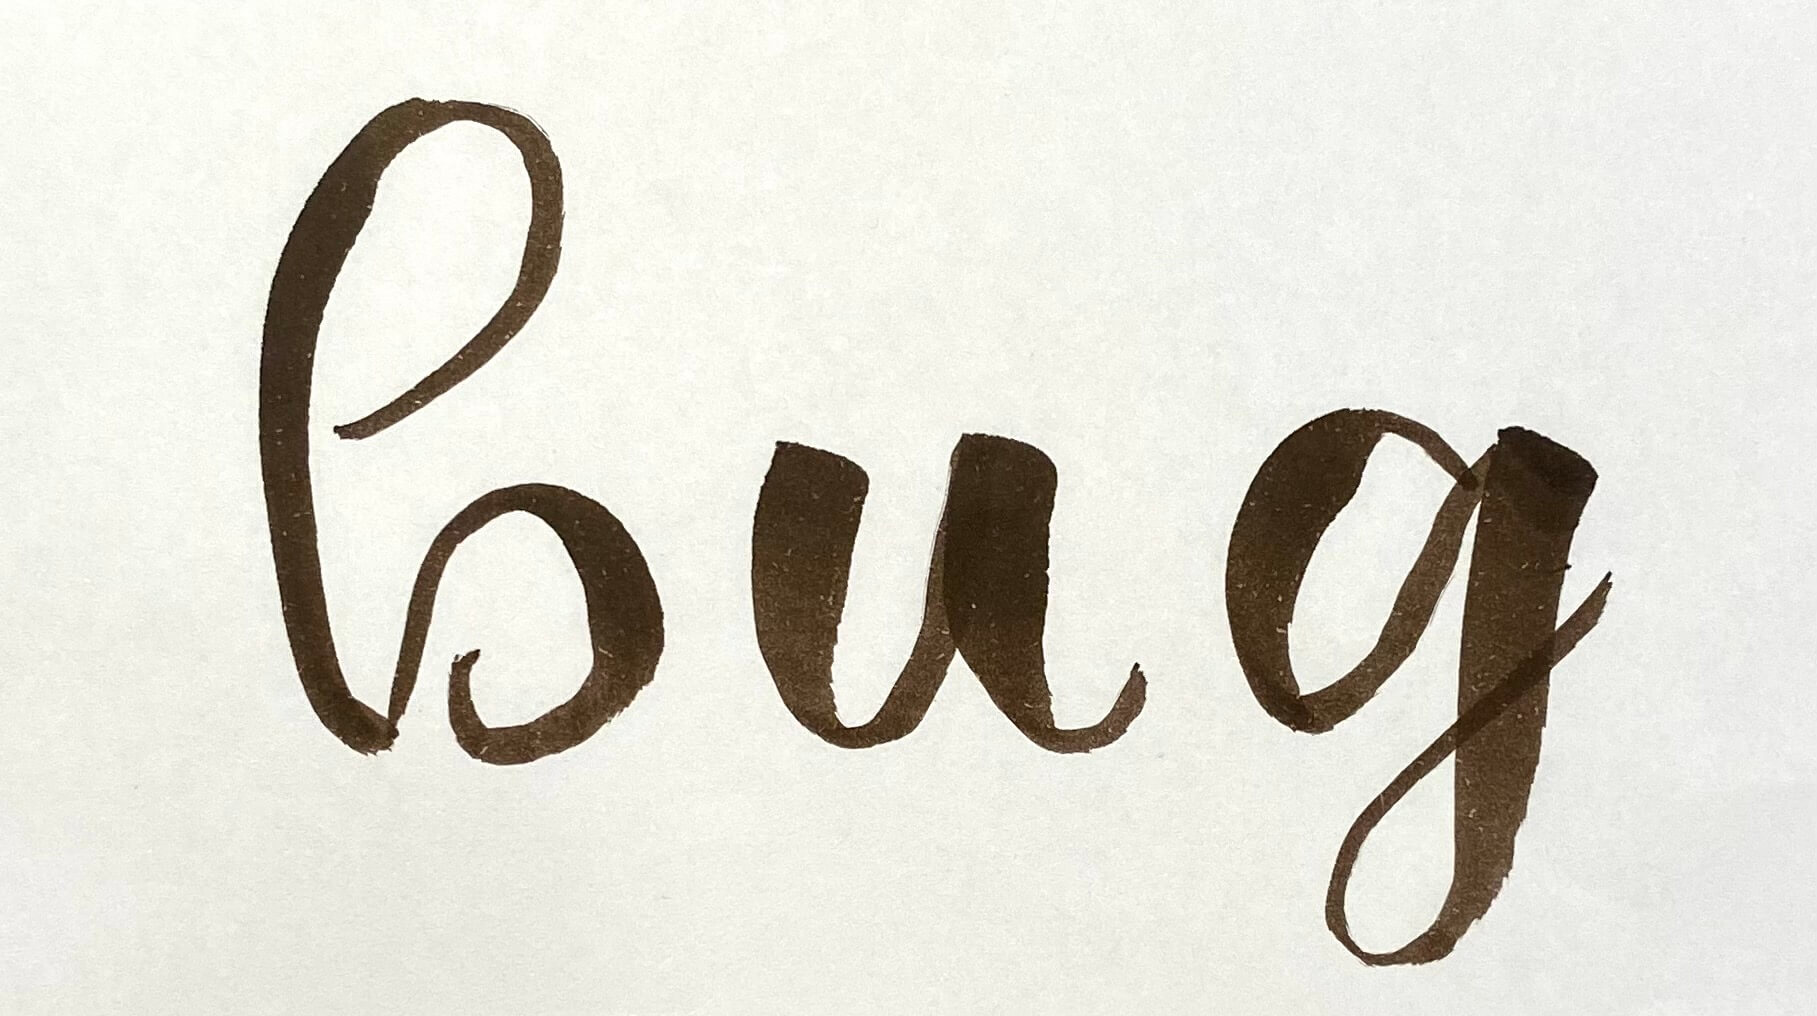
I also like Tombow Dual Brush pens. The ink is water soluble but you an use that to your advantage.  This Tombow Lettering Practice pdf is great.

Tombow lettering

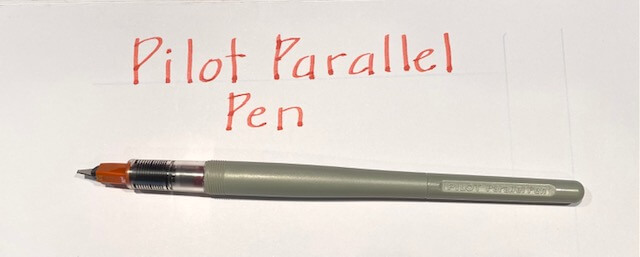
A really easy way to add color and different “fonts” to your page is to use a fountain pen called a Pilot Parallel Pen. It’s actually a calligraphy type of pen but since is it a fountain pen, I can add colored inks. I love the inks carried by Just My Type Letterpress in Eureka and they carry the pens. I like the 1.5mm pen.

Pilot Parallel Pen

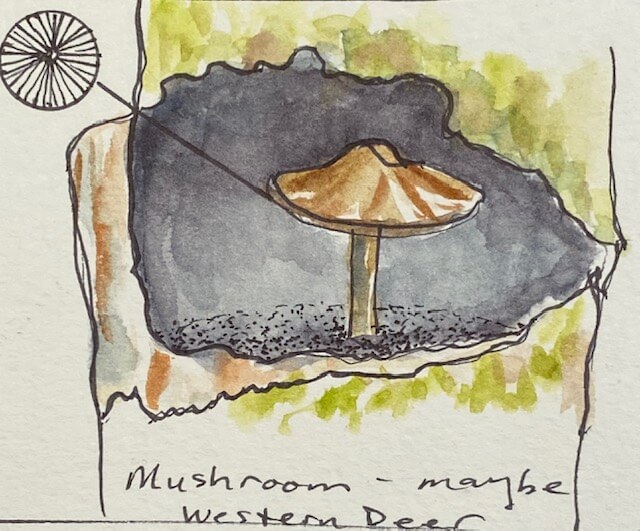
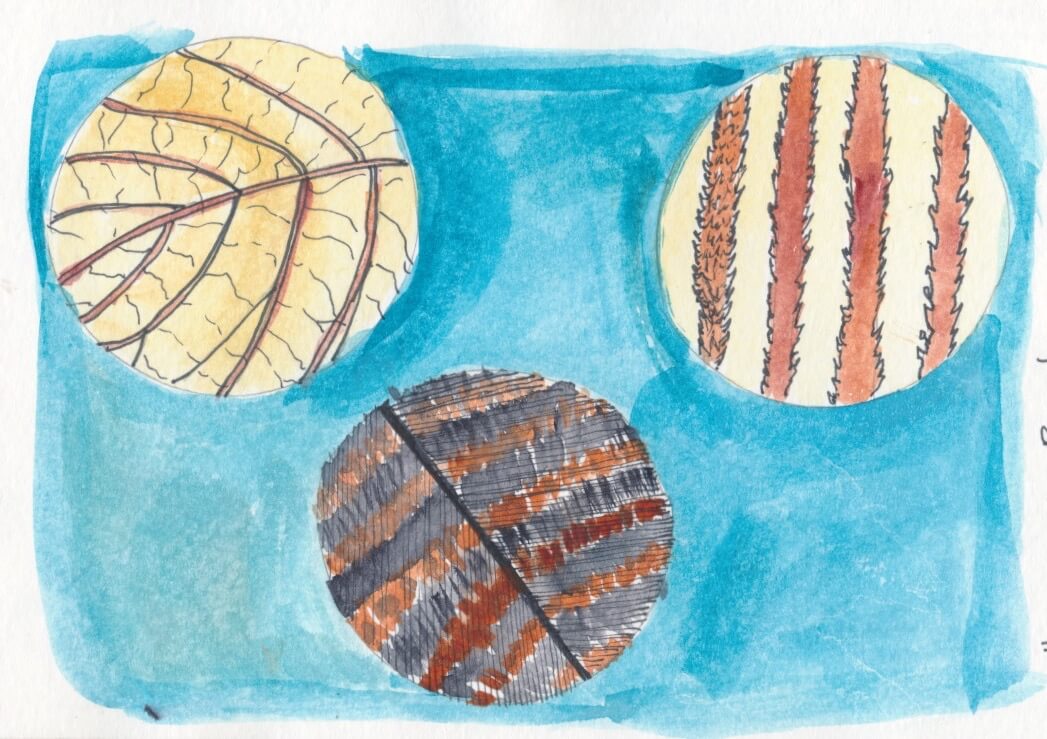
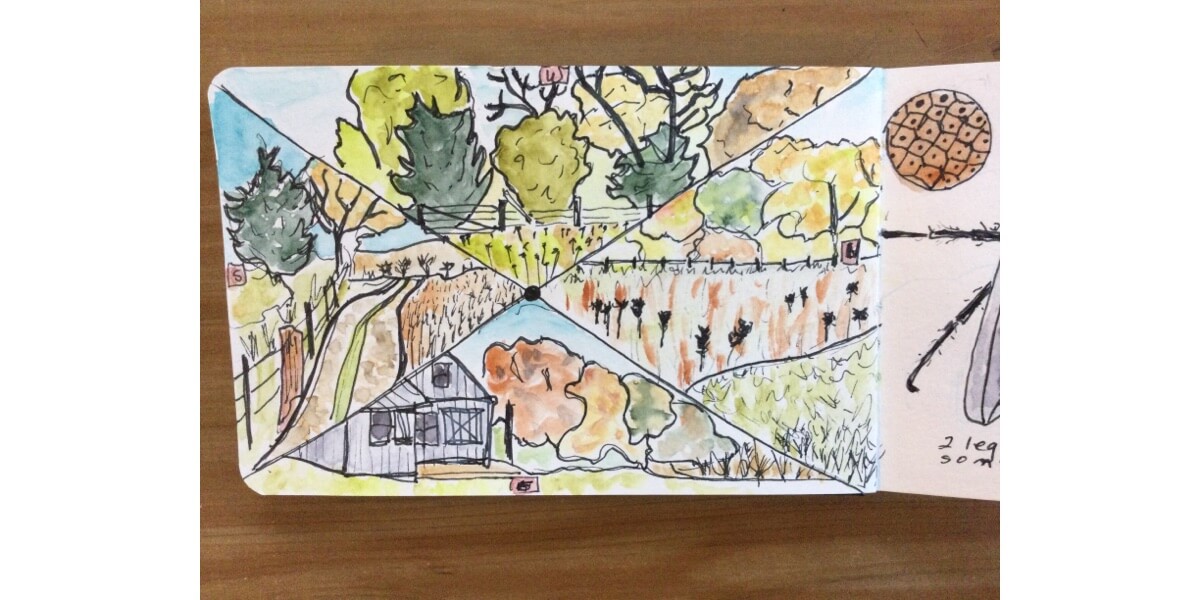
Mistakes. I make them. This is the first page of a new journal class from Liz Steel. When I wrote the word “DESIGN” I wrote “DESIN_” and realized I was concentrating on the style of the lettering instead of spelling! So. What to do? I used collage! It’s one of the best techniques for covering an error. I grabbed some red (to match berries) paper and wrote “G” and glued it down. The page didn’t look balanced so I made another red square for “K” even thought that was not a mistake. I actually think the page looks better with my “mistake”. I believe the plant is a cotoneaster. I drew a black and white image of the vein structure to fill the page with more science!

Correct mistakes

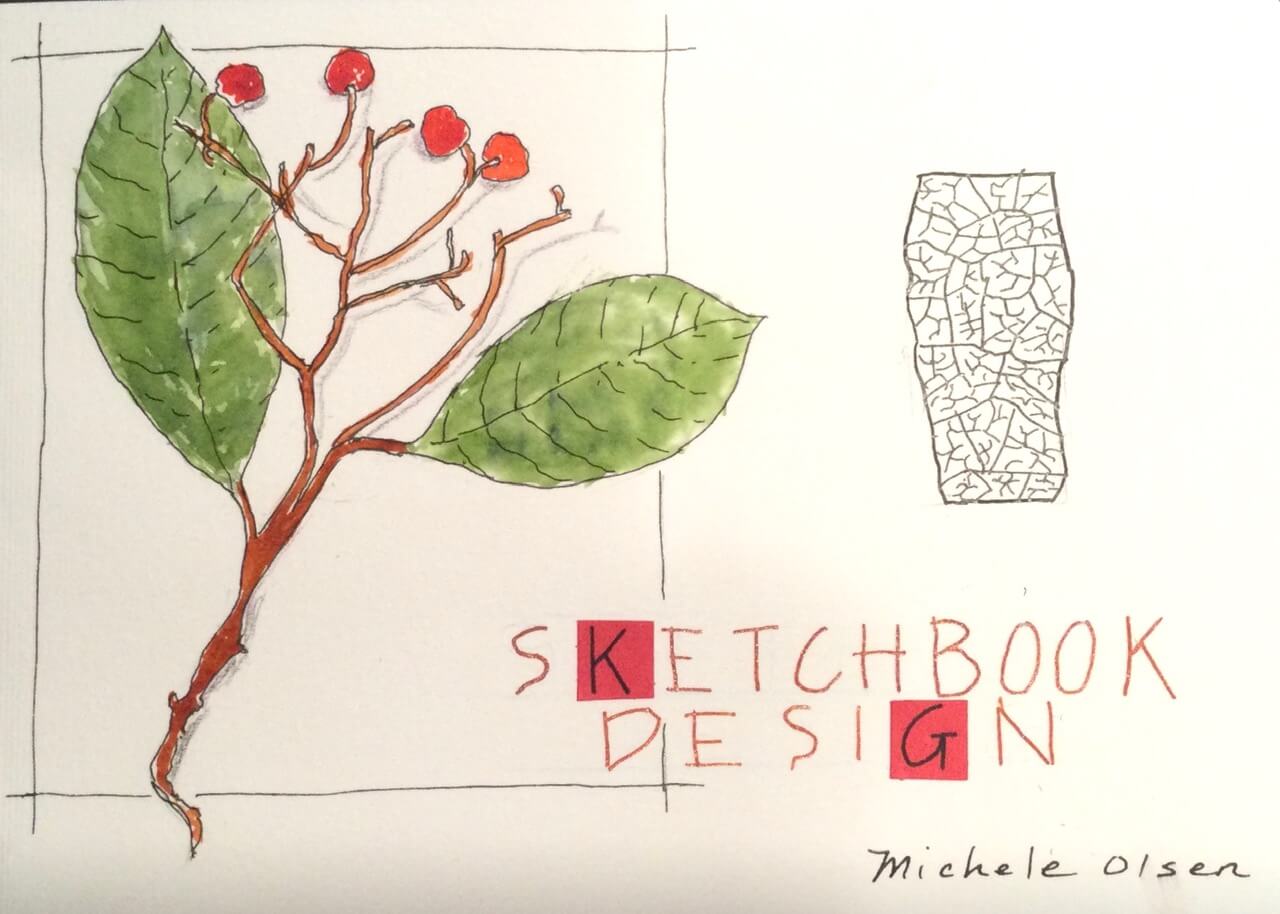
Here’s to happy mistakes!

Fins under mushroom

A class taught in the by Rosalie Haizlett titled “Tiny Worlds” was my favorite at the WWNJC2020. I am certain it’s because I didn’t need to draw the shape of the object but could concentrate on smaller details that are often overlooked. The circle becomes the shape of the object. I held a canning jar lid over a hackberry leaf, a turkey feather, and some weeds from our little ranch in Central Nebraska. The canning lid previewed the area I wanted to draw and served as the tool I used to draw outlines of the circles in my journal. I found this experience very meditative and was awestruck by the beauty I might have missed.

Tiny WorldThese circles are about 2.5″ in diameter. I also used smaller circles to identify aspects of a drawing I’ve done in closeup. This mushroom in the Trinidad State Forest had wonderful gills and I used a circle to highlight that outside of the actual drawing. The circle is about 1/2″ in diameter.

Fins under mushroomI didn’t want to carry a jar lid around in my kit so took a heavy piece of cardboard from a box in recycling and used different punches I have to create holes of different sizes. The card was then cut to size and I can carry it in the back pocket of my journal for use in the field. Of course, these can also be used to create Venn diagrams when comparisons  are being made in different subjects.  Give it a try! You will like this.

Punches make circles

TIP: I also use the closeup features on my iPhone11. I have also discovered that I can take photos with the built-in microscope application. I’ve enjoyed this so much I am considering buying a microscope!

Tree tops

Kristin Meuser taught a wonderful class titled The Gesture of Trees during the Wild Wonder Nature Journaling Conference. She called our trees “Scribble Trees”.  As in previous classes there was an invitation to wonder what it would be like to be an element of nature. How could we move like a tree? What parts of the tree remind me of myself? What kind of energy does the tree have? Kristin suggests that these observations make their way into your drawings. How would you describe the energy of these two trees on the Arcata Plaza?

Really different aren’t they? To assist us placing this energy on the page Kristen we printed architectural drawings of trees and scribbled the energy we felt right on top of the handout. The two trees that are circled are original and the other trees have been drawn with pencil and watercolor.

I like to include maps on some of my journal pages so architectural renderings of tree tops would come in handy and they have their own kind of energy don’t they? Thanks to my brother-in-law Rod Lamberson – a very fine architect!

Tree tops

Would any of these ideas be helpful in your drawings?

Arcata Marsh

I was a fan of Maria Coryell-Martin before I took an online class with her during the Wild Wonder Nature Journaling Conference in October, 2020. I follow her website Expeditionary Art and have purchased some of my favorite supplies from her store: Art Toolkit. She lives in Port Townsend, Washington so knows the Northwest – although she has traveled and painted around the world. I really hope to get up there and take a workshop from her – in person!

Many of the class activities were warmups to the actual drawing. The truth is, I like some of the warmup drawings more than the final drawing; given too much time I am likely to overwork a drawing. My favorite warmup is the Contour Sketch because the drawings are so animated and quirky. They also suggest the image rather than explicitly defining it.  The rule is to draw without picking up the pen from your paper. In blind contour you wouldn’t even look at your drawing. This blind contour drawing of cattails was done at the Arcata Marsh. It’s a favorite; every time I look at it I find myself back at the marsh.

Cattails

You can also create a contour drawing by looking at your drawing paper only when you change direction. This pinecone was done that way. Contour drawing is good for fairly complicated things where there is little need to draw every detail.

Pinecone

It’s the process of contour drawing that I find so rewarding. It’s very relaxing – like a meditation – with no judgement involved. Time stops and it is just me exploring that pinecone in every possible way. This experience is one of my main reasons for journaling in nature.

I also enjoyed the thumbnail sketches we did. They are often used as a warmup to explore values and layout for your final drawing. I carry very small journals so you might say that I am always drawing thumbnails. These four were done in addition to another technique Maria suggested – timed drawings. Each sketch was done in under 2 minutes – the watercolors were added later. The images are each 1.5″ x 1.5″. Drawing smaller images encourages me to stick to the essential elements of an image. Tracy is my service dog and I got her to sit still for 2 minutes. The skyline is San Diego harbor and and landscapes are from Humboldt County.

Thumbnails

Landscapes are fun to draw and Maria suggested forming the foreground, middle-ground, and background. Again, for me it’s easier to do small drawings and this was done on location at the Arcata Marsh. I think I  used contour sketching for the poison hemlock. Drawing is about 3″ by 3″.

Arcata Marsh

These techniques are easy for beginning naturalists. I prefer sketching on site rather than from photographs so these techniques really suit my purpose. With Humboldt County weather it is good to sketch quickly before the fog move in or the next rainstorm arrives.

This class with Christine Elder was taught on the first day of the *Wild Wonder Nature Journaling Conference and was perfect for beginners. She had several suggestions that changed the way I approach my journaling: use my journal to explore, use drawings as a tool to understand, and value process over product, These tips were emphasized in most courses. I found them very liberating and I was felt more relaxed with the process. I also discovered that if I am really curious about the object I am drawing then the time I spend drawing, paying attention, and learning was what really matters.

The first exercise involved whole brain techniques that encouraged us to gain confidence and speed. I found the following to be most helpful.

Marsh Wren, photo by Rollie Lamberson

BLOCKING IN involves drawing geometric shapes around the larger parts of the bird. Then each shape can be filled in. Now I can relax – I have the basic shape.

BLOCKING IN
PROPORTIONS requires an imaginary line along the length of the object and then the larger parts of the bird are judged to be ¼, ⅓, ½, etc. parts of the line. I like this to get body proportions recorded correctly.

PROPORTIONS
ALIGNMENT helps with general direction of major parts of the bird. N, S, E, W, SE, NW etc.

ALIGNMENT
FLOW LINES is a technique more like contour drawing. I would use this before ALIGNMENT but it depends on the object!

FLOW LINES
ANGLES. This bird is all about angles and this technique will block them in for you.

ANGLES
When using one of these techniques be sure relax, avoid erasing, and enjoy yourself!

Another part of the workshop involved techniques similar to exercises from Drawing From the Right Side of the Brain written by Betty Edwards – my favorite being drawing things upside down (the object or you!) with the purpose of encouraging you to let go of what you think the object looks like.

Be sure to enjoy the website of Christine Elder. She has wonderful tutorials, online classes, and a great photo of how she draws with the help of a spotting scope!

APPLICATION:

I’m not sure I’ve ever drawn a bird. I like things that don’t move, like buildings. So for now I will be better off if I draw birds from photos. When faced with new things I read Austin Kleon for inspiration. He is an artist and the author. Steal Like an Artist, and Keep Going. I cannot recommend them highly enough. He is an advocate of “quantity not quality” and also states that “copying is how I learn, it’s a way to understand what’s really going on, and drawing is a way of slowing down long enough to really look at something.” So with that advice I started on the outline of the bird. I ended up using Alignment and Blocking-In techniques. I used a Prismacolor Col-Erase pencil as recommended by nature journalist John Muir Laws; the pencil produces a very light color (look carefully at the photo – the light blue lines are there). It erases but you can paint or draw right over it and it won’t show.

Next I used my mechanical pencil – Pentel Click 0.7 lead – to sketch the contour.

Using watercolor, white qouache, and pen I drew this. I came back several times to intensify colors and add some white. Questions came up while I was drawing (Good thing!) I did some online research at The Cornell Lab. I record questions & answers on my page. Due to hearing loss I am unable to hear birds so I especially appreciated finding some links to the song of this little Marsh Wren.

This drawing (and many others I did before settling with this one) changed the way I look at birds AND THIS IS THE MOST IMPORTANT PART OF NATURE JOURNALING!!! I spotted a sparrow in my backyard this morning and was surprised that the head was settled right down into it’s shoulders. It was then that I realized that the Marsh Wren’s head was elevated because it was singing! That stretching must open the airways making it’s chirps more powerful. Stretching also makes him look longer than he would be at rest. Amazing little birds.

Four Directions

One of the first classes I took at the *Wild Wonder Nature Journaling Conference 2020 was PageBREAKER taught  by Kate Rutter. It was more of an IceBREAKER for me and was one of my favorite workshops. With amusing visual charts she describes the reactions journalers might have while drawing in the field: anticipation, curiosity, doubt, vacillation, pressure, acceptance. For me, that takes place in the first 30 seconds! Seeing that others experienced similar feelings set me at ease and the exercises that followed relaxed me immediately.

The first exercise was to draw six different sketches of a single object in 2”x2” squares – a minute per square. I found that I needed the 6 squares (not, say  4) to push me to really find a different view. This is just plain fun and a great warmup for any drawing. These are six views of a piece of firewood.

One Minute Drawings

The second exercise had two larger squares and we were to draw a negative and a positive of an image in the squares. Again, one minute each. It’s always valuable for me to change the way I see the object – from “inside” and “outside”.

Positive Negative views

Exercise three was an exercise in contour drawing – only looking at the object while the pen followed the object on paper for a minute. This was repeated 2 more times using different views of the object. Some of my favorite drawings are contour drawing (with just a bit of peeking at the paper). I drew a branch with berries.

Three Lines

Exercise four was really interesting. A rectangle’s diagonals were drawn and a small circle colored in at the center to represent my position in the landscape. I placed my little folding chair in the yard and faced the four directions. Then I drew each view in the four triangles in the rectangle. What an amazing experience and I completely, utterly lost track of time.

Four Directions

I use the first three exercises to warm up before drawing. They help me get to know the object and put me in a relaxed state of mind.

Kate recommends saying “Hello” to your subject before you begin to draw. I just love that.