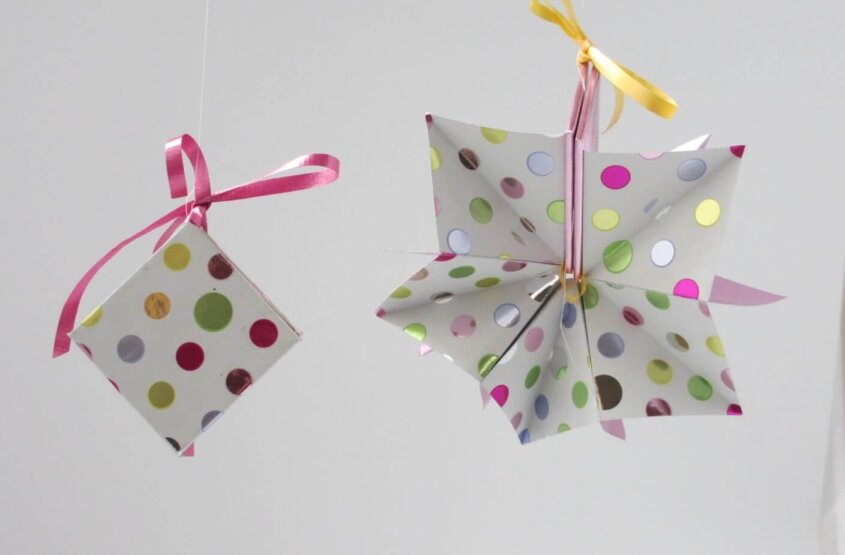
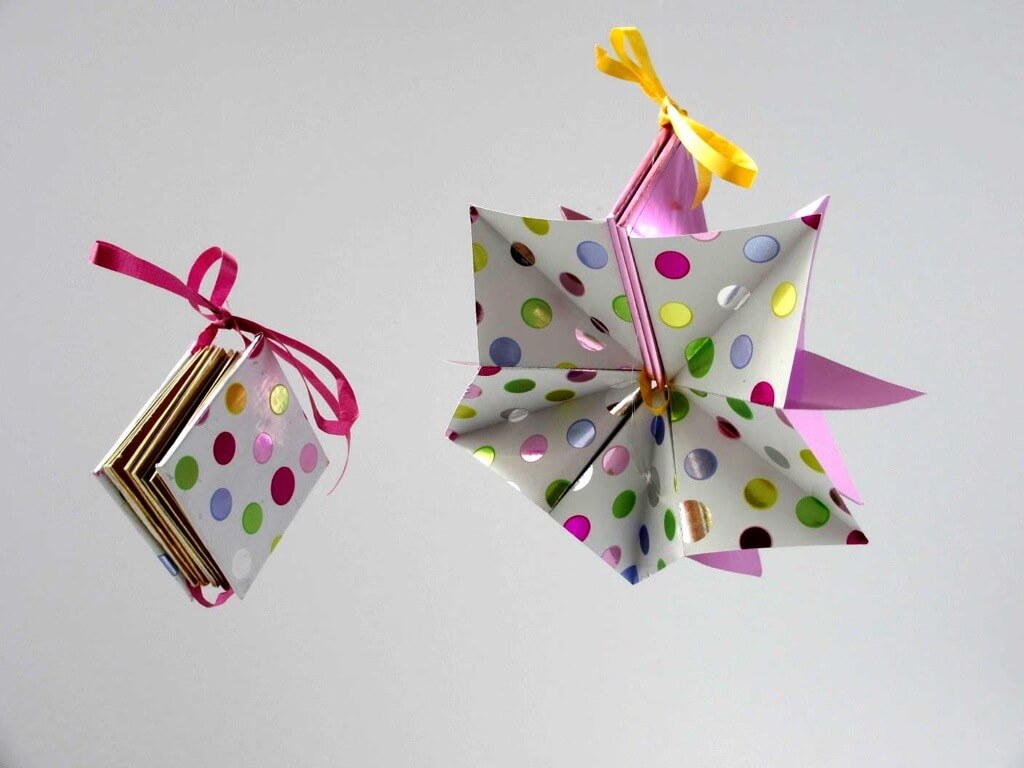
photo by Ellen Golla
One of the best ways to get back into one’s artwork is to commit to something! I was asked to teach an OLLI (Osher Life Long Learning Institute) book arts course this summer and I agreed. I thought it might be a good idea if I made the structure first ! and since the students might well be beginners, I wanted something that involved introductory techniques. I thought a travel journal would be a good idea and after looking at a number of structures I decided to adapt a travel journal from Re-bound, Creating Handmade Books from Recycled and Repurposed Materials, by Jeannine Stein. I replaced the more difficult structures and rewrote the instructions for a beginning student.
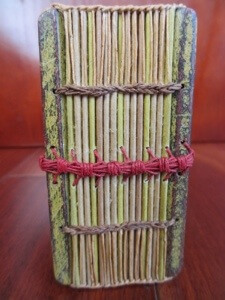
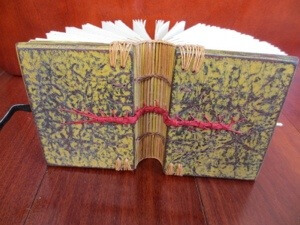
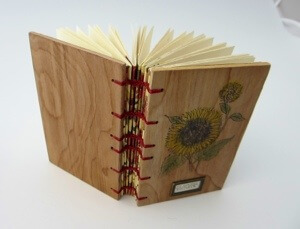
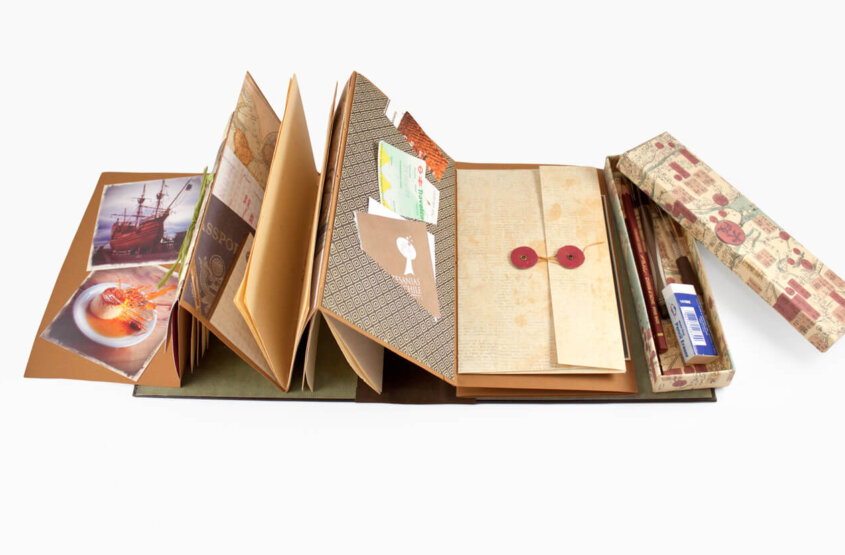
The journal is surprisingly easy to make and students should enjoy customizing it. Since the accordion fold structure is only attached at the inside back of the cover, the pages open out to the left and right, enabling the students to attach a number of folios or envelopes in the valley folds. The entire book was put together using double-sided tape, gluesticks, and linen thread. Much as I love PVA glue, it does require more instruction and can be very messy. Various elementary techniques will be taught (in fact, this may be more important than the end result): the art of folding, the 3 & 5 hole pamphlet stitch, cutting and measuring, proper gluing, determining paper type and grain, and creating a cover using bookcloth for the spine.
After creating all of the text block and finding myself drawn to vintage images and colors, I decided that the gameboard I have chosen for the front and back covers just didn’t do what I wanted. However, the backs of the boards were a dark, textured black and I used that for the outside of the back and covered the other board for the front. Gameboards are nice because they are easier to find than book board (at least in Humboldt County, California) and if it is cut to size, two of the edges would be finished and two would require covering. Re-bound uses cigar box paper to cover the edges but I haven’t seen that in Humboldt County; however, on one of my frequent thrift shop adventures, I found some stretchy black tape with adhesive on one side and it worked like a charm. Turns out it was electrical tape and I just bought 5 rolls (white, red, blue, orange, green) at my local hardware store! The box is a bracelet jewelry box and I covered it with paper I printed myself with an image of a vintage Chinese map. The photographs were taken on a recent trip to Patagonia, the box carries pencils, pens, and erasers, the slit pockets and envelopes hold ephemera. Folio papers are handmade mango paper from Solutions in Arcata.
OLLI course: Introduction to the Book Arts, Create a Custom Journal. Tuesdays June 12, 19, 26, 1:00 pm to 3:00 pm.
OLLI website summer catalog will be up later this month.