Tag Archive for: gelatin prints

My early introduction to printmaking occurred when I made a gelatin plate and used Speedball Block Printing Inks to create delicate and detailed prints of leaves, weeds, and grasses. I used some of the prints in a book that was featured in an international exhibition! Gelatin prints! I purchased the Gelli plate but really don’t like it very much but it is very convenient and useful for quick experiments, which is what I did today. I have seen some complicated nature prints that clearly required several layers of printing and loved the challenge of figuring out how they were done. I think I have done that. 

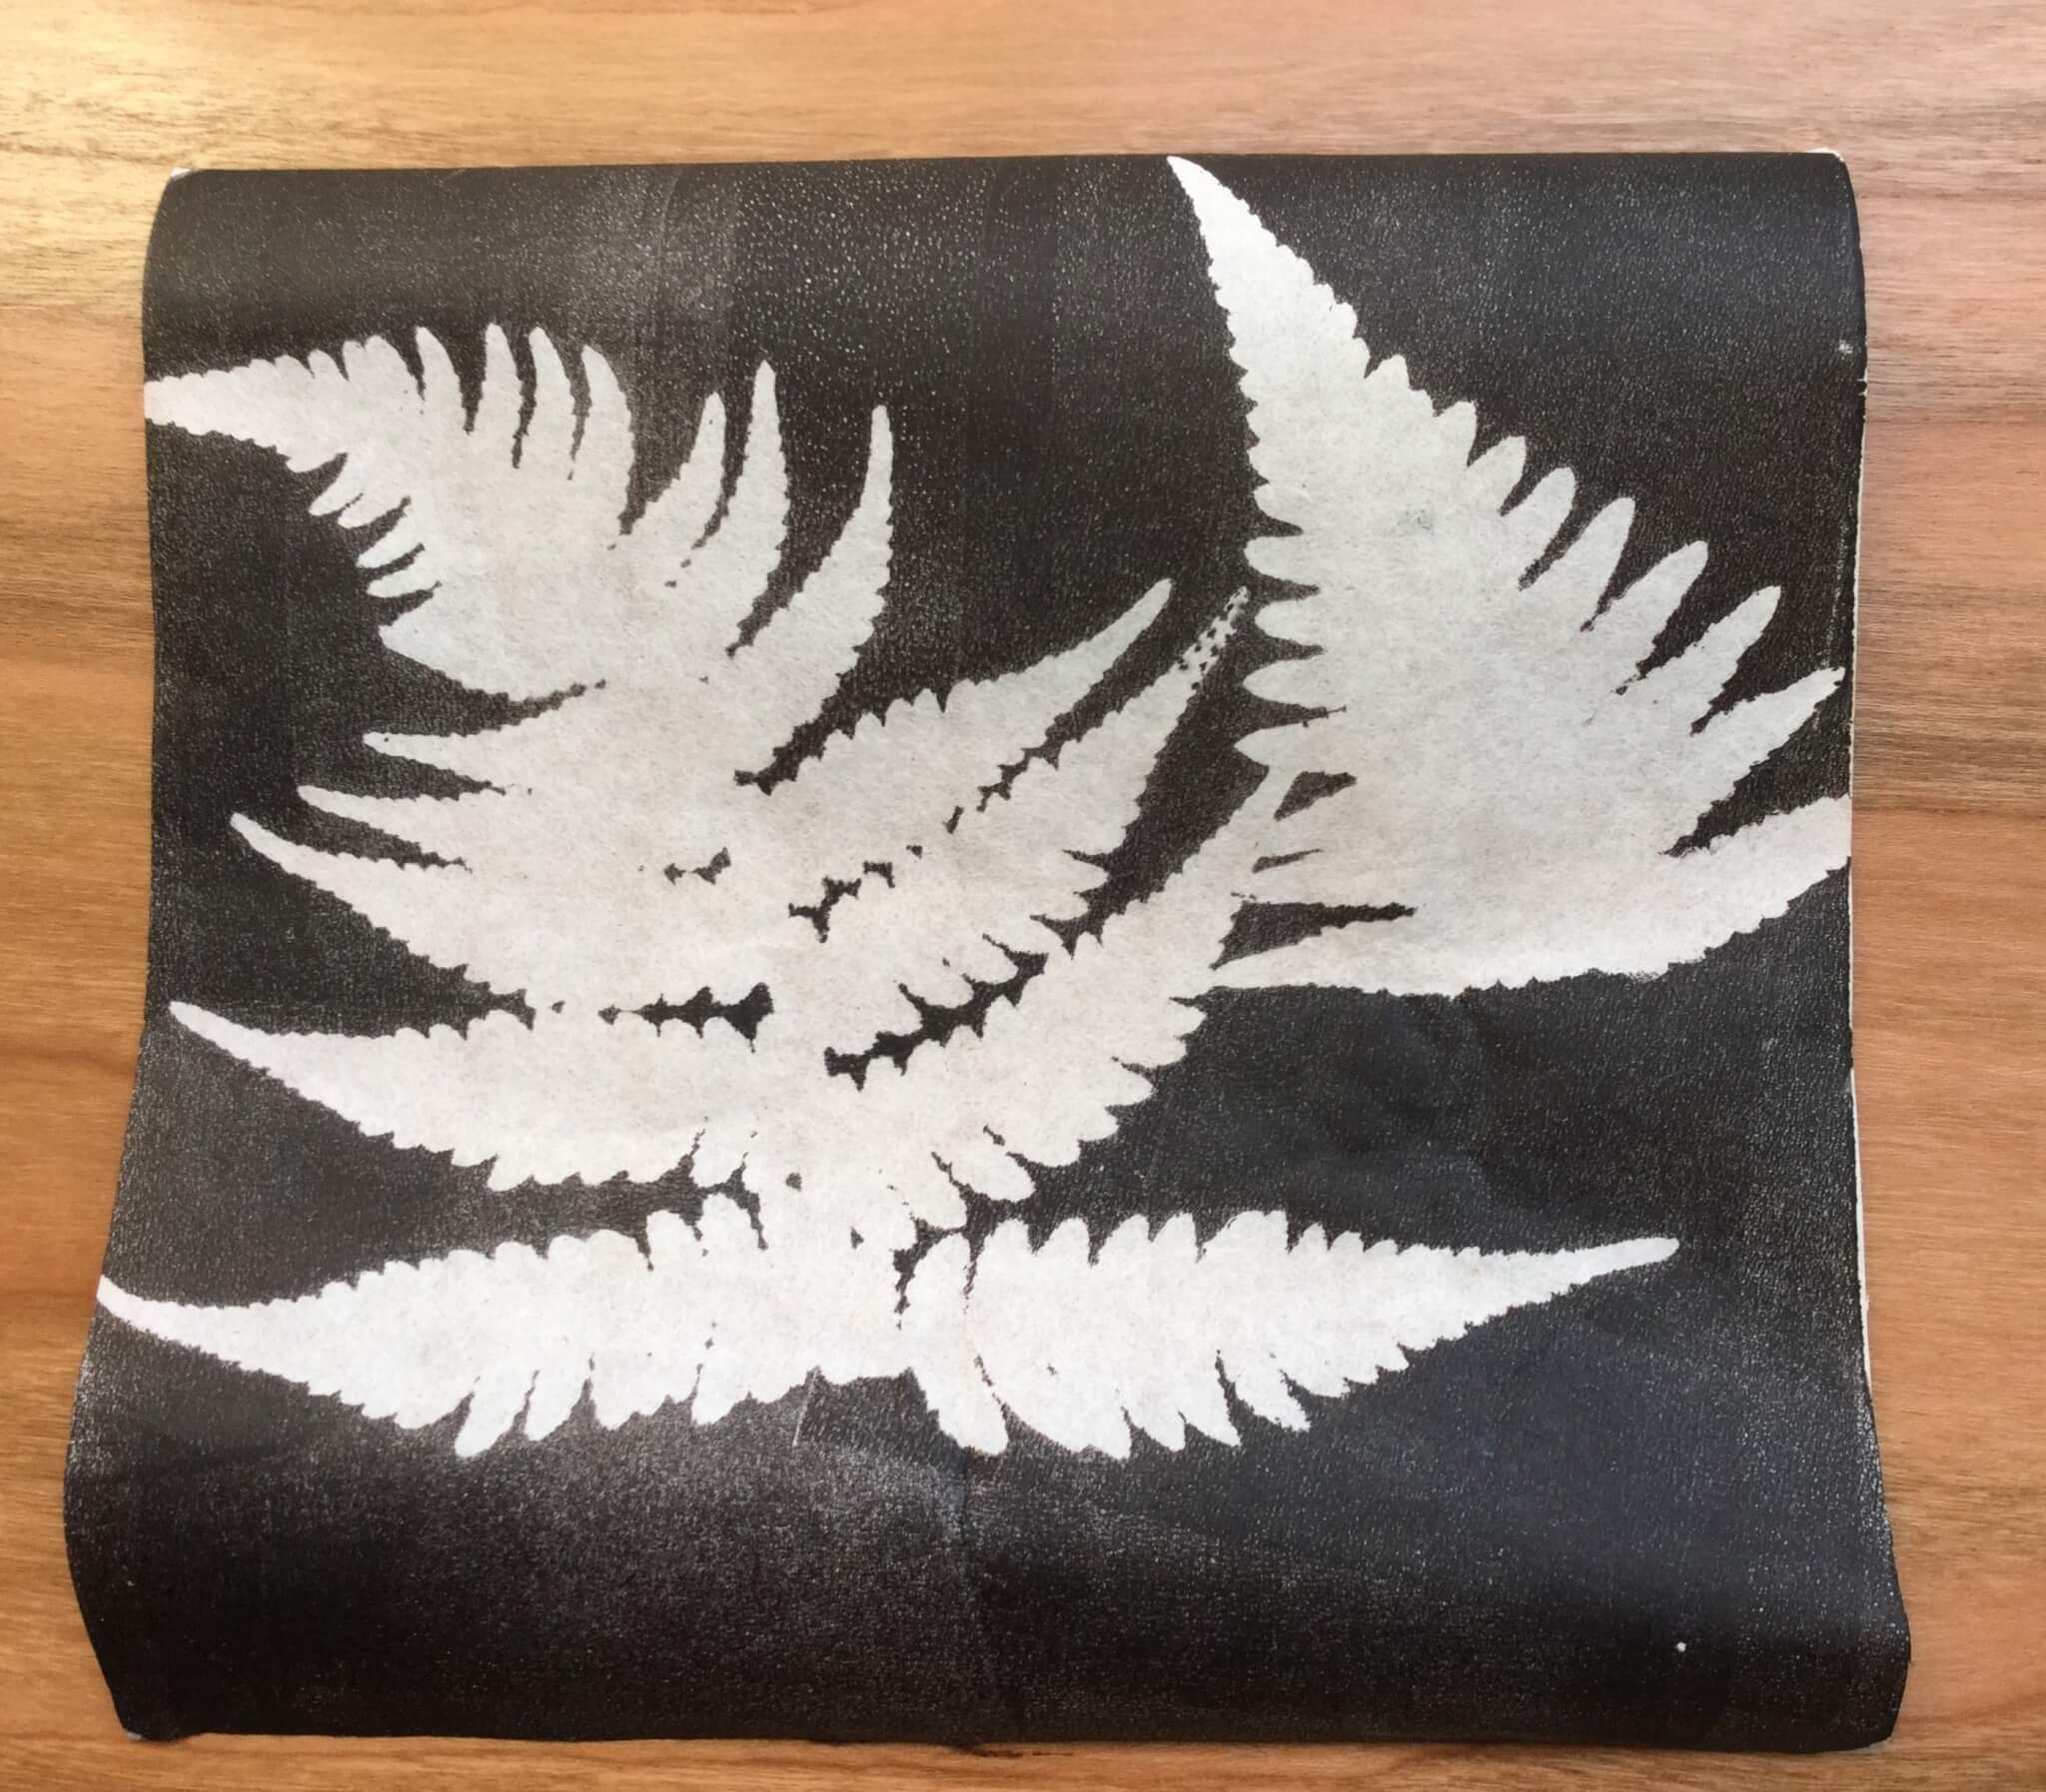
Negative prints reveal the outline of the leaf but as a stand-alone print it doesn’t hold my interest for long.


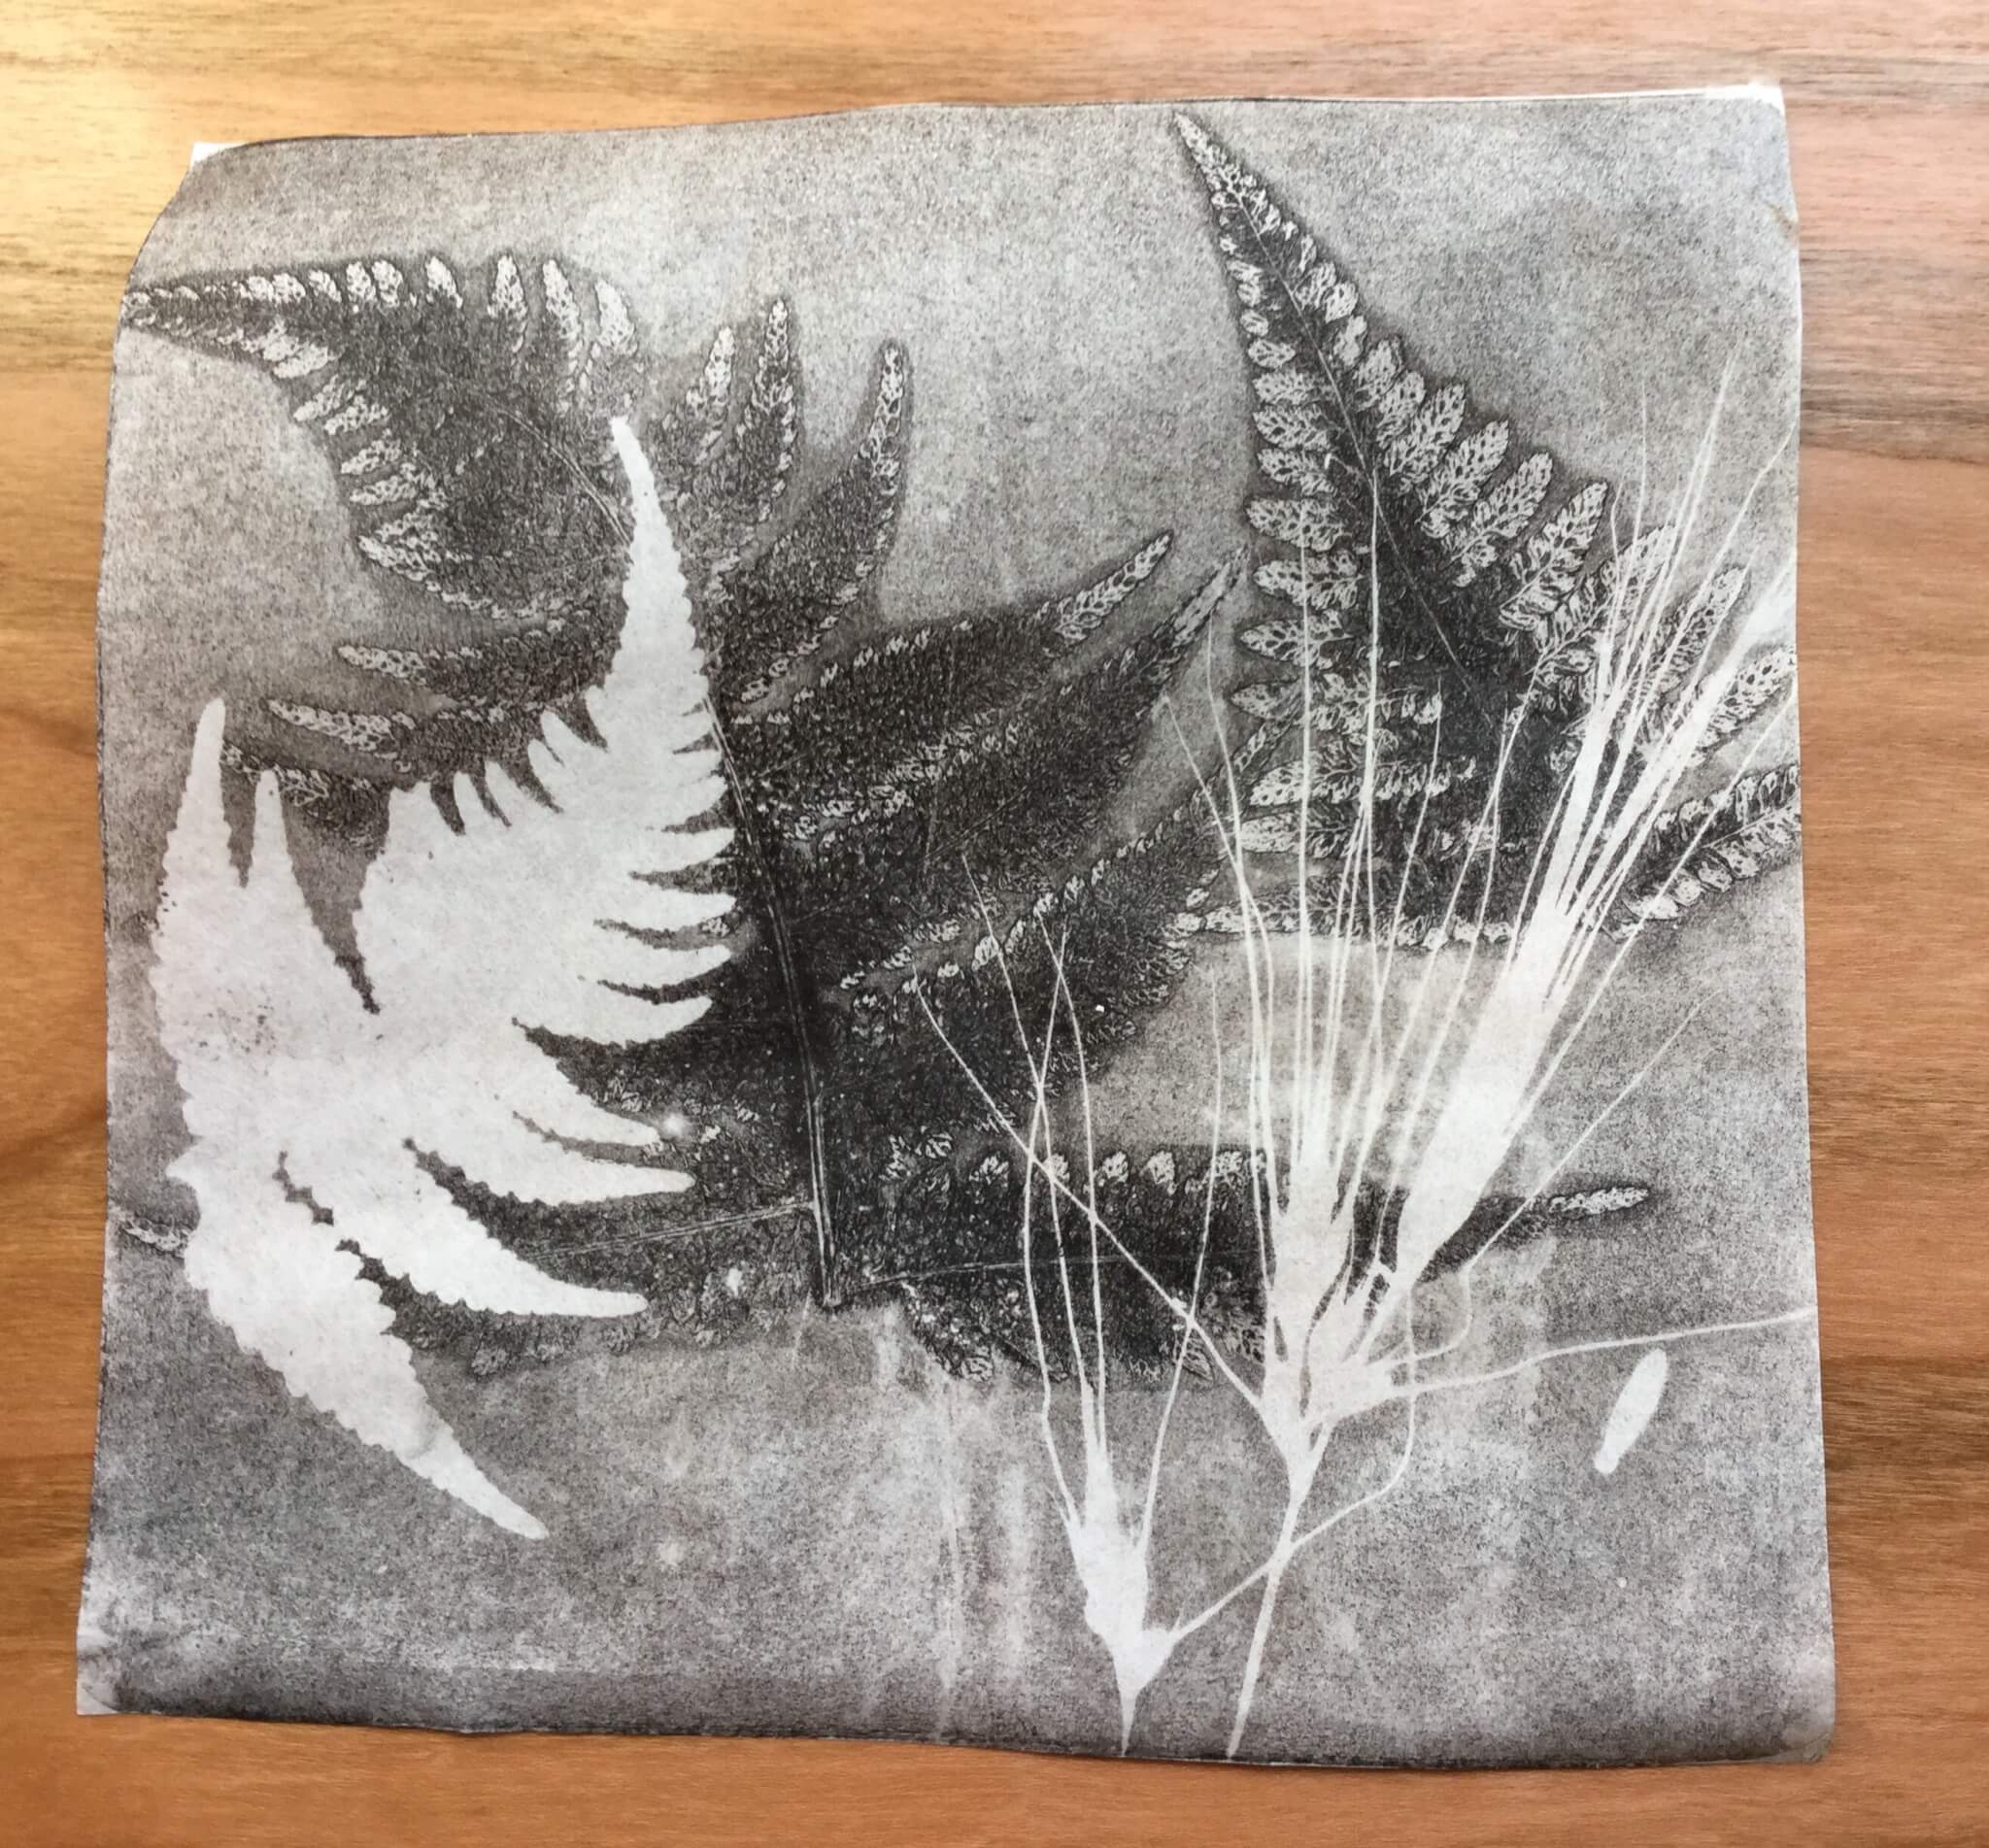
It gets more interesting when there are two printings off the same plate. This actually required that I make a negative print with the two background ferns (which was discarded). The ferns were removed from the plate leaving ink for a positive print  and another fern and grass were placed on top to serve as a resist. Then I pressed it. 


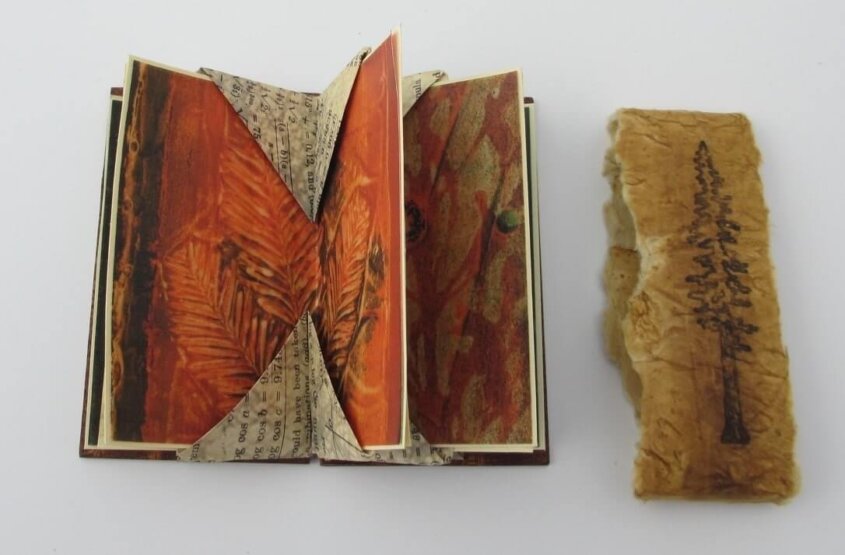
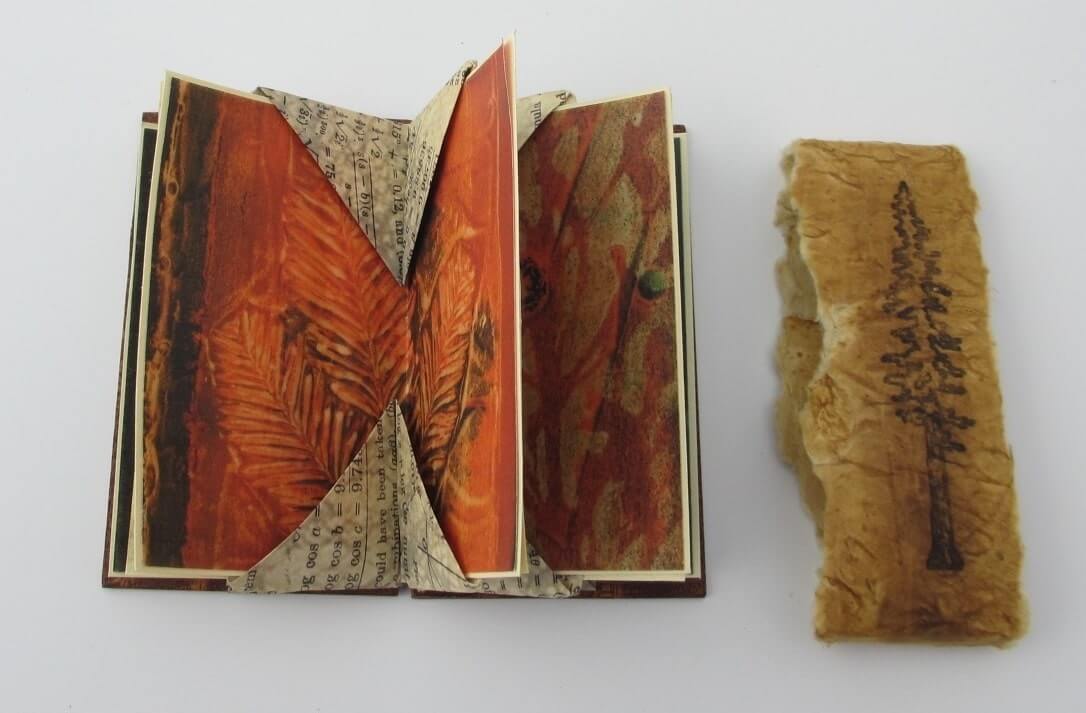
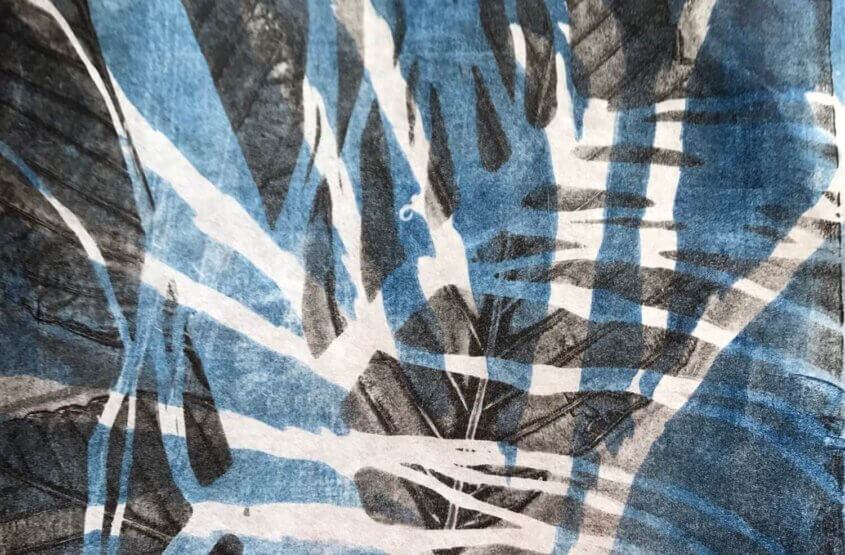
So now the challenge was to create the image below. It uses two colors, positive, negatives, and resists. 


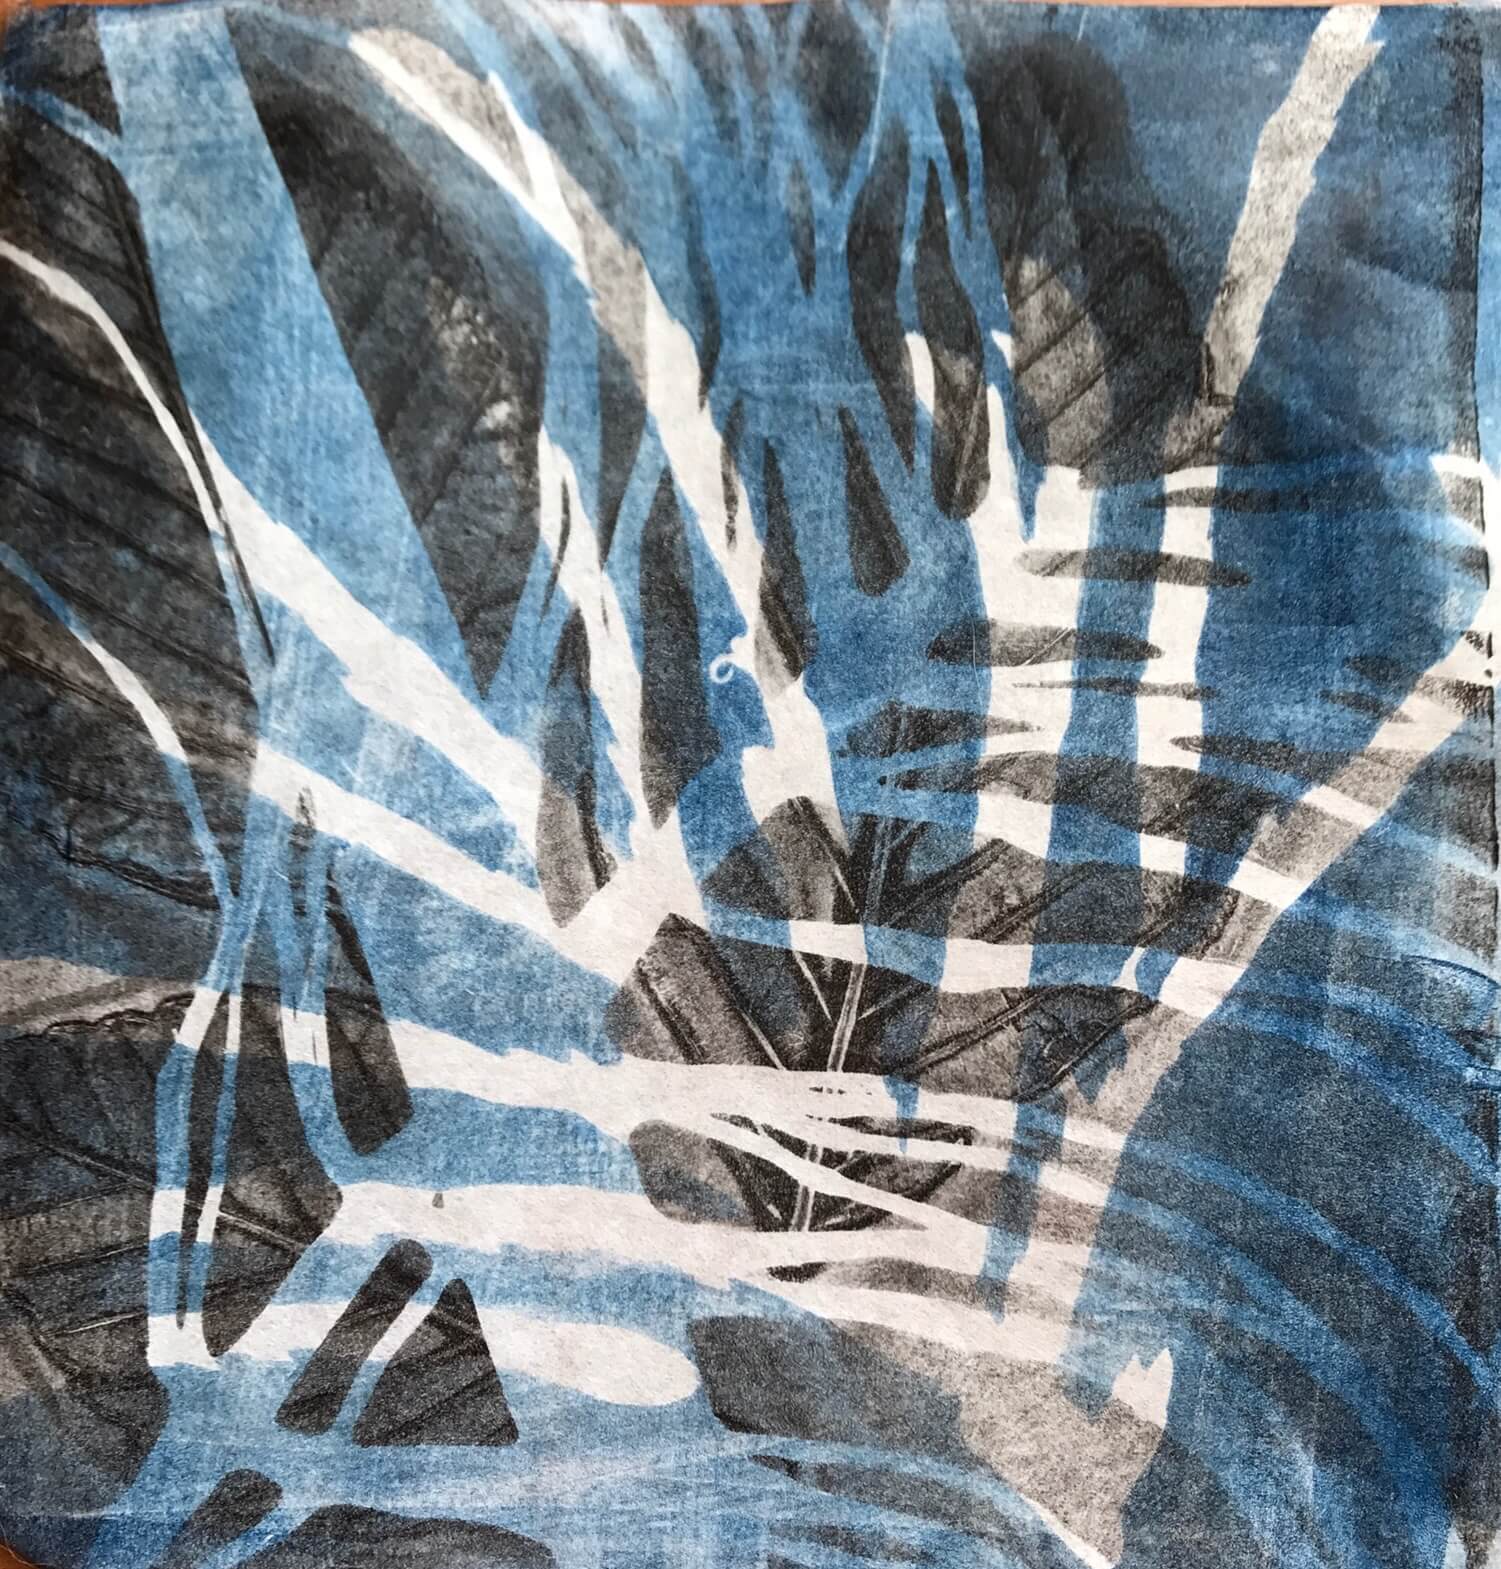
I am very happy with this because it means I have figured out the order and technique  of each layer of printing (satisfies the mathematician in me) and it’s intricate and complex enough to hold my attention (the artist in me). I used Daniel Smith Water Soluable Printing Inks (no longer made) which are vastly superior to the Speedball inks.  I didn’t pay too much attention to the composition because I was focusing on technique but next time I will use larger background vegetation (alder leaves printed in black in this print) and not use translucent medium on the black. I would also tone down the blue by adding more medium. There are two negatives in this print from two different color plates: grasses in the blue;  horsetail in the black.

In this type of printing it is very important to have thin translucent layers to create the interplay of shapes. Inking the roller properly and not overloading the plate with ink is the most important part of the technique.

My next step is to use my etching press with oil based inks (Hanco). The paper I used today was very thin rice paper; the paper for the etching press will be damp Arches Cover that will add embossing to the print. I have moved my printing studio to the garage thanks to a husband who gave up some of his woodworking space. I pop up the garage door for air and light and my dog Tracy hangs out in the sun on the driveway. Heaven.

I have a book that is part of the International Printmaking Conference in Dundee, Scotland. My book Equations is near the bottom of the table on the right edge. This is a book I made for an international exchange. One never knows where our books may show up! This is exciting and thanks to my friend Ellen for bringing it to my attention. I used a gelatin plate and printing inks to print plants from Humboldt County, California. These images were then enhanced using Photoshop. The wooden covers are made from recycled Bubinga and the pages were inserted into a Blizzard structure.

I love book arts!20130901-084855.jpg
I will be using this structure as a model for an OLLI class on this fun book.
20130901-085142.jpg

I joined an international exchange in January 2012 because a friend suggested that I do so….you see…one of the topics was “Equations”. I was placed in Group #4 with about 8 other artists, each with a different title. The idea was to make enough editions for everyone else in the group, plus one for Sarah Bodman whose book of short stories An Exercise for Kurt Johannessen
provided 100 titles for our editions. I know this sounds like old news but I still haven’t received several books so “the file i still open”. AND I’m still playing catch-up with my blog.

It took months for the ideas to come together and several more to experiment with my ideas and find an appropriate structure; with the serendipitous gift of some wonderful pieces of wood samples, i was on my way.

I wanted, somehow, to illustrate the interdependence of mathematics and nature. Since these books were going to be mailed to several countries, I wanted to feature the redwood forests where I live. Picking through my gelatin prints of local plants, I scanned several, thinking I would play with these and then go hiking and find other material to print. I started with not-so-nice colored prints and used Photoshop to alter the colors. Remarkably, the newer colors were so beautiful that I decided there was no need to make more gelatin prints. Lesson learned: don’t give up on things I’ve made. They can be altered! Cut them up, crop them, alter the colors, paint over them.

The pages for the Blizzard Book structure were made from a single sheet of paper made from a collage. The collage was created from torn pages of a vintage mathematics textbook, then scanned, and finally Photoshop was used to adjust the colors and add semi-transparent texture.

A redwood tree printed (heat transfer) on bands of handmade paper served as the closure for the book. The books were very small (2.5 in x 4 in) and easy to mail.

The books I have received so far are beautiful, skillfully constructed, and very creative. One of my favorite exchanges. One of the photos shows a gelatin print of redwood needles and the other shows the entire set as they were ready to be mailed (you can also see the Bubinga wooden covers).

20130616-230429.jpg

20130616-230513.jpg