Title Page

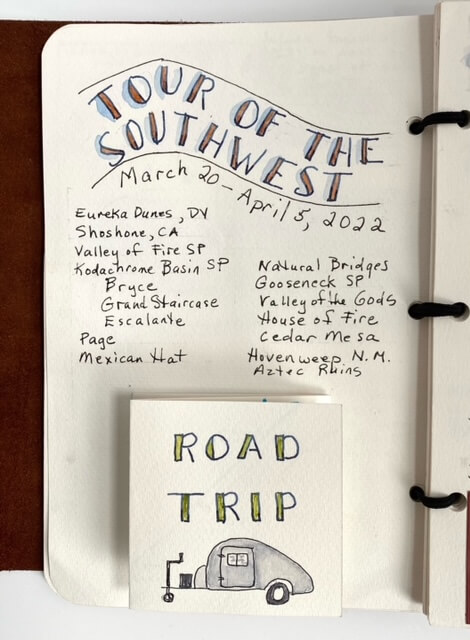
This was truly an unforgettable trip: 8 friends, 1 dog, 2 teardrop trailers, 1 pop-up tent, 1 camper van, 16 days, and 15 sites to visit. Almost none of this journal was completed on the trip due to the intensity of the schedule but I took good notes and completing this after the fact allowed me take the trip one more time. Completing the journal made me realize that the challenges we had faded to the background and the joys of traveling with good friends who can handle anything overshadowed any difficulties. I am happy to report that our dog returned, the torsion bar on a teardrop was repaired, I located my two sets of lost keys, and just got my new glasses – the old ones smashed by a knee while I climbed on my sleeping bag. No news on the 12 volt refrigerator’s status. I hope you enjoy taking this trip again.

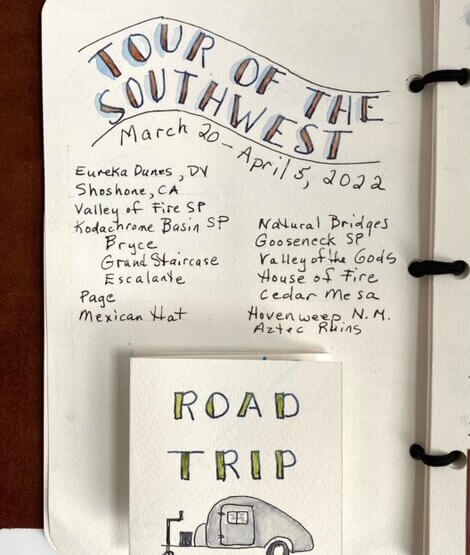
Title Page

Title Page with Pop-up


Title Page with map open

Itinerary and Map

Drive to Bishop

Drive to Bishop, California

Eureka Dunes

Eureka Dunes in Death Valley National Park, California

Shosone and Valley of Fire

Shoshone, California, and Valley of Fire SP, Nevada

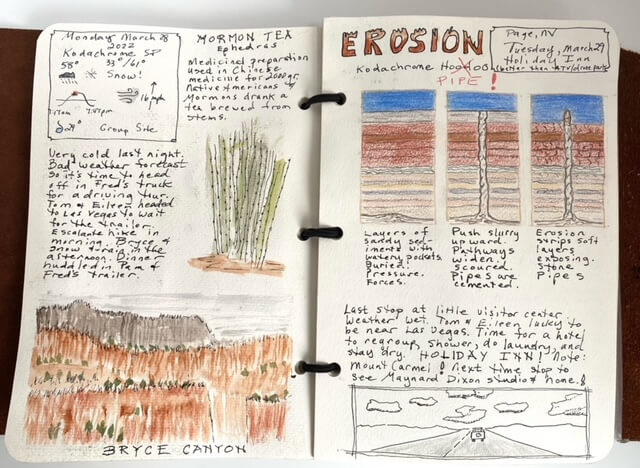
Kodachrome State Park, UT

Kodachrome State Park, Utah

Kodachrome SP, Bryce NP

Kodachrome State Park, Bryce National Park, Utah

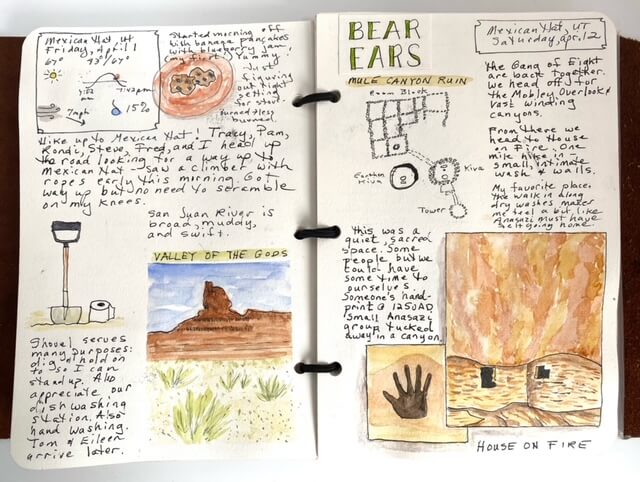
Mexican Hat

Monument Valley, Mexican Hat, and Natural Bridges, Utah

Valley of the Gods, House on Fire

Valley of the Gods, House on Fire, Utah

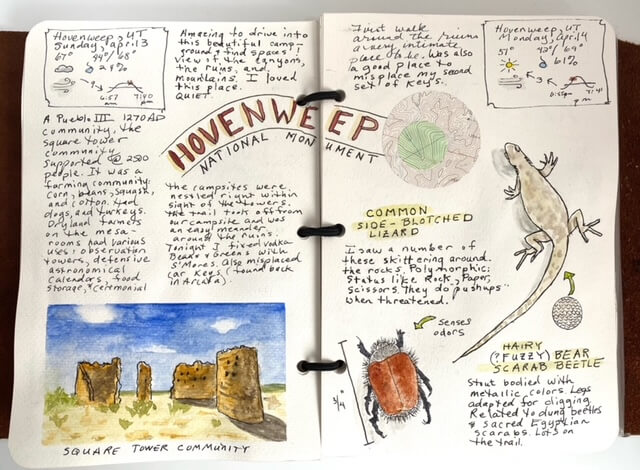
Hovenweep

Hovenweep National Monument, Utah

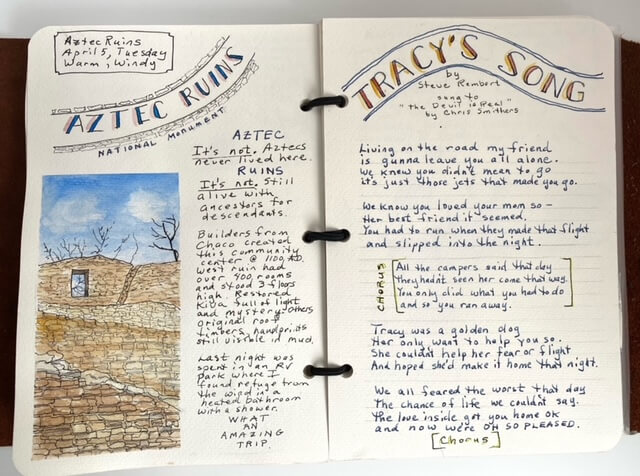
Aztec National Monument

Aztec National Monument, New Mexico


Rectangle, 2 Squares

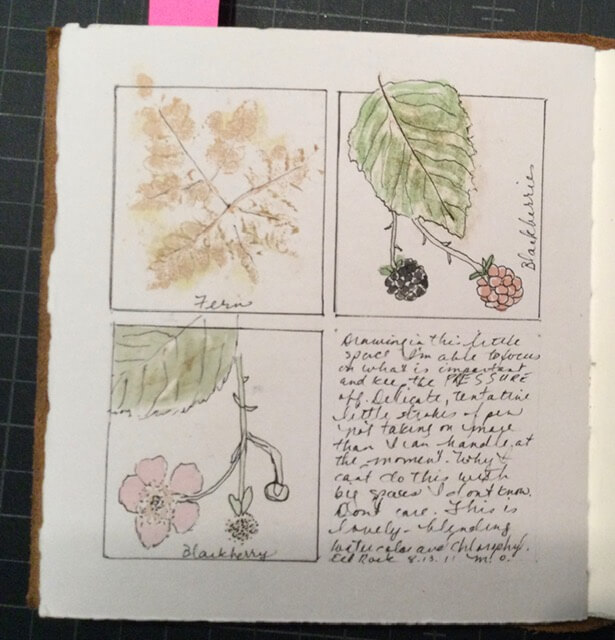
I made my first art journal during a class taught by artist Andie Thrams . This square, leather-bound journal is still my favorite even though I usually use Moleskin journals with watercolor paper. Outside on the beautiful grounds of Pacific University Andie guided my first efforts with journaling in nature. My big takeaway from the class was the way Andie did her page layouts. This post will take you through some of the steps so that you can create your own templates.

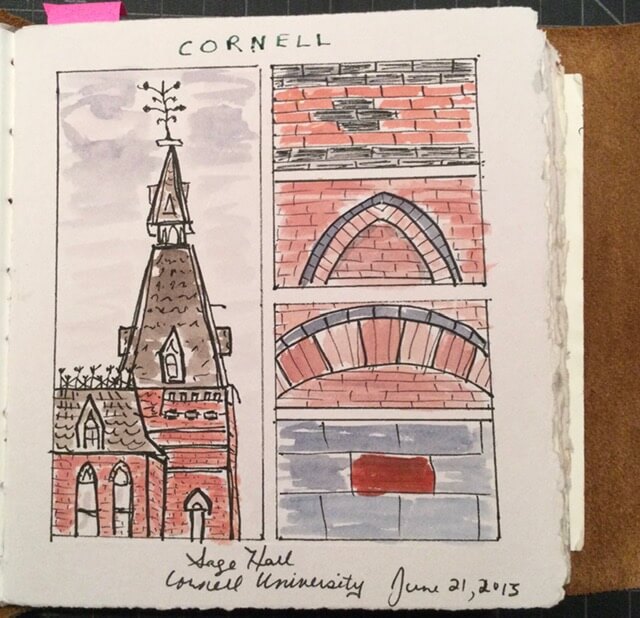
While it is not necessary to use a page layout I fing that the process of marking the regions really relaxes me and prepares me for sketching; I don’t have to face a “blank” page because I have areas where I can start to write and draw. The template itself is fixed but there are many options for joining spaces and creating a different look for each page. Going through a finished journal there is a sense of balance and uniformity. The following pages are from my first journal and therefore not all “nature” pages. See how the pages have some geometric commonalities. I like that. The same template was used in all cases, with just different rectangular areas joined together. Another aspect I like is that the regions are separated by white space – another thing I prefer in my journals. You can outline the regions in pencil or ink or you don’t have to outline them at all.

Rectangle, 2 Squares2 Rectangles

4 Squares

Rectangles small & large

Below you will see my template for this journal.

I create a template for each size journal I use. I will use an 8-1/4″ x 5″-1/4″ Moleskin for the demo.

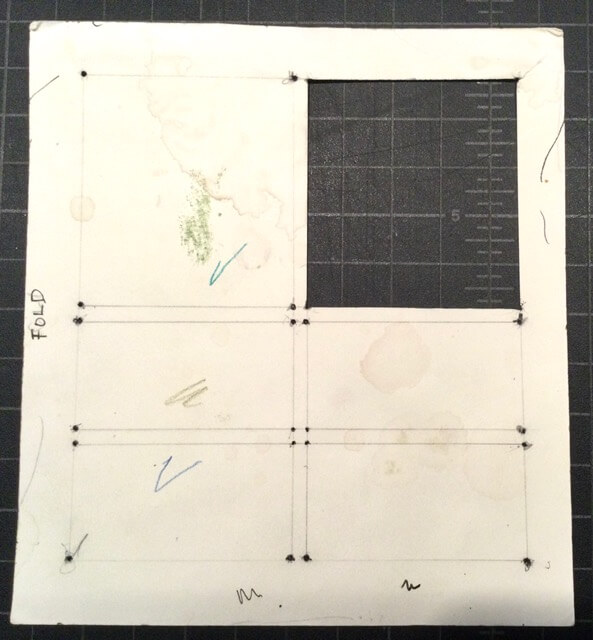
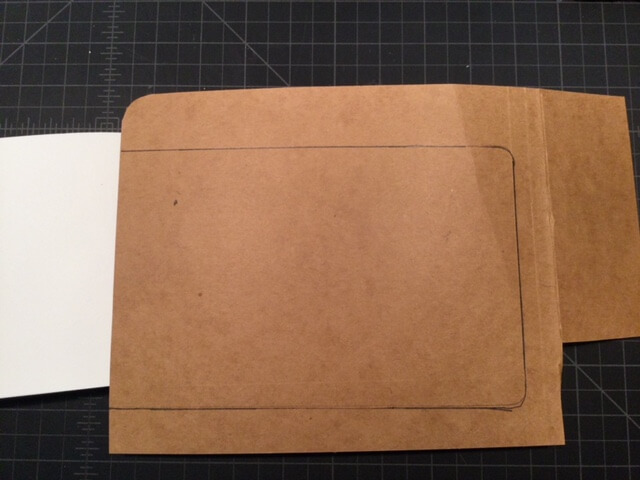
  1. Start by placing a piece of stiff paper behind a page in your journal. I use discarded manila file folders. Make sure the paper is inserted right up to the spine. Mark template outline
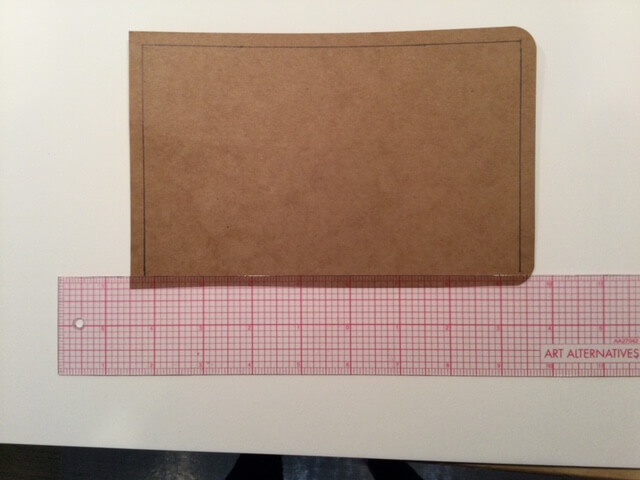
  2. Trace around the page and onto the template. Cut the template out. Cut on line
  3. Make a  1/4″ border around the template around the template. Using a translucent ruler really helps and you can adjust the width of the border to suit your journal size.Creating borders
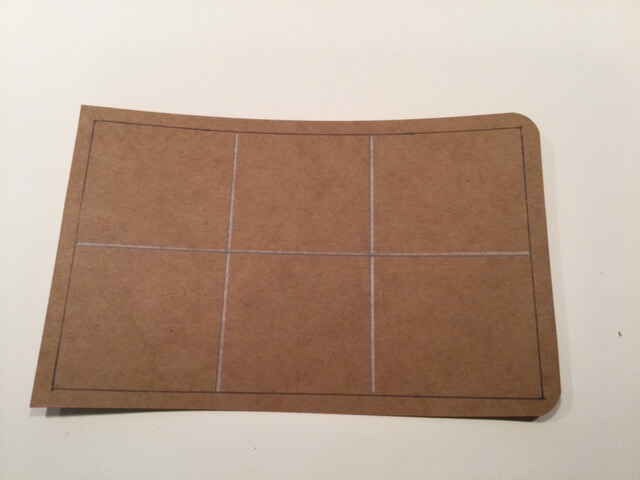
  4. Divide the space as you wish. My page is in landscape mode so I chose to create 2 rows and 3 columns. The lines drawn in white will only be used to create a guide for the sides of the rectangles in Step #5.Creating spaces
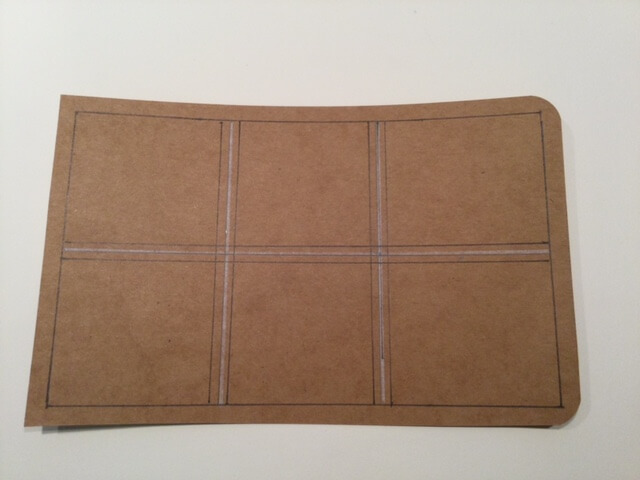
  5. Draw lines on each side of the white interior lines. I used the translucent ruler to create lines 1/8″ on each side.Final Outlines
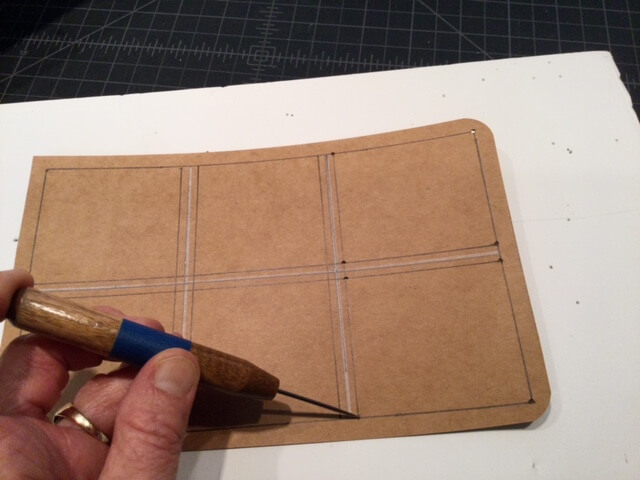
  6. Using an awl or a push pin mark the intersection of all of the lines – except the white lines. I put a piece of foam board under the template to make sure the awl went through completely. Pierce holes
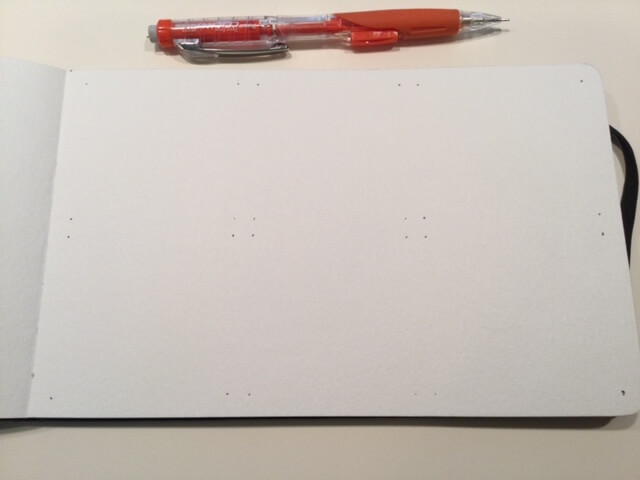
  7. Place the template on your page and mark each hole with a sharp pencil (look closely at the photo below – the marks are there!) I will often mark the pages before going into the field. In the field you will adjust your rectangles as you see fit – joining rectangles in whatever way works for you. You can create your page and erase the pencil marks later. *Note: You do not have to outline each rectangle in the template – just the ones you use. You can outline with a pencil or pen or don’t outline at all just using the dots to guide your work. You also do not need to keep you drawing completely inside of the rectangle – it’s fun to have part of the drawing outside with the sides of the rectangle skipping over that part and rejoining itself after.

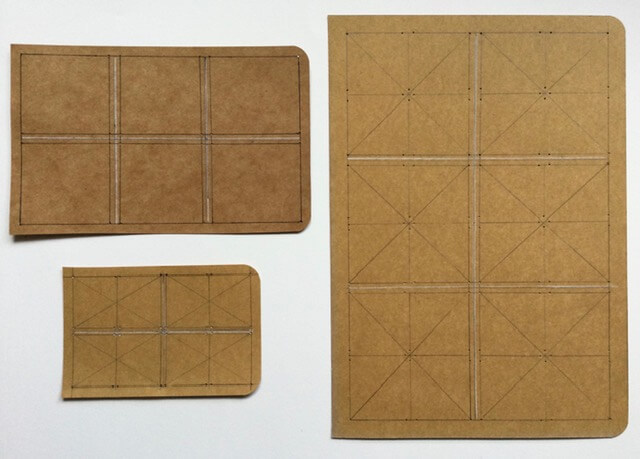
Below you will find my family of templates! These all go inside Moleskin Journals of various sizes. The templates can be transferred to new journals so a bit of work at the start just keeps on giving.

Three Templates

As a mathematician by training I started to count the permutations available to me – oh bother! There are a lot.

I haven’t posted anything for a year while taking a sabbatical from book arts. Actually, not quite true because I made a guestbook for the wedding of dear friends, and I’ve made three title books for new babies of family members.

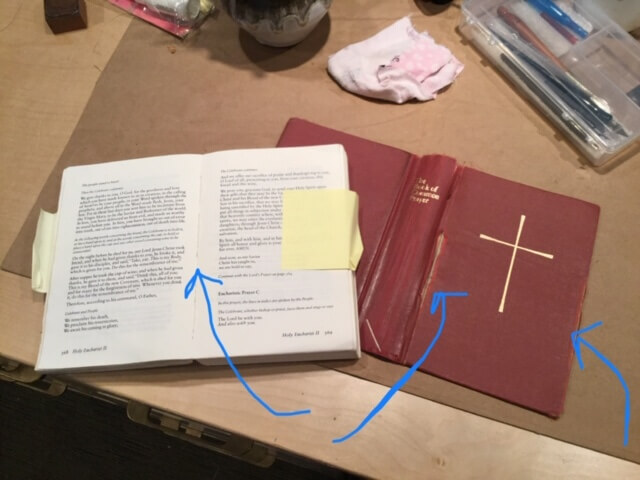
I have recently been lured back into the studio to repair (I won’t say restore) a three Books of Common Prayer from St. Alban’s Episcopal Church, Arcata, California. This was a test run – there are more. I have no background in conservation or restoration so I just used what I knew about the construction of case bound books.

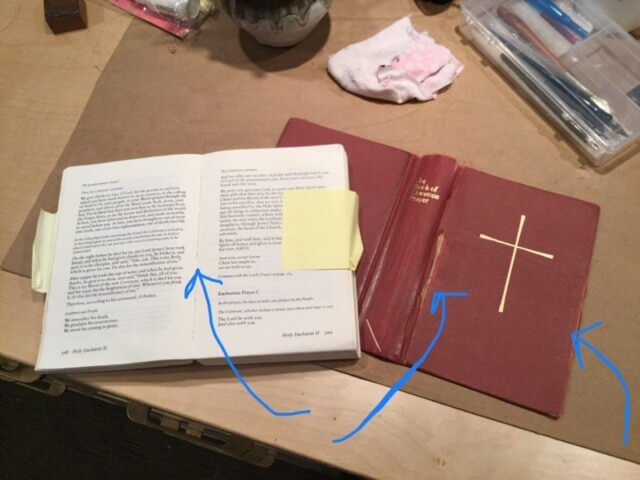
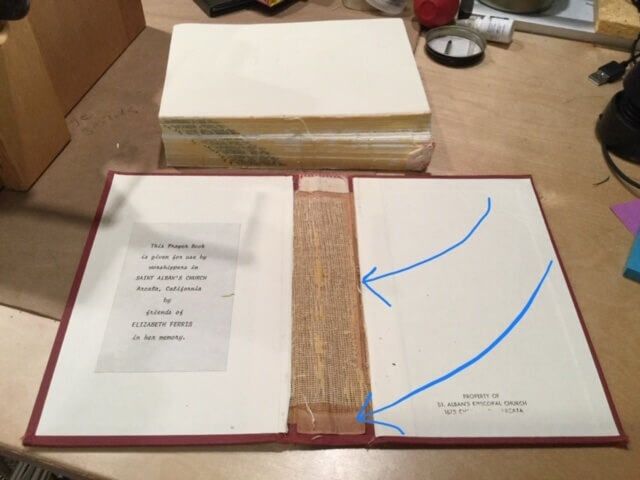
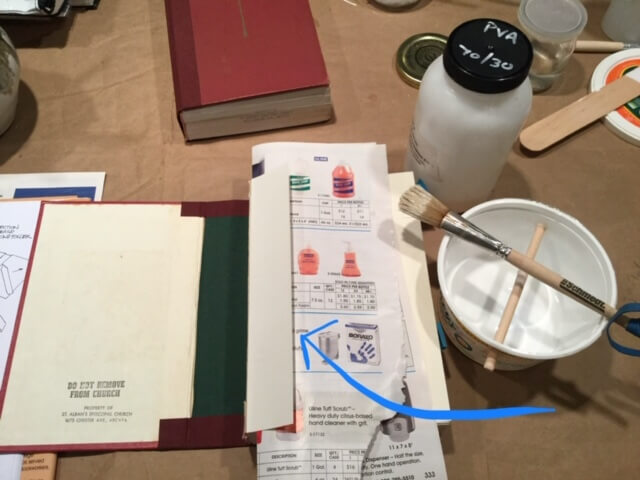
First, these are the problems: Sections that are heavily used come loose from the spine due to failure of the glue, hinges on the cover and the fore edge are just worn out. In order to access the spine I had to separate the text block from the covers. You can see that the text block is completely broken and has strained the stitching. In addition the mull (looks like cheesecloth) has separated from the spine of the text block – a complete failure of the glue.
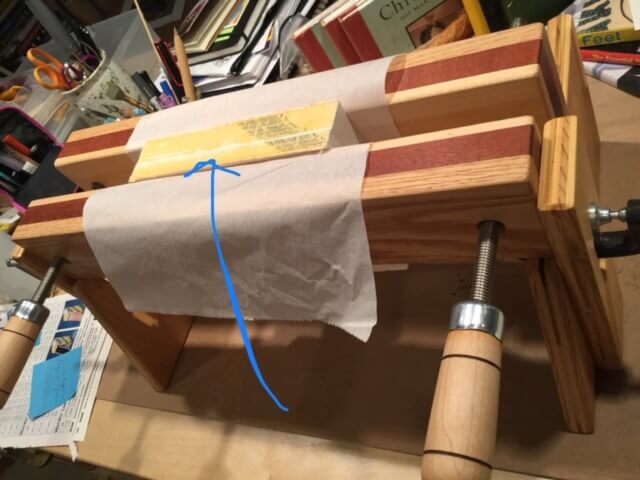
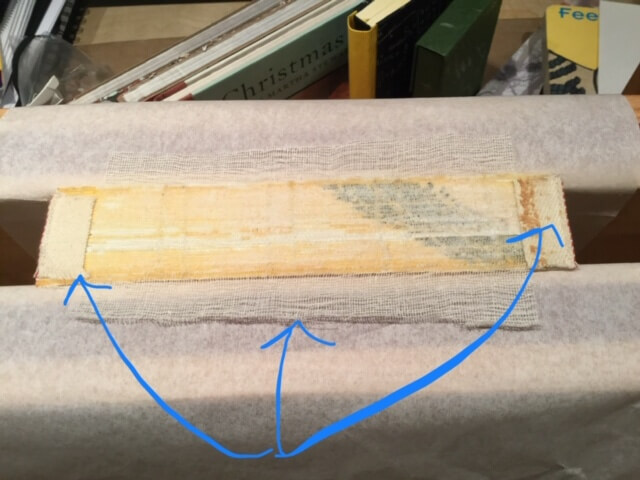
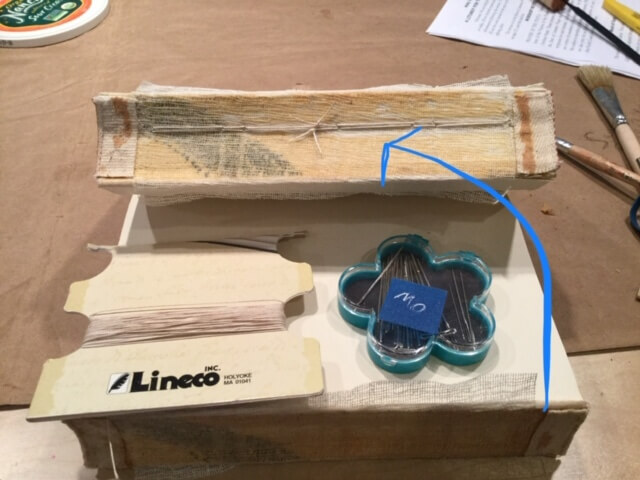
The text block is clamped into a finishing press. The stand provides a secure gluing angle and the pressure prevents glue from seeping in between the sections. After PVA was brushed onto the spine, the headbands were reattached and new mull applied to the spine. The overhang of mull serves to strengthen the hinges once the covered is glued back on.In order to secure the loose sections I used fine linen thread and a pamphlet stitch to secure those sections to the newly strengthened spine.
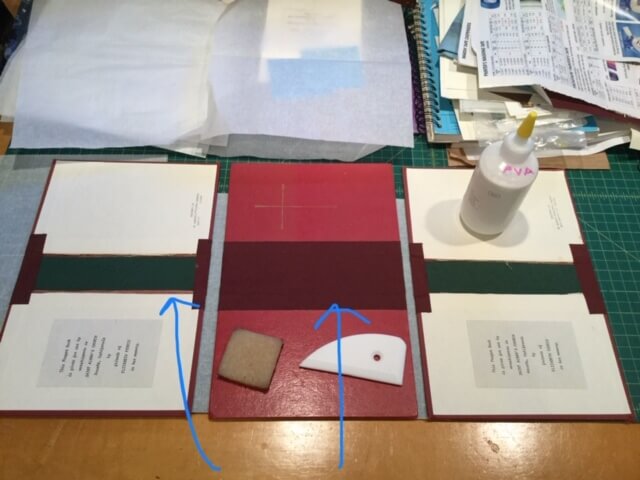
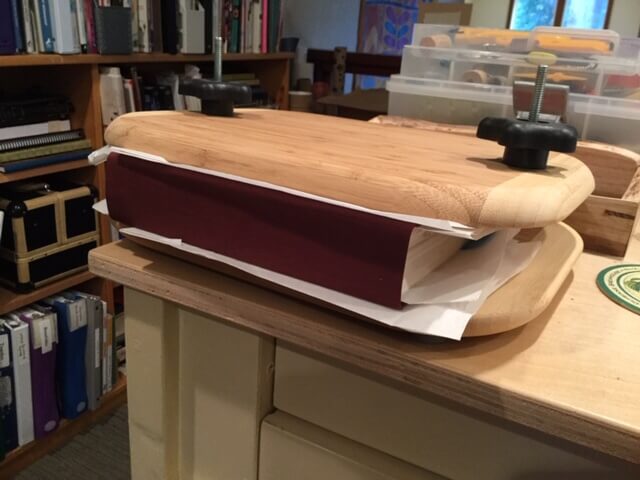
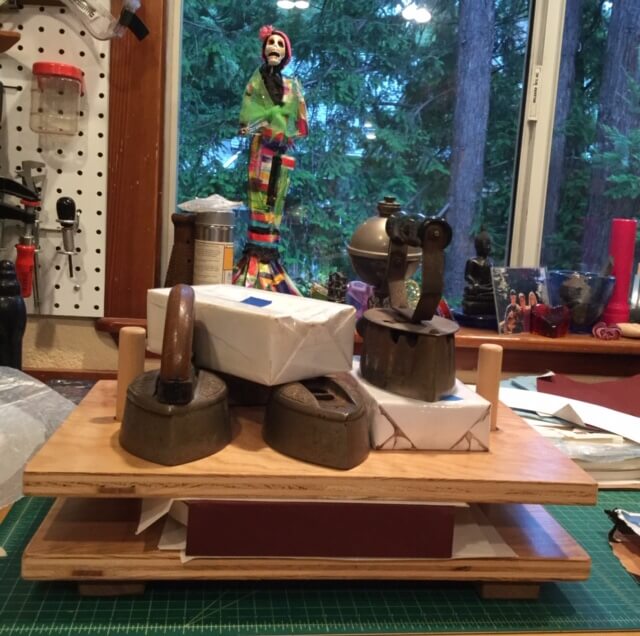
Next the covers needed repairing. I glued green book cloth strips to the insides of the covers to strengthen the spine and then added cranberry colored book cloth over the top of the old book cloth to strengthen the hinges. NThe mull tabs were glued to the text block and the block was positioned on the inside of the covers. The hinge was glued to the front and back of the text block. Then then the top of the hinge was glued using a glue guard (PVA really stains and can make a hugs mess). Then – and this is the nerve racking part where all can go wrong – the left side of the book is closed over the top of the glued hinge. Repeat on other side.Lastly! Protective papers are inserted into the insides and outsides of the book and the entire book is inserted into a book press. Book press #1Book Press #2 holds two books and bricks and sad irons provide the weight.
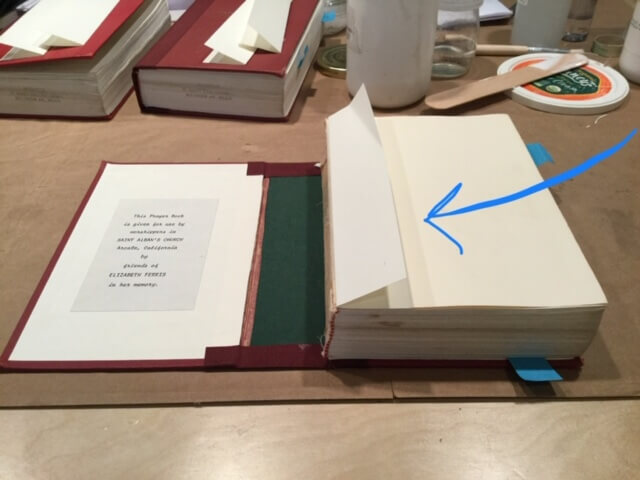
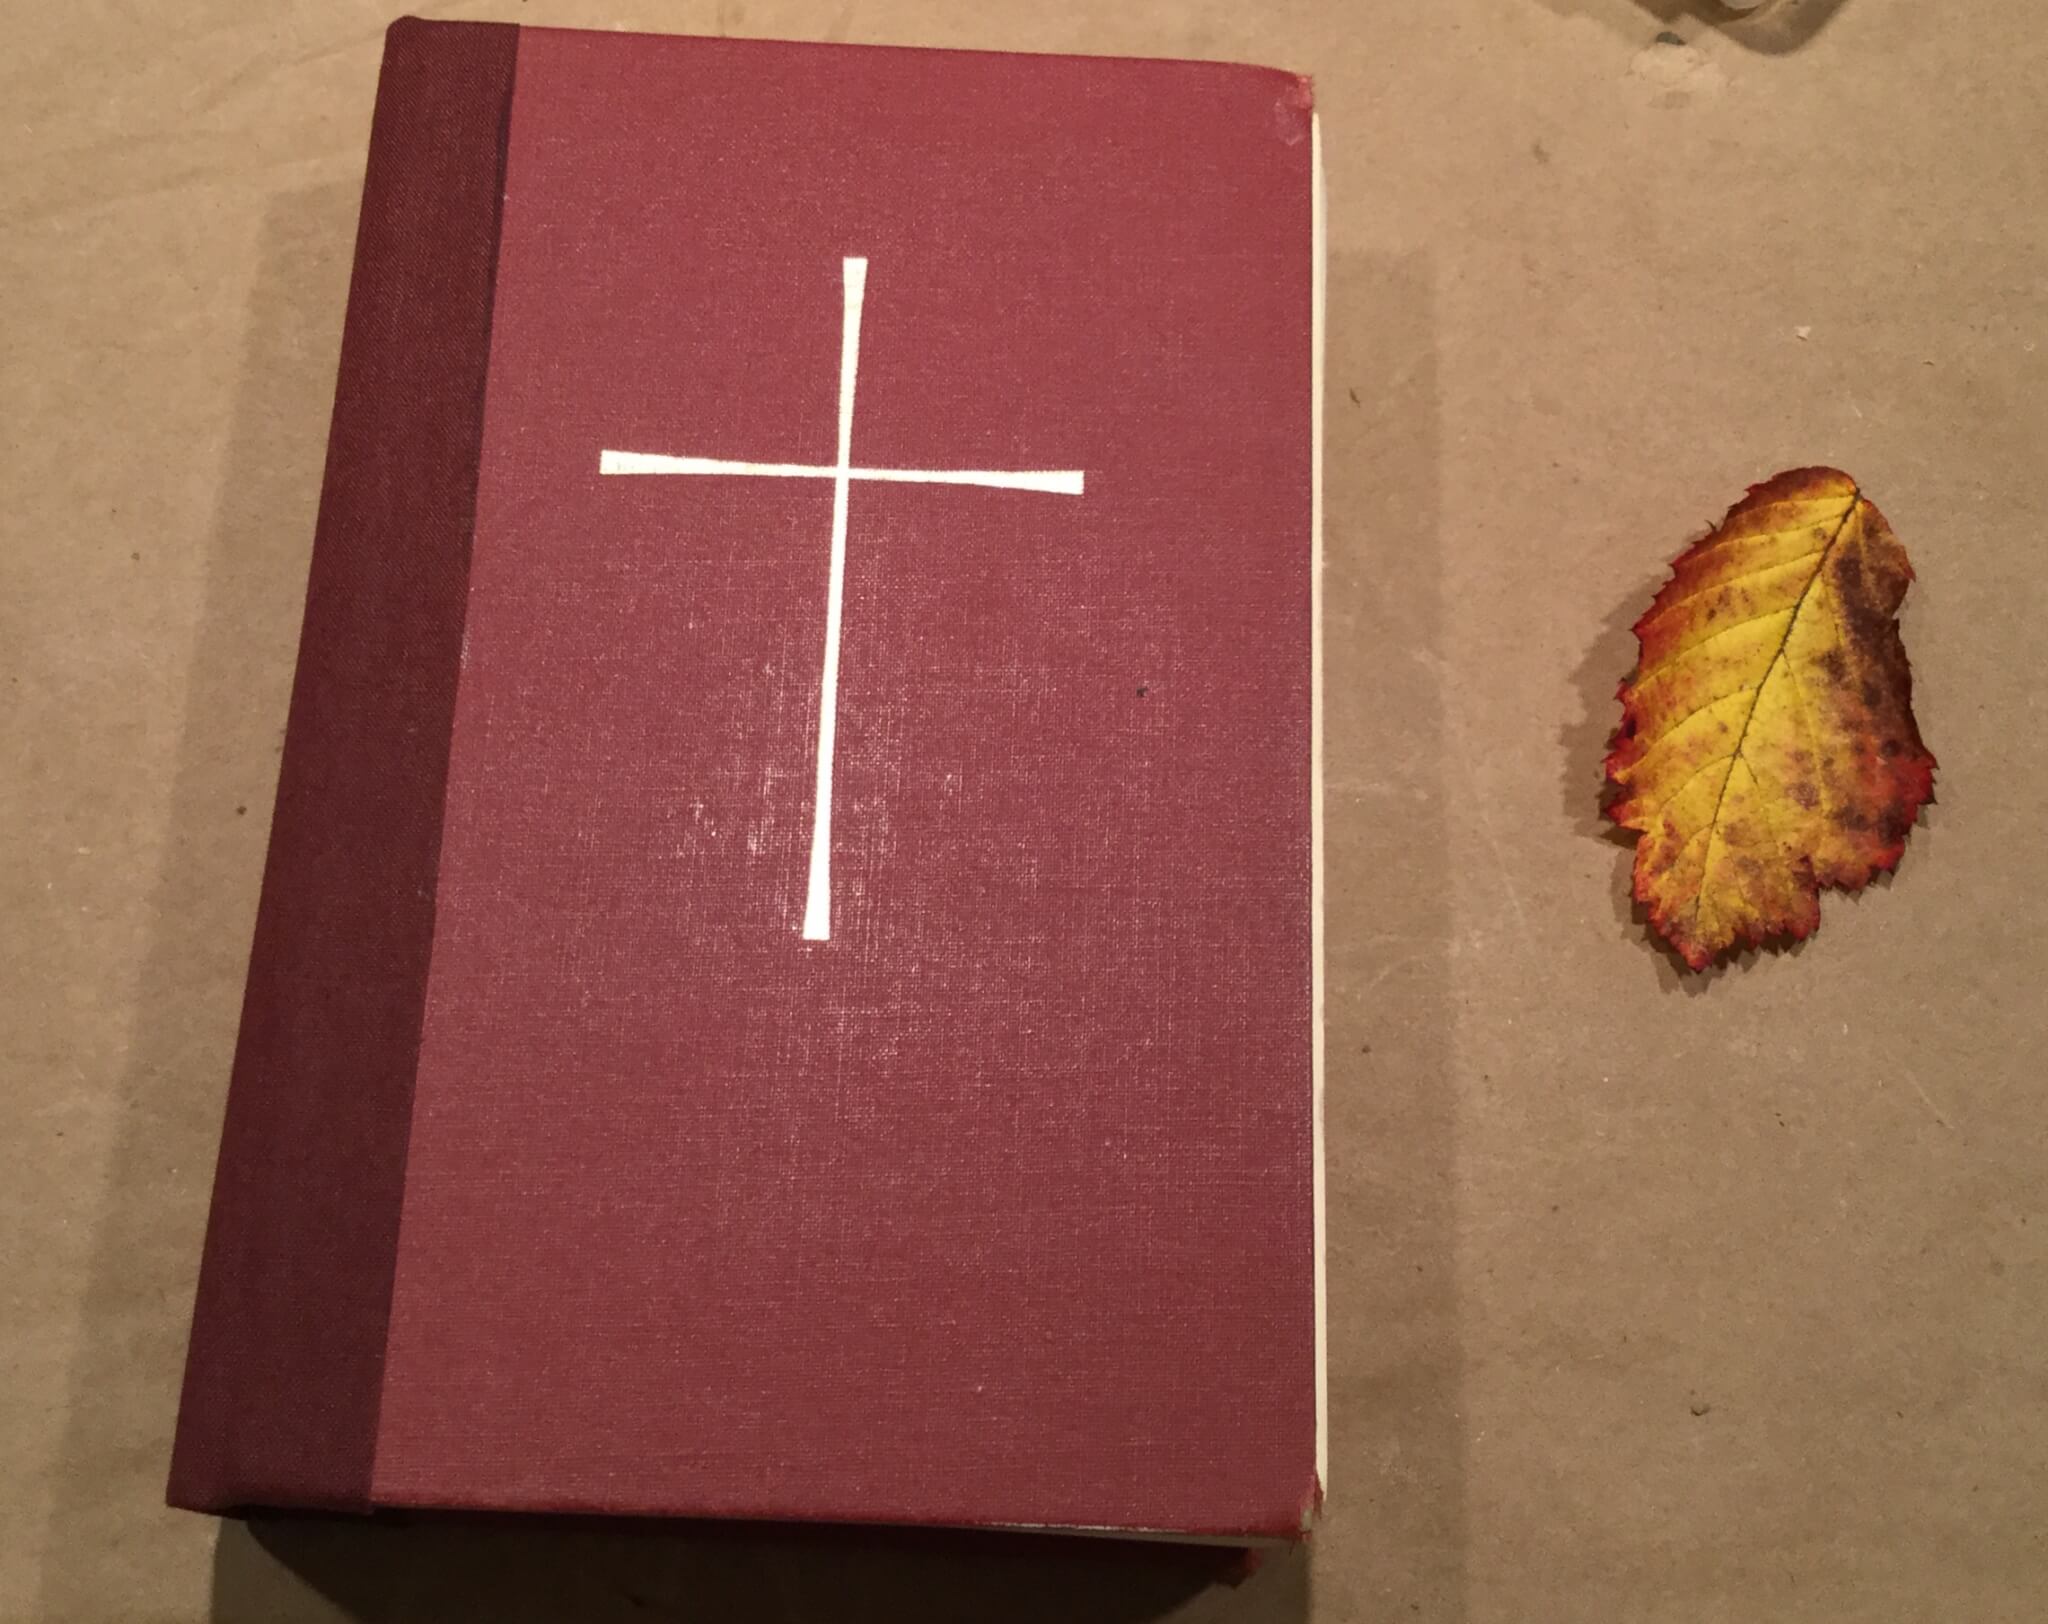
Final book!

To say this has been a momentous year would be an understatement. We have celebrated the marriages of two of our children, my brother, and my niece; we have mourned the loss of three dear people; welcomed our latest great-grandchild; and celebrated the 100th birthday of my mum. Oh yeah – we also bought a Teardrop trailer and celebrated a year with my Hearing Dog. But even before all of this abundant LIFE I have been wanting to put down the book arts for awhile. All of the empty journals I have made were calling me out for not filling them up. So I’ve decided to take a sabbatical year from books and explore the world of drawing (Urban Sketching in particular) with watercolor, pen and ink.

In 2010, on a whim, I decided to take in the first annual Urban Sketcher’s Symposium in Portland even though I had very little drawing experience. The three days of hands-on instruction was daunting. I had a lot to learn! I have since followed the blogs of many of the USK’s artists without drawing myself and this Fall I knew it was time to dive in – eight years later. I particularly liked the blog of the Australian artist, Liz Steel. She was an architect and her left-brain approach appealed to my mathematical training. I signed up for her online Watercolor drawing class in September and have really enjoyed it. She stresses watercolors painted quickly on site rather than watercolors painted in a studio. Every day I have another revelation and have been happy with the improvement I’ve seen in my work.

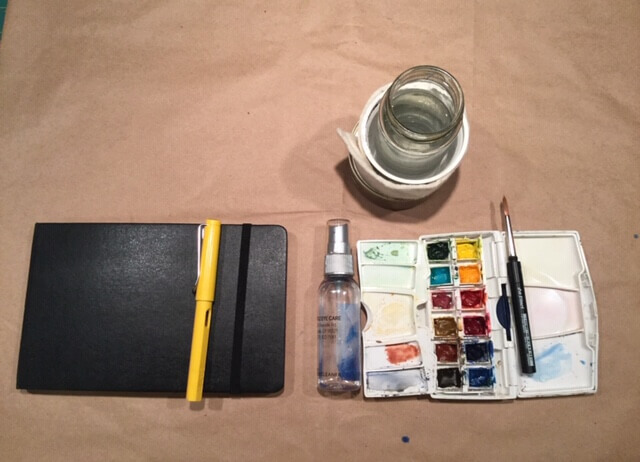
For the last two months of travels I have worked with a this small travel kit. I love the A4 Moleskin watercolor journal (purchased at the Arcata Art Center in Arcata CA); the paper handles the watercolor so well it is just a joy to let the paints flow and do their thing. My Lamy Safari pen with black Noodlers Ink is my pen of choice. The watercolor kit is a Windsor Newton filled with Daniel Smith watercolors from Liz’s palette recommendations. The watercolor brush is a #5 DaVinci I bought in Hanoi. The spray bottle is used for moistening the dried watercolor and the tip over-resistant water is all I need to complete a drawing.

So, with that I am happily working my way through the great online videos and instructions. More posts to follow. More things to share. Let’s see where this goes.

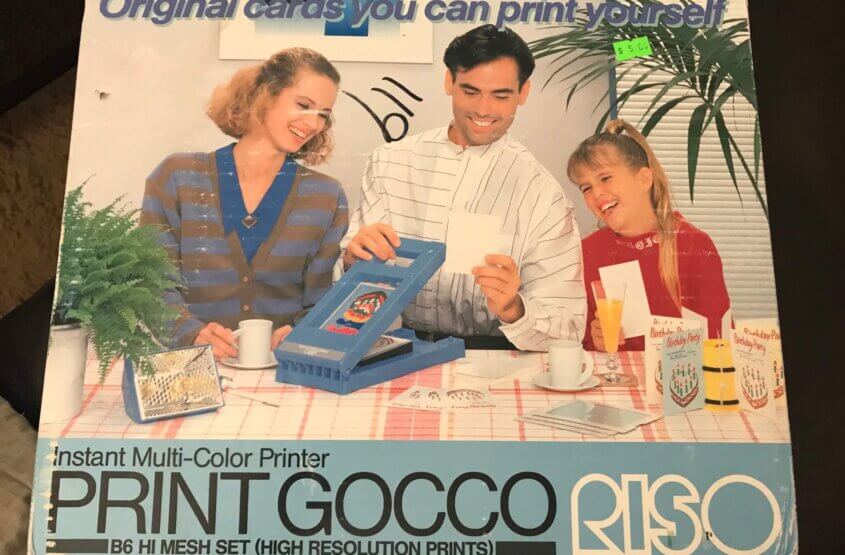
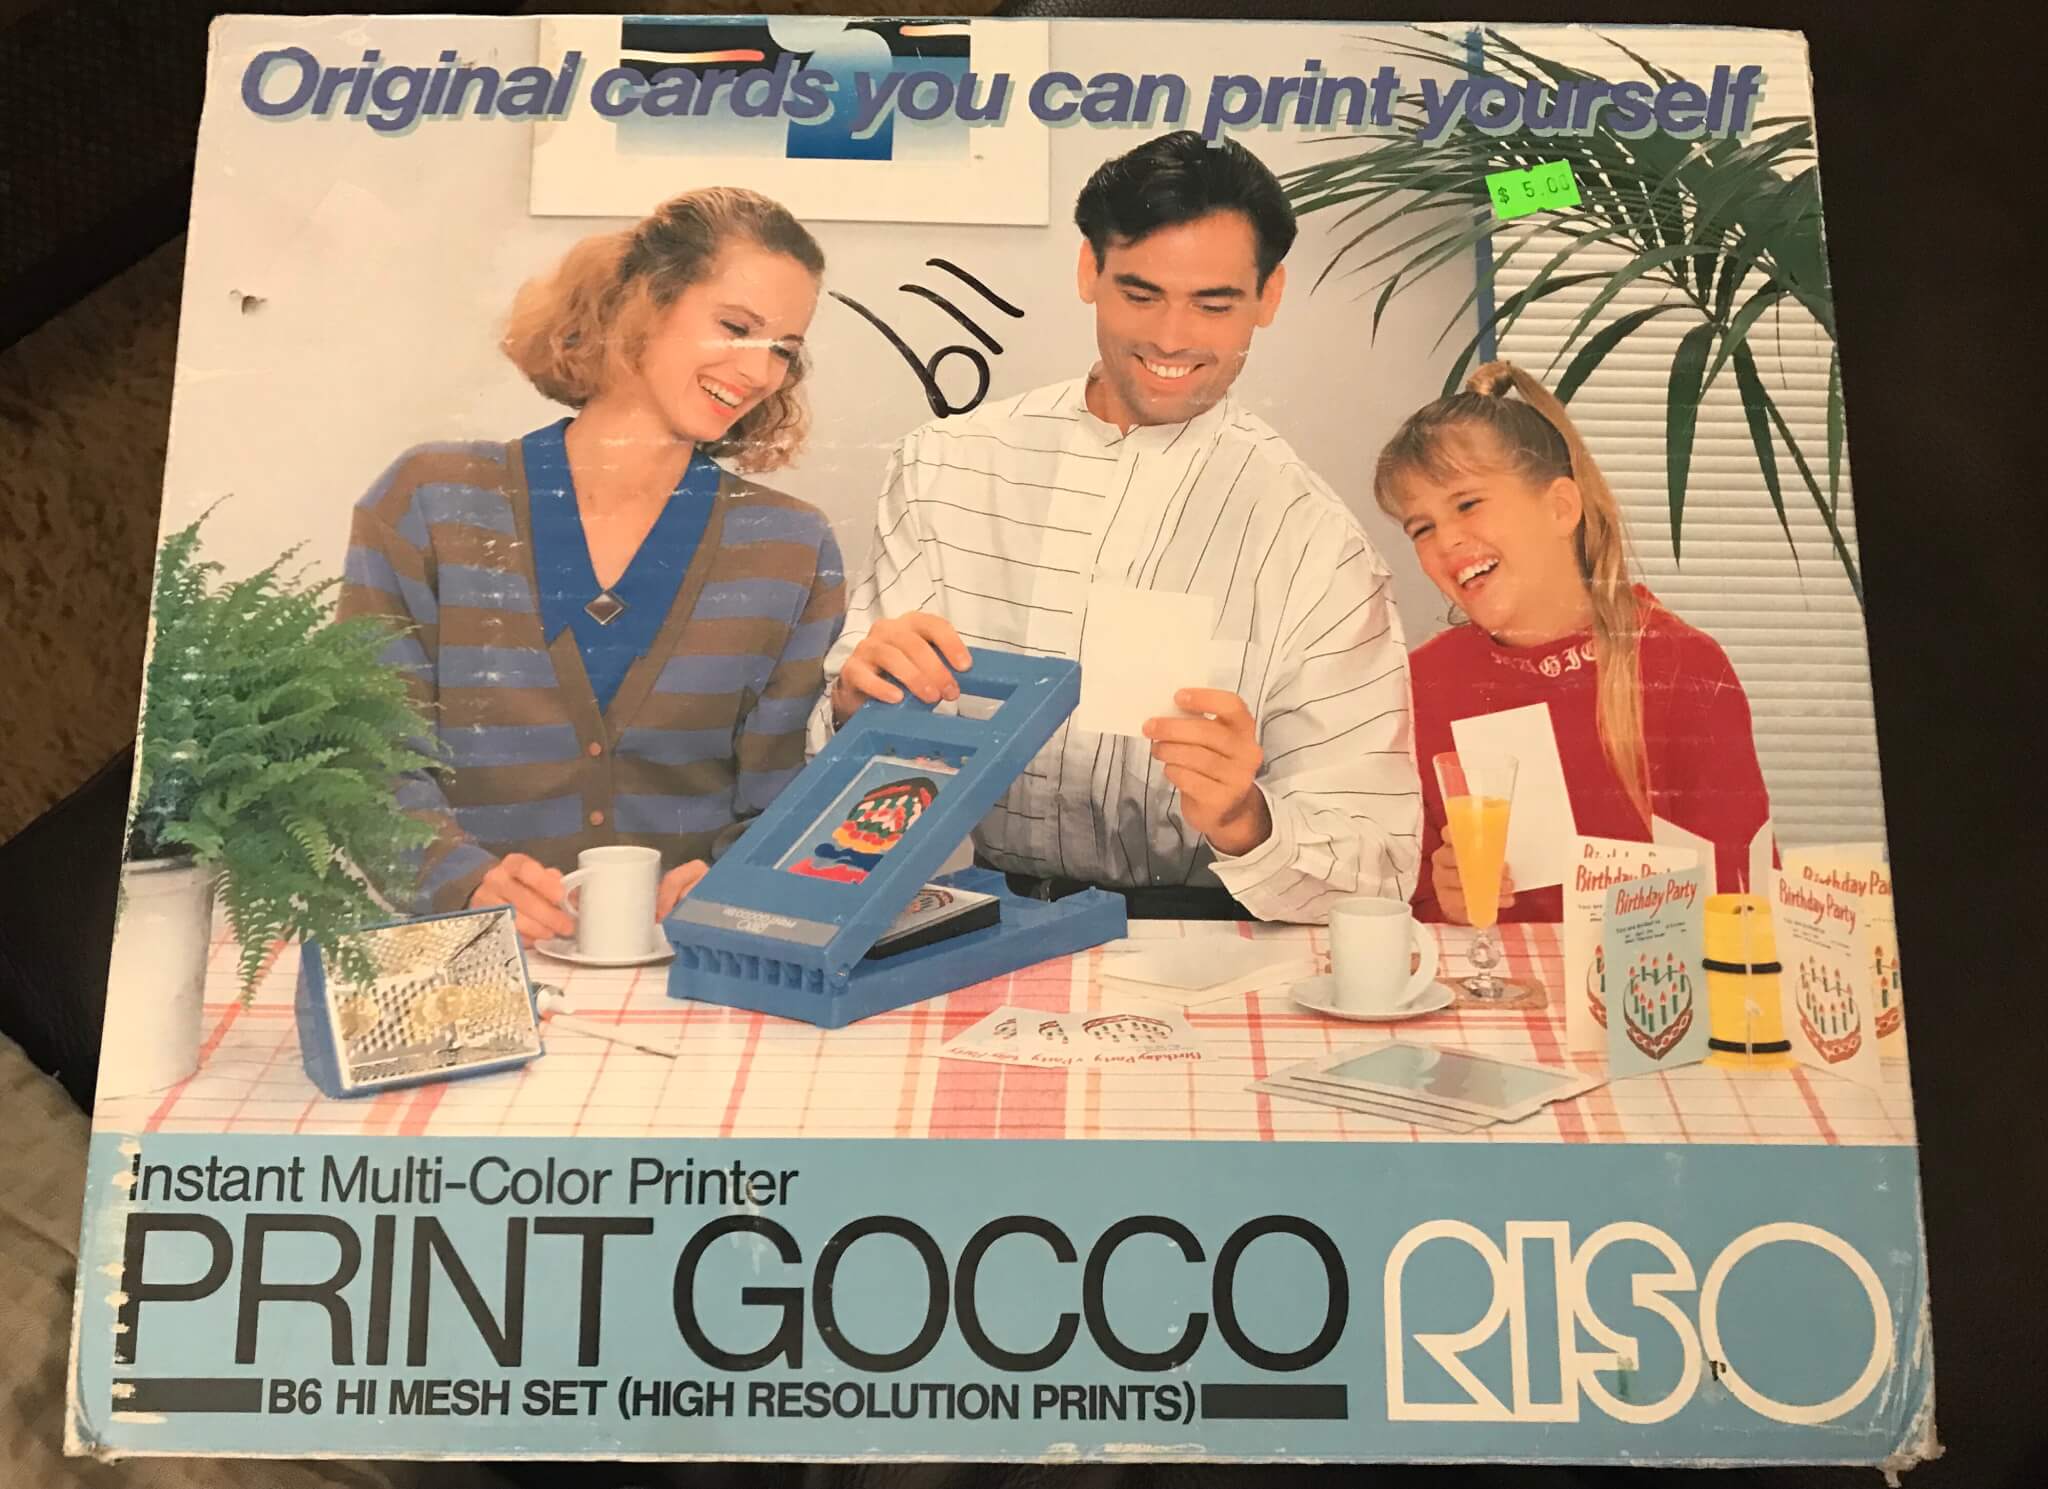
When I first joined North Redwoods Book Arts Guild we made a collaborative book using a Gocco machine to produce the number of images needed for all of those books. It’s a form of printmaking that disappeared for awhile. They are no longer made but apparently the machines have developed a kind of cult following and people are finding replacements for the bulbs and screens required. In an earlier post I had mentioned that I am temporarily putting book arts aside in order to open up time for other things to present themselves. This is the first of those invitations to venture into other areas. I found it in the WabiSabi Thrift Shop in Moab, Utah for $5! This is a real bargain considering there are bulbs, screens, inks, and the machine. It’s also in color!

Oh my. The cover….yes, I know. It reminds me of my first attempt at buying a computer. The salesman at Radio Shack asked me what my husband would be using it for. No Radio Shack for me.

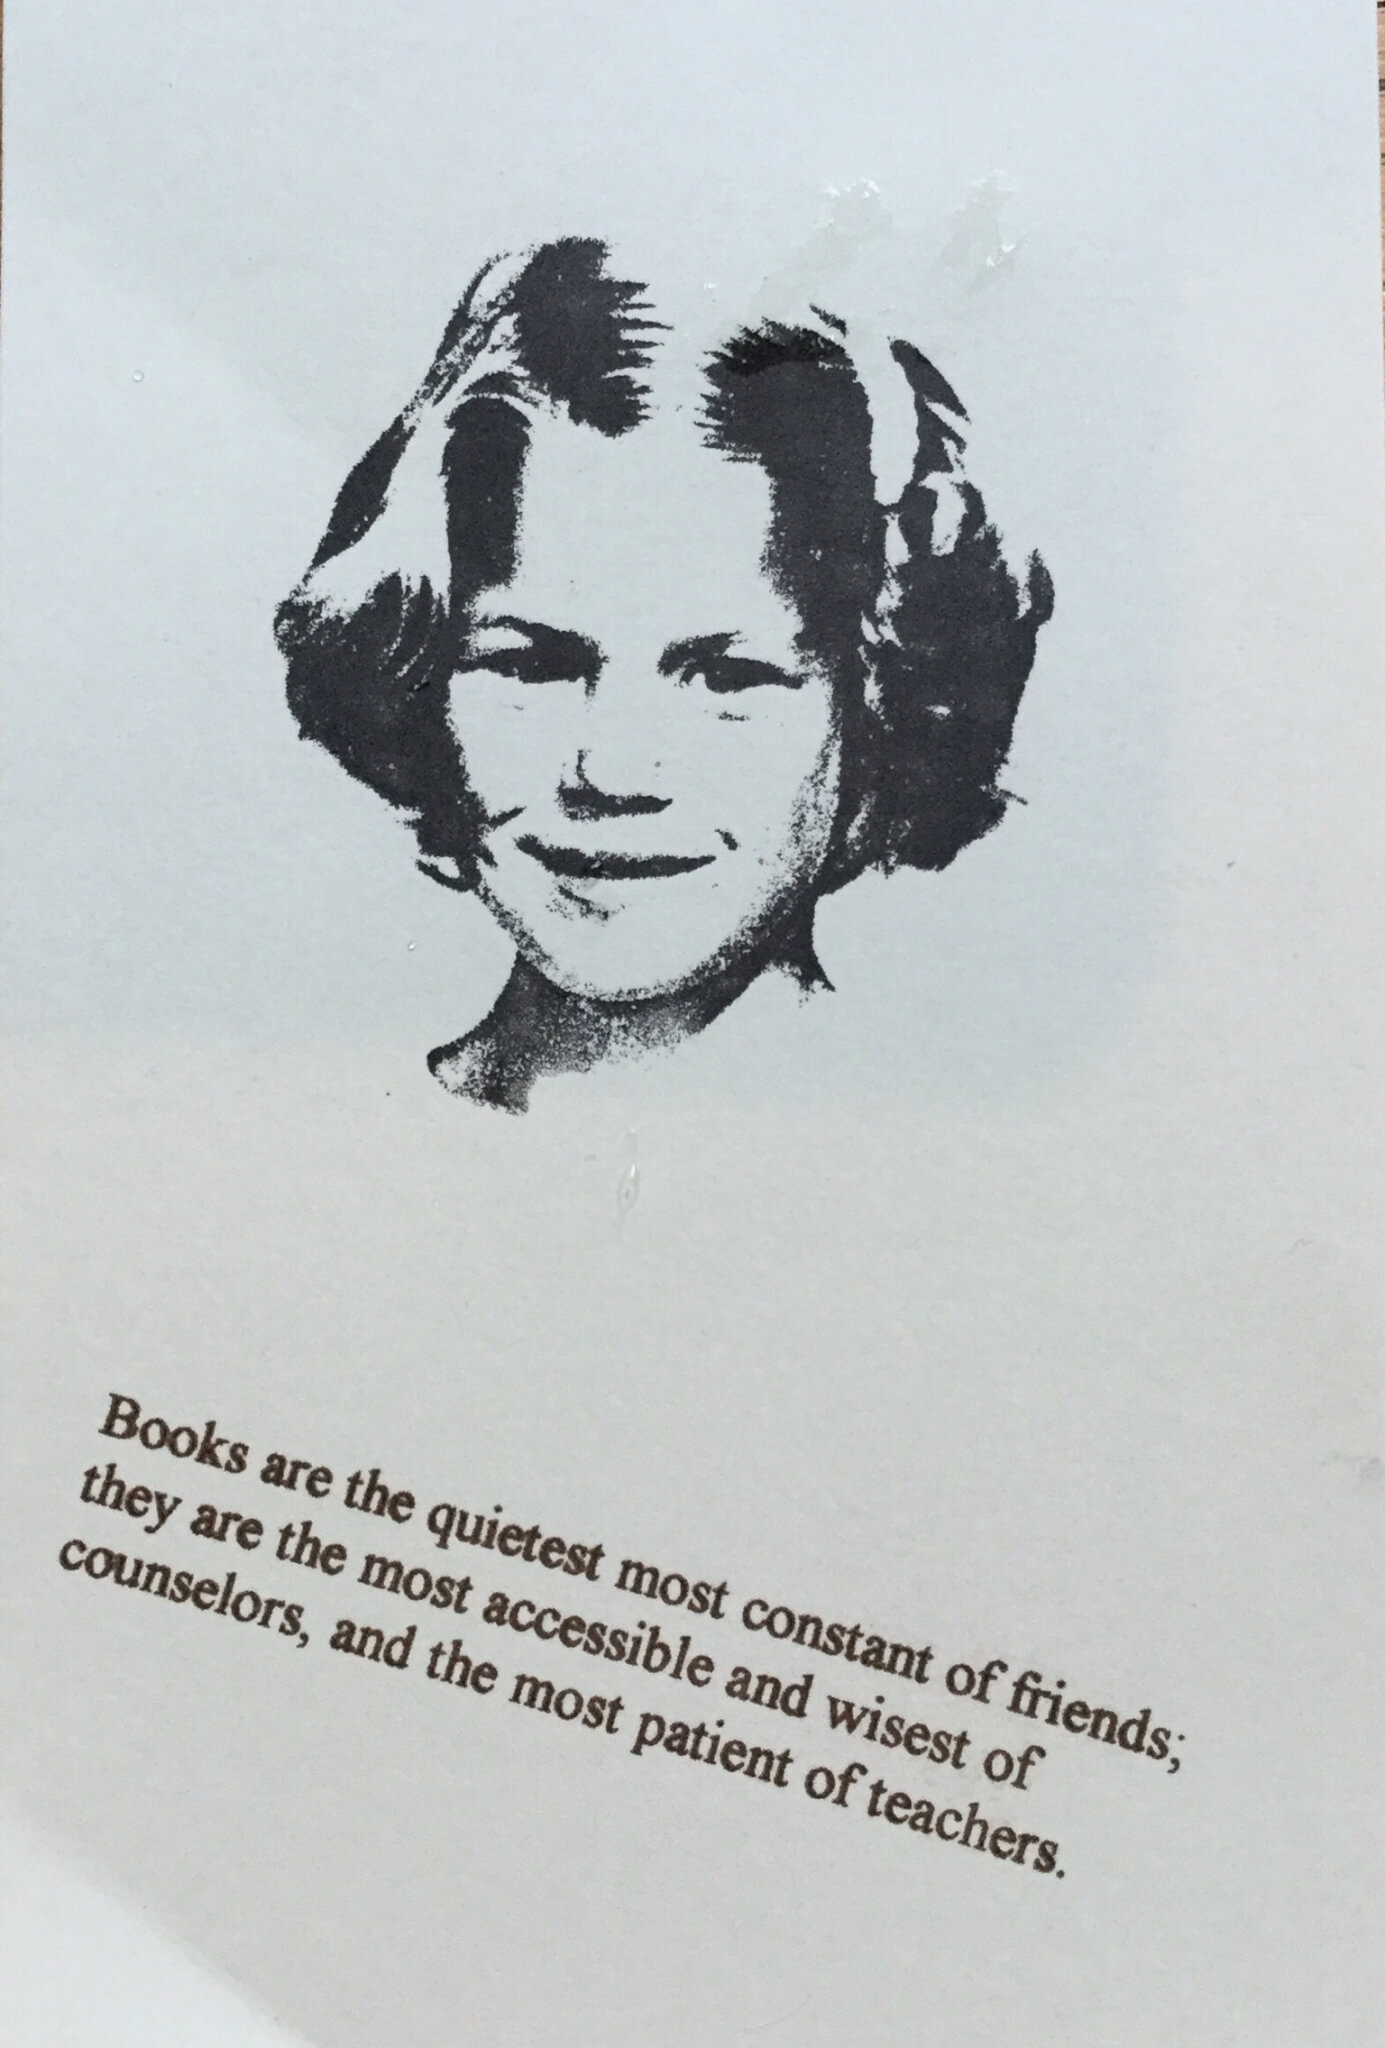
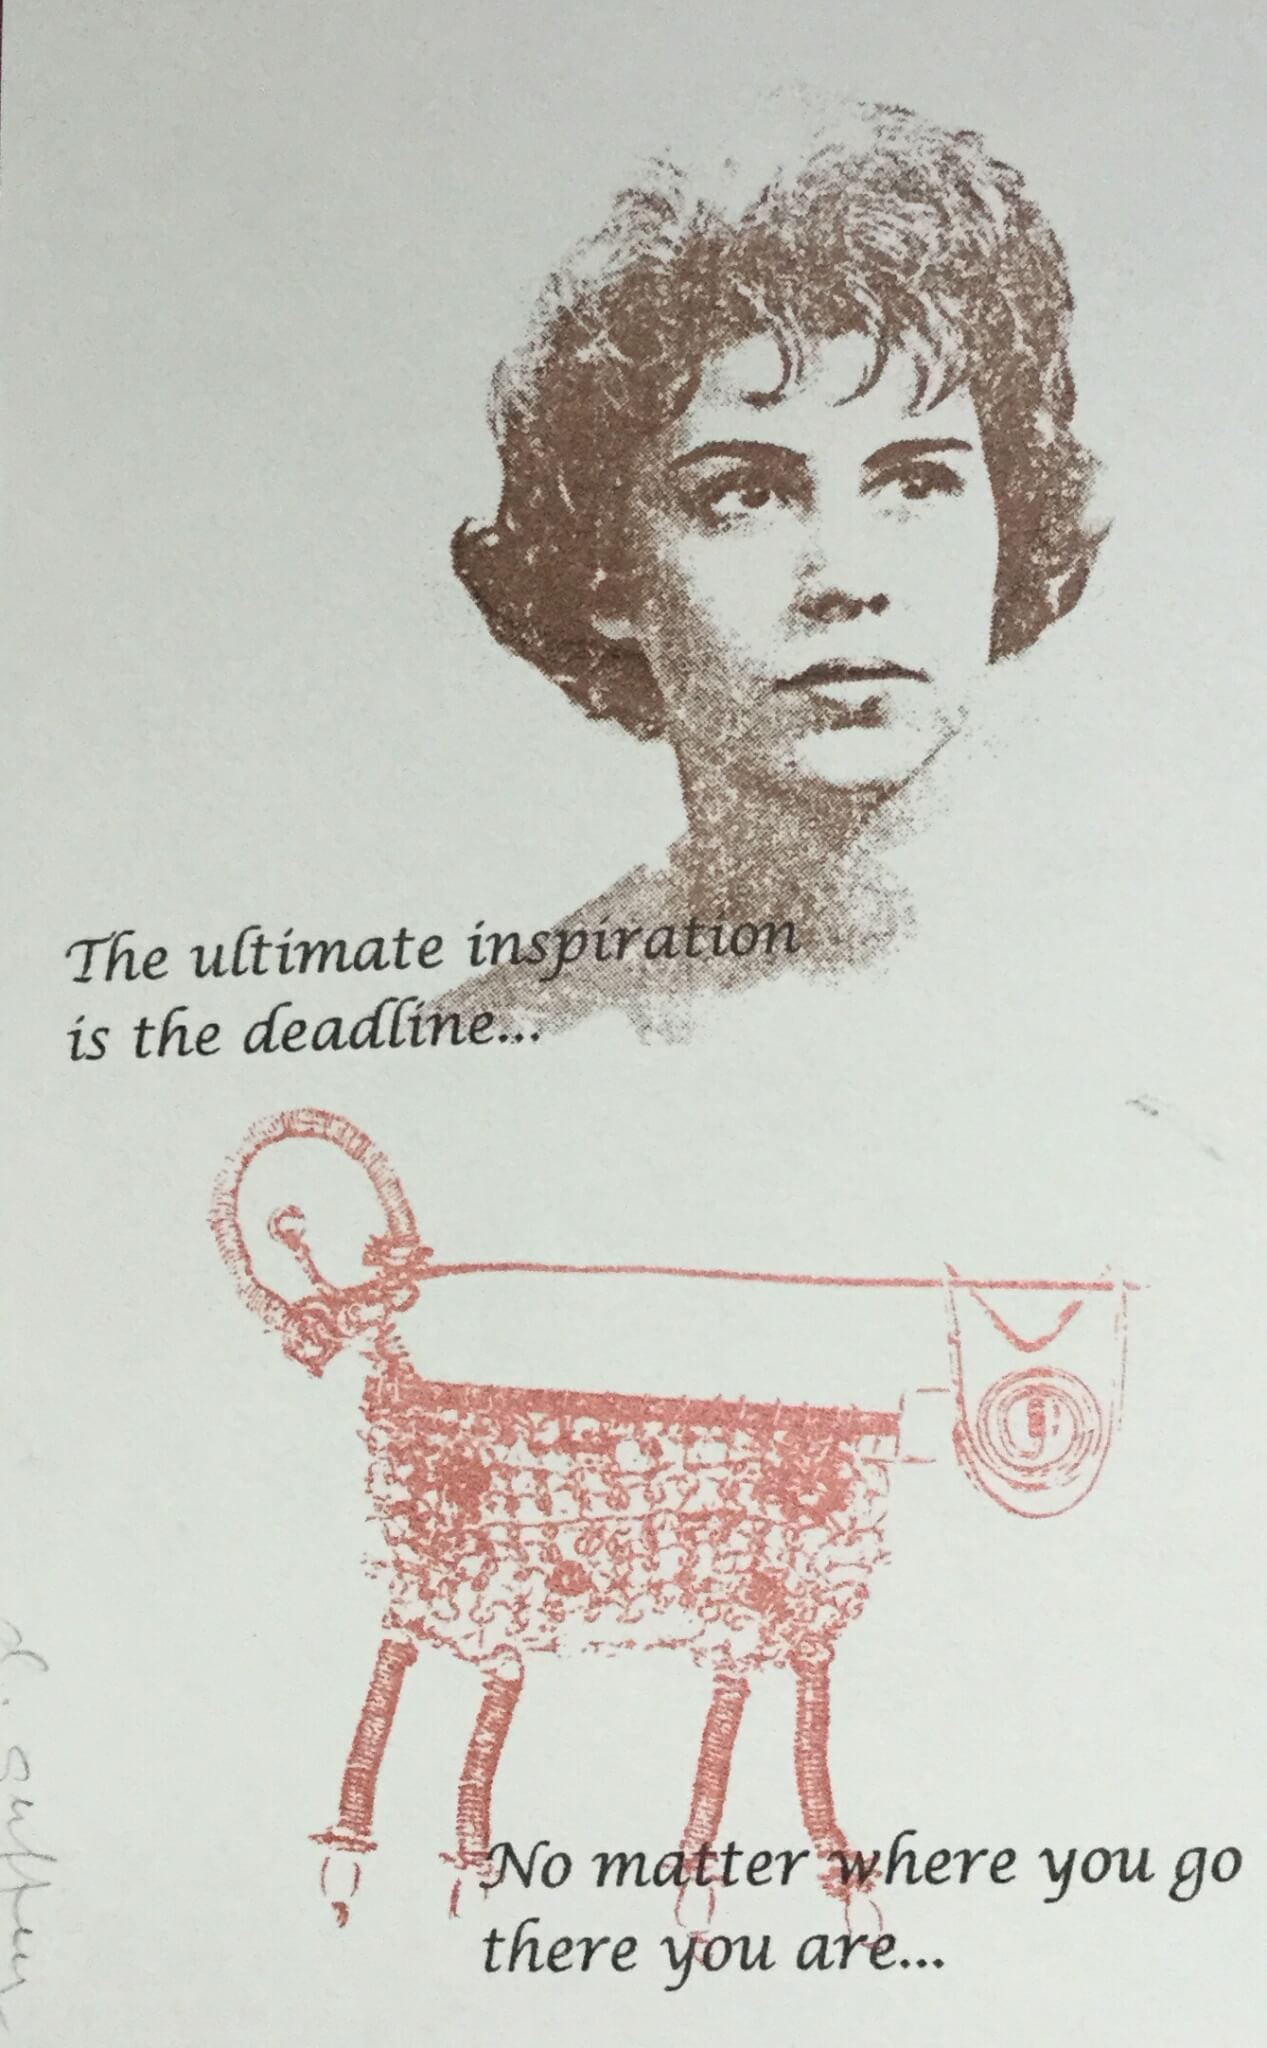
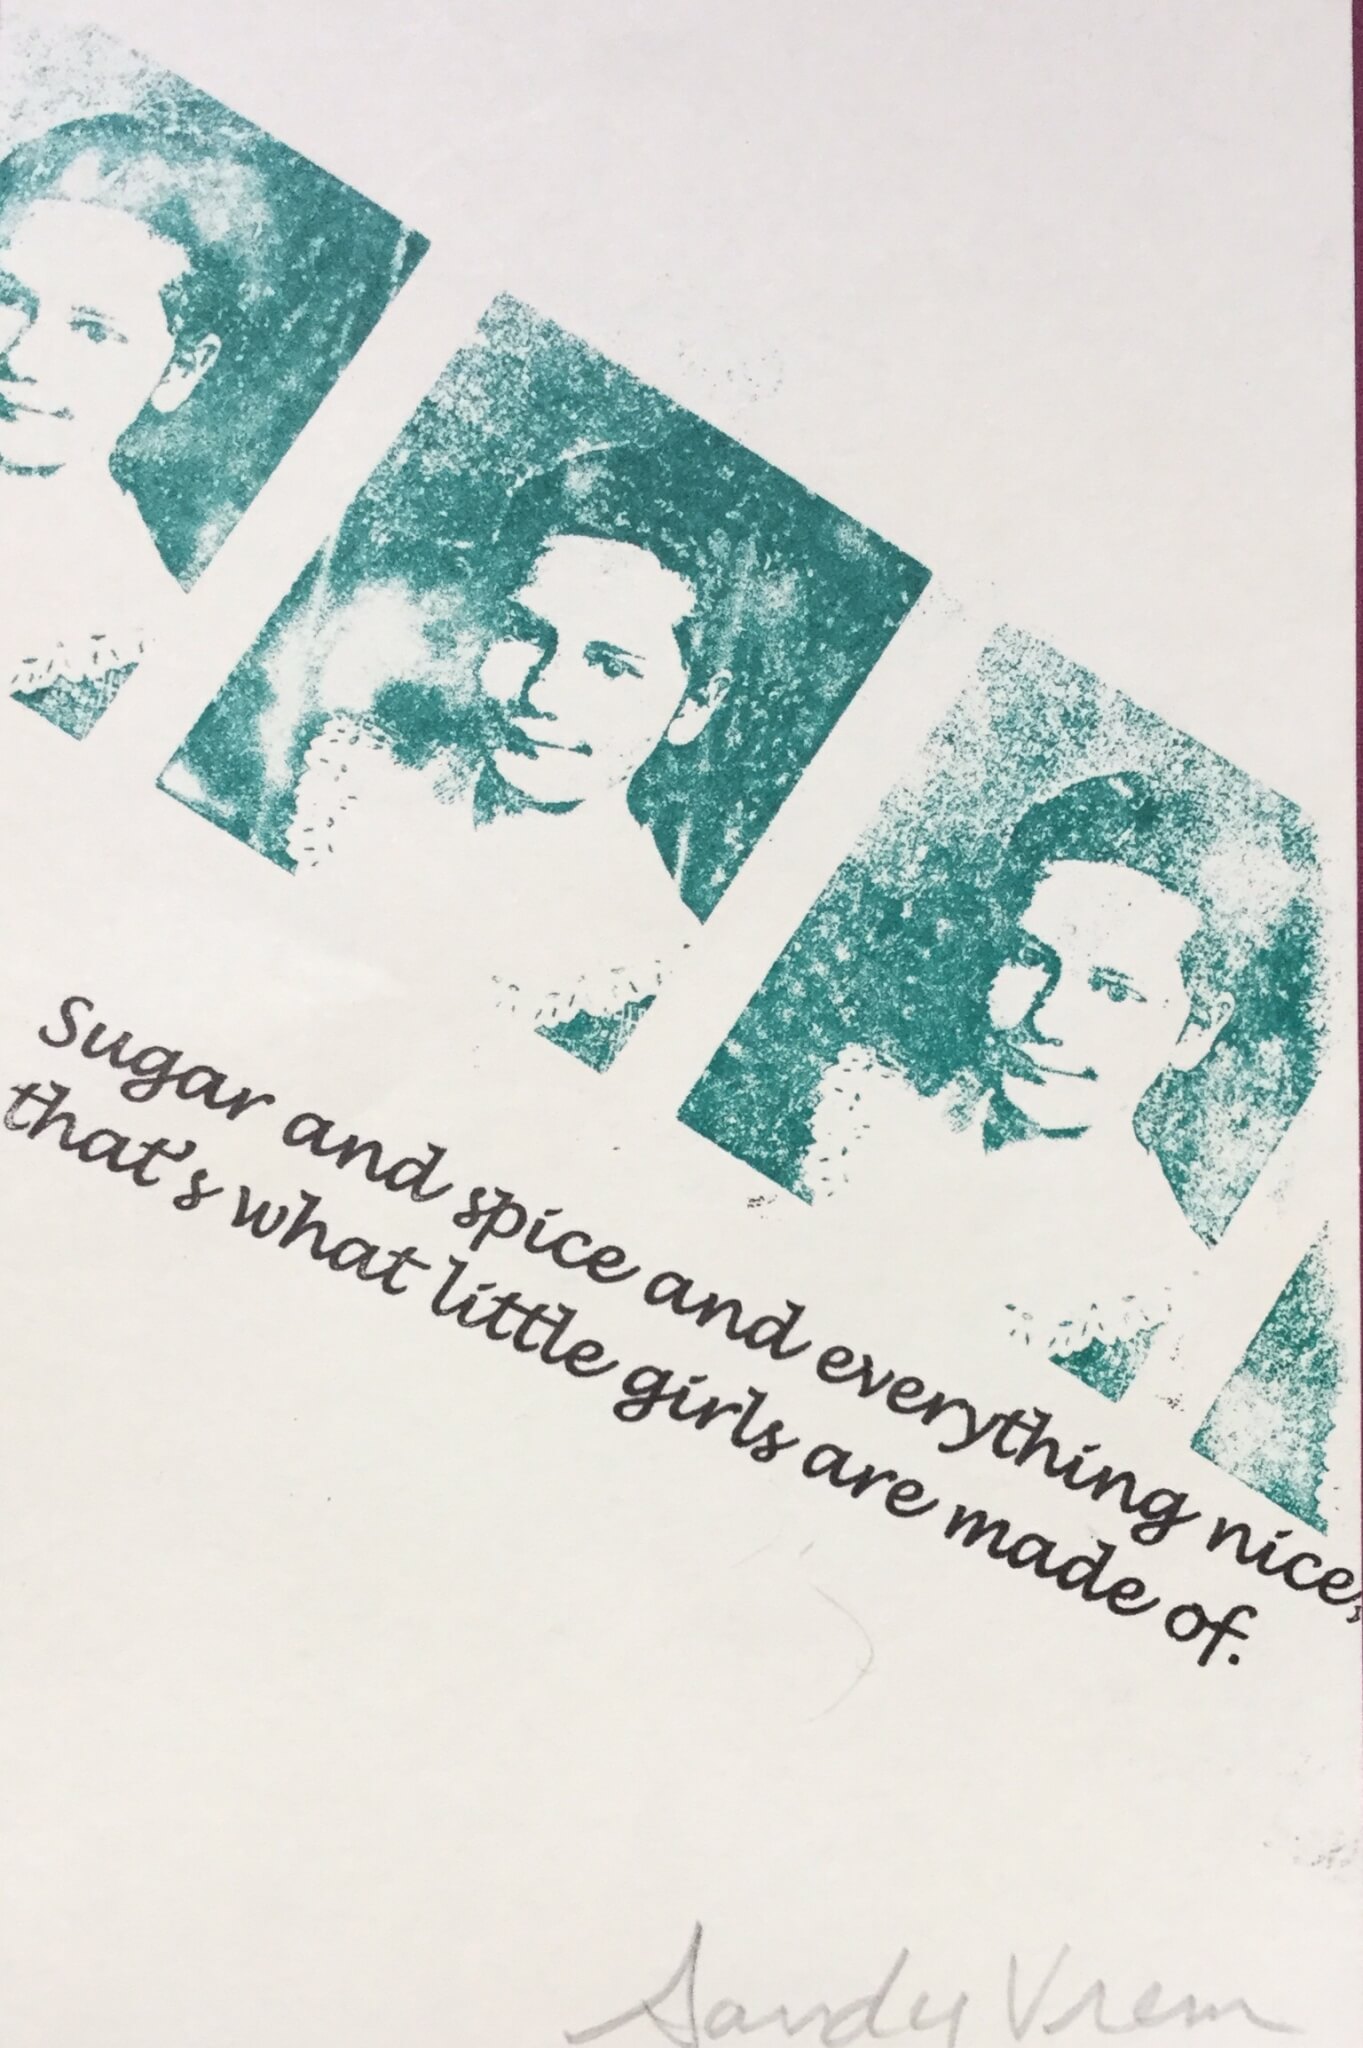
When the Guild collaborative book was created we each brought an image of our younger selves along with a quote that we loved.

Do you recognize these other Guild members?

The machine was invented and produced in Japan. Gocco, loosely translated, means make-believe play. I just love that!!

I have been feeling a need to put down the book arts for awhile – a kind of sabbatical so that I can be open to other things. I want to have more time for printmaking (more on that later) but for now my artistic self is being fed by the artwork in the really creative and adventurous city of Moab, Utah. We are staying in a small apartment three doors down from our daughter, visiting grandchildren, and great grandchildren. The apartment itself is a small funky art gallery.

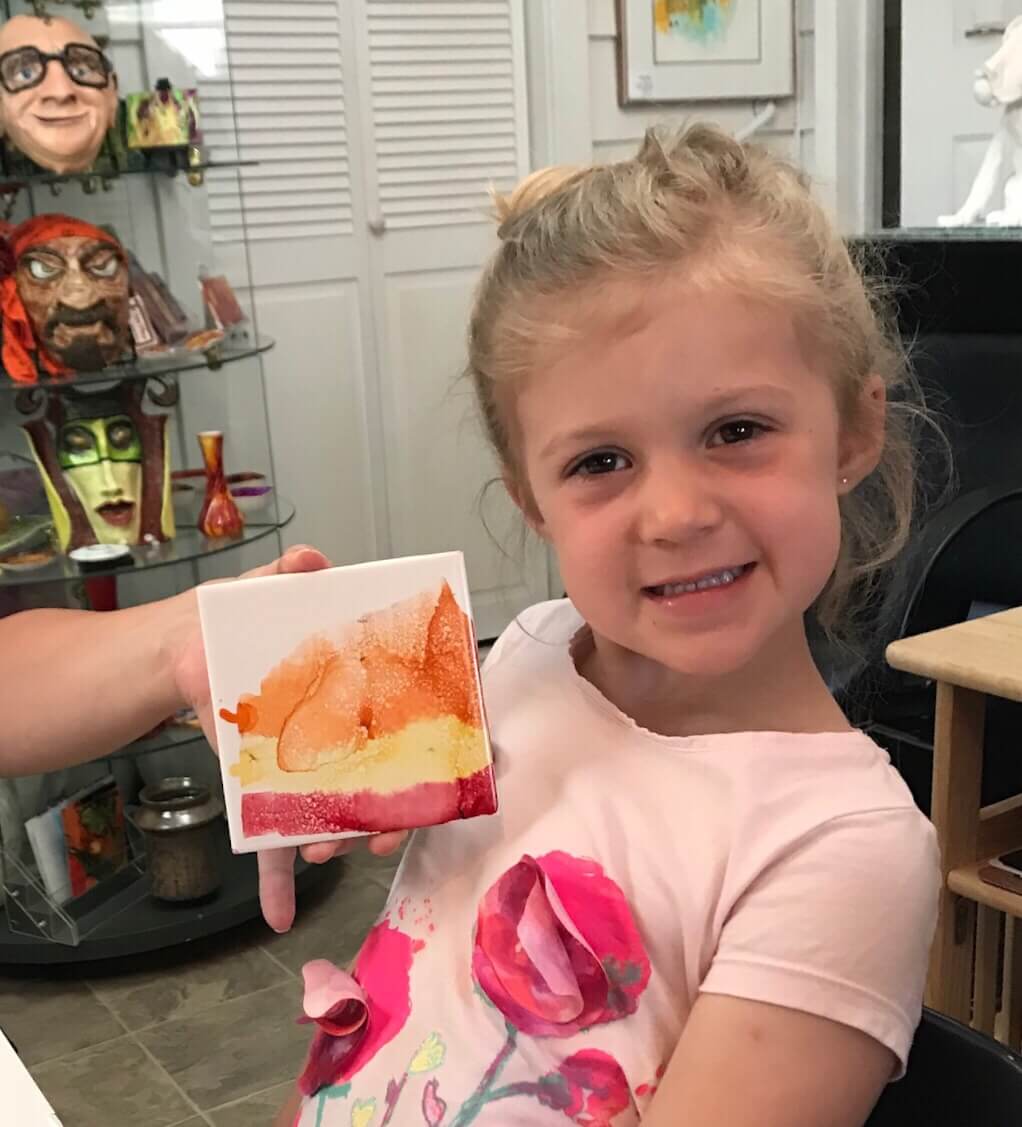
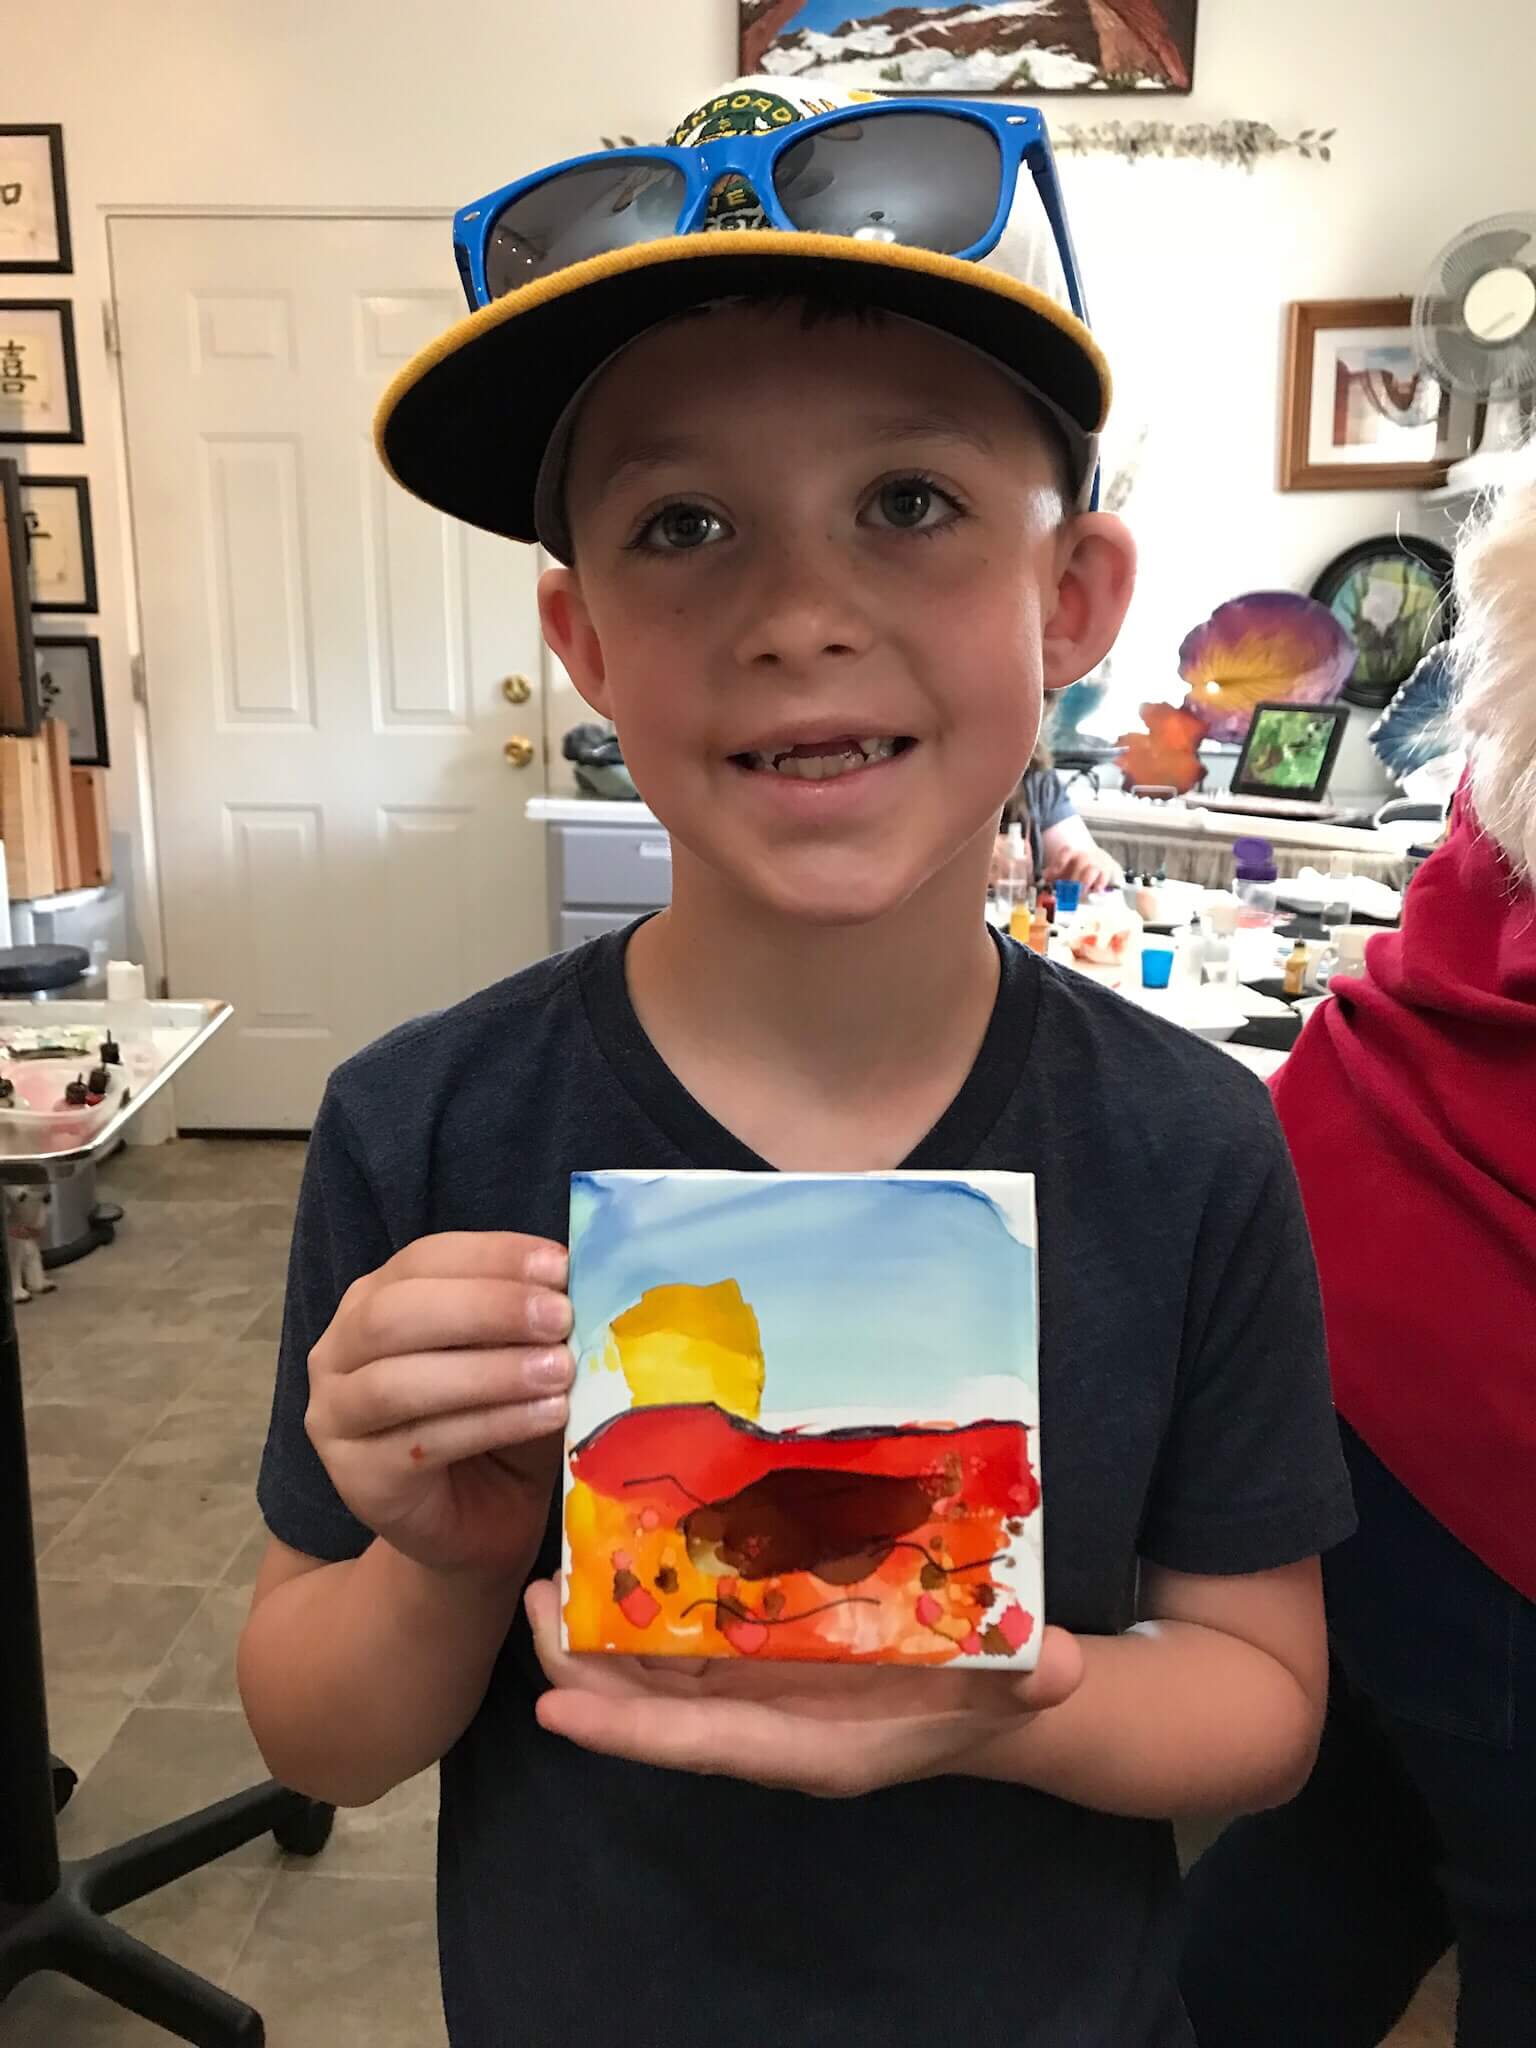
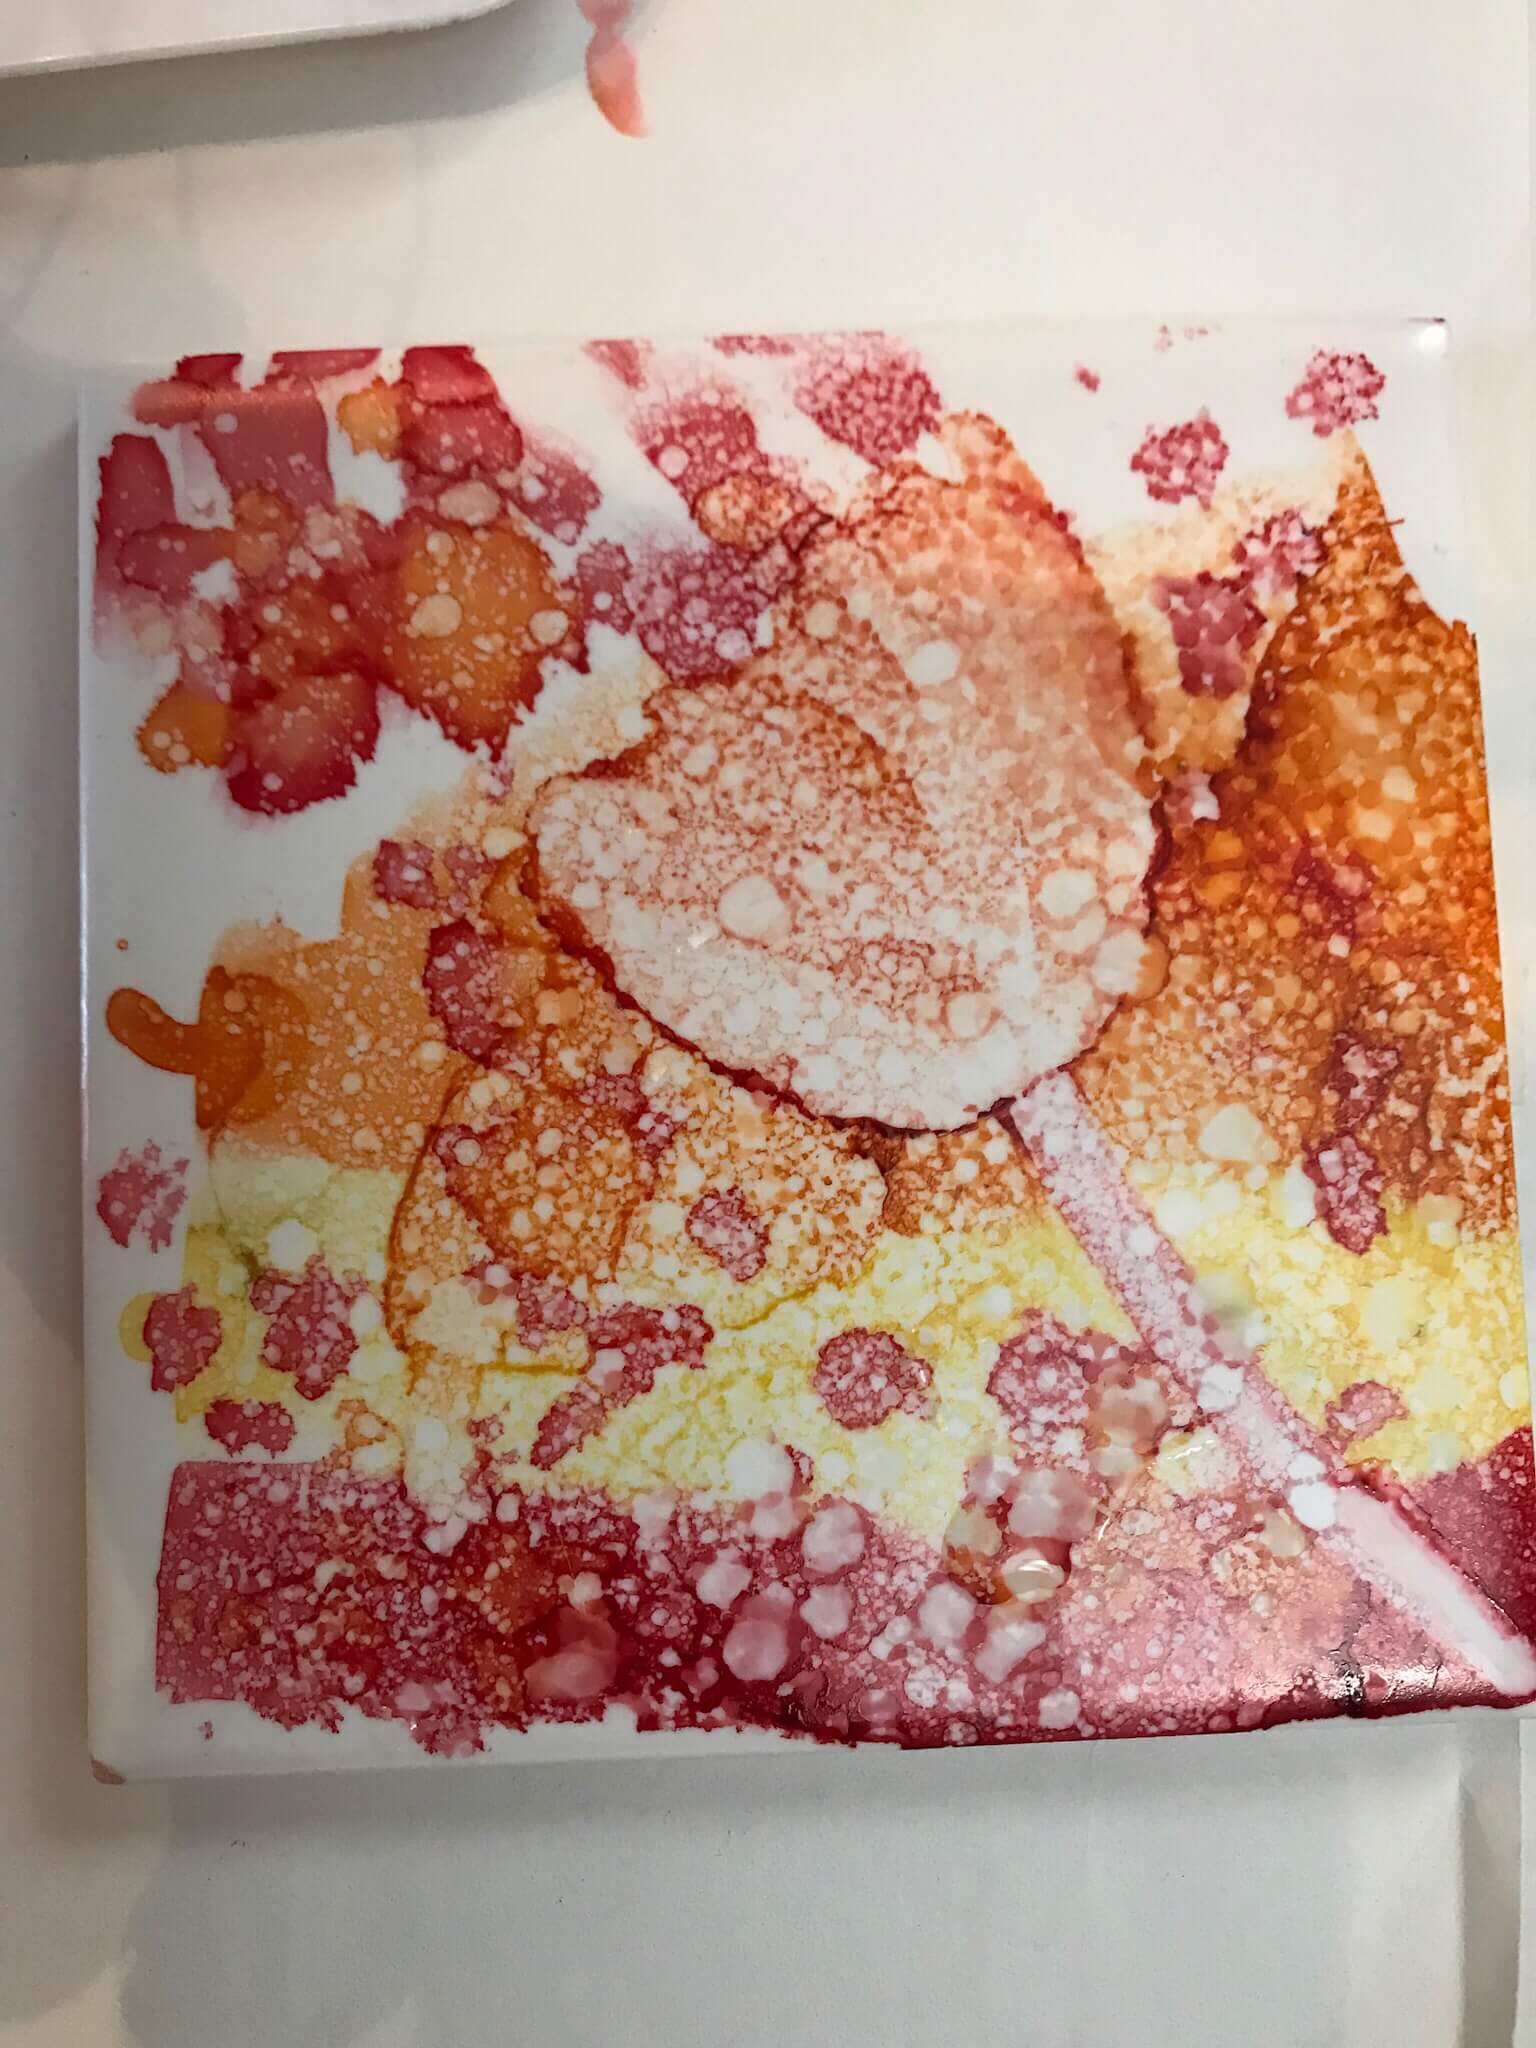
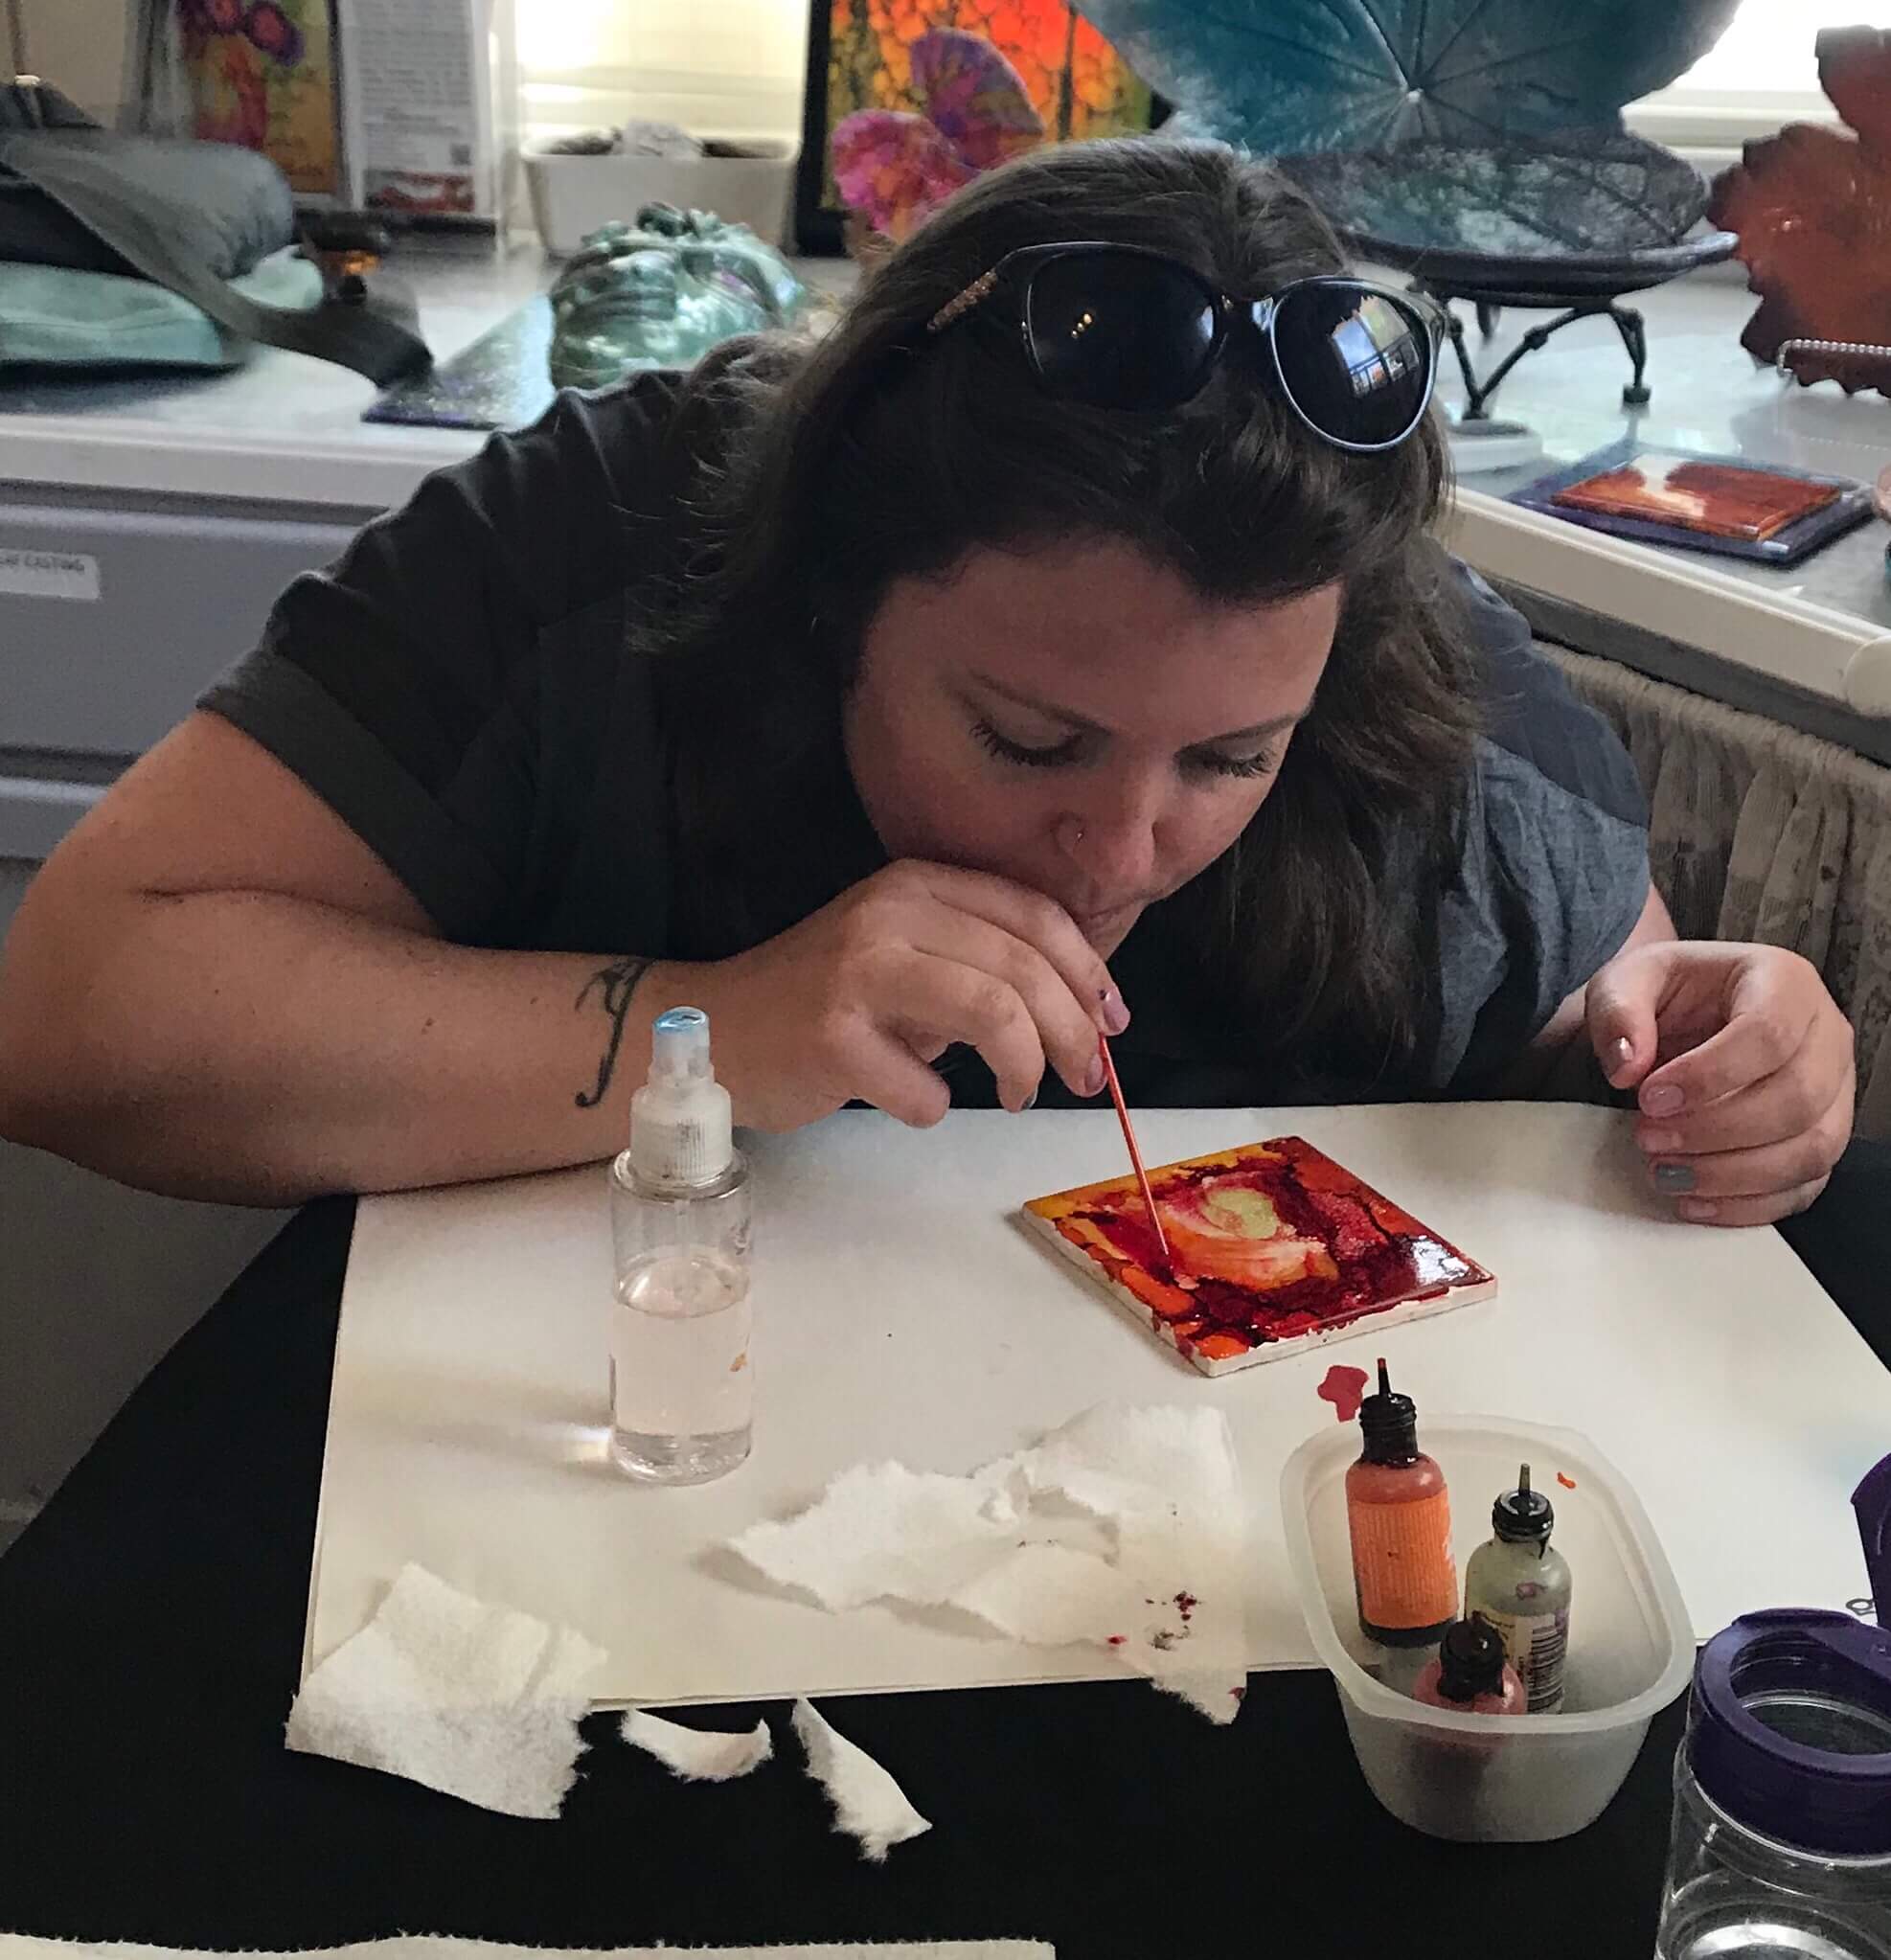
I found an art instructor, Karen Chatham, who gives art lessons in her studio so my great grandkids, granddaughter, and granddaughter-in-law headed over for two hours of play with alcohol inks. We had a great time and once we got started you could hear a pin drop – a sure sign of the ability of art to transport us to another place. Alcohol ink is great for beginners because you can correct what you have done or even start over. It is also unpredictable (also a nice thing) and immediate.

I have Yupo paper and alcohol inks and home and they are the schedule for a play day!

I was alerted three weeks ago that a suitable match was made between me and a certified hearing dog. Yipee! Her name is Tracy and she is a small yellow lab. She has kept me quite busy and out of the studio due to the full week of work with the Dogs for the Deaf trainer and subsequent training these last weeks.

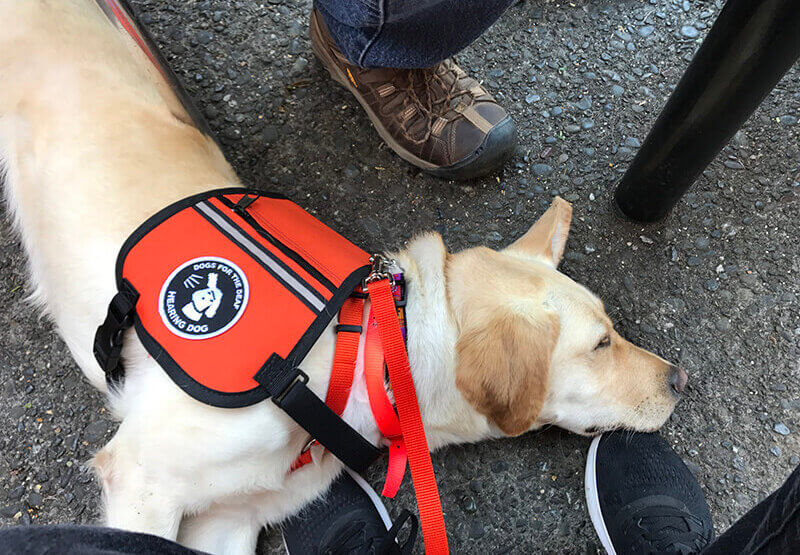
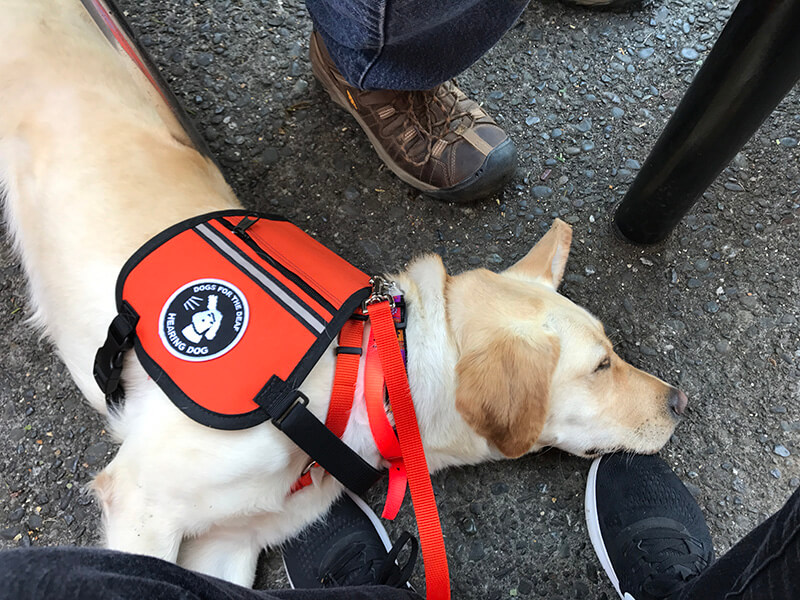
Here she is on a “down” at Los Bagels. Dogs that are certified to be in public have full access anywhere the public is allowed to go; she has gone through a rigorous screening process to become certified and we both had to test out in a public setting. She is also an experienced flyer having accompanied her trainer to Minnesota for a conference. She travels in the cabin much in this same position. She is great about keeping by my side and responding to sounds that I don’t hear. The other big benefit is that people who see her working vest know I cannot hear well. Several weeks ago I had a man behind me in line at the CO-OP say “Excuse me.” several times and because I couldn’t read his lips I didn’t hear him. He didn’t bother to tap  me on the shoulder choosing instead to ram his cart behind me (It’s a single file aisle) running over my Achilles tendons. I couldn’t believe it. I am sure he thought I was being rude. Who knows? Having a hearing dog would likely have informed him. At home she is trained to alert me to the phone, door knocking, smoke alarms, and also makes me more aware of sounds outside. Dogs for the Deaf are absolutely amazing. They train the dogs for months (most are rescue dogs) and place them with clients who have hearing loss or are deaf. They have recently been training dogs for children on the autism spectrum.  They provide lifetime follow-up help and guidance to make sure the we are achieving maximum benefit from each other. My last dog had behavior problems around some men which didn’t manifest during the training. They worked with  me for months to try to address the problem and finally the decision was made to decertify and re-home him. It broke my heart but was the best thing for him. Dogs for the Deaf take care of their dogs — I just cannot say enough about them. I am VERY grateful. Isn’t she a doll?

Tracy Hangin' at Los Bagels

Tracy Hangin’ at Los Bagels

I love thrift shops and auctions of any kind. I always think of the Rolling Stones lyrics when I find a treasure:

“You can’t always get what you want
But if you try sometime you find
You get what you need”

I was looking for something else when I spotted this little gem stuffed behind some old bookends – a Dahle 507 paper cutter made in Germany! $10.99!! I brought it home where she was welcomed by my vintage paper cutter (10″ x 10″) bought for $17 at an auction in Scotia, Nebraska, and my Big Bertha (31″ x 37″) purchased by my brother-in-law at an auction in Nebraska because he knew I would want it. The guillotine paper cutters slice through thick book board and the Dahle is great for accurate cuts of up to 7 sheets of paper. The Dahle will be handy in the book arts classes I teach. I love my little Dahle but puzzle over who on earth would donate it to a thrift shop?!

Paper cutting family

Paper cutting family

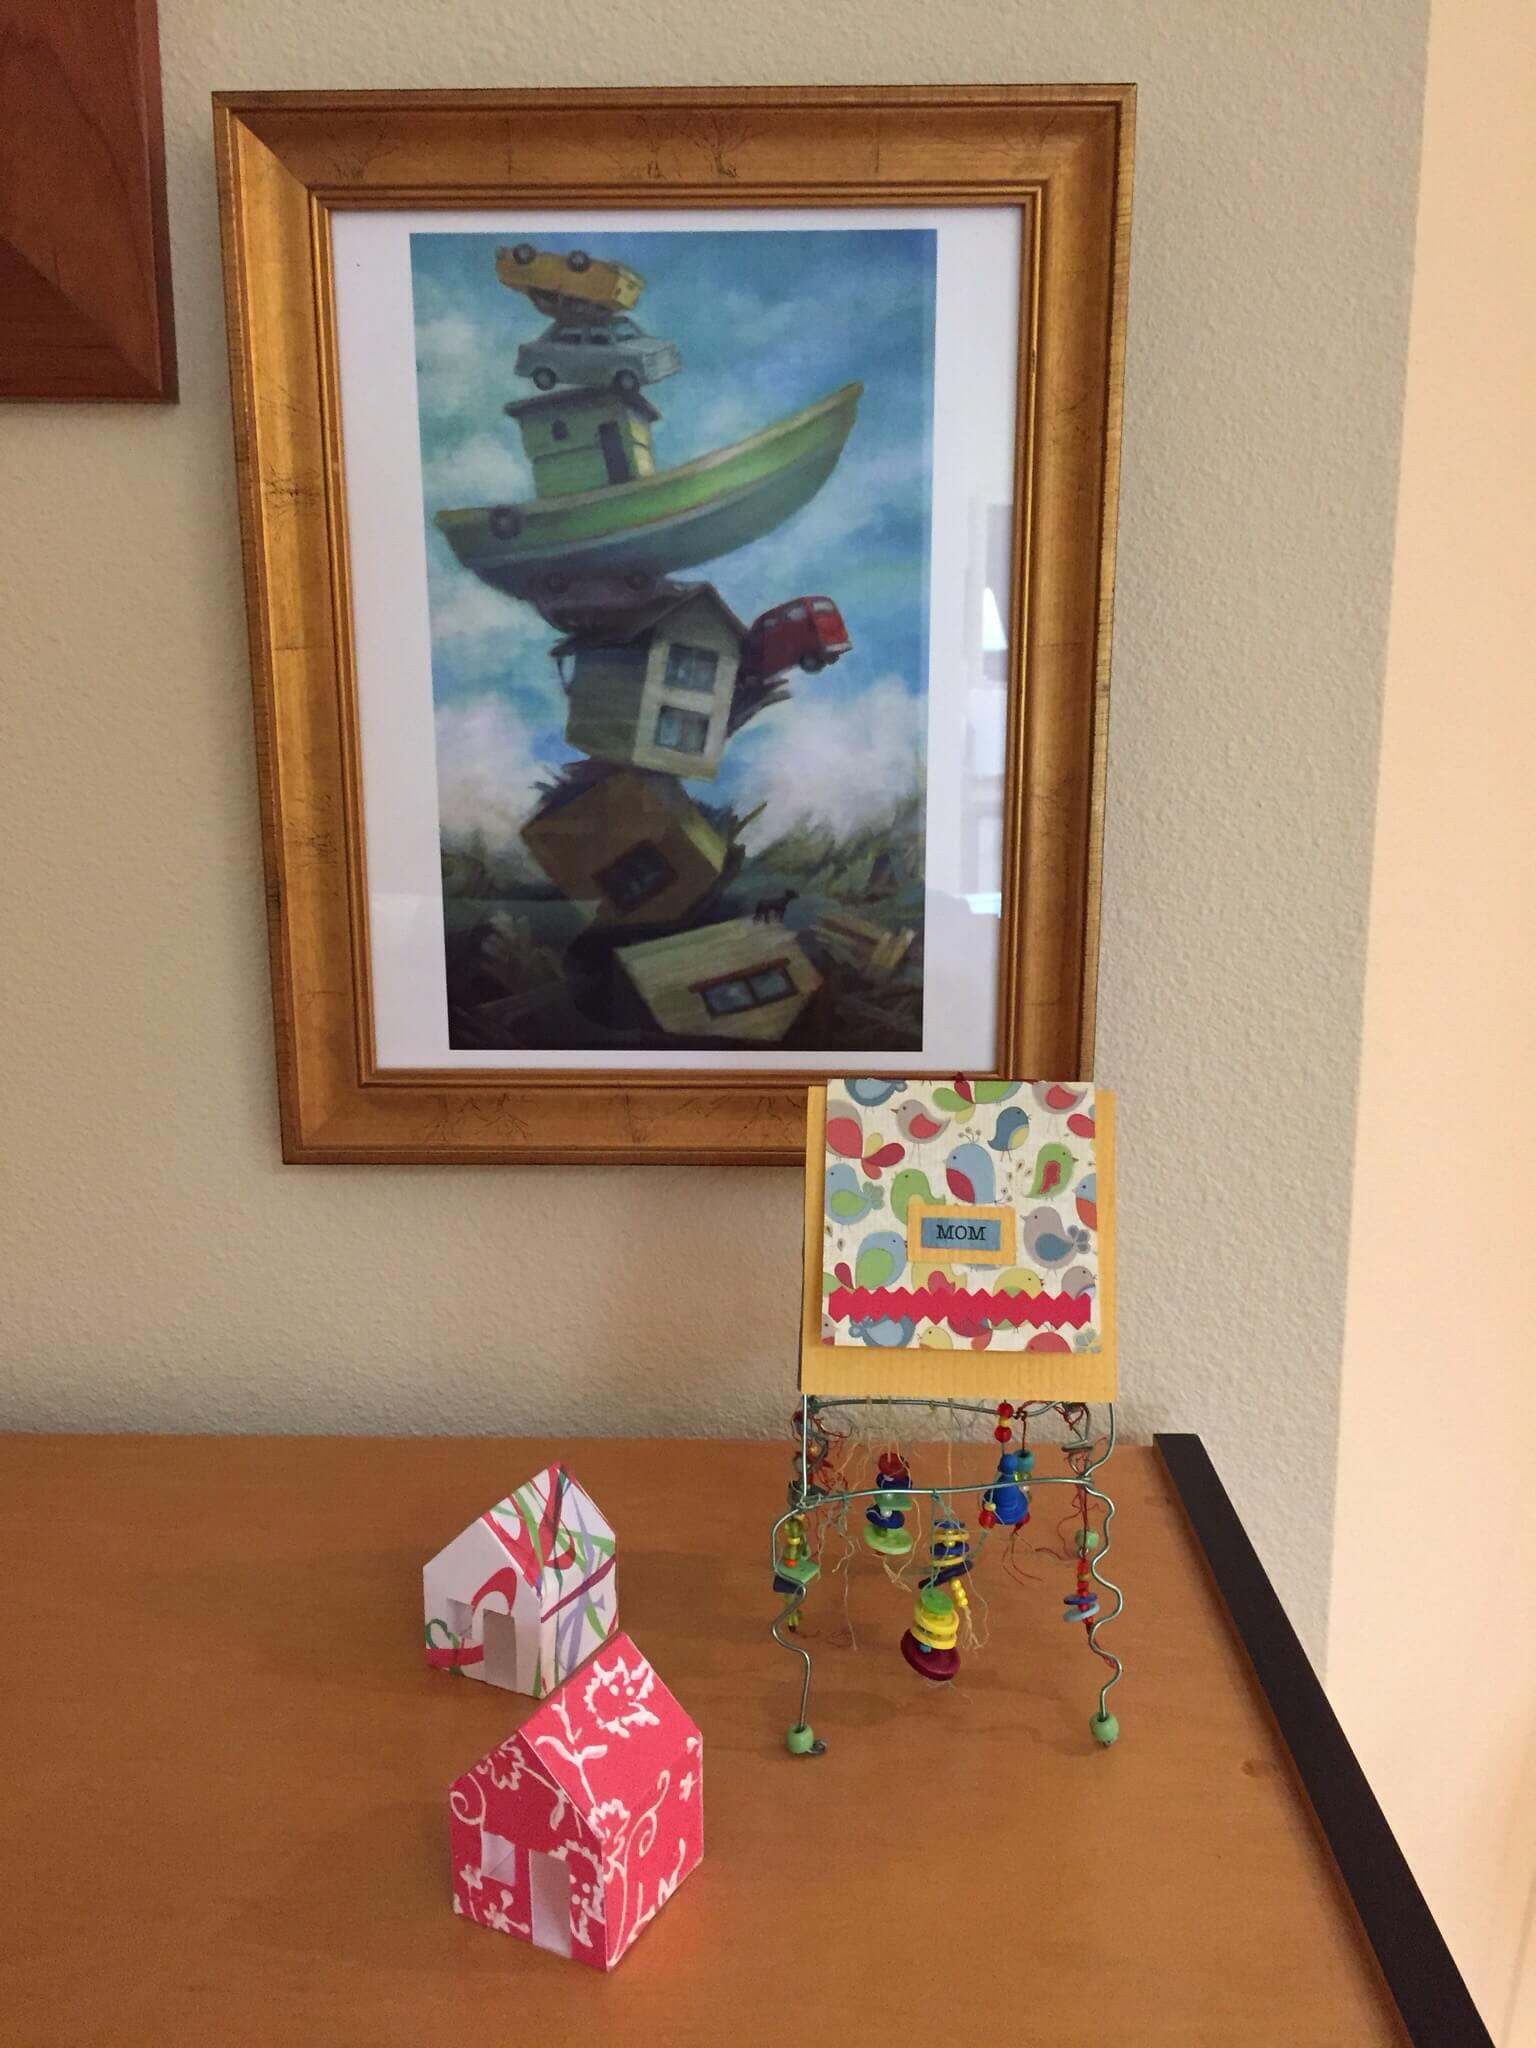
I received such a wonderful surprise today. We took an out-of-town friend to dinner and he was raving about the wonderful accommodations provided him by Humboldt State University (he is the guest speaker for The Lamberson lecture series in ecology). We walked to the suite just off the Arcata Plaza and were pleased to see he had such a welcoming place for his stay. I realized that the living room, bedroom, kitchen, and bathroom were filled with beautiful artwork by local artists. How great is that? Wait a minute! That looks like one of my books!

(null)

It’s in such a perfect setting—very playful. The book sits on the roof of the structure and is titled “Mom”. It’s filled with drawings I created (using children’s art for inspiration) and funny quotes about why Mom is the best (inspired by my children and their friends). The structure is made from plastic coated wire from the hardware store and the bobbles are buttons hanging from colored linen thread.

I’m including the list of artists whose work is displayed. Do you recognize any of them? You can be sure that this made my day.

(null)

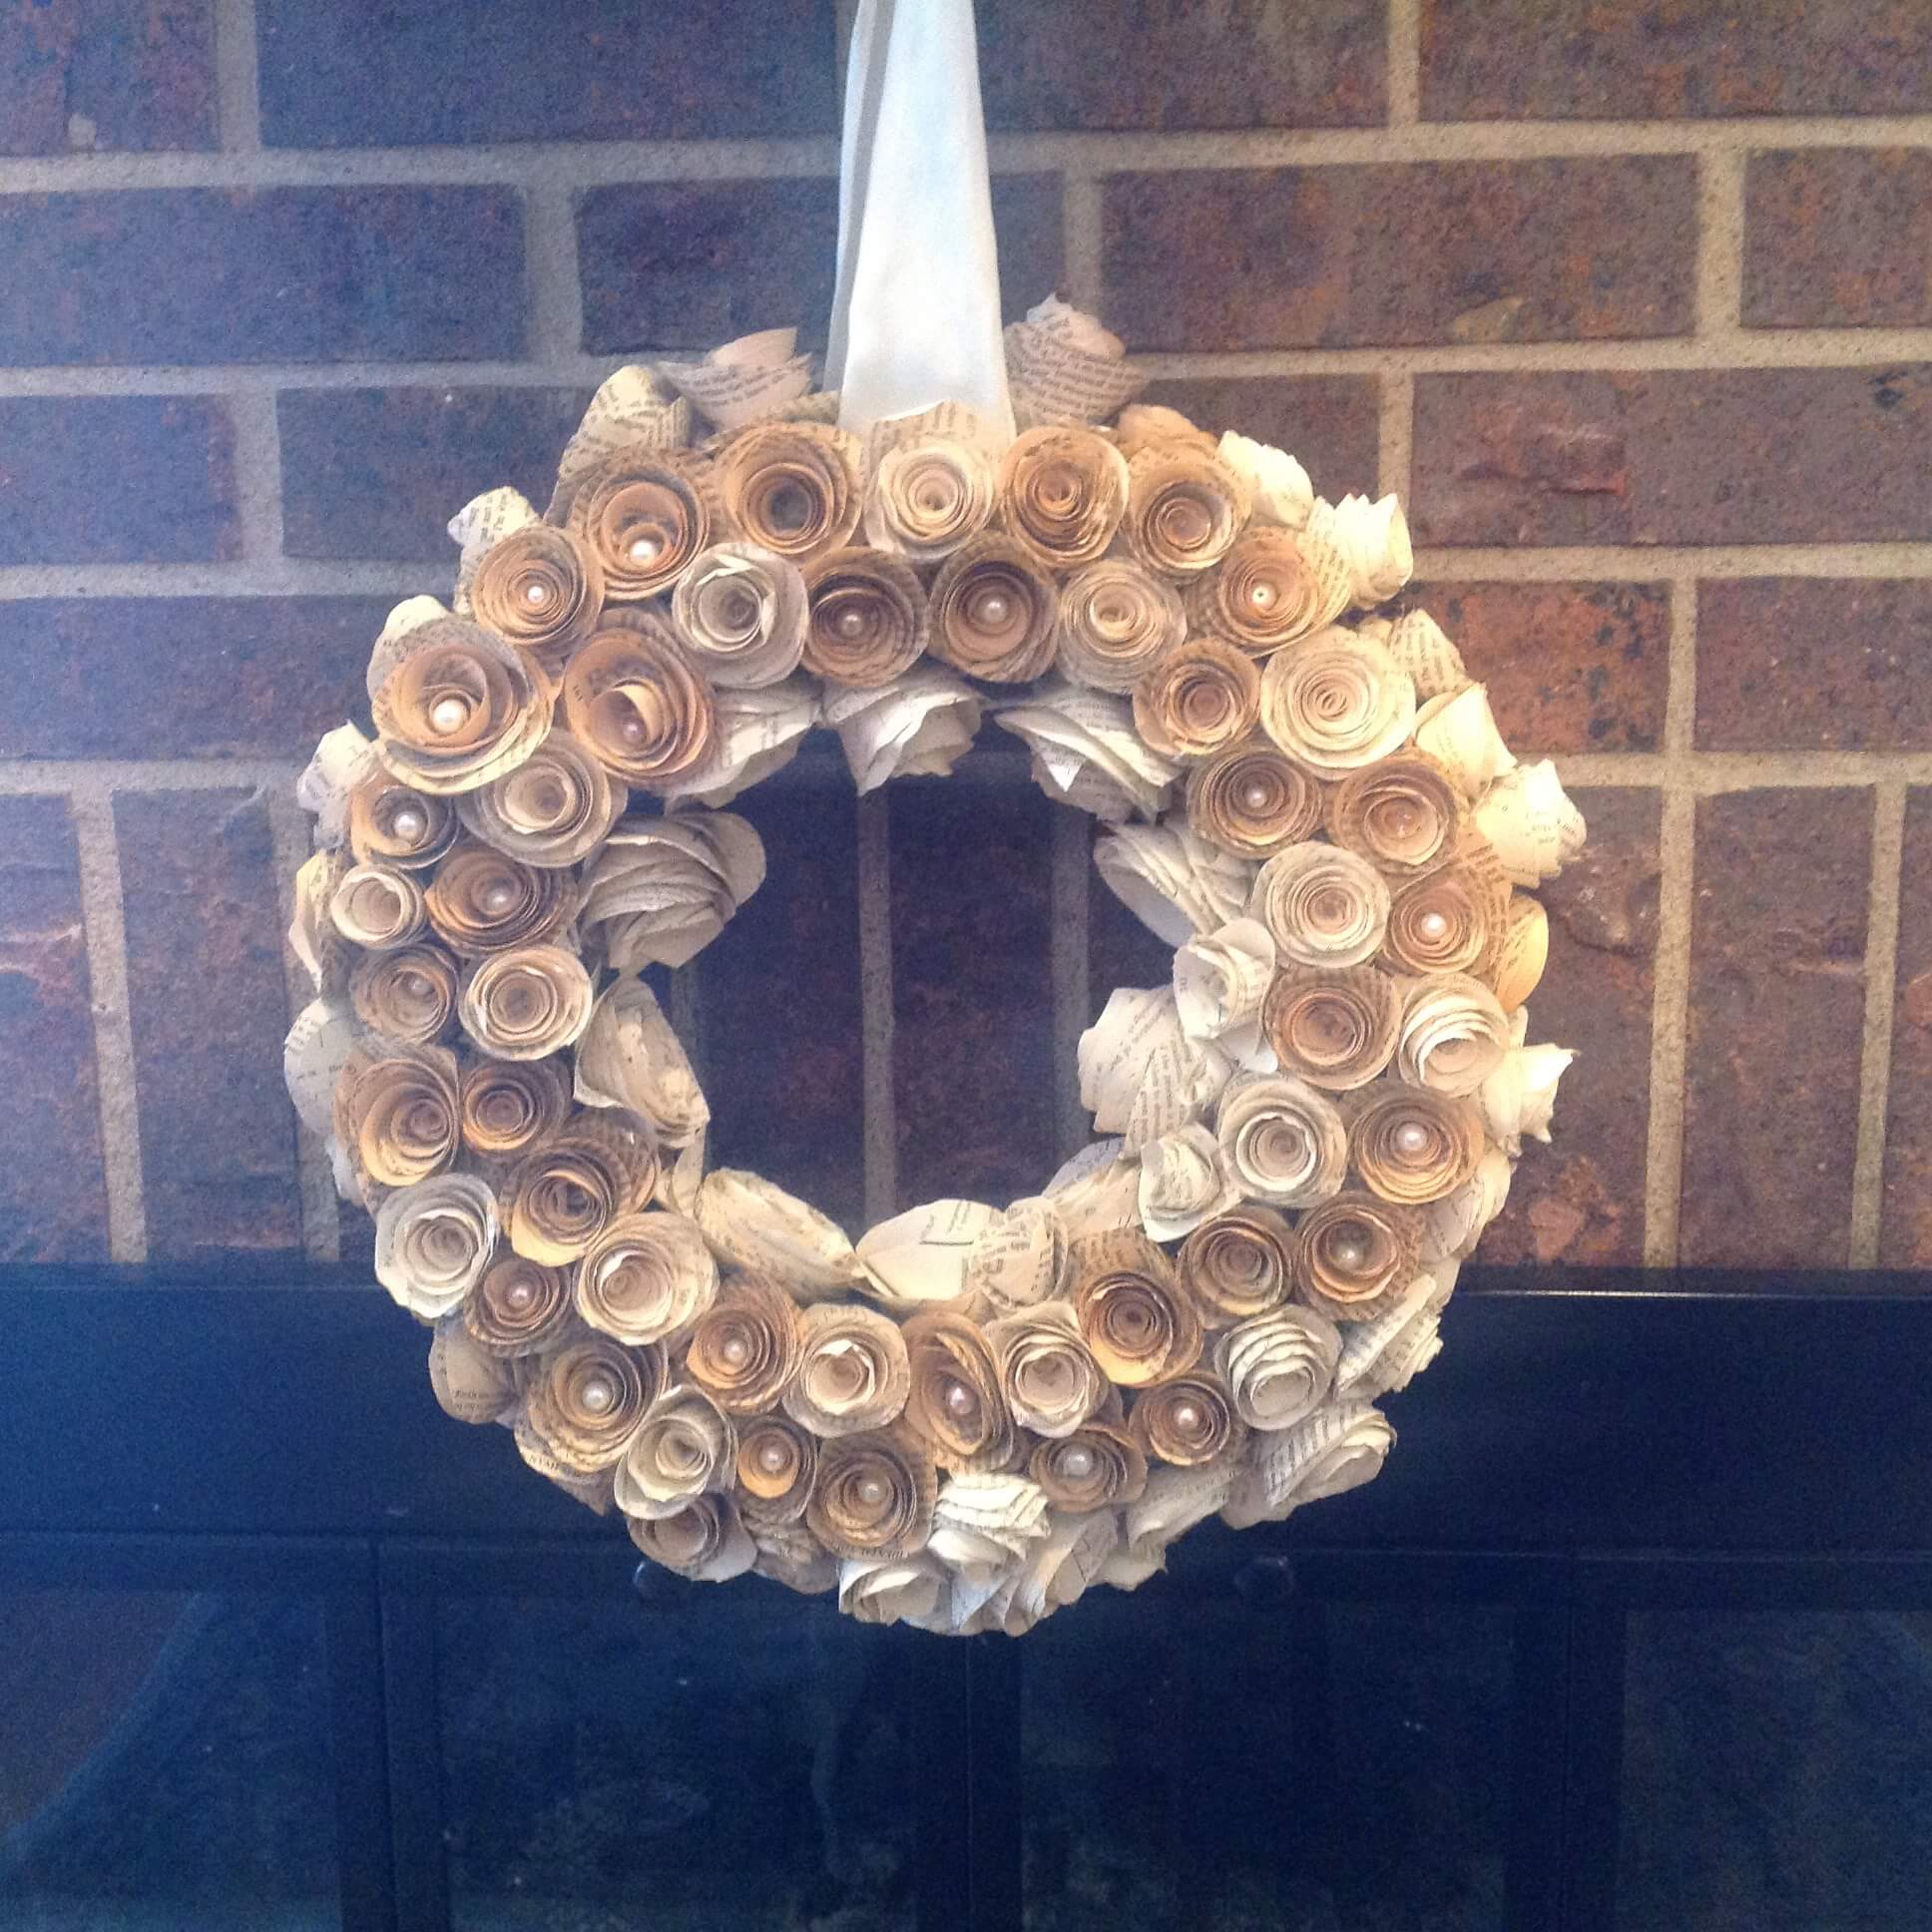
This was just delivered to me by my grandson’s wife! Needless to say, I am thrilled with it. She made it out of old math books and romance novels, creating a nice balance of left and right brain tendencies. I will be bringing this to the Holiday Card Extravaganza (OLLI class) where I will show you how to make one rose after Sandy Vrem teaches us to create holiday card structures. See you December 2, 1-4pm at the aquatic center.

IMG_1761.JPG

IMG_1759.JPG