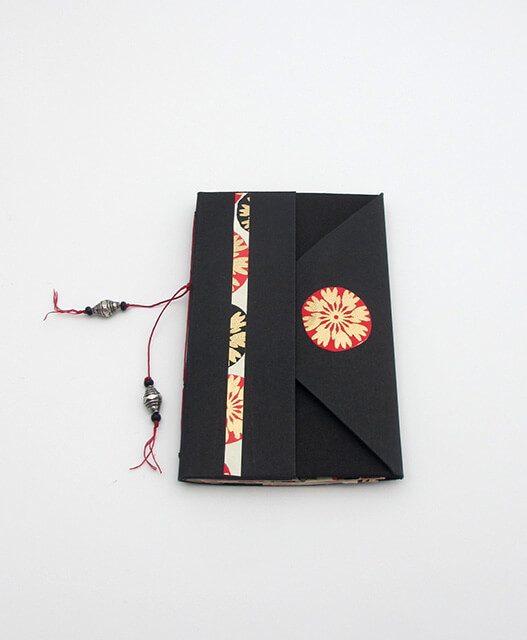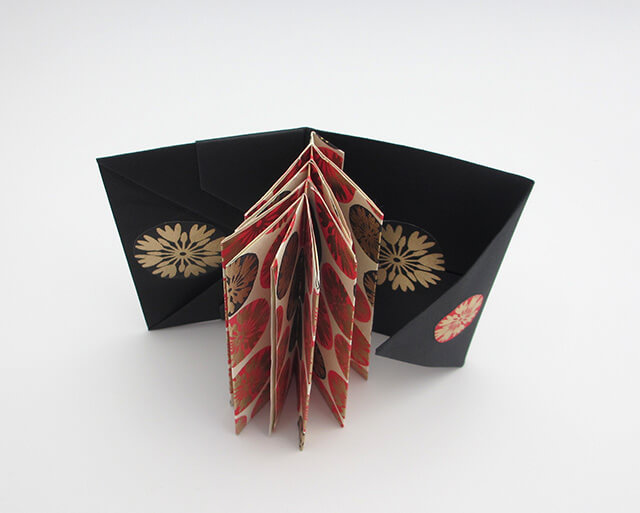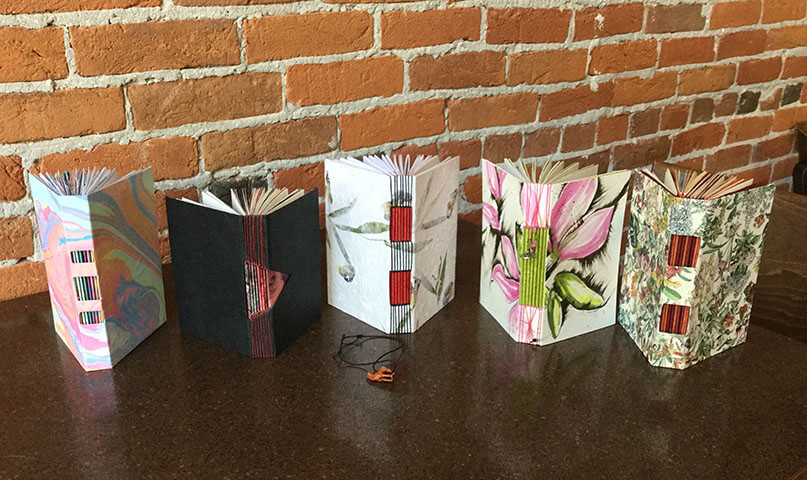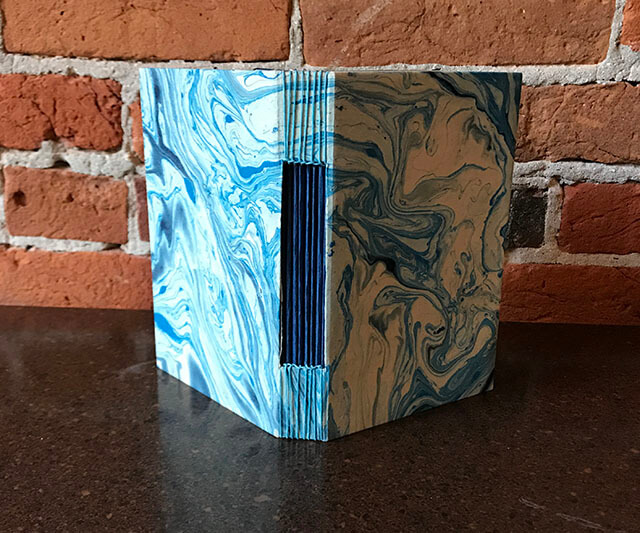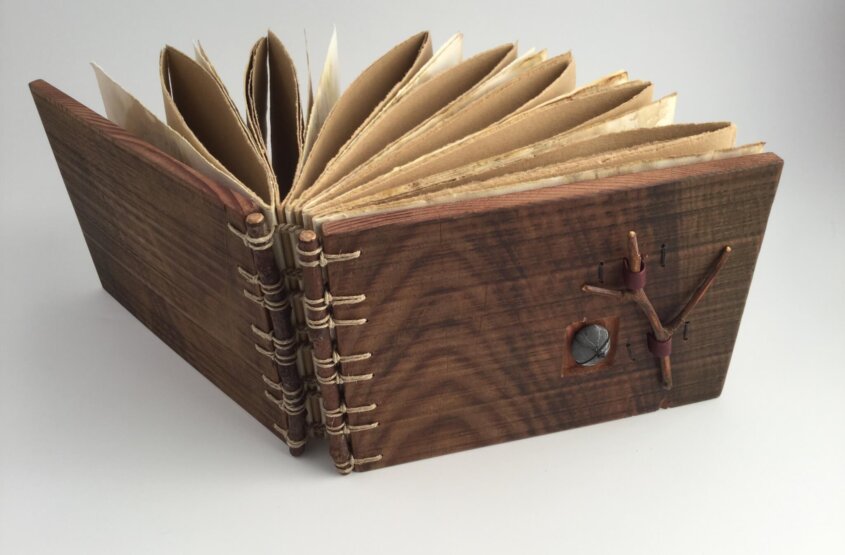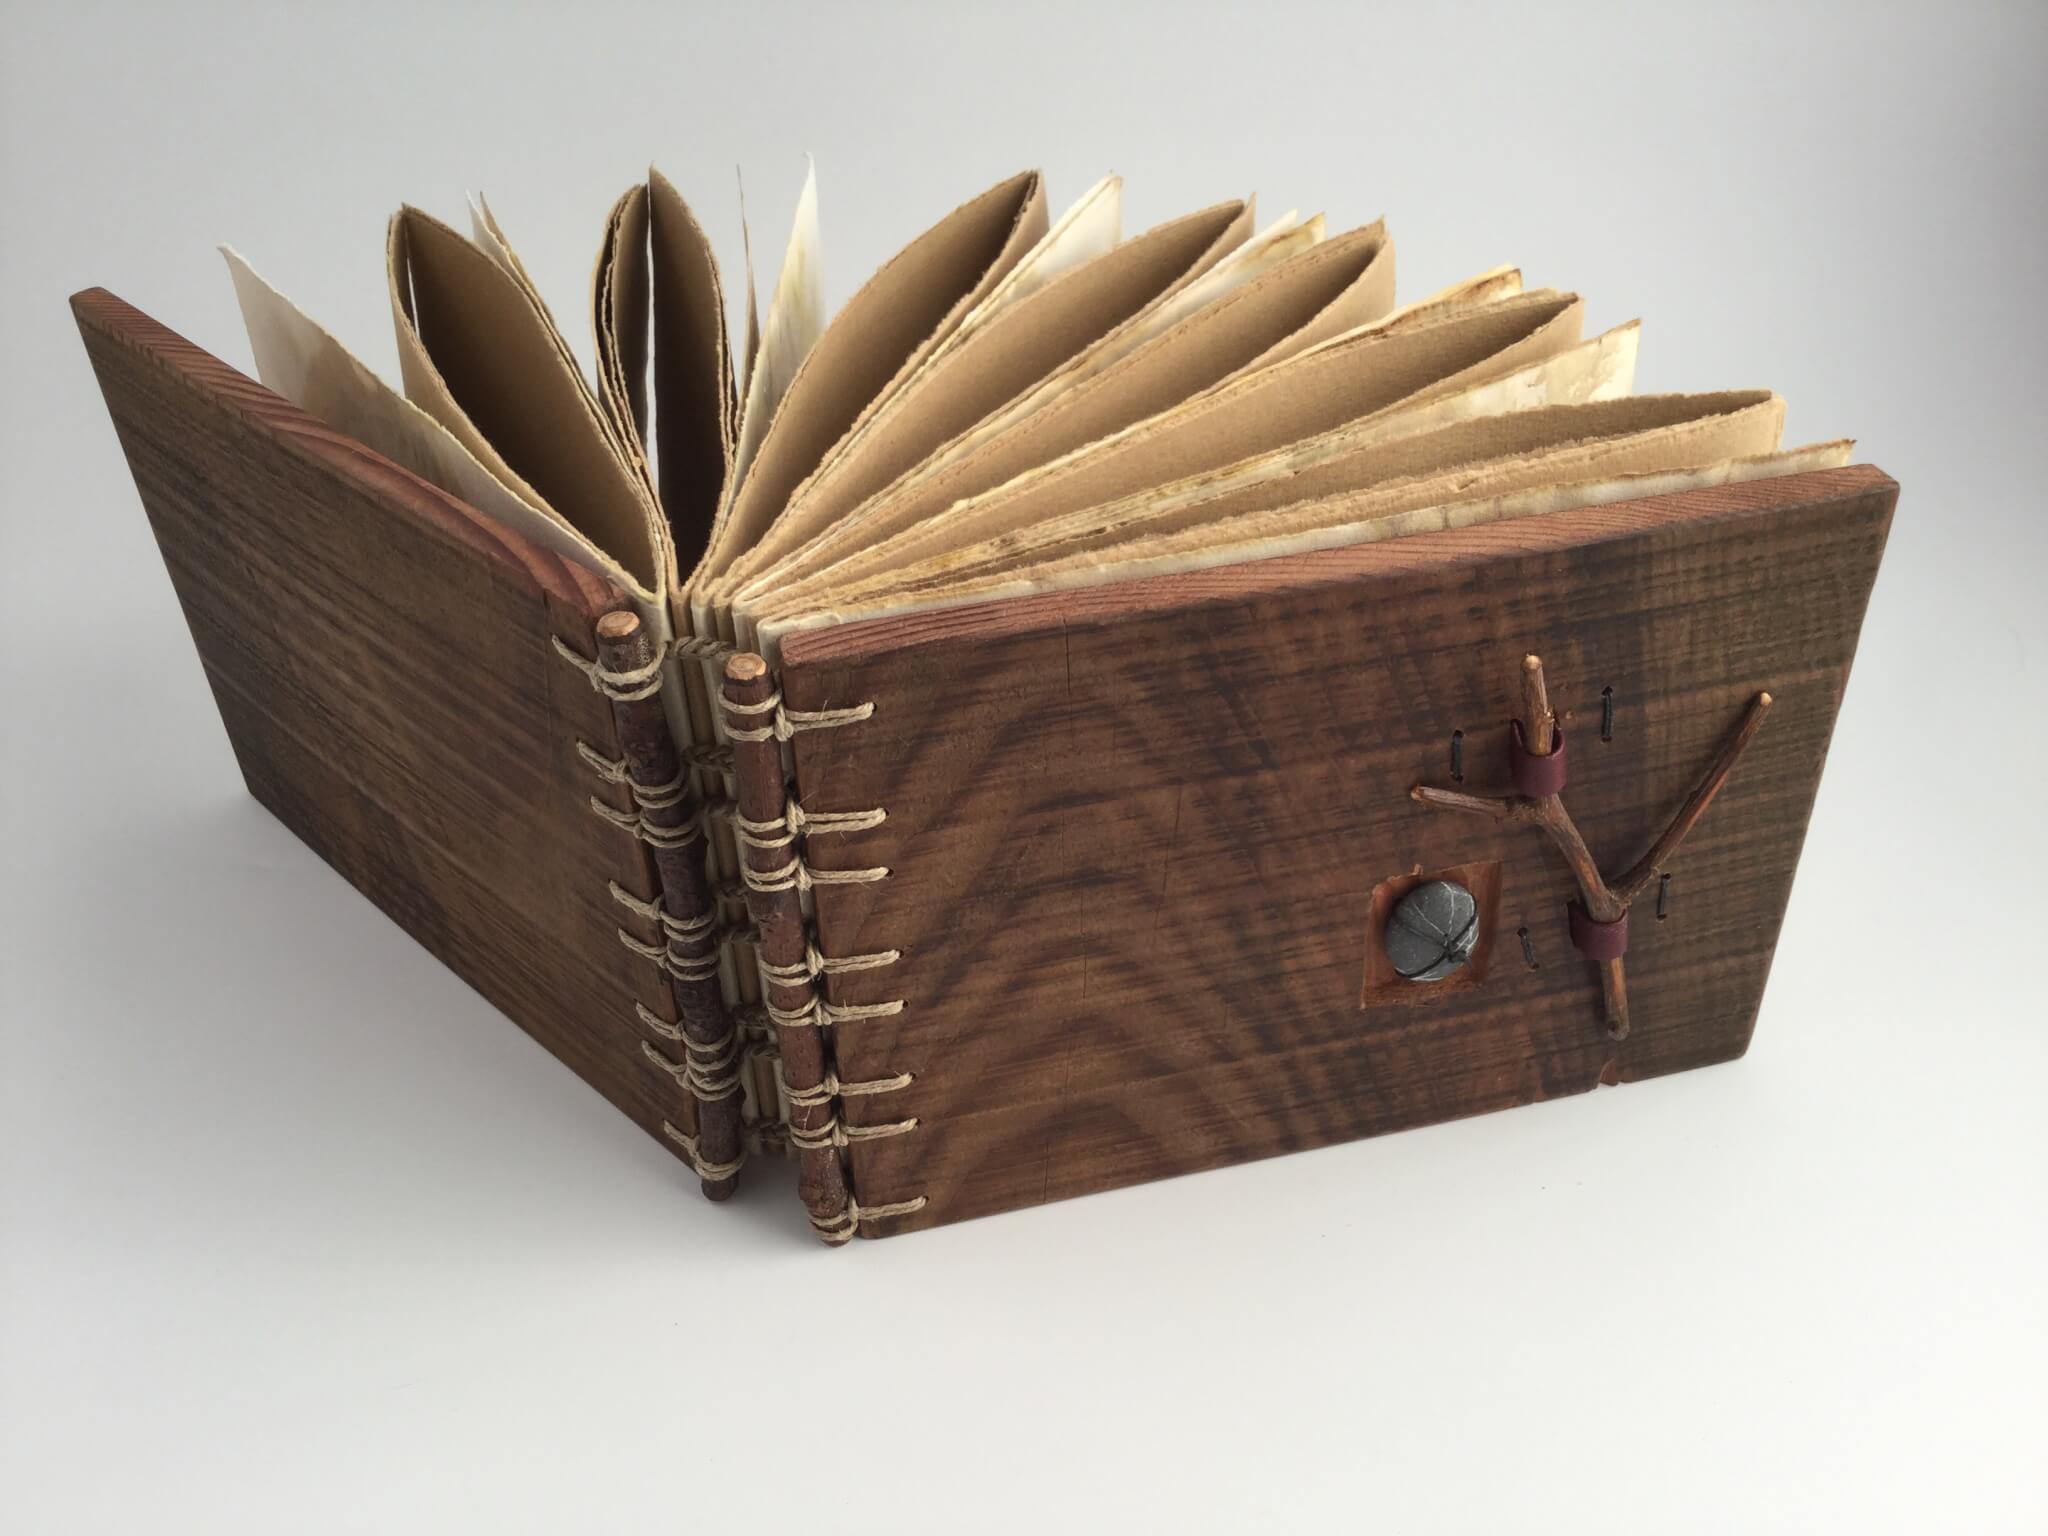
I’ve been busy in the studio creating a new book. It features the history and reconstruction of the Long-Graham barn owned by the Northcoast Regional Land Trust in Freshwater, California. I didn’t have a fixed idea of what the book would look like when I started but it has evolved into a vessel containing memorabilia about the history of the barn. It’s a kind of miniature barn. I will be sewing it together with sticks on the spine and the sections contain pockets, foldouts, etc. I love making this kind of book: history, local materials, creative challenges, and s a snapshot in time. For now, here is a sneak preview! I still have time to add more memorabilia. The historical research has been fascinating. I found the 1880 Census records of the Long Family and listed below them were about 15 Chinese immigrants who were there to work on the railroad – I’m assuming the Freshwater Railroad. All Chinese were forced out of Humboldt County in 1885 and my Dutch ancestors arrived in 1890 to jeers and taunts on the Eureka dock; they were in native dress with clogs. The was not a proud moment in our local history.
After sewing it together, I still have time to add memorabilia. Research never ends.
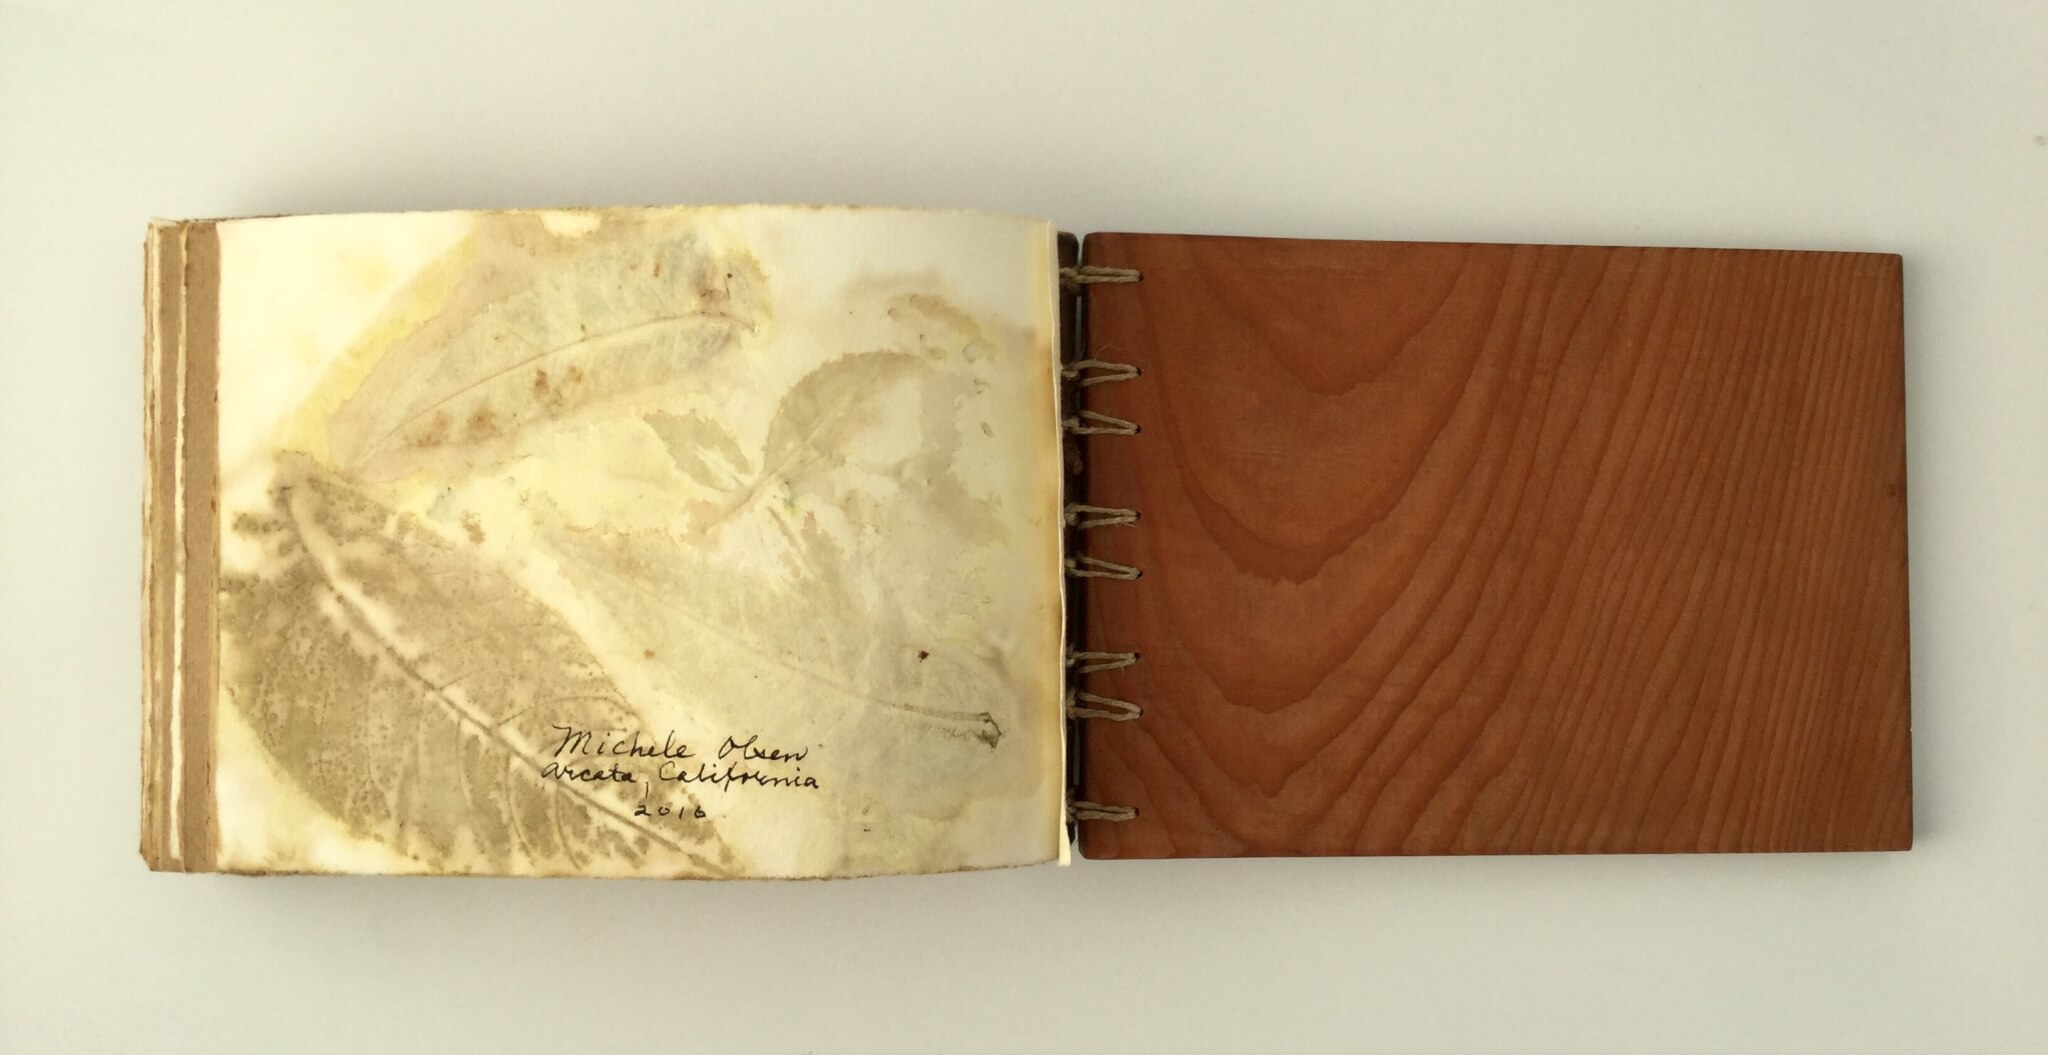
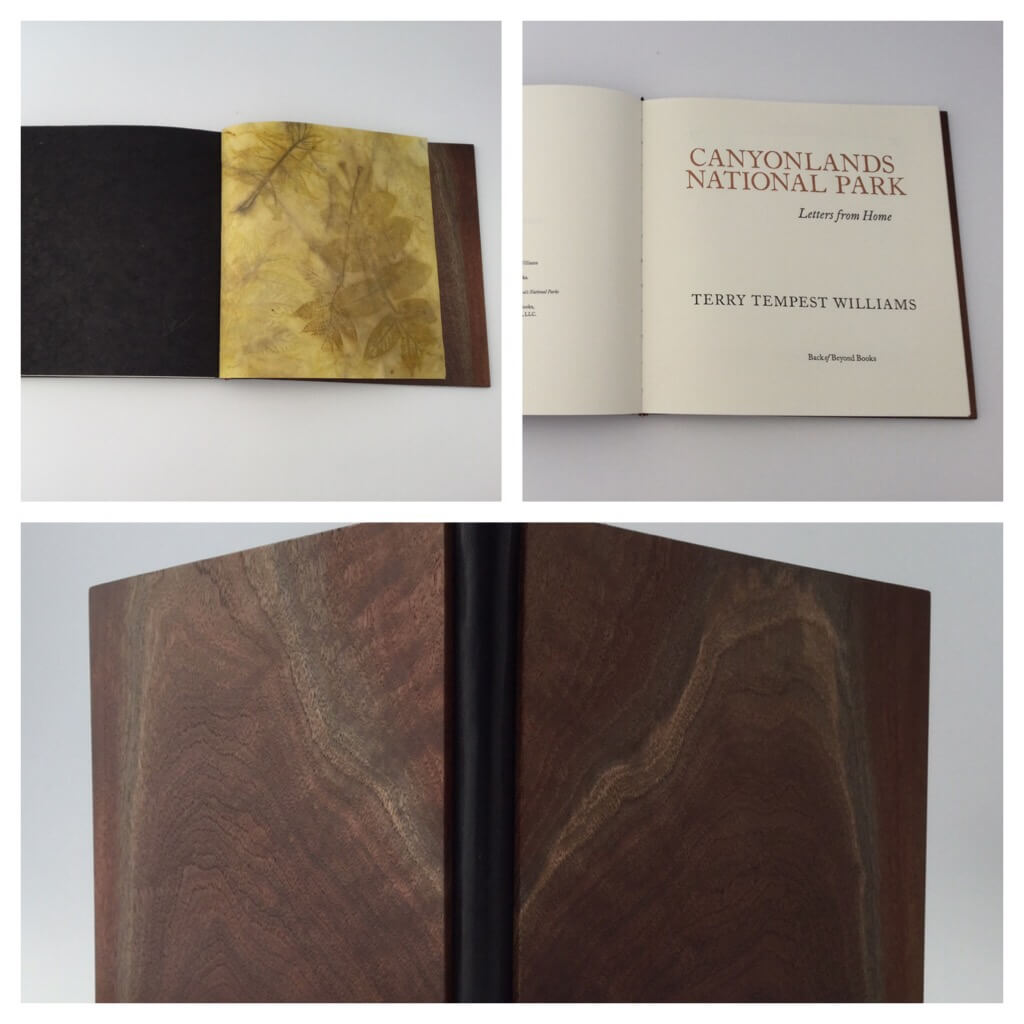
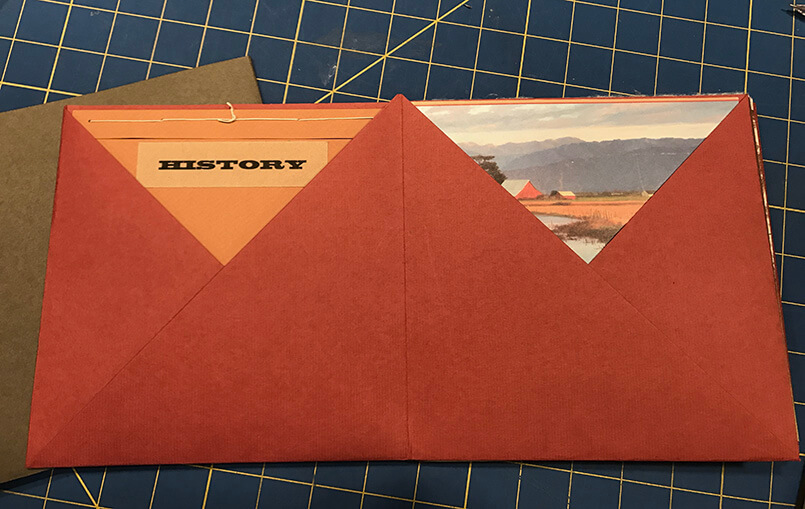
Title Page
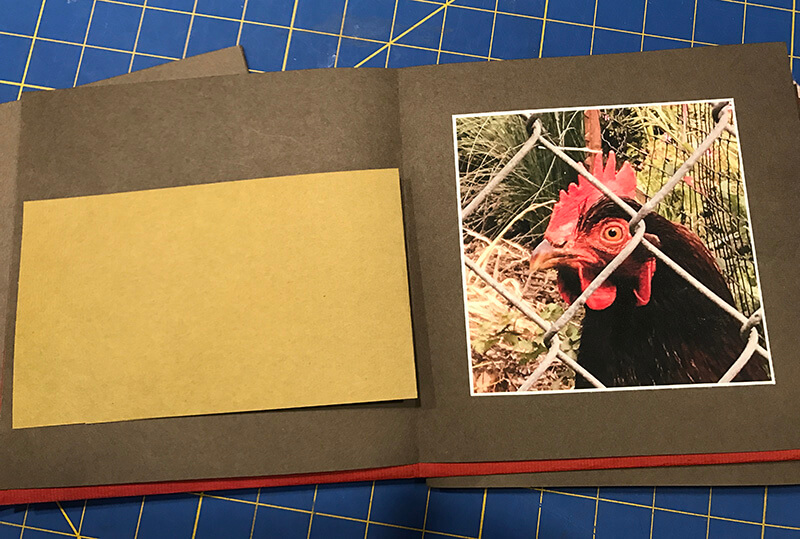
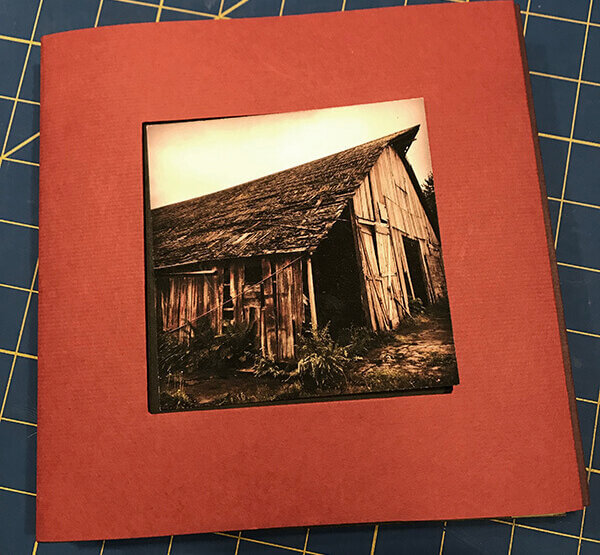
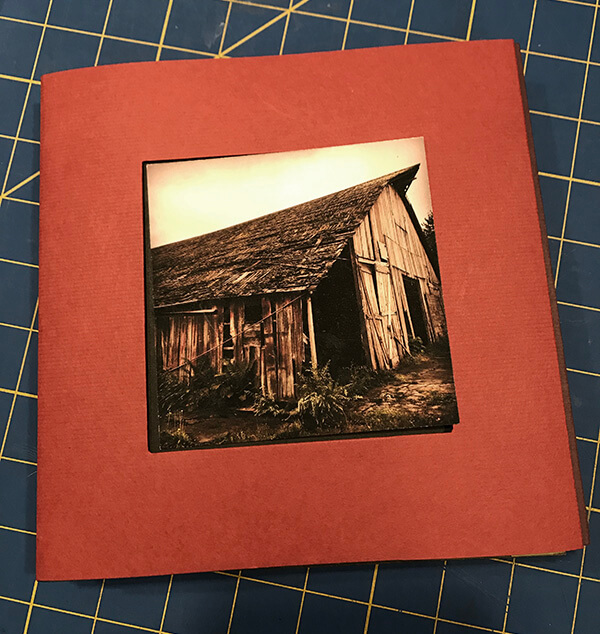
Photos
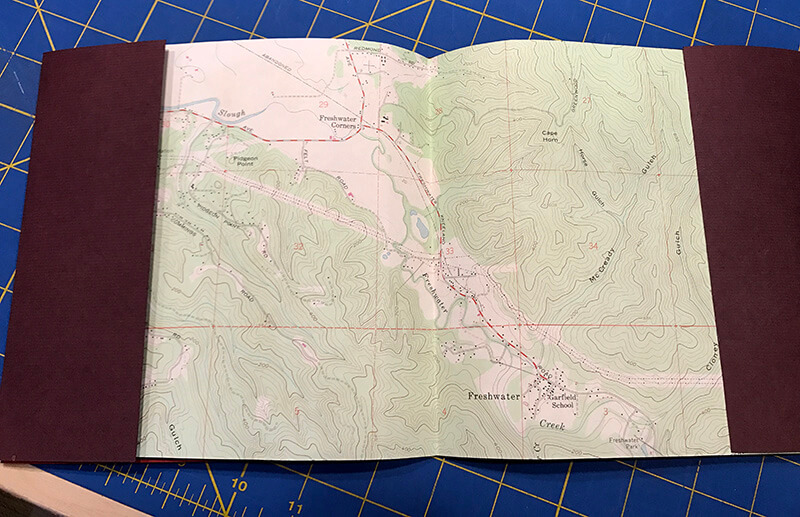
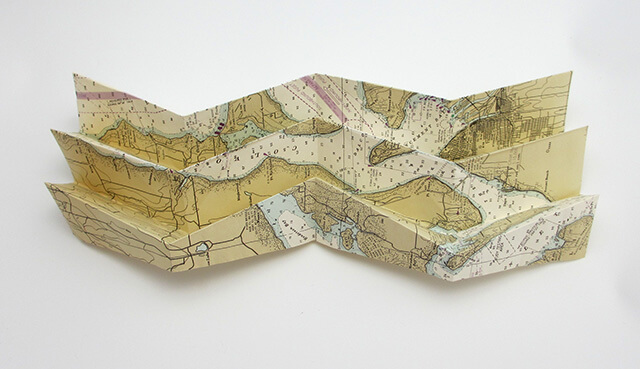
Map of Freshwater
Matchbook Book in a Pocket
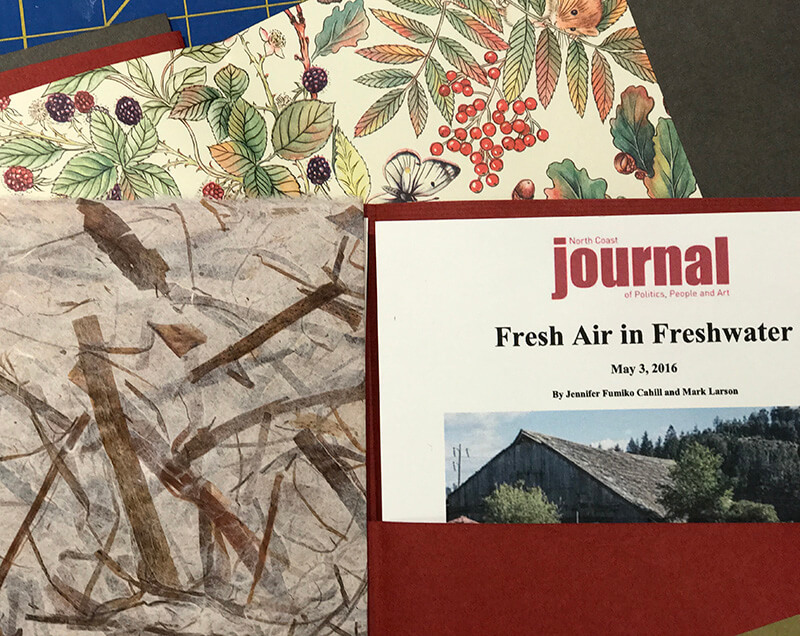
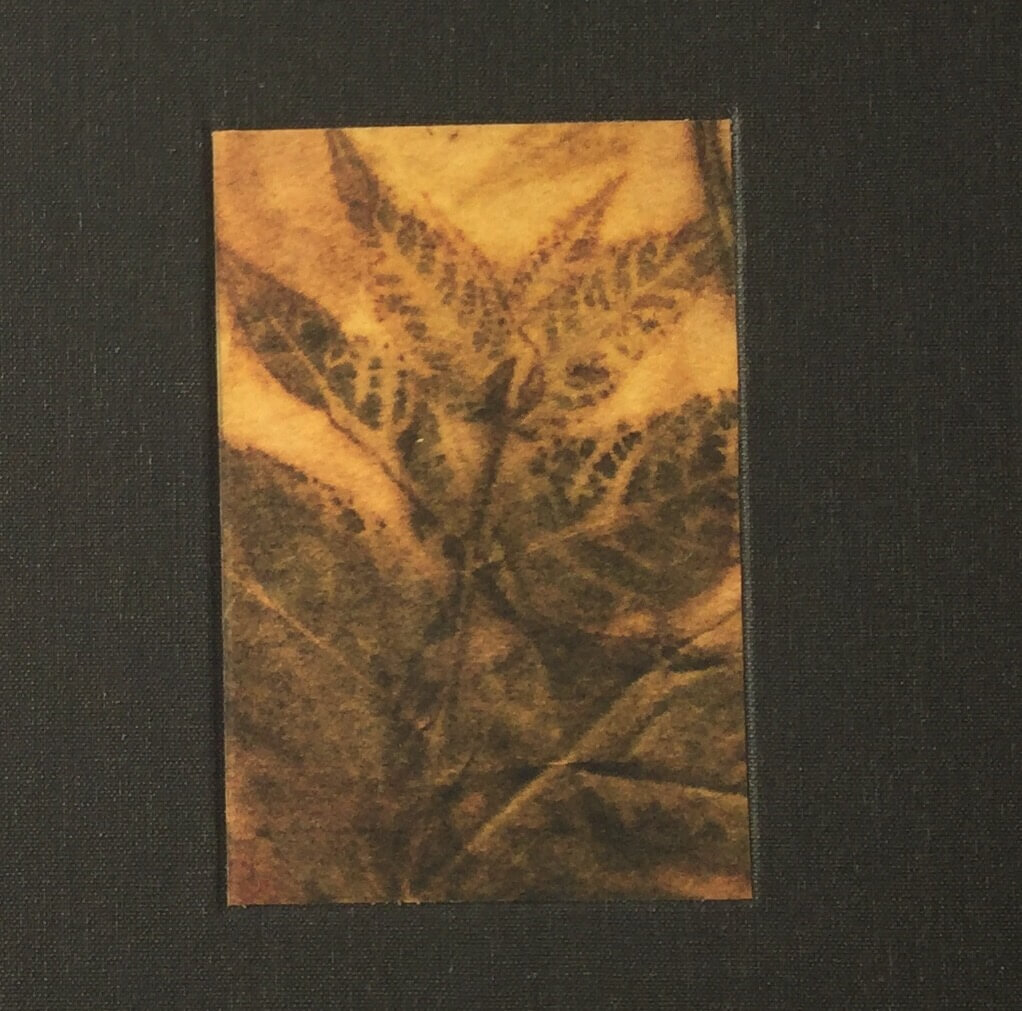
Straw Paper, Articles from Local Newspapers, Blackberry prints
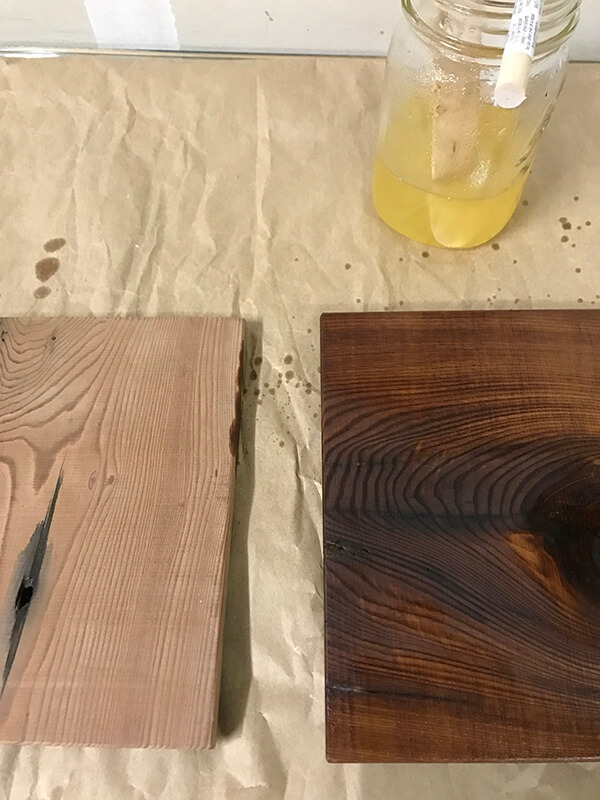
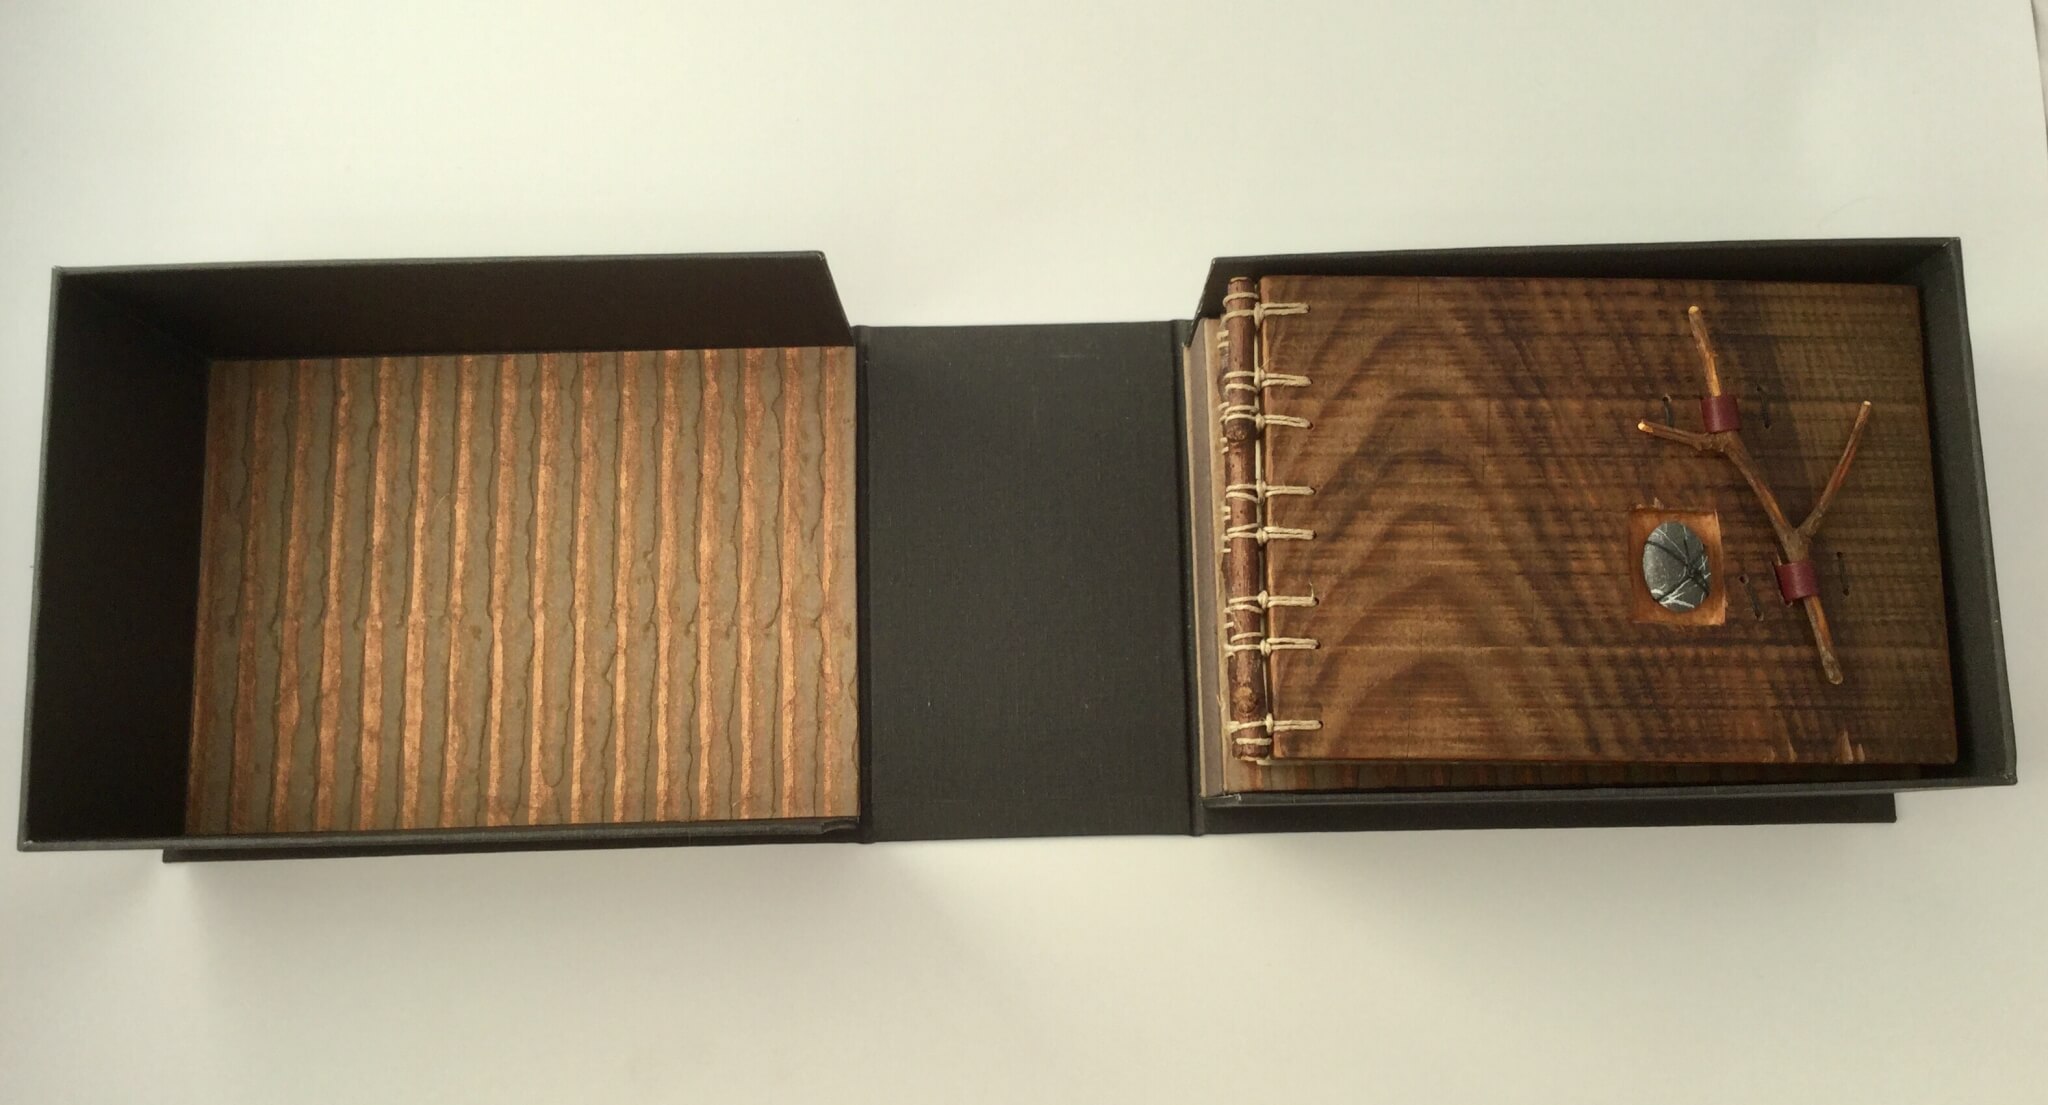
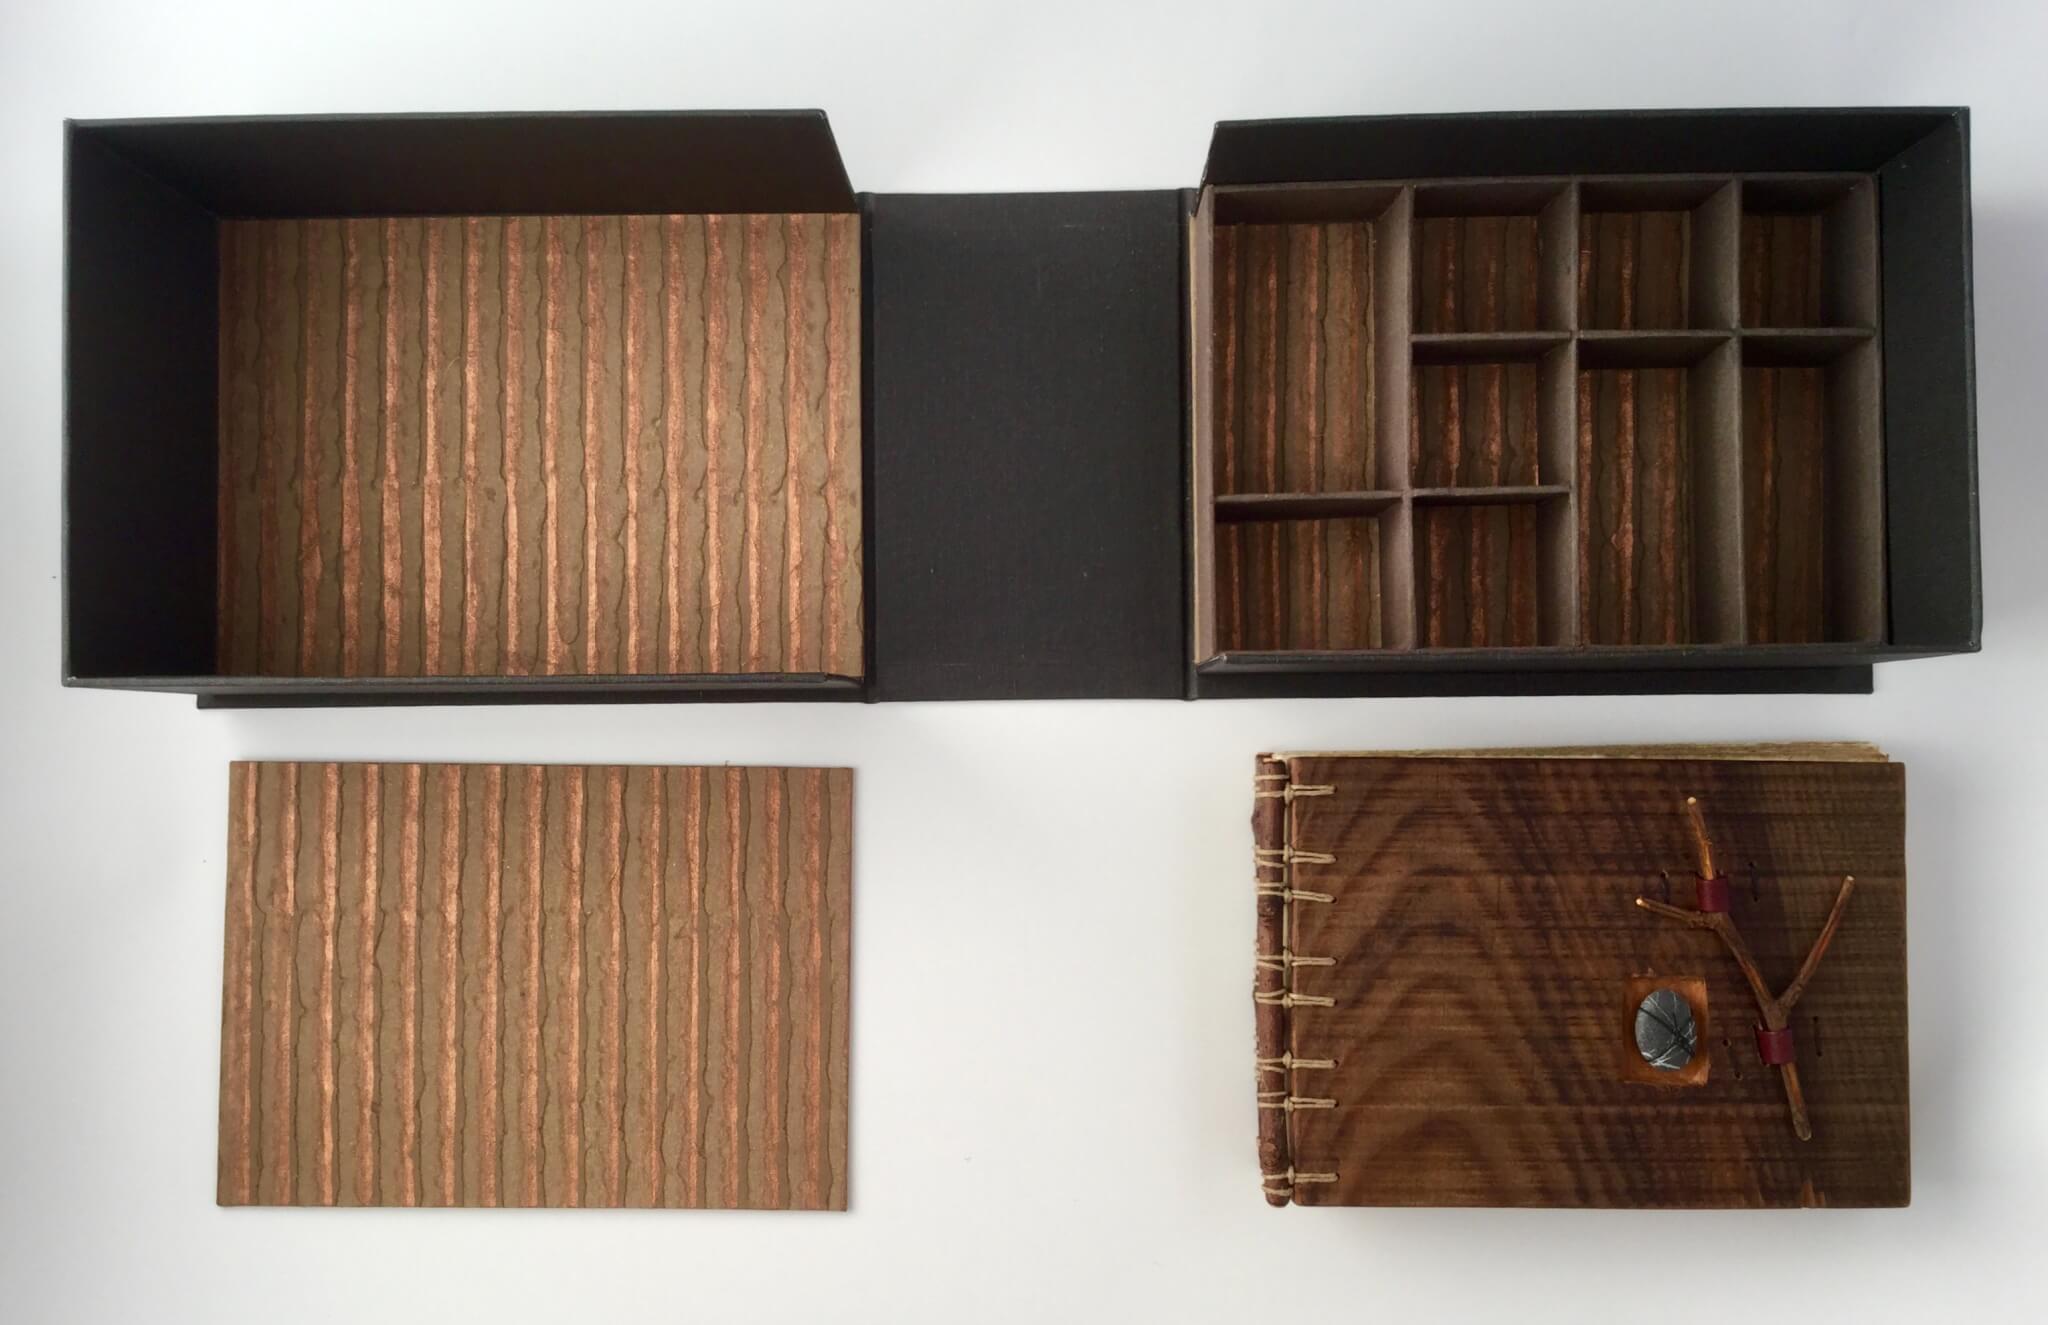
Redwood Boards from the Original Barn (1910)
I