Folded books can be sewn, glued, or just folded.

I’ve been making models of books with accordion (or concertina) spines and am amazed at the wide variety of structures that can are created. It all depends on how many accordions are used, the type of cover, the way the text block attaches to the cover, and the way signatures might be attached. As always, it’s fun for the teacher too. Hope you can join us this Tuesday and Thursday, (1-4pm): OLLI: Book Arts, Concertina Spine.

(null)

Date: Tues. & Thurs. Feb. 17-19, 2015
Time: 1-4 pm
Place: HBAC (Humboldt Bay Aquatic Center)

Come join this class of book arts enthusiasts as we explore the many possibilities of the concertina (accordion) spine. You decide: pamphlet, long, or coptic stitch; folded or board cover; double, folded, or back-to-back signatures; glue or no glue.

The Fly uses two concertinas—one for the spine and one for the pages. I used papers I painted in a wonderful Randi Parkhurst workshop for the covers. The poem was written by friend Dwight Marsh of Hastings,
Nebraska . I used InDesign for the text layout.

IMG_1934-0.JPG

IMG_1935-0.JPG

I love making books; teaching others to do the same is just icing on the cake. It is inspiring to be in the same room with creative, capable, and enthusiastic students. The following photos will illustrate some of the work that went into making this type of book as well many of the ideas that students contributed. Enjoy.

IMG_3631.JPG
These are papers I created out of masking paper (used for taping windows in preparation for painting) and acrylic paint. The paper perfect for covering boxes as it’s thin, pliable, and fairly strong.

IMG_3634.JPG
We used 0.059″ thick standard book board to create a box and the hinged cover. We experimented with PVA Jade-Thick from Hollanders. It was great for these small boxes because it is very tacky.

IMG_3632.JPG
While the boxes dried we created a hinged cover. This particular technique is useful for all kinds of artist books. Boards were glued then applied to the wrong side of the paper. Rather than burnishing the right side we pressed the paper to the board to encourage wrinkles and texture.

IMG_3640.JPG
Covering the boxes was next.

IMG_3645.JPG

IMG_3637-0.JPG
There was much variation in colors. Some decided to add more color and brought their acrylics…….

IMG_3636.JPG
…..and acrylic enhancements. Check out “Products” on Golden’s website to see the many products available along with their uses.

IMG_3642.JPG

IMG_3644.JPG
Then the real fun begins—getting ready to add our own miniature components to the book.

IMG_3643.JPG
The strip of decorated Arches 90 HP watercolor paper was next. Each had her own idea of what to add to the book. These were folded like an accordion and will be attached to the inside front cover.

IMG_3646.JPG
This book is almost finished. The thread needs to be trimmed and a slot added to hold the accordion fold. What a delight! The upper shelf holds miniature books and the accordion fold holds quotes about books.

Great job everyone. Working with you and your ideas is a treat in many ways. PS. Thanks for the real treats for our long work session today.

IMG_3641-0.JPG
Busy hands….busy place.

Fourteen women, glue. paper., needles and thread…..it’s a formula for fun and great book arts. Students made their own bookcloth, cut their beautiful papers, glued them into sections, and sewed the sections into a star book. It was just a pleasure to work with people who were so creative, industrious, and enthusiastic. Enjoy some photos of our efforts and their resuls. Applaud even.

20140206-204700.jpg


20140206-204819.jpg

20140206-204850.jpg

20140206-204925.jpg

20140110-151436.jpg

This Book Is a Star!
This spectacular book, when closed, looks like any other book. But when it is opened, the pages pop out and form a star. This book will have board covers and will be sewn using double needles (beading optional). The double-page spread lends itself to artwork or photos. Variations will contain tunnels or pockets. The basic skills of gluing, folding, measuring and cutting, and long-stitch sewing will be covered. Appropriate for all levels.
Basic tool kit needed: bone folder, sharp pencil, metal ruler, cutting mat, glue stick, sharp scissors, small cutting knife, awl, double-stick tape.
Materials needed: Cardstock – 4 sheets each of colors A, B and C (solid colors); 7 sheets of color D (solid or printed); 2 sheets of pliable, decorative paper; beads for spine decoration; 1.5 yards of linen thread or cotton perle embroidery floss; 24 inches of ribbon.
date ………. Tues. & Thurs., Feb. 4-6
time ………. 1-5 p.m.
fee ………. Members $45/nonmembers $70 (27726)
place ………. Humboldt Bay Aquatic Center, Eureka
instr ………. Michele Olsen

20140110-151616.jpg

Stab Binding: Side Bound Book
Stab bindings are formal bindings developed over hundreds of years in Japan, Korea and China. There were variations in the number of holes used, as well as the sewing pattern. Stab-bound books lend themselves to journals, scrapbooks, guest books, and gift books.
Basic tool kit needed: bone folder, sharp pencil, metal ruler, cutting mat, glue stick, sharp scissors, small cutting knife, awl, double-stick tape.
Materials needed: 15 sheets of text-weight paper (i.e. colored copier paper); one sheet strong, pliable cover paper (at least 15” x 15”); lightweight decorative paper (at least 8 1/2” x 11”); several yards sewing material (linen thread, embroidery floss, string, raffia, or ribbon will work) and needle to accommodate choice.
date ………. Thurs., May 1
time ………. 1-4 p.m.
fee ………. Members $55/nonmembers $80 (27727)
place ………. Humboldt Bay Aquatic Center, Eureka
instr ………. Michele Olsen

I make it a point to attend Focus on Book Arts (FOBA) in Forest Grove, Oregon. It is offered every other summer and I wouldn’t miss it because of the quality of the instruction and instructors, the idyllic setting, the 24-hour bookish ambience, and the chance to spent time with many book arts friends. I’ve always loved Tim Ely‘s books because of his artwork—pen & ink, bright colors, scientific imagery, and unusual topics. Tim’s workshop took five glorious days and i finished two books that I love and learned a lot in the process. Tim is a wonderful, inspirational teacher who really wants to bring out the best in each of his students. I felt that my artistic process was nurtured and supported in every possible way. You might enjoy some of the books I’ve read at his recommendation:
The Origins of Knowledge and Imagination by Jacob Bronowski
No More Secondhand Art by Peter London
101 Things to Learn in Art School by Kit White
FreePlay by Stephen Nachmanovitch

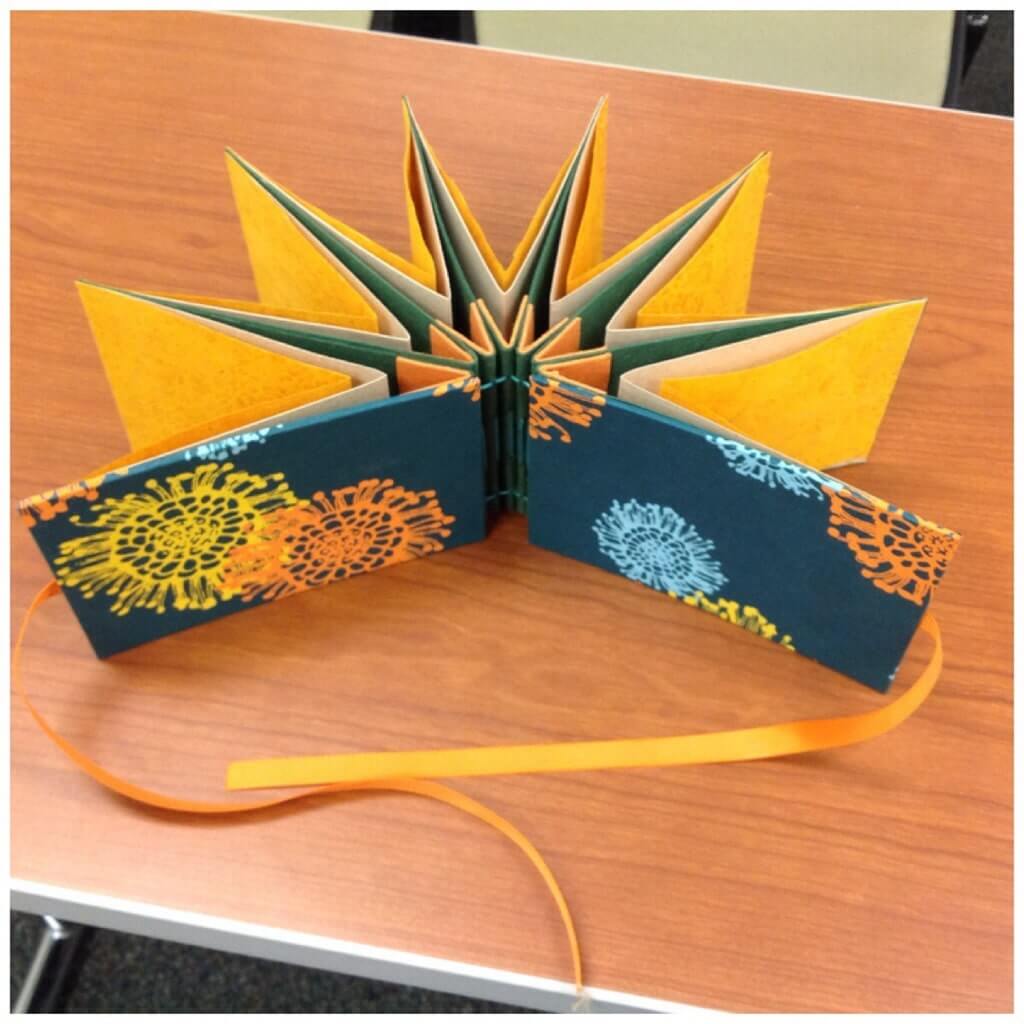
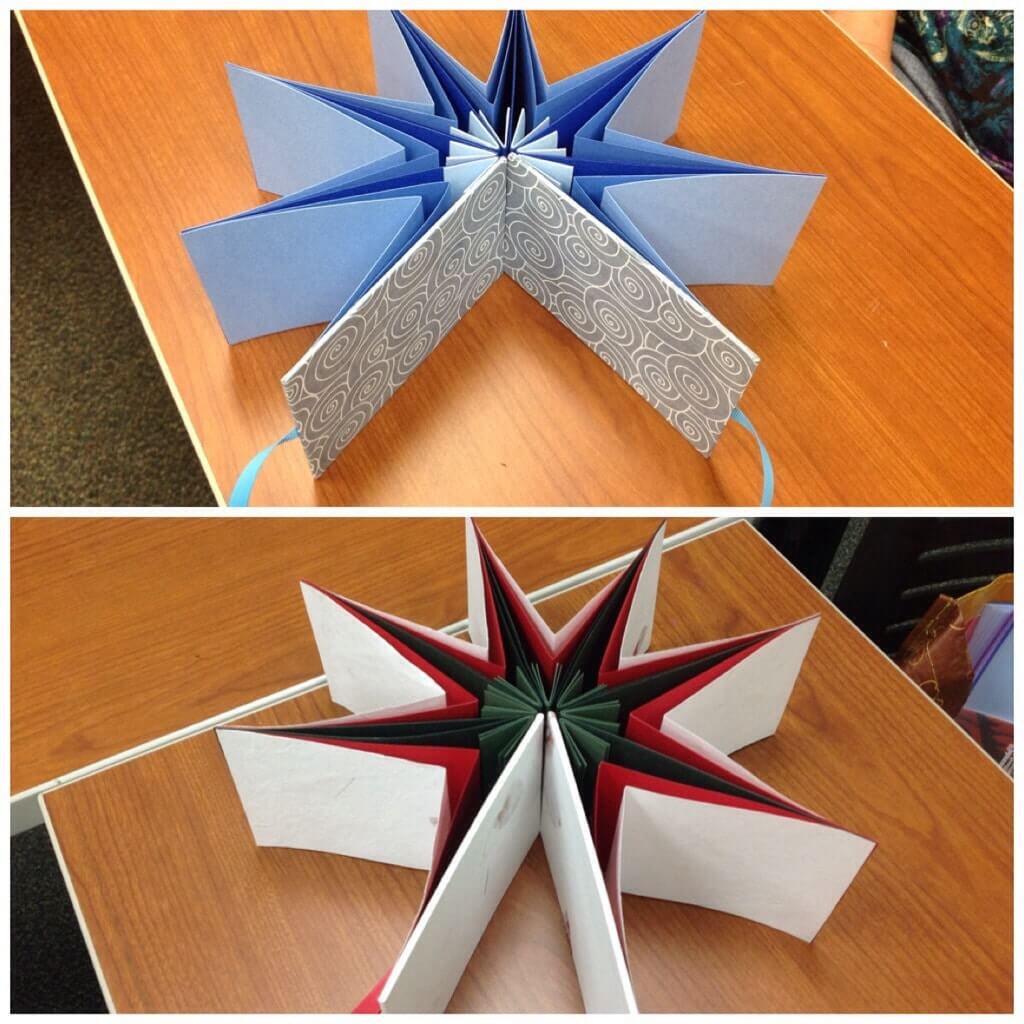
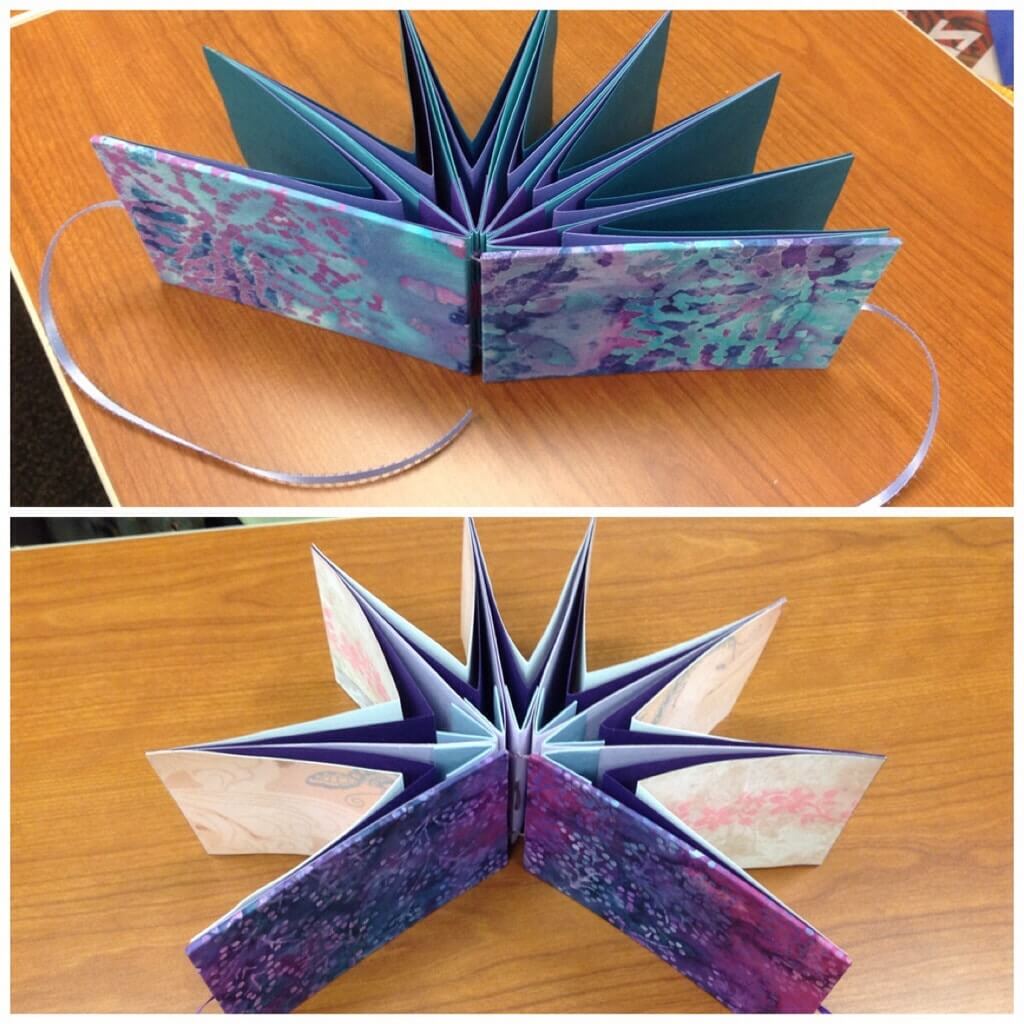
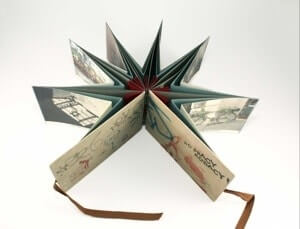
The following photos are some of the highlights of those five days.
20130828-164558.jpg
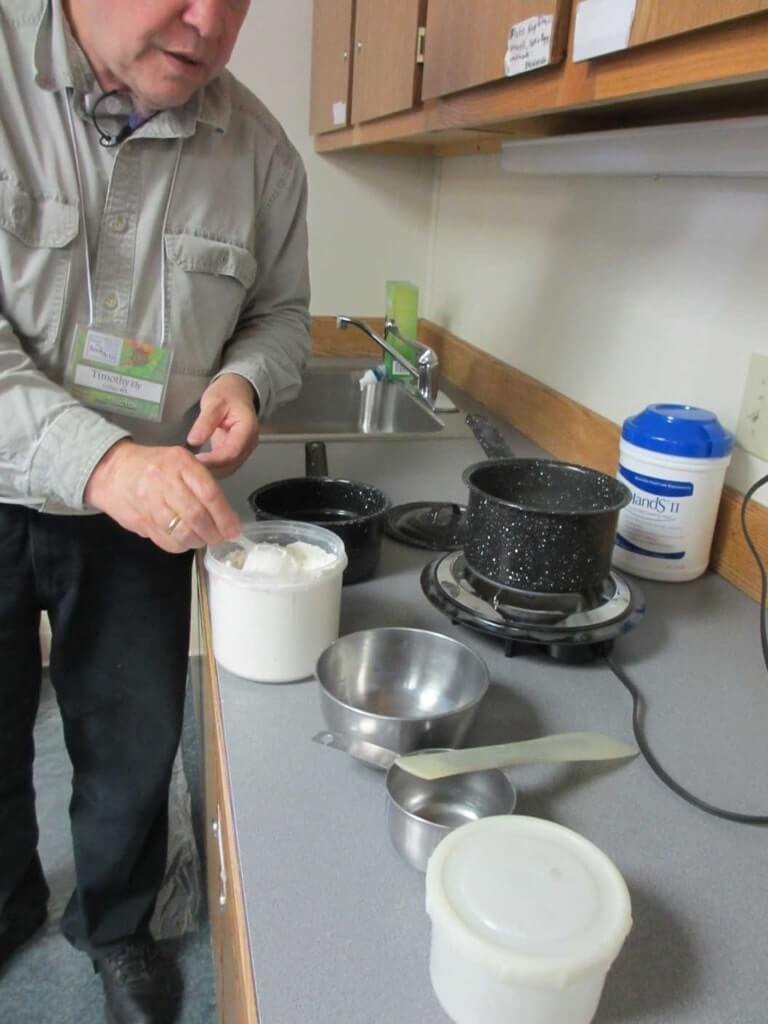
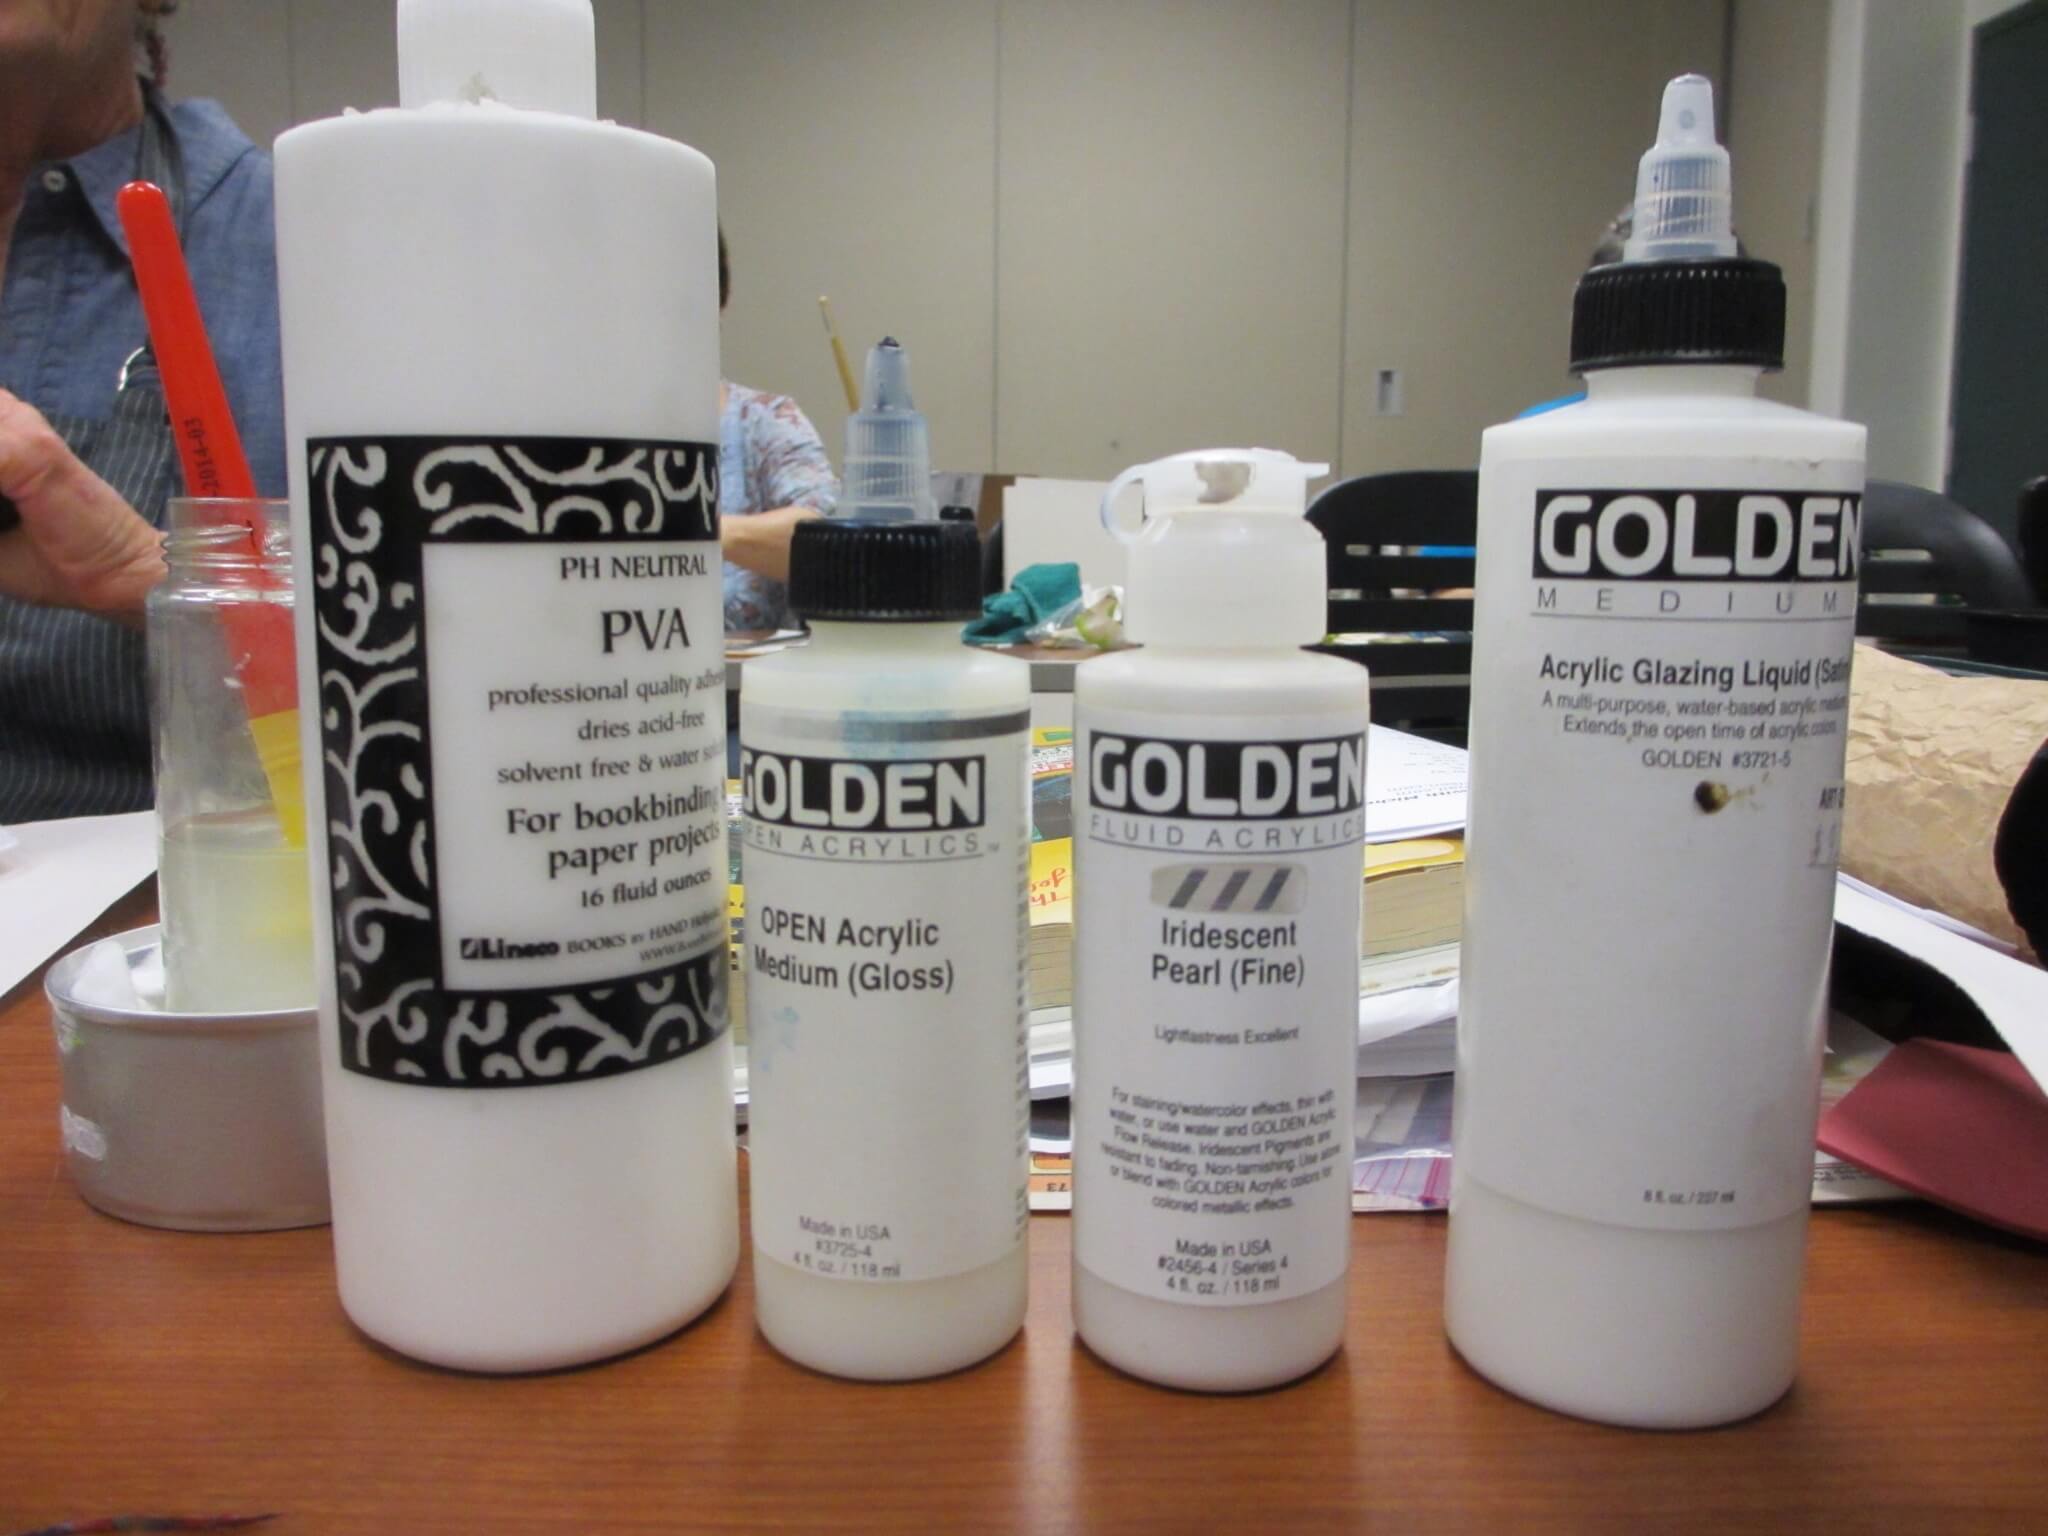
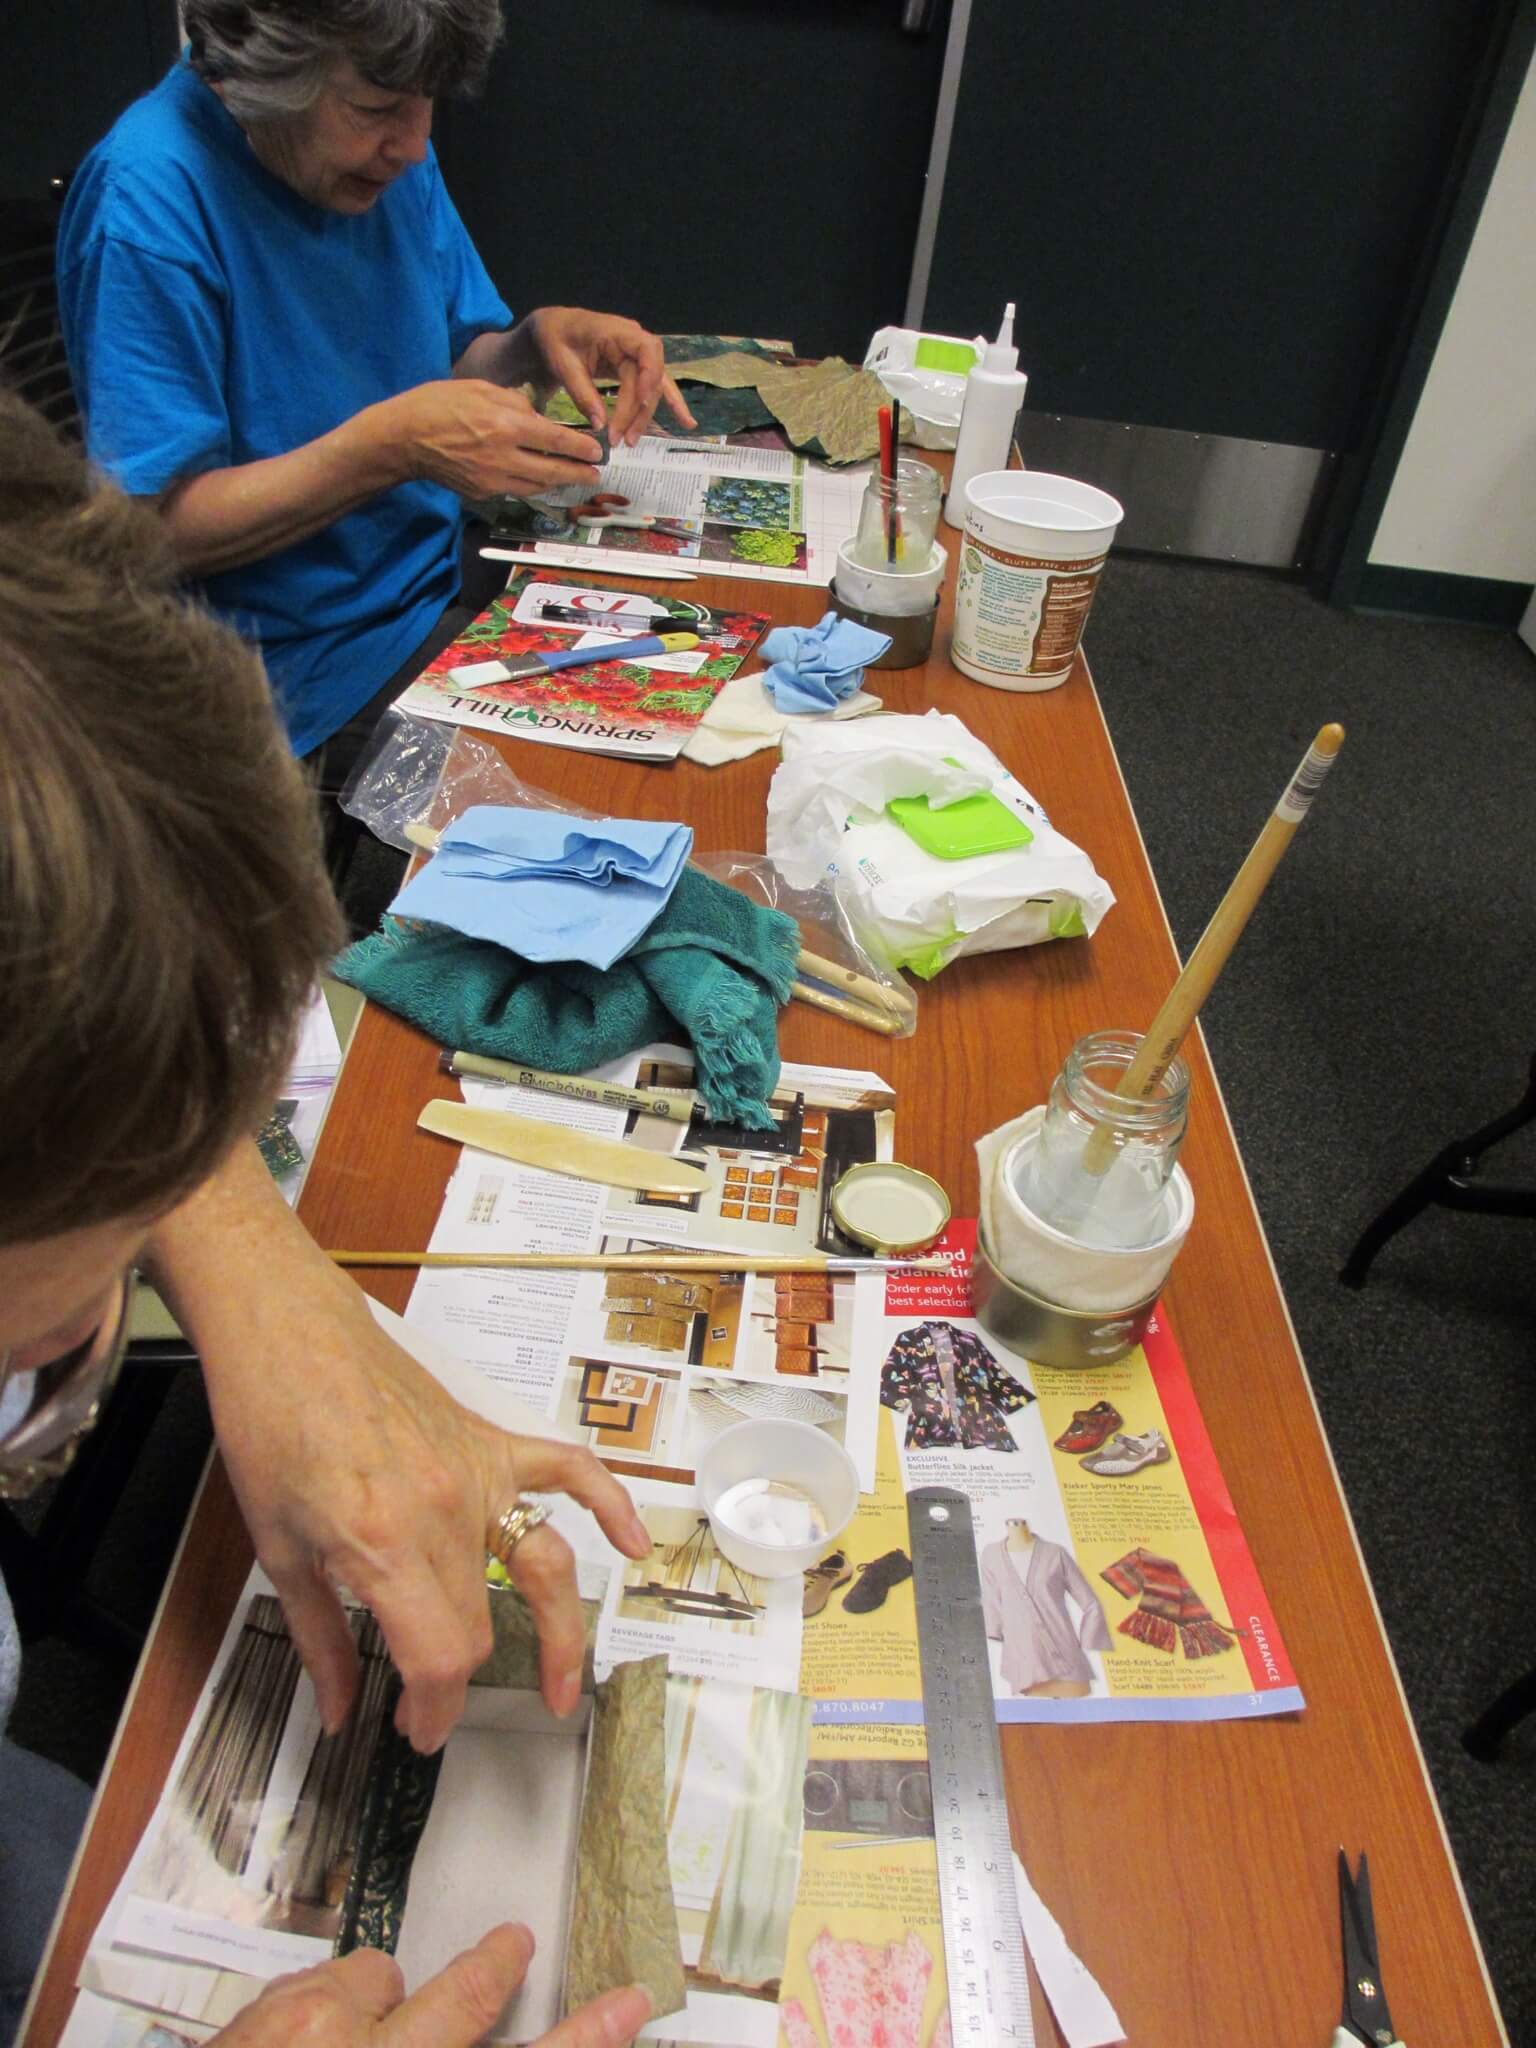
Tim Ely is cooking wheat paste glue. We used it to create bookcloth and to glue endpapers. It also works on leather and wood!

20130828-164719.jpg
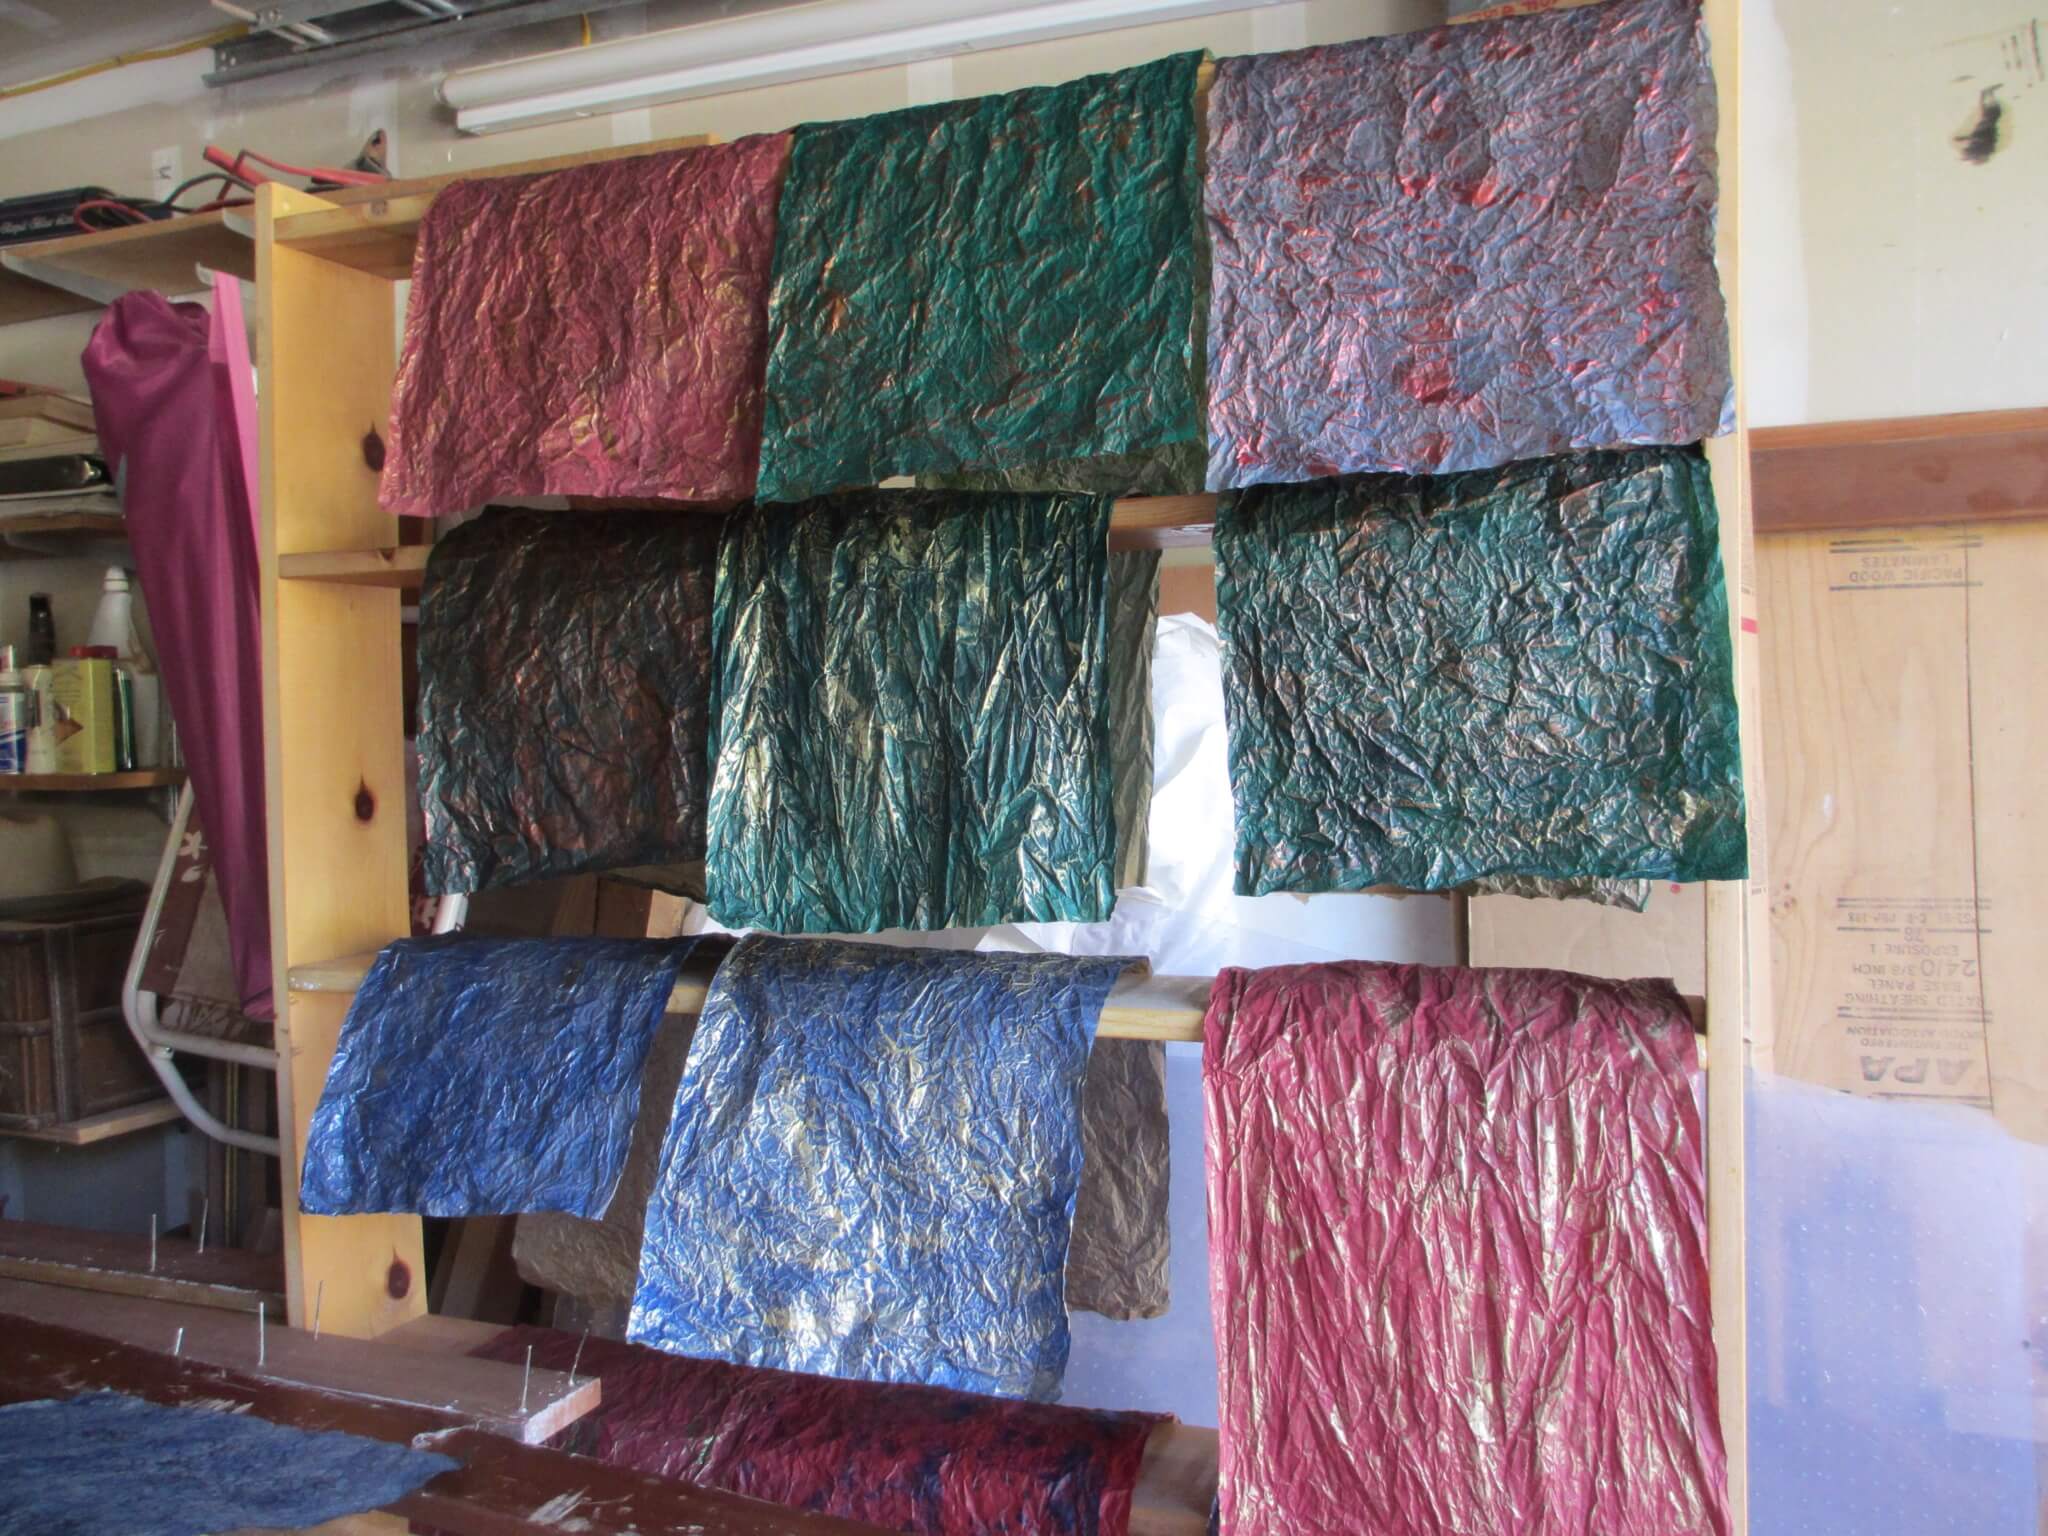
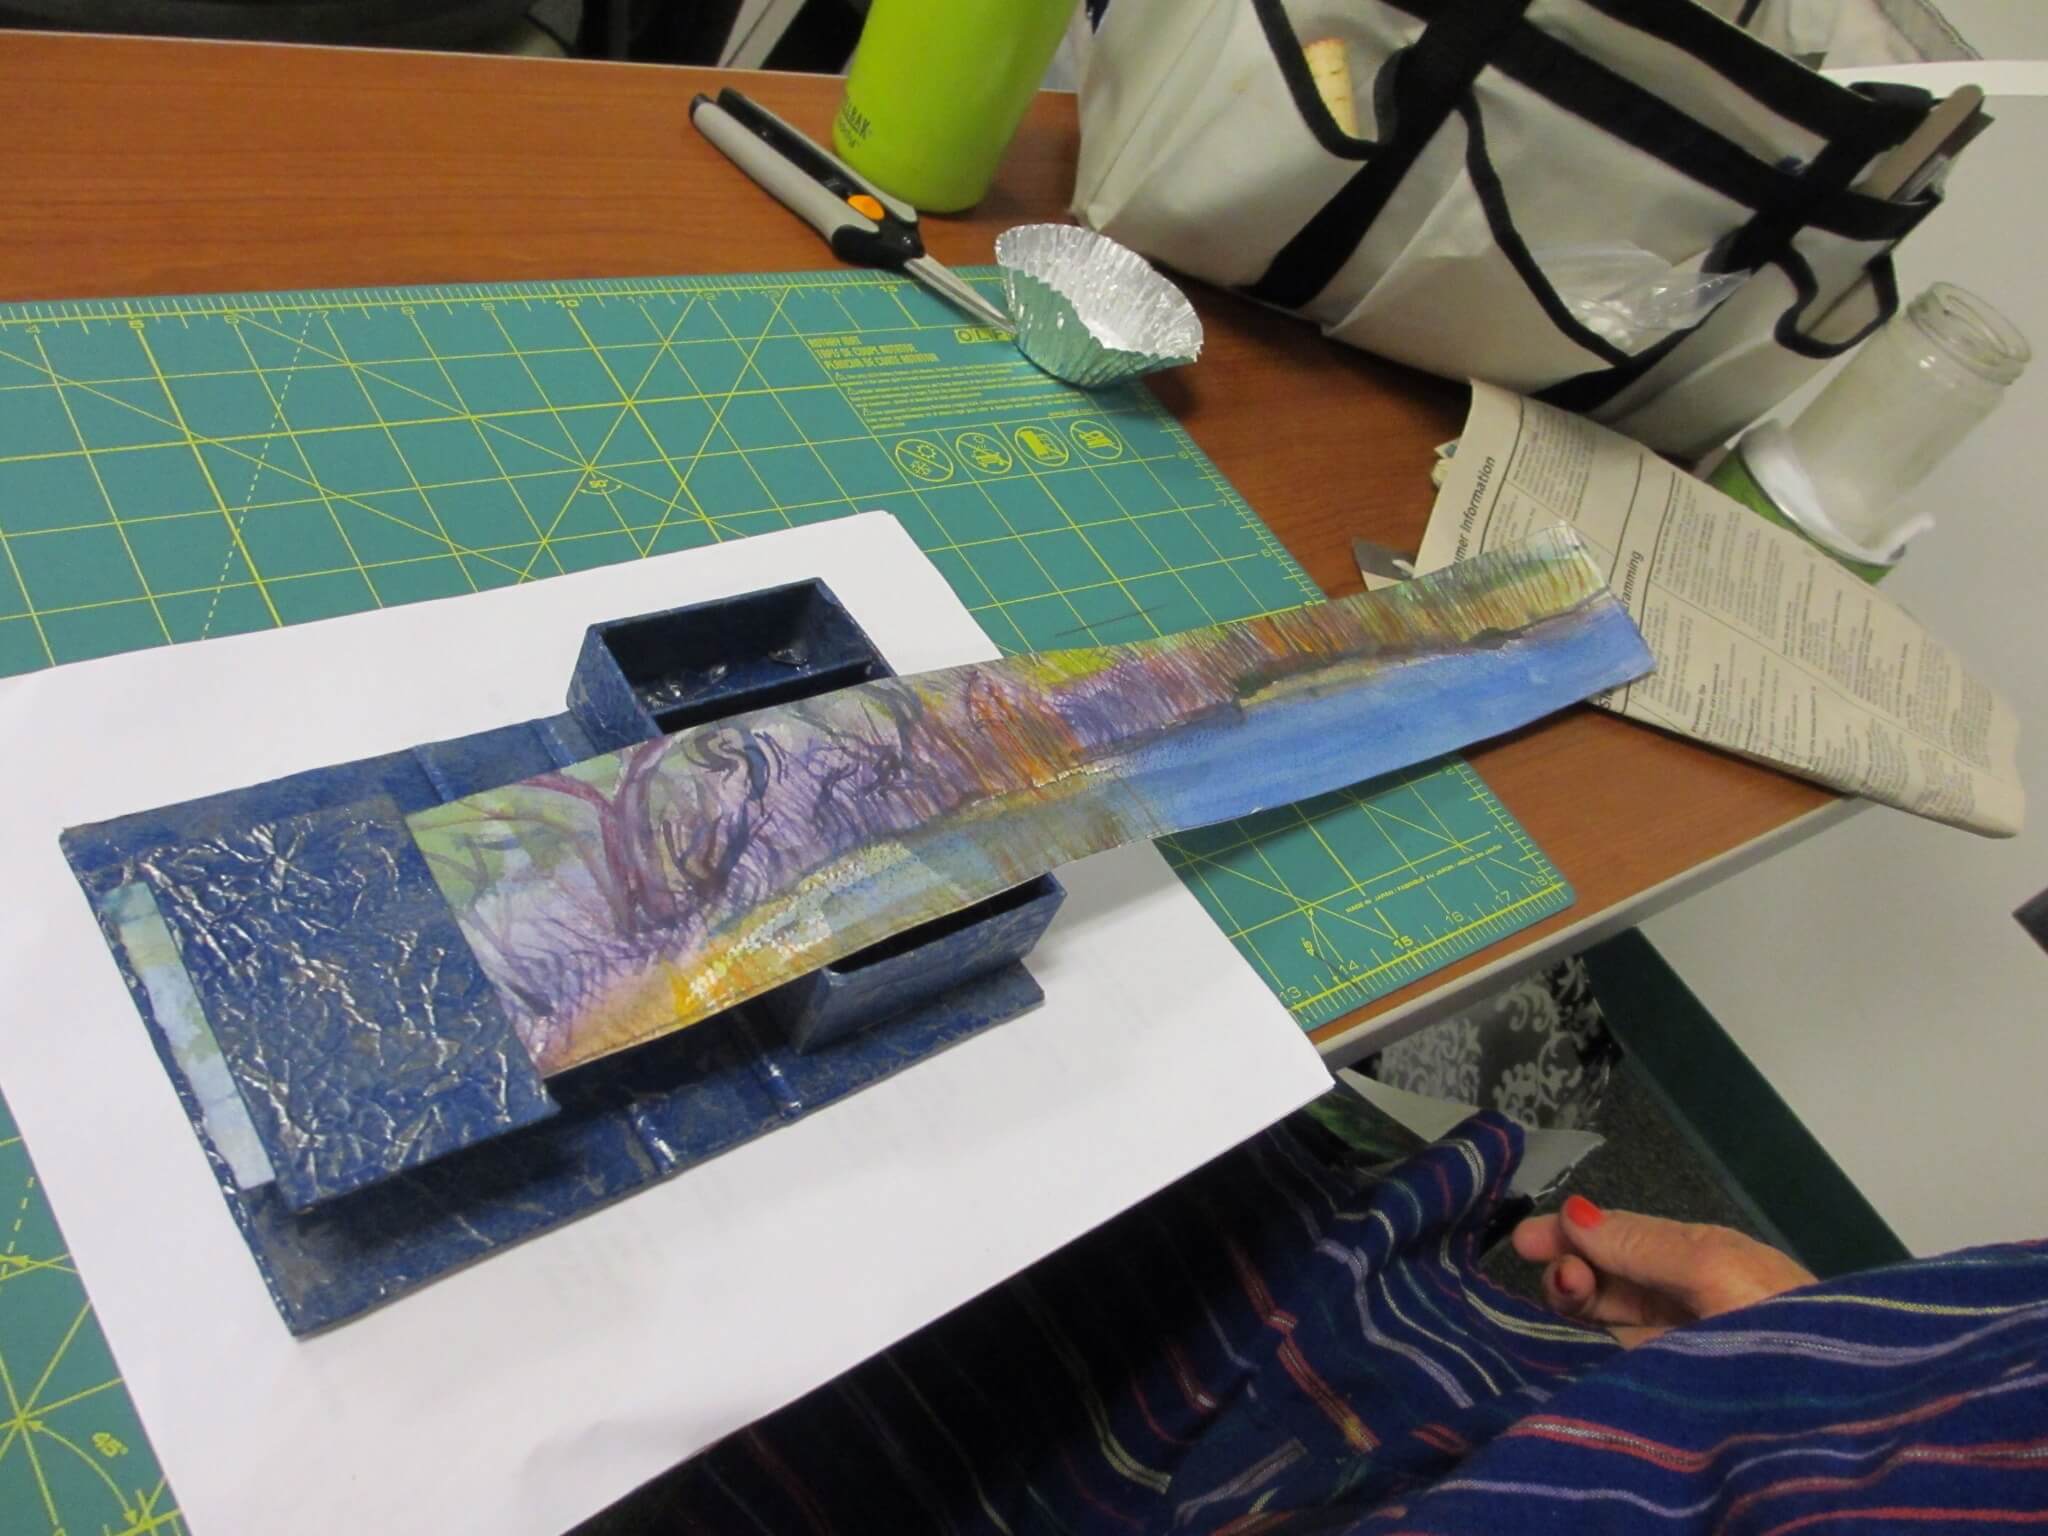
Bookcloth from my hand-dyed fabric.

20130828-164928.jpg

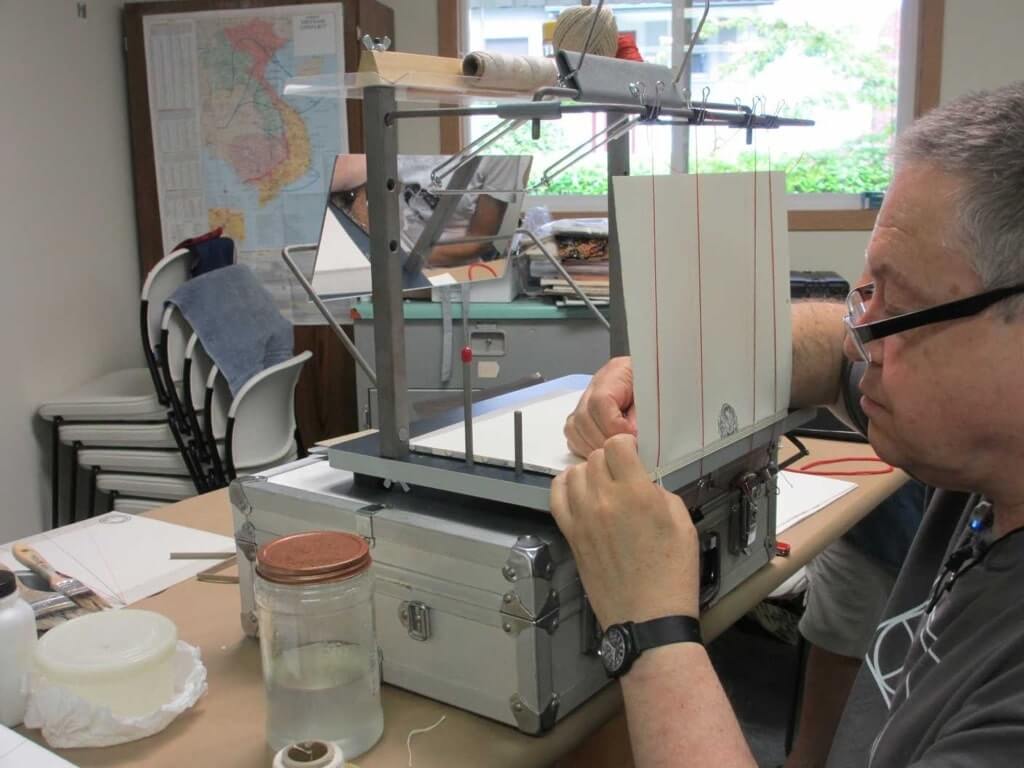
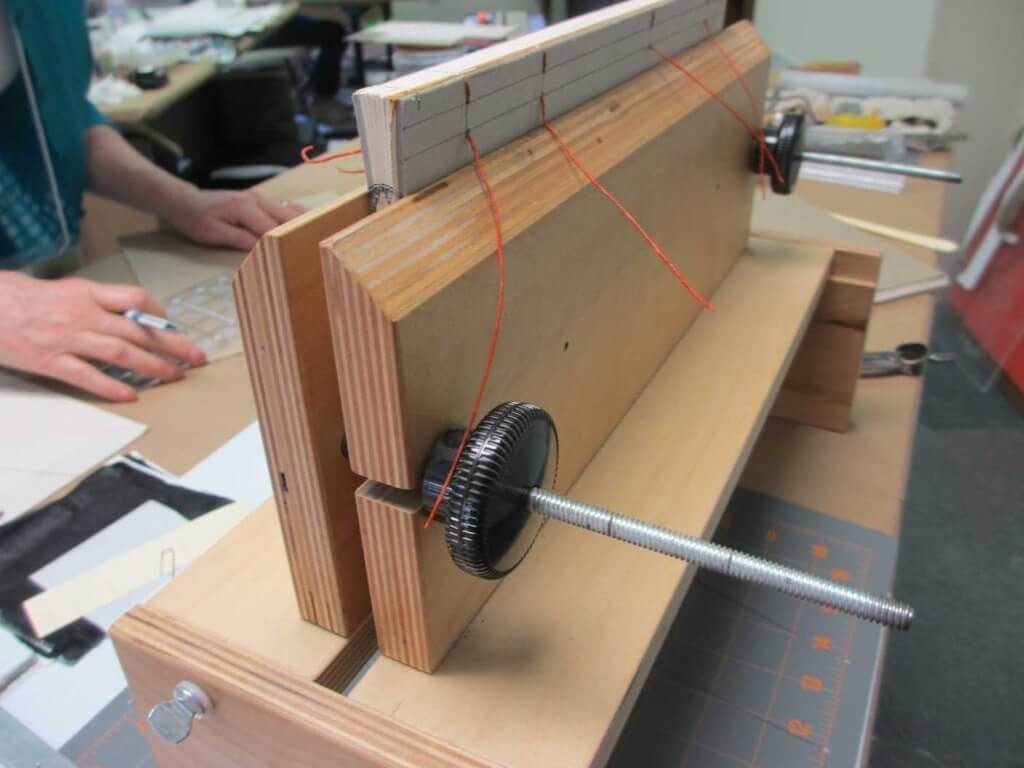
Tim designed this sewing frame.
20130828-165006.jpg
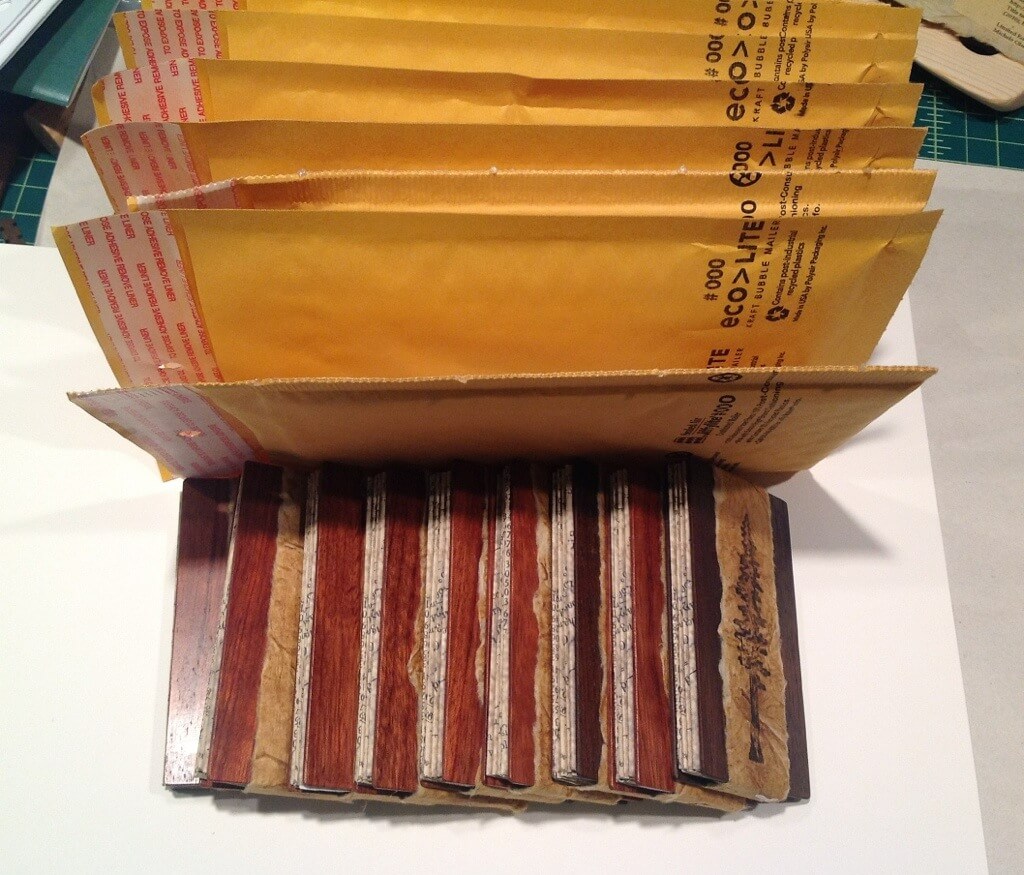
Squaring up—ready to glue.

20130828-165054.jpg
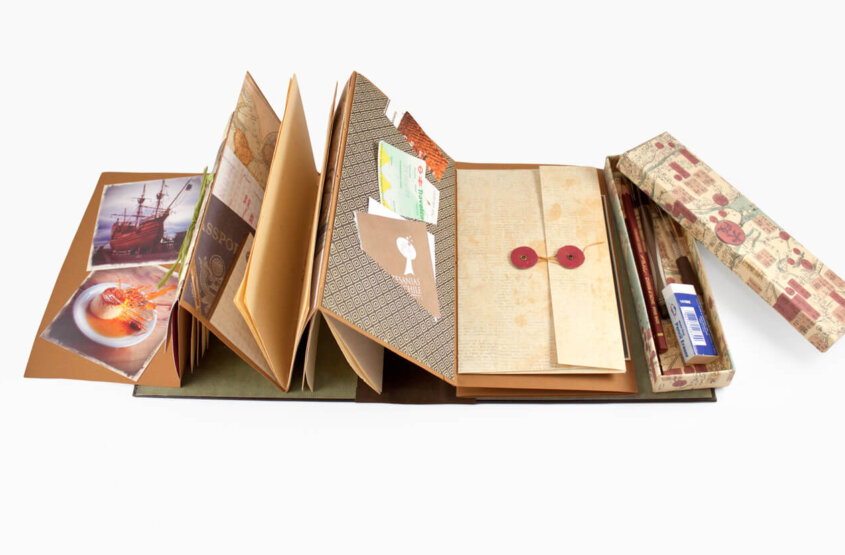
One of my favorite Tim Ely books. He has fabric custom printed with his images.

20130828-165156.jpg
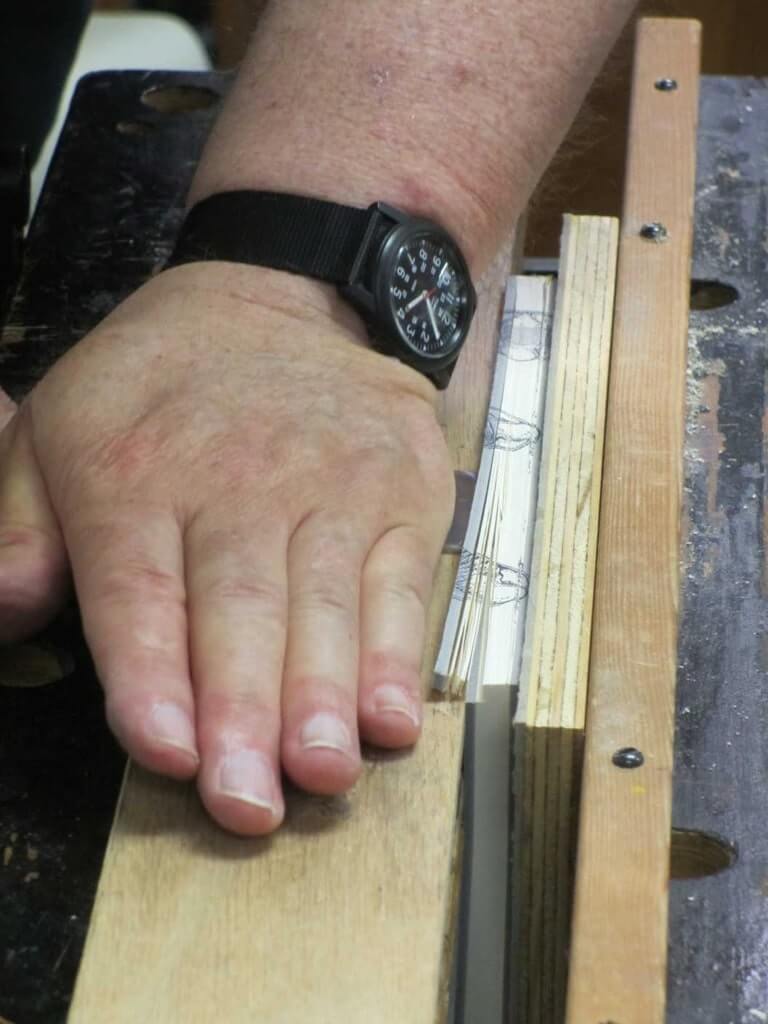
Tim’s substitute for a plough. Cutting the edges all the same length.

20130828-165248.jpg
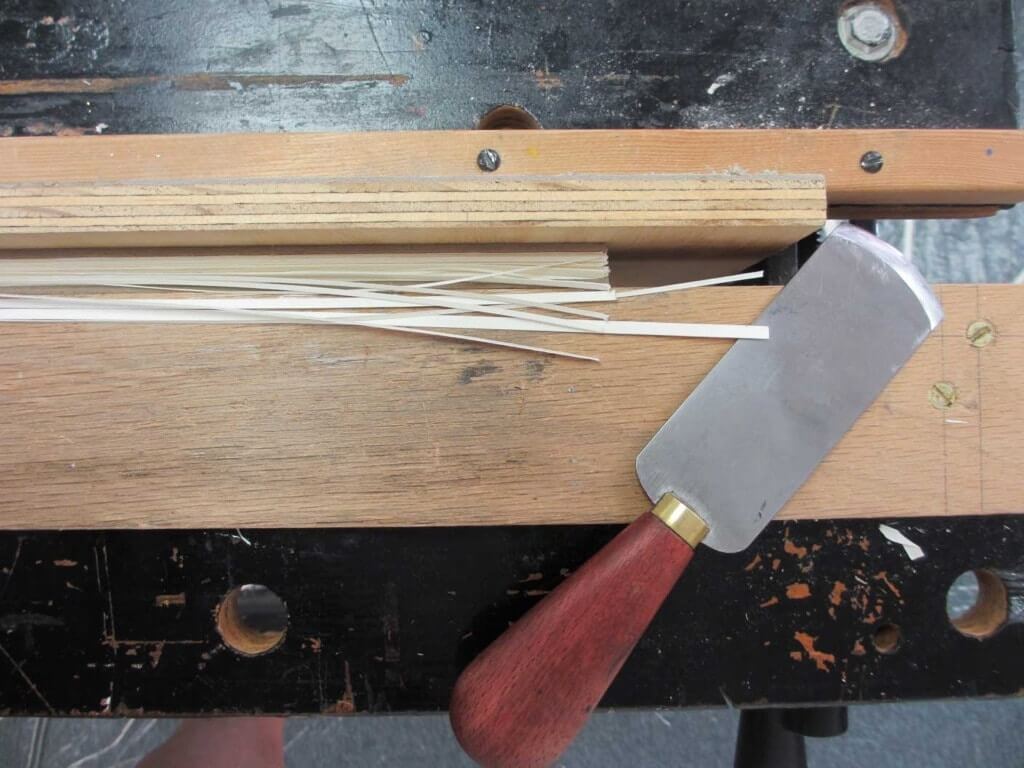
He uses a French paring knife by Jeff Peachey.

20130828-165600.jpg
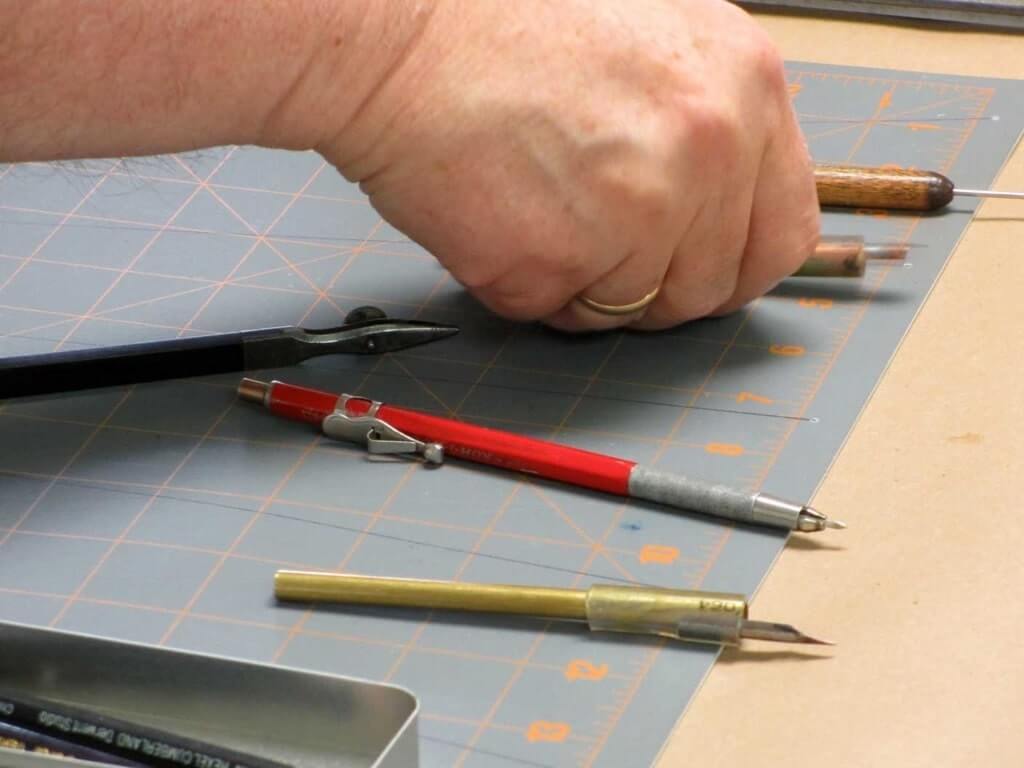
Tim is particular about his pens and nibs. In many cases he manufactures his own handles.

20130828-165717.jpg
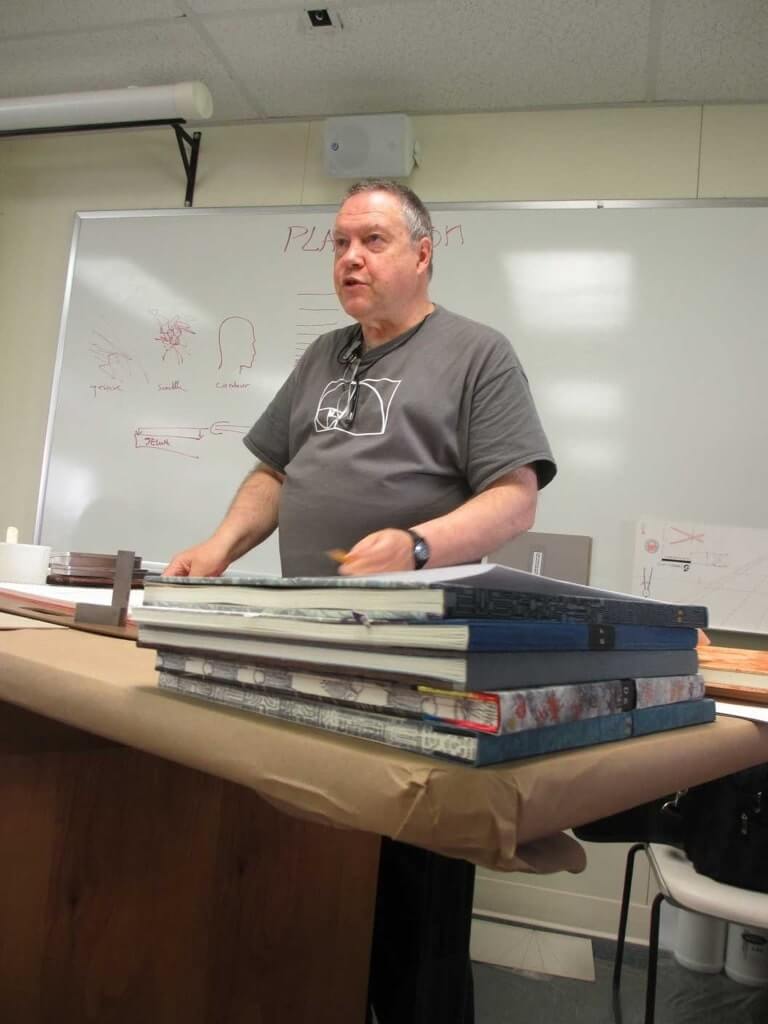
Tim instructing with a stack of his wonderful books.

20130828-165832.jpg
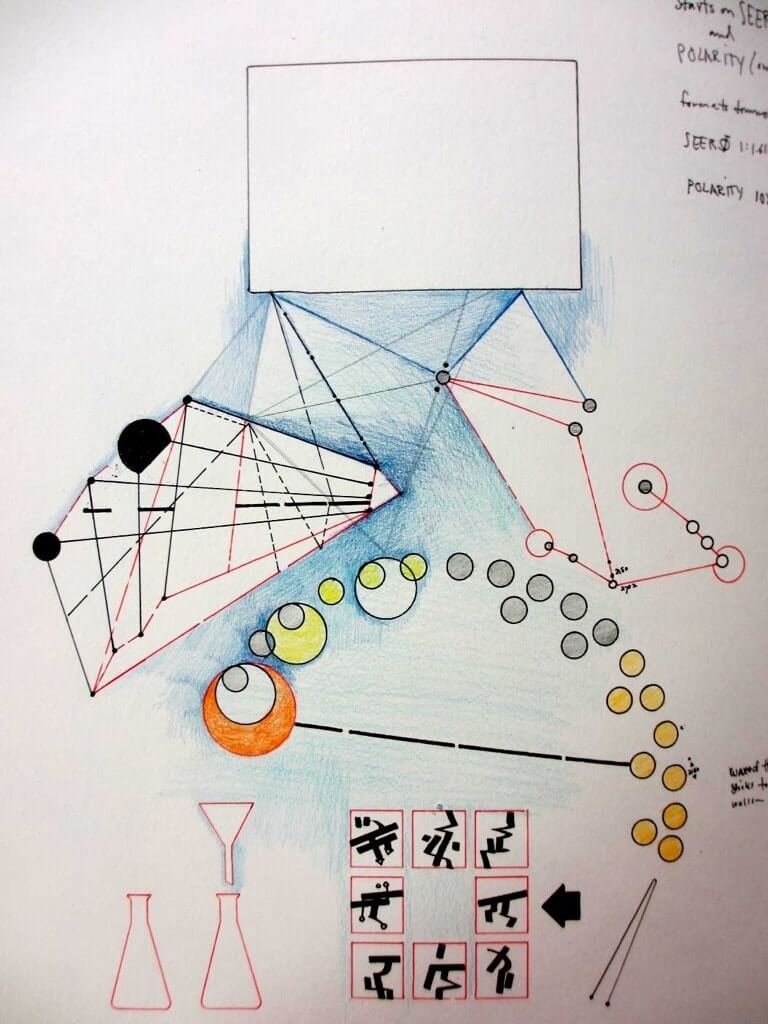
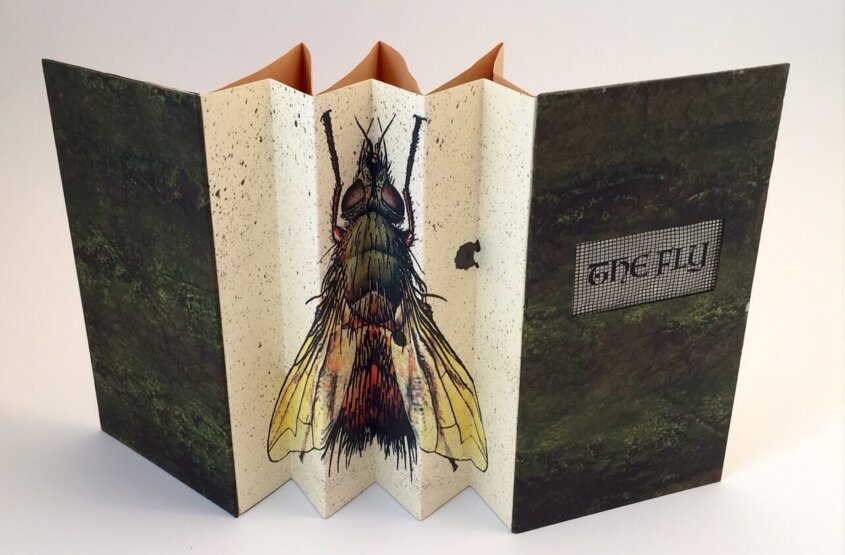
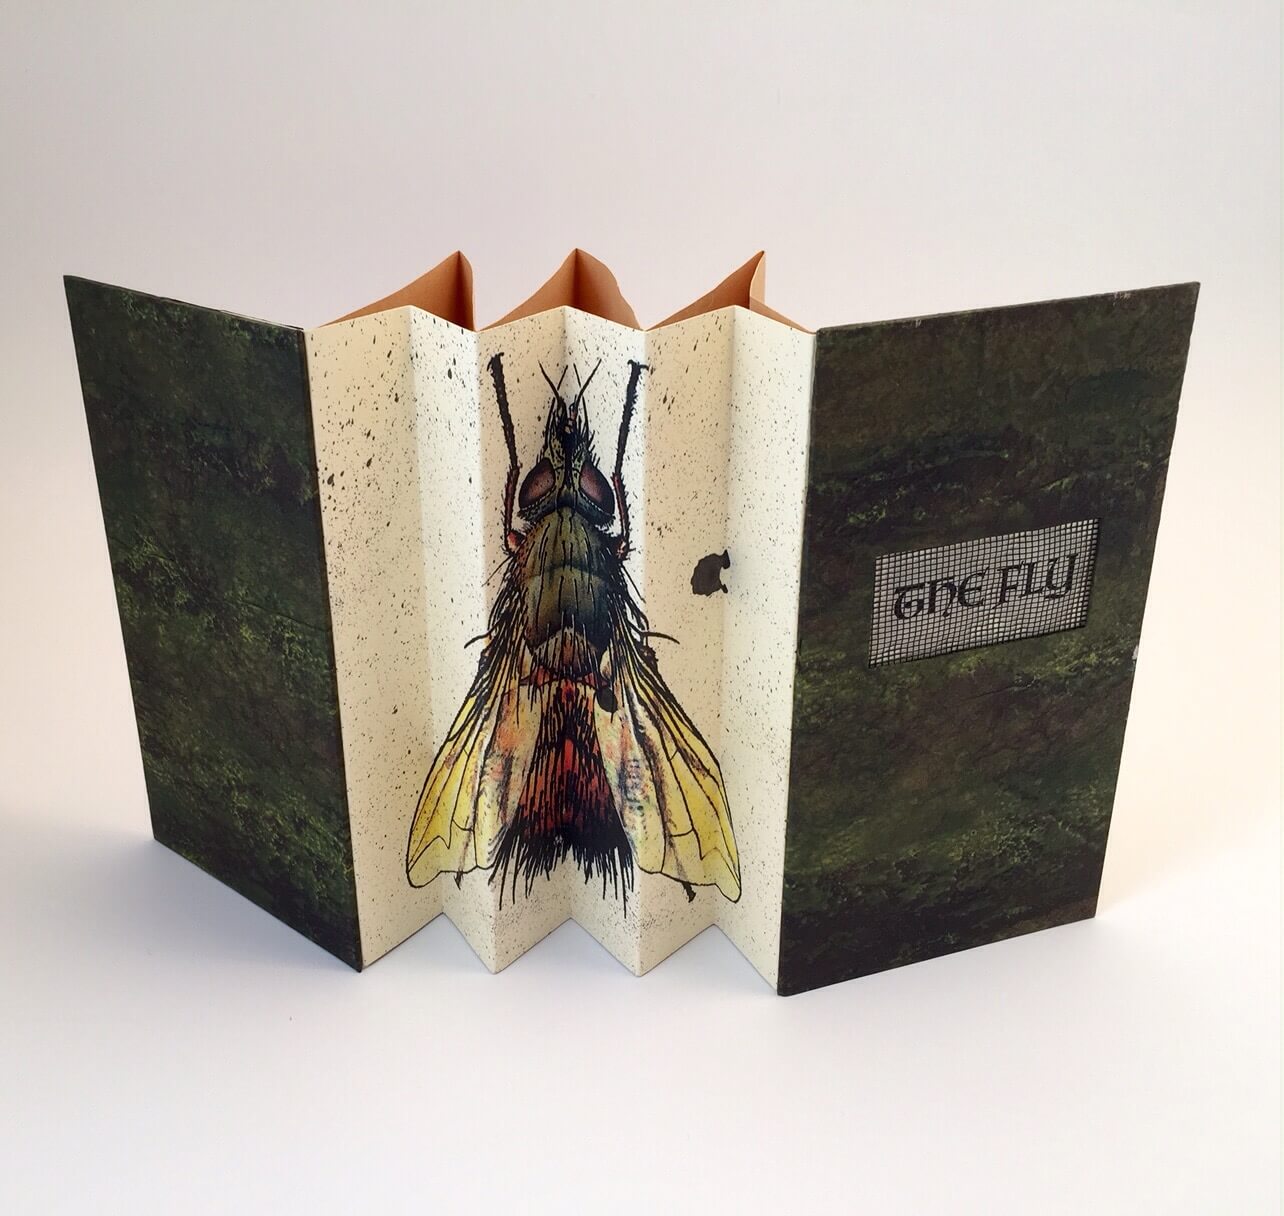
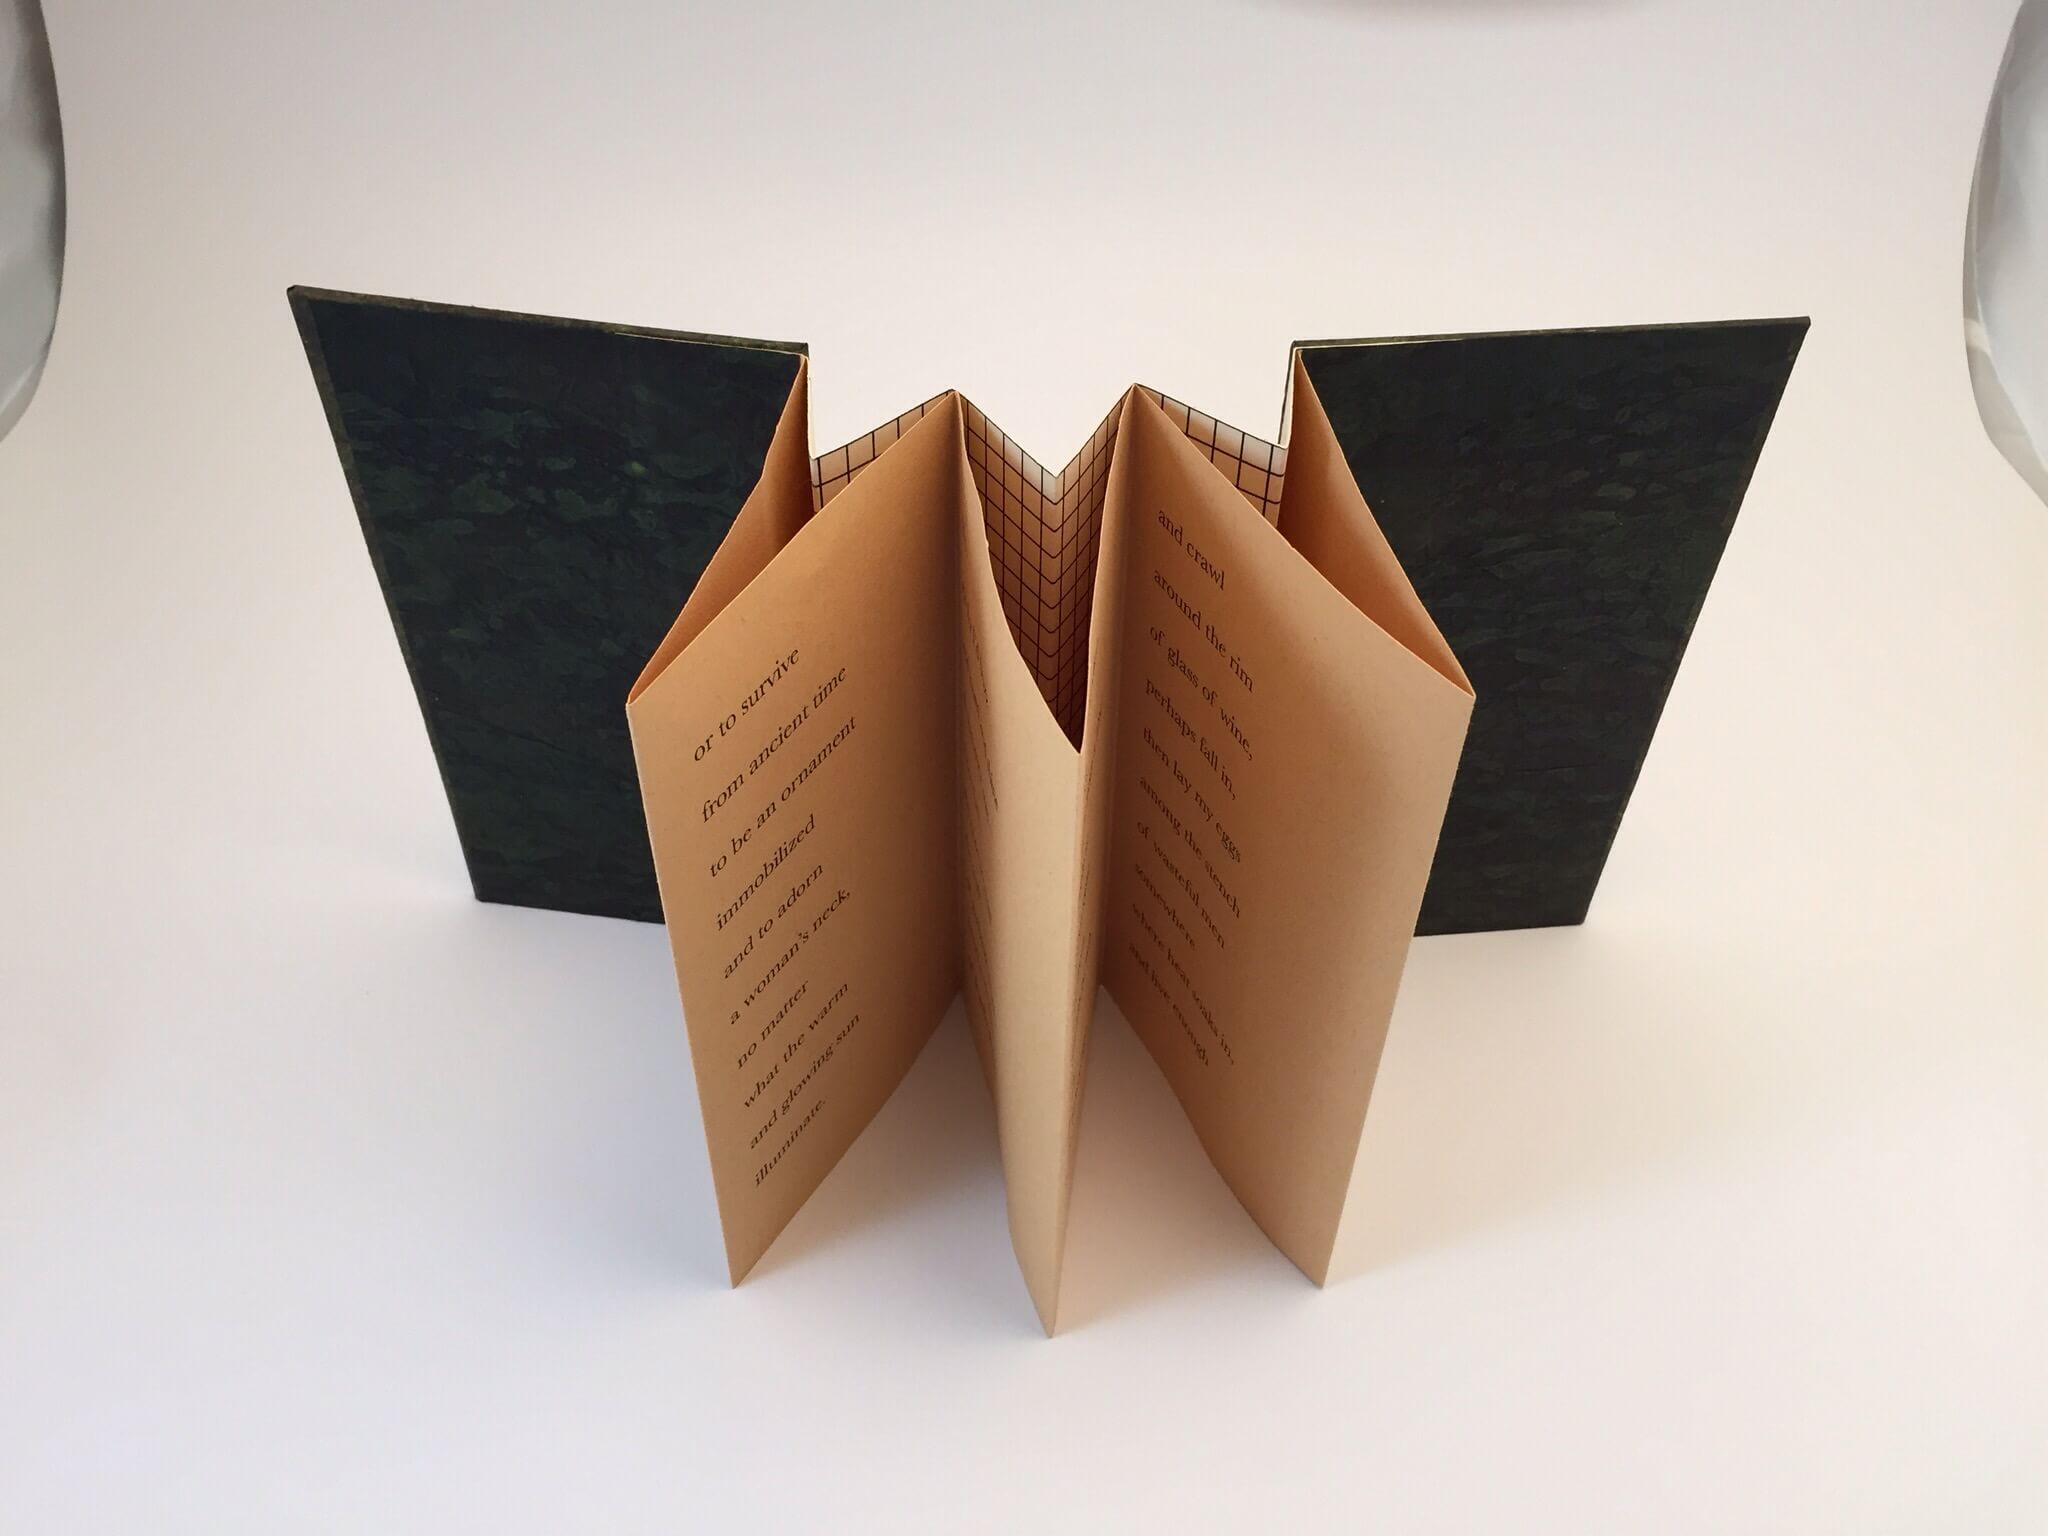
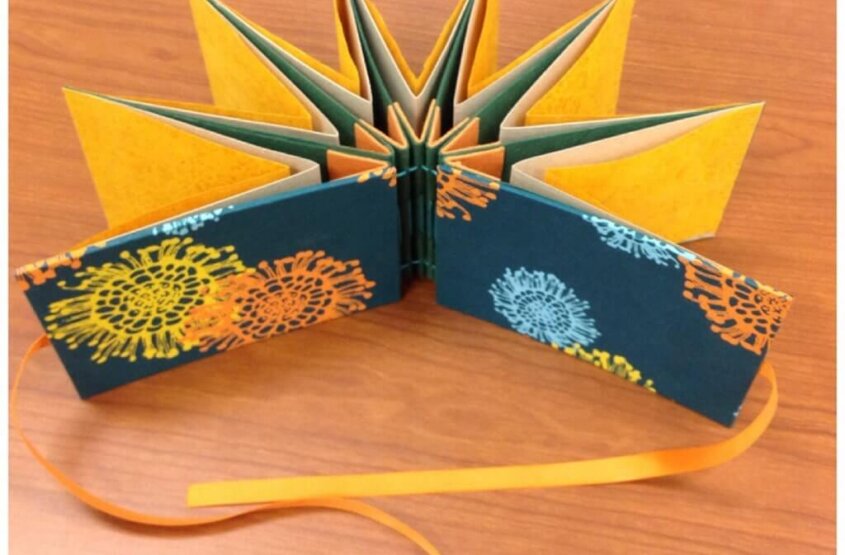
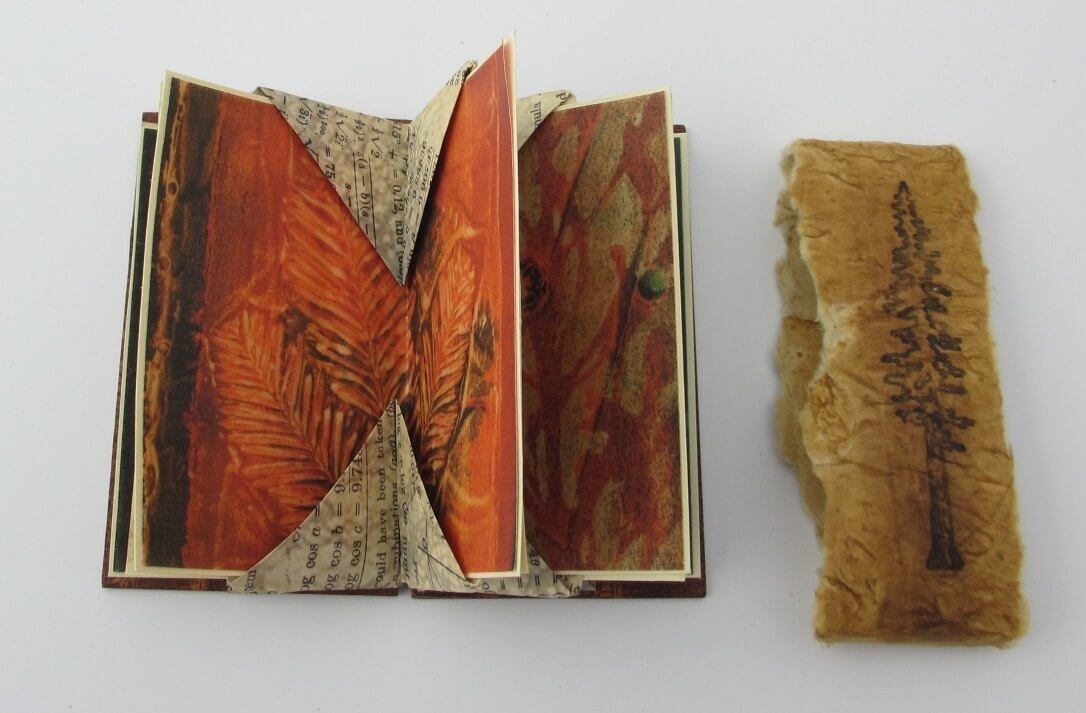
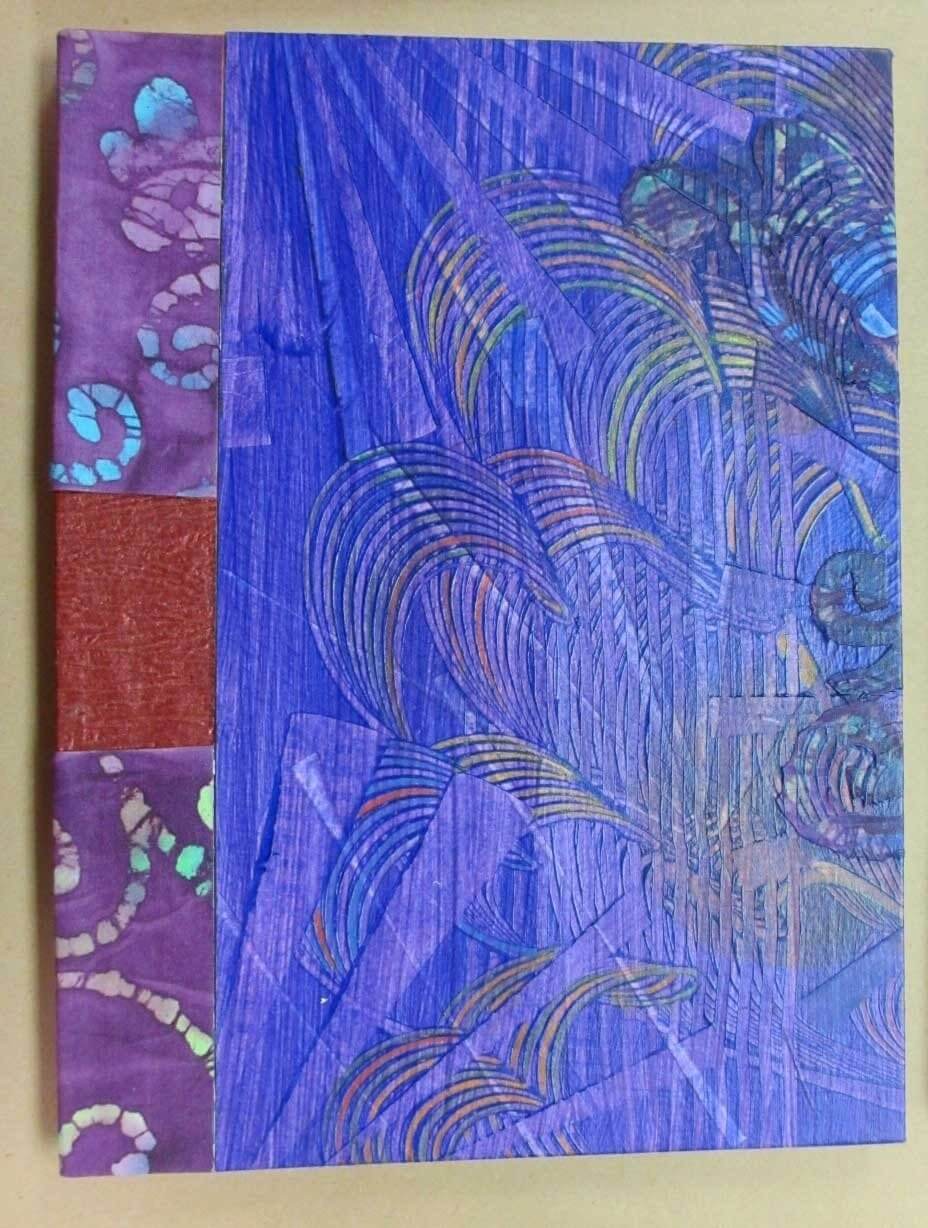
Don’t you love his artwork? He uses his handmade books as journals for creative thinking. He makes plans for books knowing that the final book may not look like any of his drawings.

20130828-170622.jpg
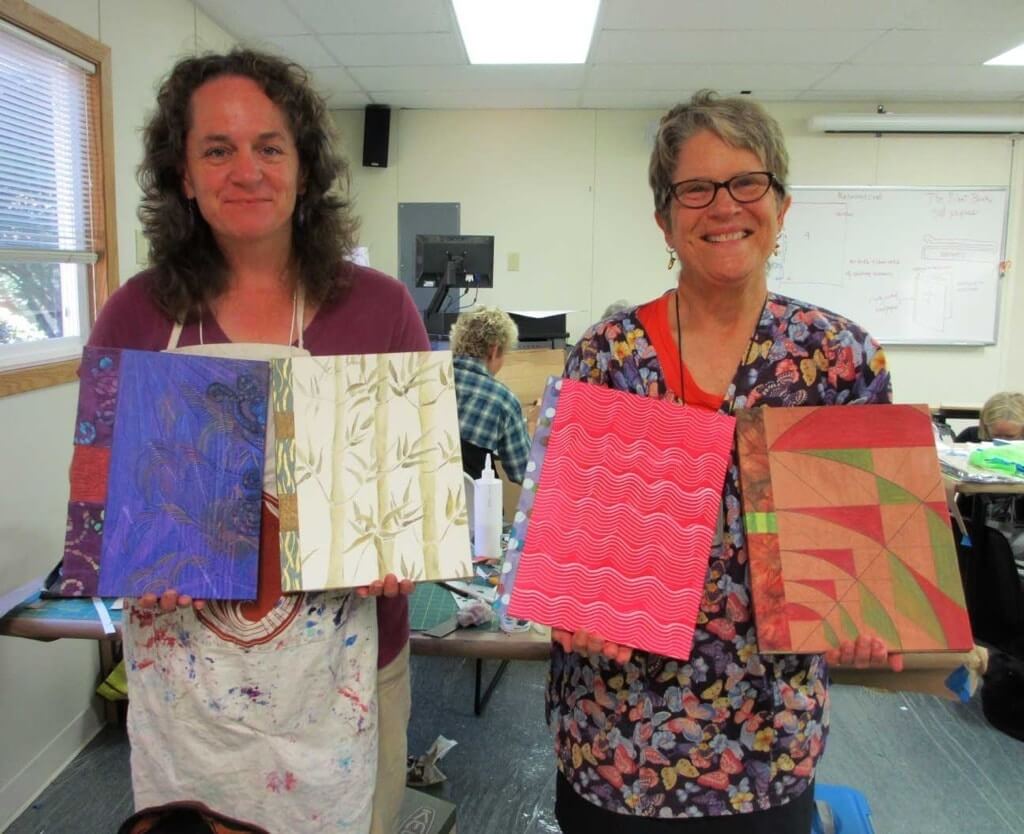
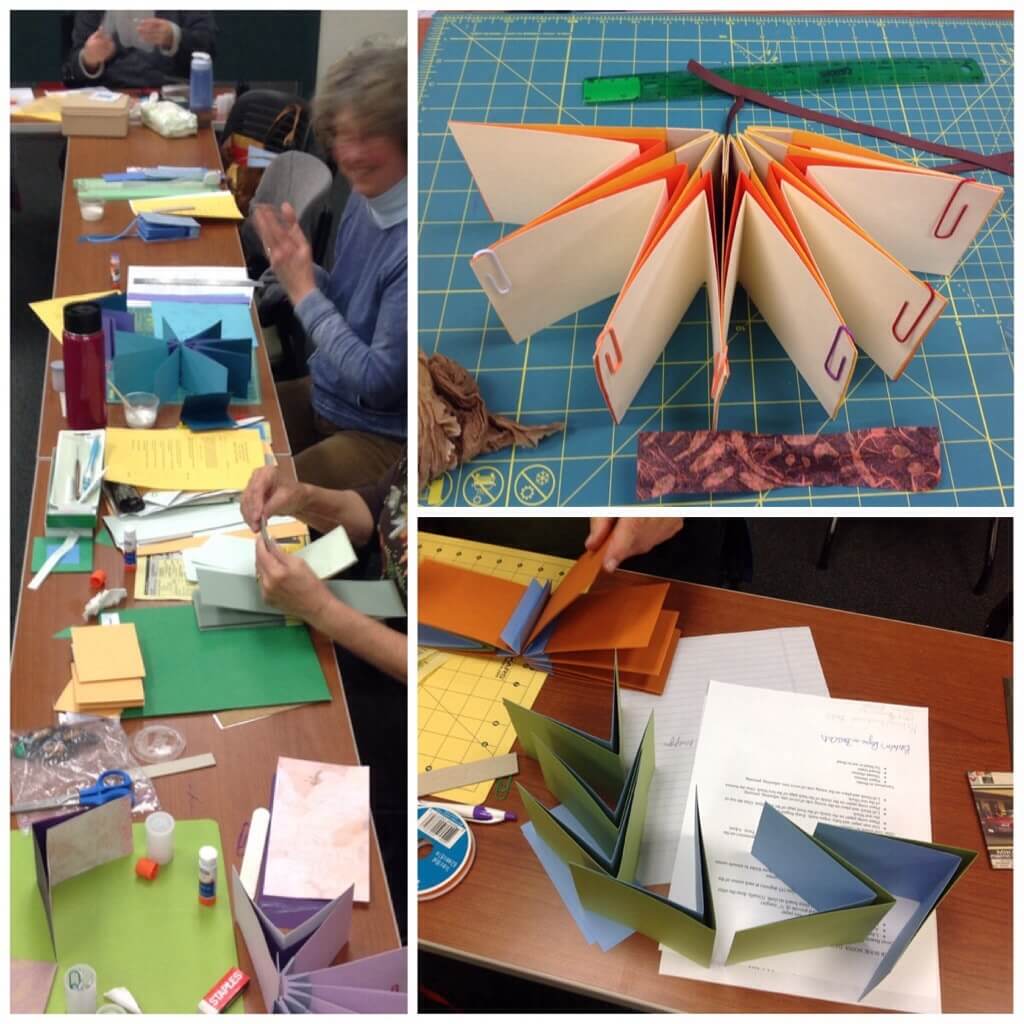
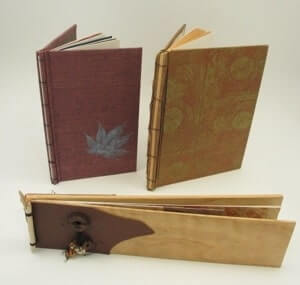
Beth and I with our four books.

20130828-170704.jpg
A closeup of Beth’s book—love the color.

20130828-170813.jpg
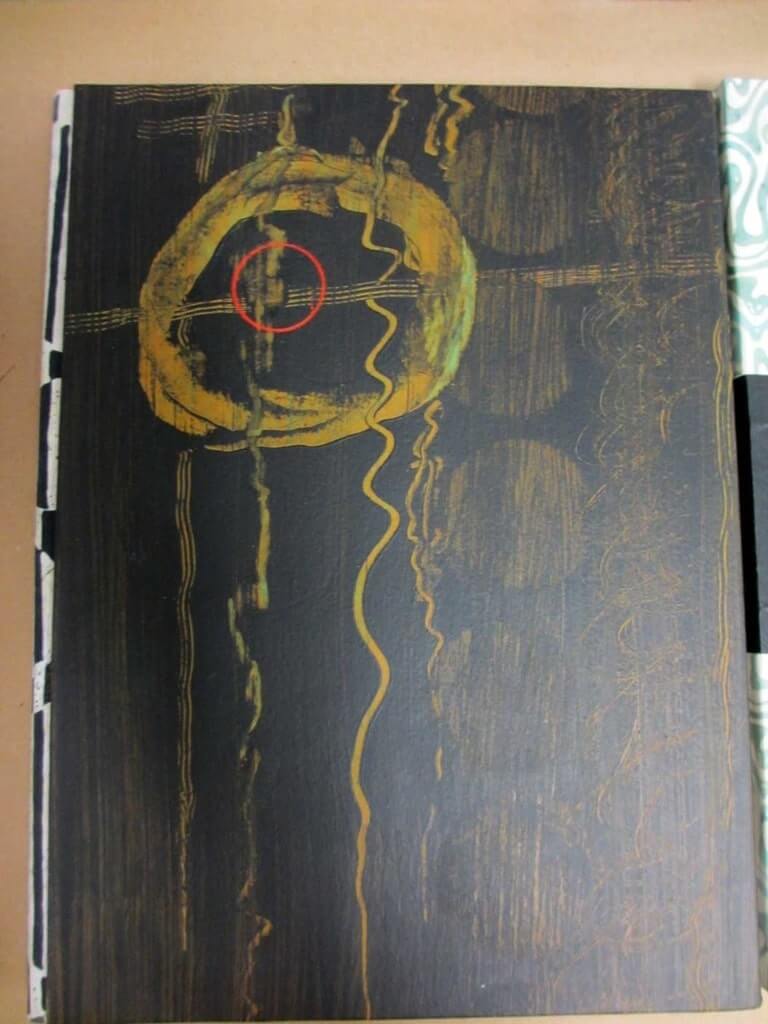
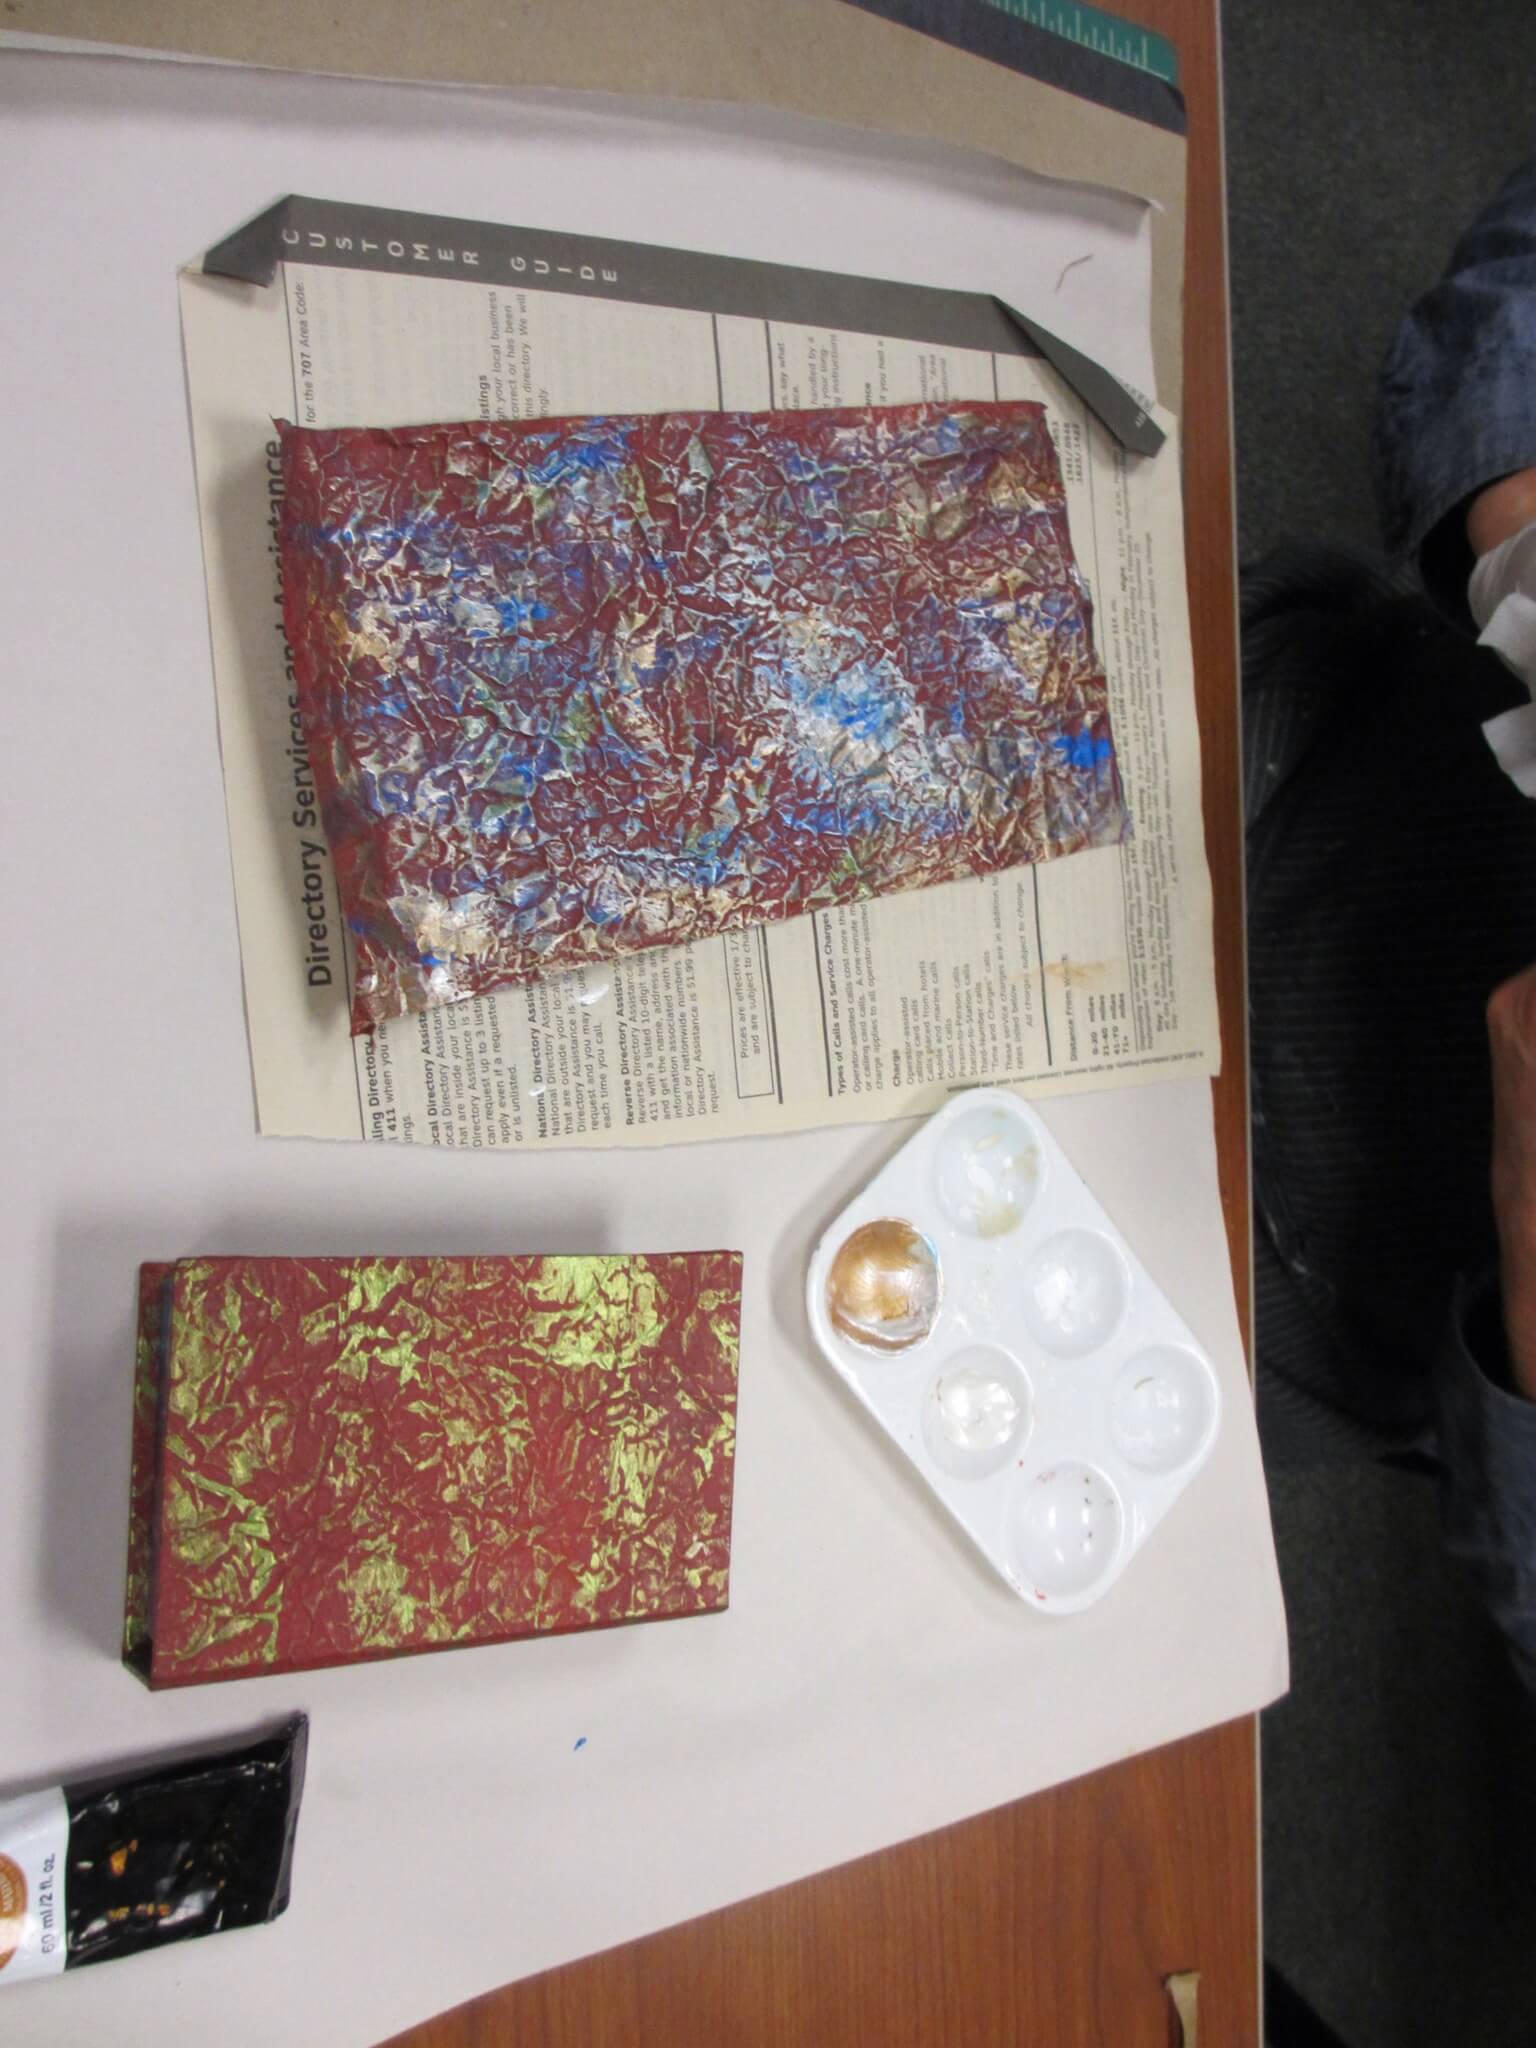
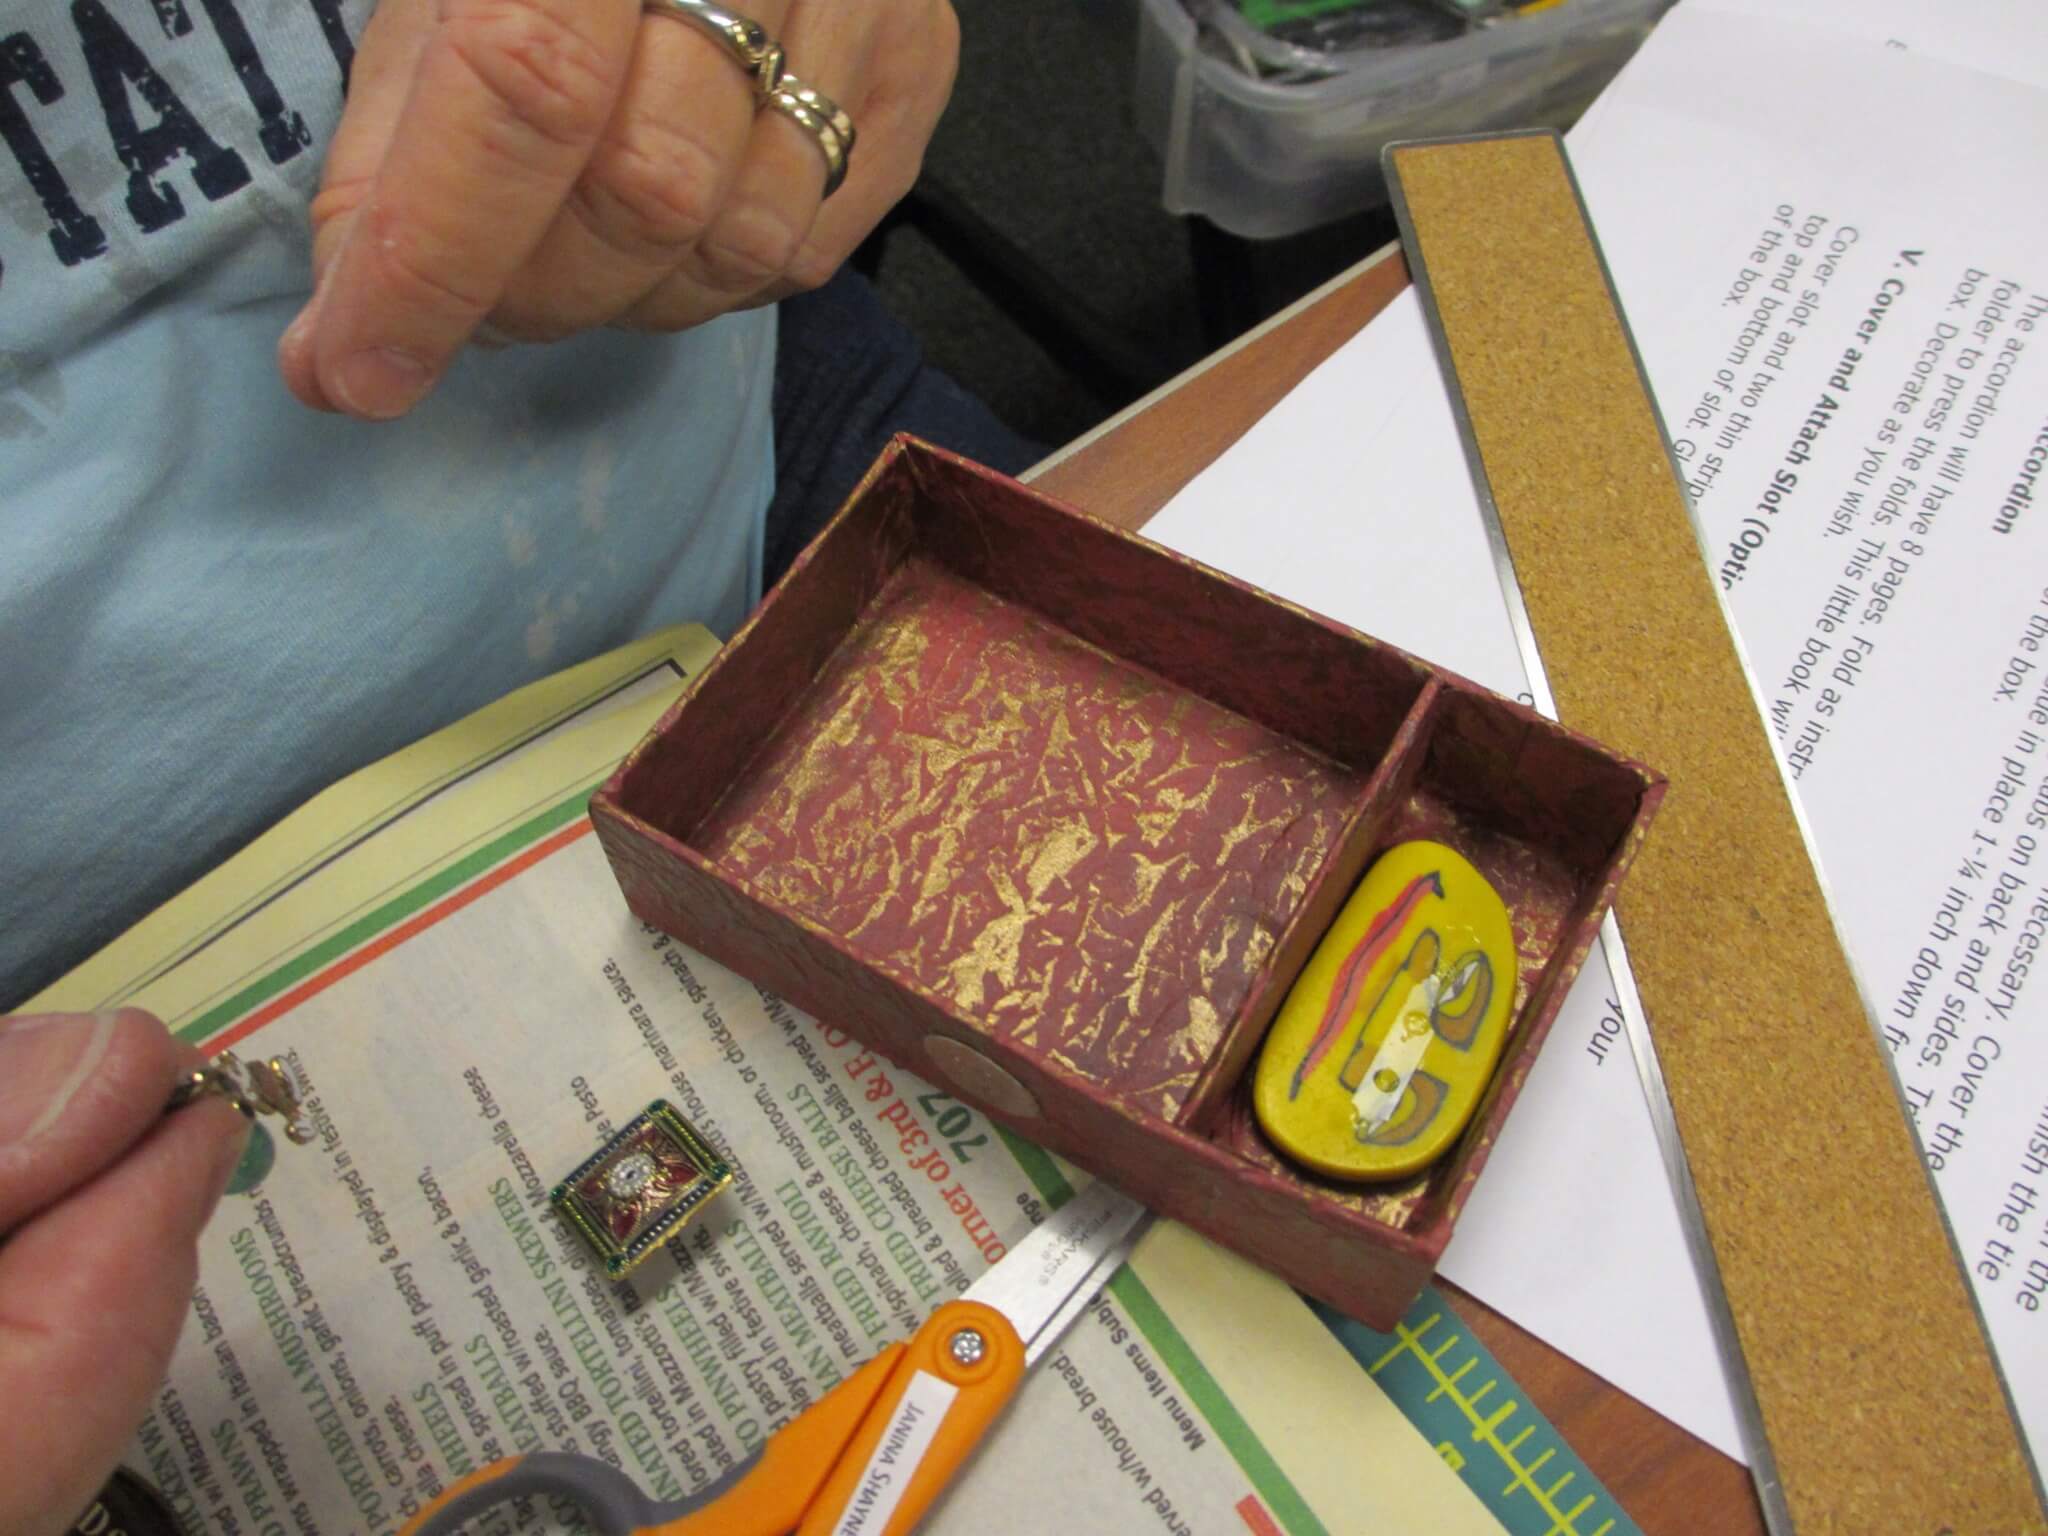
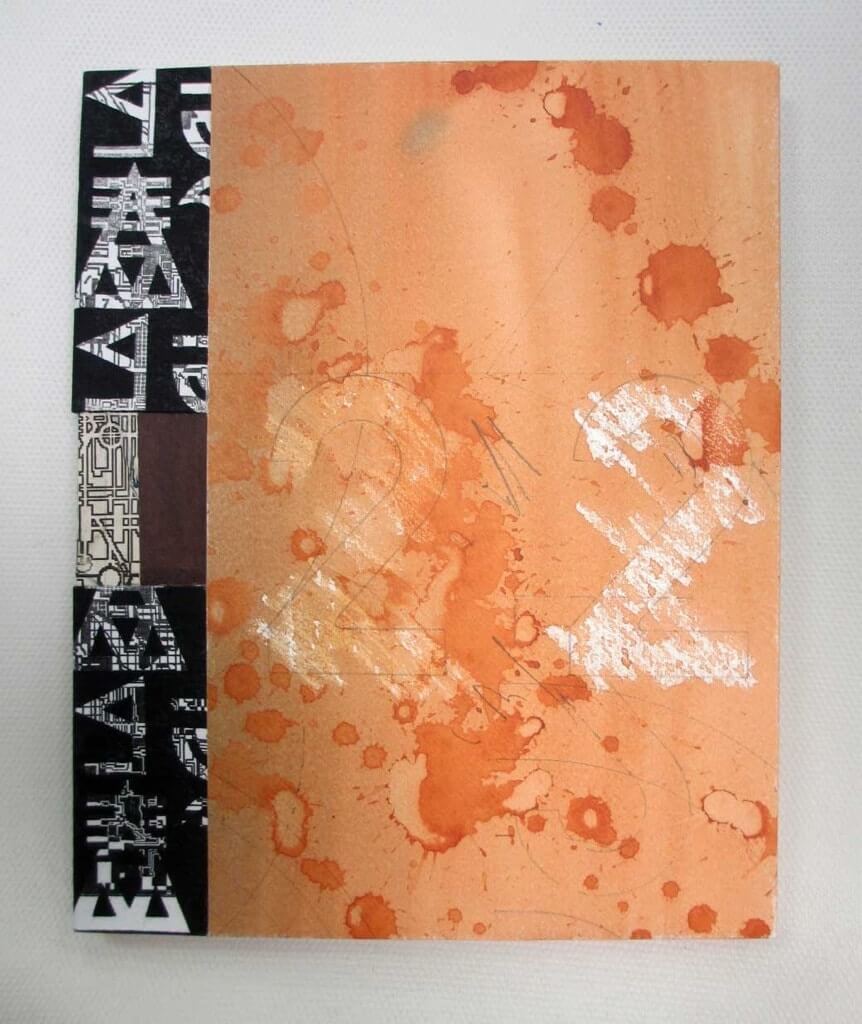
This is such a wonderful cover using paste and handmade tools.

20130828-170905.jpg
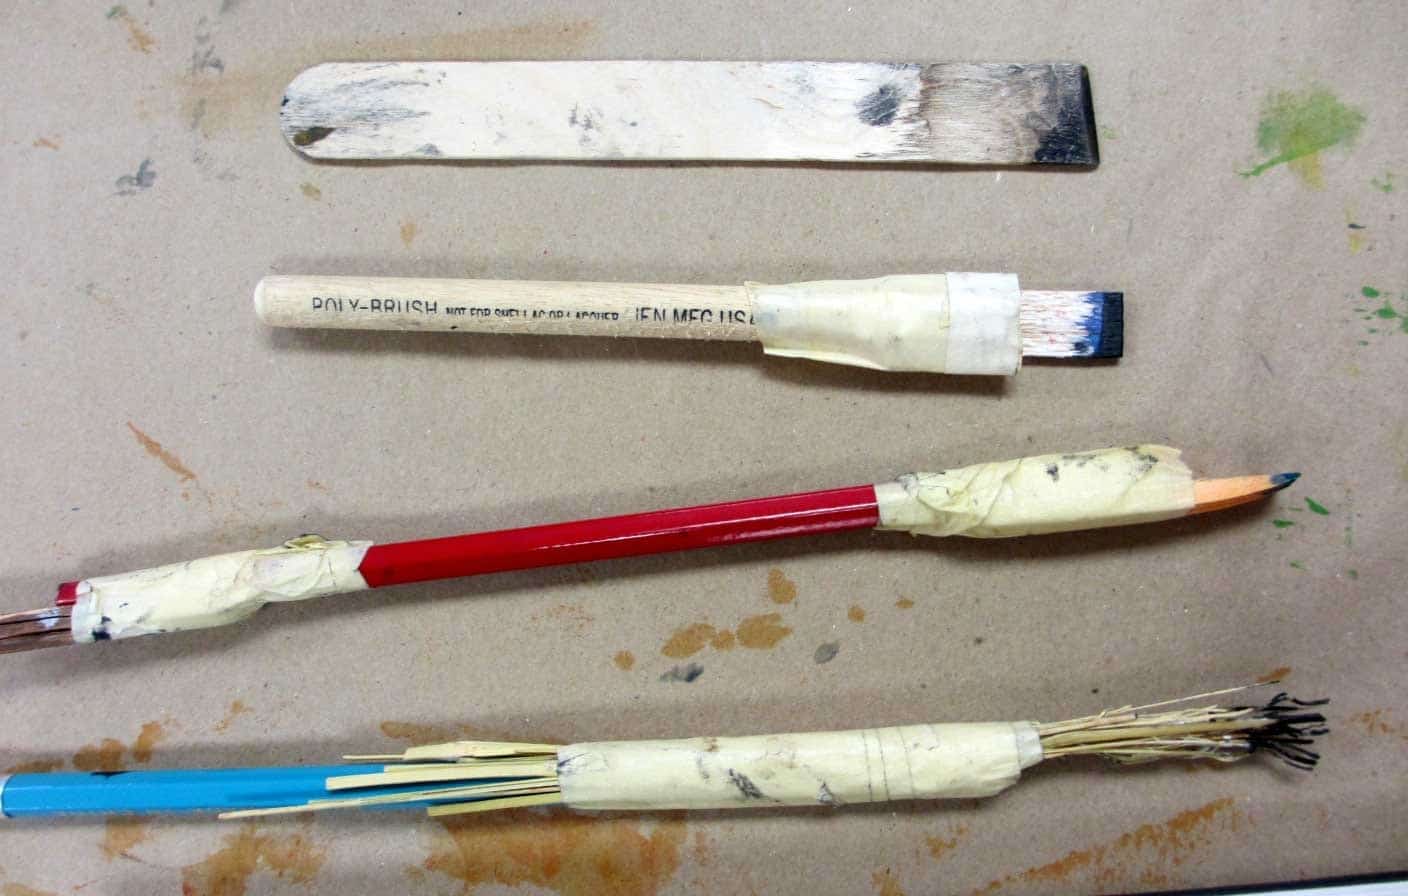
Some of the handmade tools—simple but clever.

20130828-171000.jpg
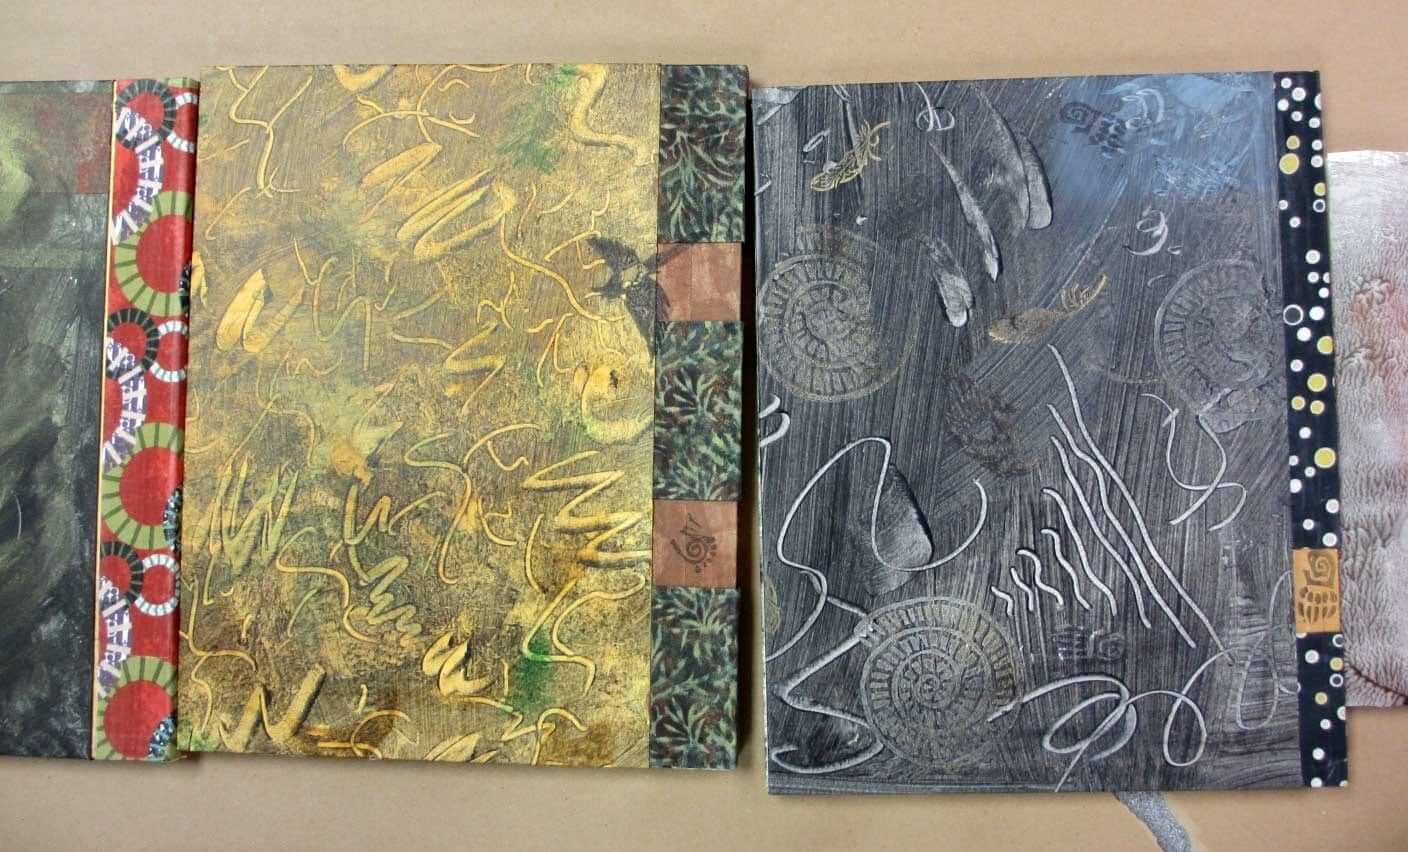
More luscious colors and books.

20130828-171035.jpg
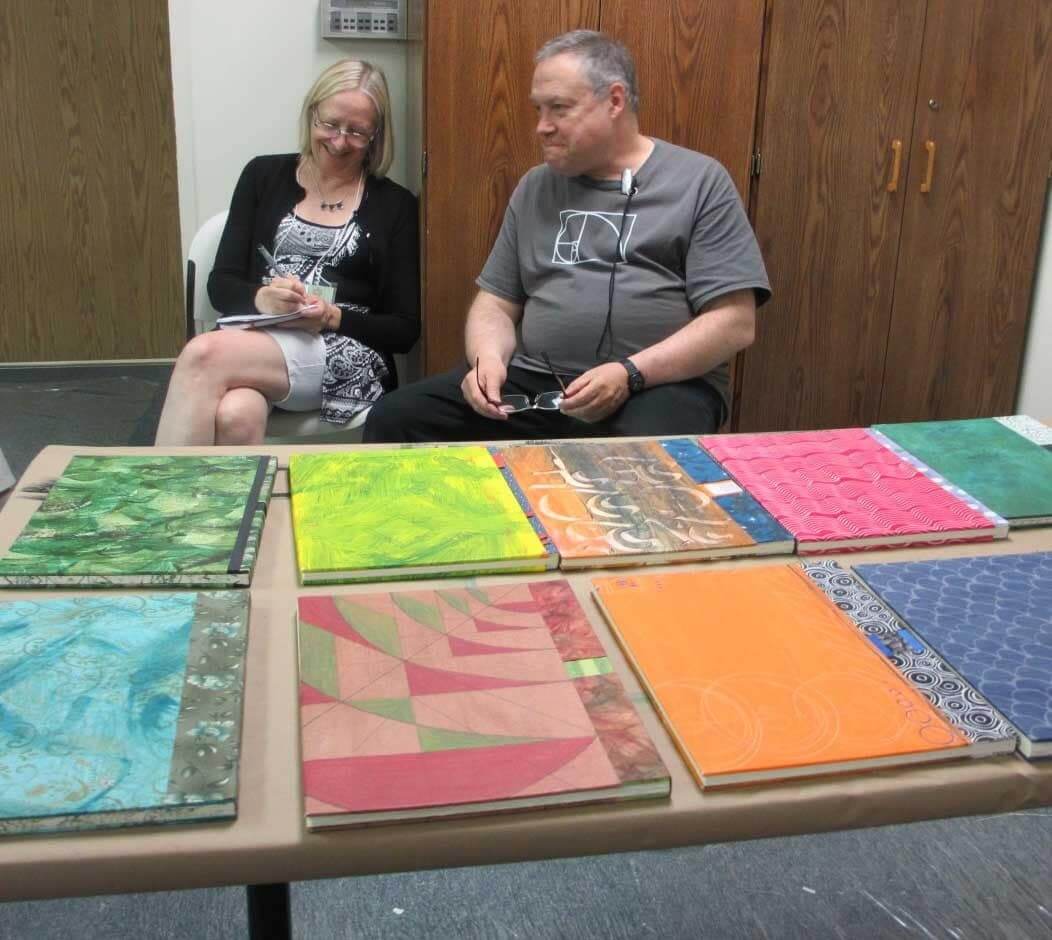
Tim enjoyed talking to all of the participants—he is truly interested in student work.

I joined an international exchange in January 2012 because a friend suggested that I do so….you see…one of the topics was “Equations”. I was placed in Group #4 with about 8 other artists, each with a different title. The idea was to make enough editions for everyone else in the group, plus one for Sarah Bodman whose book of short stories An Exercise for Kurt Johannessen
provided 100 titles for our editions. I know this sounds like old news but I still haven’t received several books so “the file i still open”. AND I’m still playing catch-up with my blog.

It took months for the ideas to come together and several more to experiment with my ideas and find an appropriate structure; with the serendipitous gift of some wonderful pieces of wood samples, i was on my way.

I wanted, somehow, to illustrate the interdependence of mathematics and nature. Since these books were going to be mailed to several countries, I wanted to feature the redwood forests where I live. Picking through my gelatin prints of local plants, I scanned several, thinking I would play with these and then go hiking and find other material to print. I started with not-so-nice colored prints and used Photoshop to alter the colors. Remarkably, the newer colors were so beautiful that I decided there was no need to make more gelatin prints. Lesson learned: don’t give up on things I’ve made. They can be altered! Cut them up, crop them, alter the colors, paint over them.

The pages for the Blizzard Book structure were made from a single sheet of paper made from a collage. The collage was created from torn pages of a vintage mathematics textbook, then scanned, and finally Photoshop was used to adjust the colors and add semi-transparent texture.

A redwood tree printed (heat transfer) on bands of handmade paper served as the closure for the book. The books were very small (2.5 in x 4 in) and easy to mail.

The books I have received so far are beautiful, skillfully constructed, and very creative. One of my favorite exchanges. One of the photos shows a gelatin print of redwood needles and the other shows the entire set as they were ready to be mailed (you can also see the Bubinga wooden covers).

20130616-230429.jpg

20130616-230513.jpg

I thought I was too late to submit my proposal for the Osher Lifelong Learning Institute (OLLI) but managed to write one and come up with some cute little books. I cannot teach the workshop until early December so it made sense to come up with something easy, seasonal, and fun. This is the result—a miniature (2″x2″) popup book. I used double sided wrapping paper for the pages and covers. This little thing doubles as a holiday ornament! I plan on making several variations, including a book for a necklace. It was a great escape from a dreary day!

20130606-213017.jpg

Travel Book

Travel Book

photo by Ellen Golla

One of the best ways to get back into one’s artwork is to commit to something! I was asked to teach an OLLI (Osher Life Long Learning Institute) book arts course this summer and I agreed. I thought it might be a good idea if I made the structure first ! and since the students might well be beginners, I wanted something that involved introductory techniques. I thought a travel journal would be a good idea and after looking at a number of structures I decided to adapt a travel journal from Re-bound, Creating Handmade Books from Recycled and Repurposed Materials, by Jeannine Stein. I replaced the more difficult structures and rewrote the instructions for a beginning student.

The journal is surprisingly easy to make and students should enjoy customizing it. Since the accordion fold structure is only attached at the inside back of the cover, the pages open out to the left and right, enabling the students to attach a number of folios or envelopes in the valley folds. The entire book was put together using double-sided tape, gluesticks, and linen thread. Much as I love PVA glue, it does require more instruction and can be very messy. Various elementary techniques will be taught (in fact, this may  be more important than the end result): the art of folding, the 3 & 5 hole pamphlet stitch, cutting and measuring, proper gluing, determining paper type and grain, and creating a cover using bookcloth for the spine.

After creating all of the text block and finding myself drawn to vintage images and colors, I decided that the gameboard I have chosen for the front and back covers just didn’t do what I wanted. However, the backs of the boards were a dark, textured black and I used that for the outside of the back and covered the other board for the front. Gameboards are nice because they are easier to find than book board (at least in Humboldt County, California) and if it is cut to size, two of the edges would be finished and two would require covering. Re-bound uses cigar box paper to cover the edges but I haven’t seen that in Humboldt County; however, on one of my frequent thrift shop adventures, I found some stretchy black tape with adhesive on one side and it worked like a charm. Turns out it was electrical tape and I just bought 5 rolls (white, red, blue, orange, green) at my local hardware store! The box is a bracelet jewelry box and I covered it with paper I printed myself with an image of a vintage Chinese map. The photographs were taken on a recent trip to Patagonia, the box carries pencils, pens, and erasers, the slit pockets and envelopes hold ephemera. Folio papers are handmade mango paper from Solutions in Arcata.

OLLI course: Introduction to the Book Arts, Create a Custom Journal. Tuesdays June 12, 19, 26, 1:00 pm to 3:00 pm.

OLLI website summer catalog will be up later this month.