I was distraught when I realized that I had scheduled a book workshop with Margo Klass at the Newport Paper and Book Arts Festival on the day of the Science March! I have taught or tutored mathematics for over 30 years and know the importance of encouraging young people to love science/mathematics and to support scientific research in the US. My husband is a mathematician who worked with modeling endangered species, my daughter has a degree in applied mathematics and is a web designer, and my son is a mechanical engineer who works on instruments that are sent into space. We have many friends who work tirelessly in the sciences – even my ex-husband was an electrical engineer. We are awash in science!
Margo’s classes are always wonderful and I was eager to learn her techniques and variations for the ancient Tacket Binding. We were asked to pick out one sheet from many gorgeous printed Italian papers and to use it to inspire the artistic decisions regarding our book. Ha! There on the table was a beautiful sheet of paper printed with color wheels and historical diagrams used by Sir Isaac Newton! Once again, books arts provide for personal expression. The sheet was calling my name.
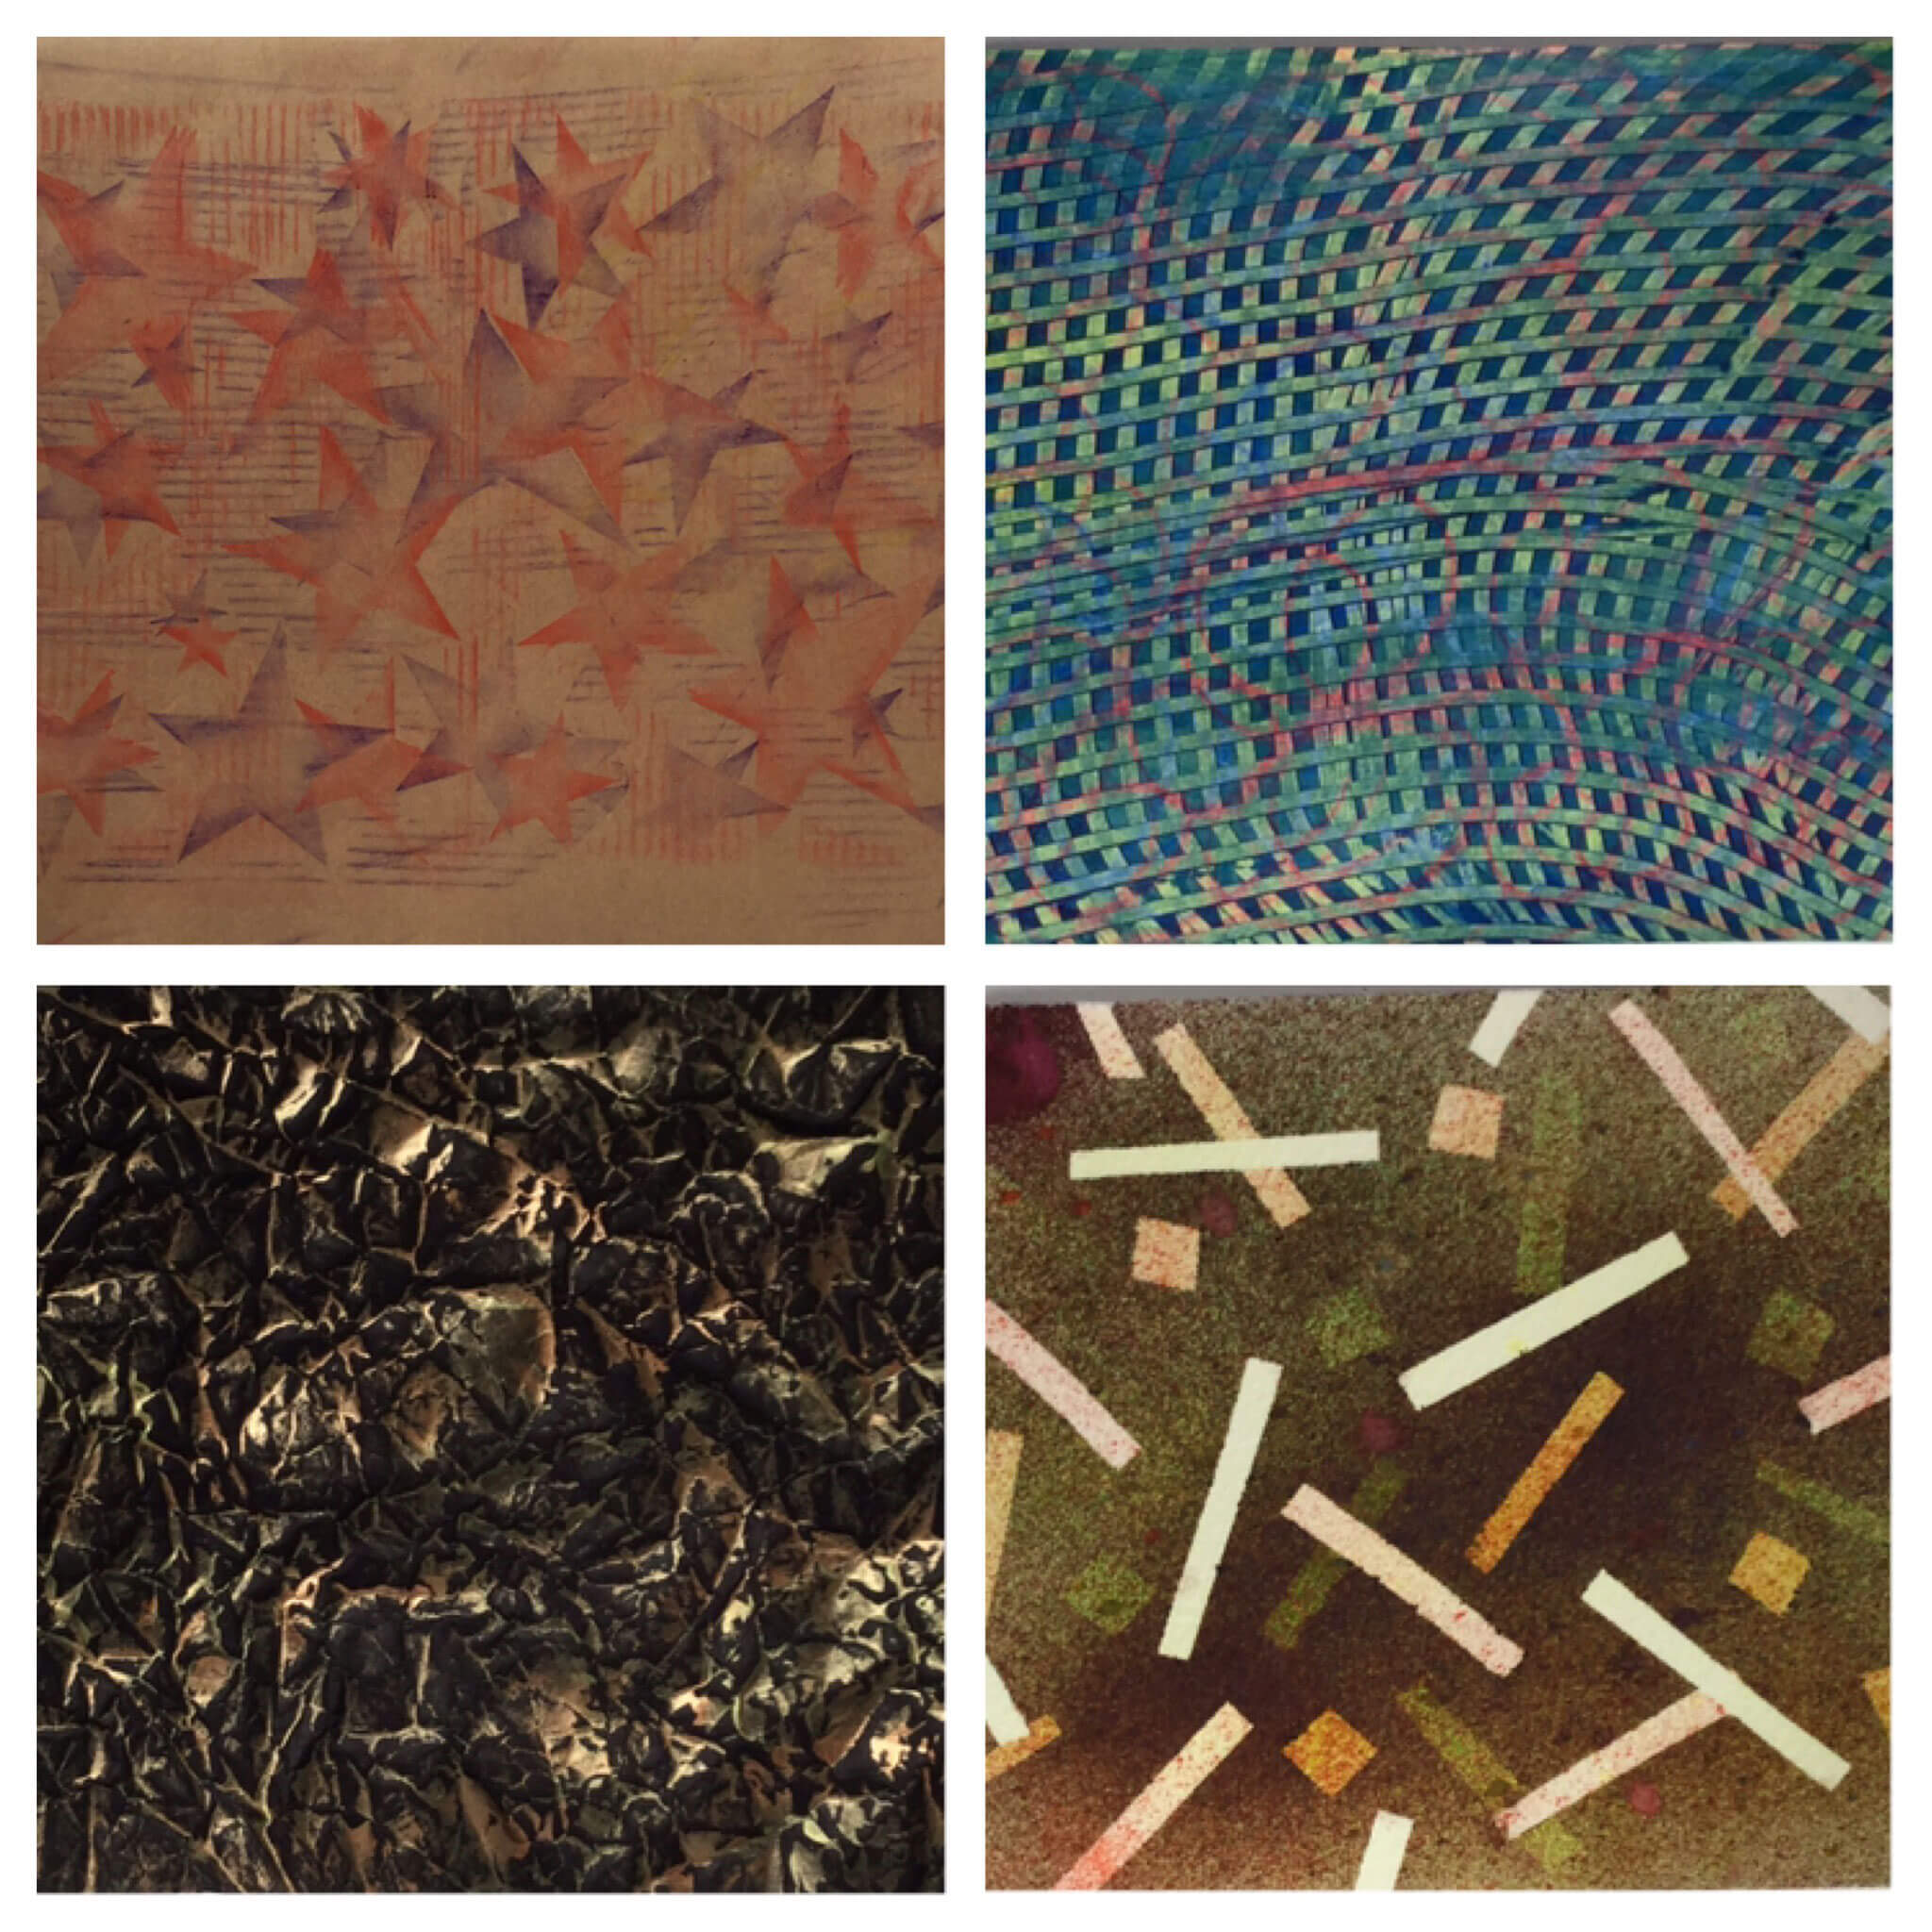
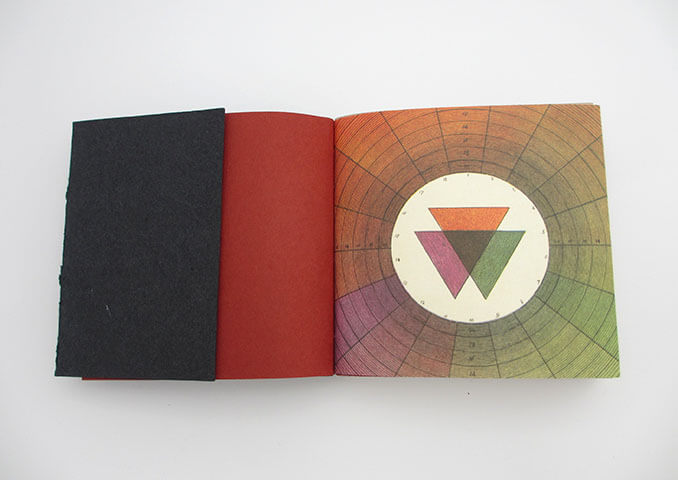
Isaac Newton was a professor at Cambridge University, England. His mathematical research was so advanced that few could understand what he was doing and he often lectured to an empty lecture hall. He also understood that light was “Physics” and proceeded to separate white light into a color spectrum using a prism. He then developed the color wheel; this discovery and publication in the sciences changed the world of ART. Never mind that he is considered the father of calculus (with a nod to Archimedes and Leibniz). You can read about his discovery at this “colorful” web exhibit.
The Italian papers served as section covers. I’d never thought about using paper with such large images because so much of the print wasn’t used (my linear side again) but Margo spent time discussing the interplay of parts of images and the importance of considering how adjacent section covers could play off of each other. The result was just wonderful.
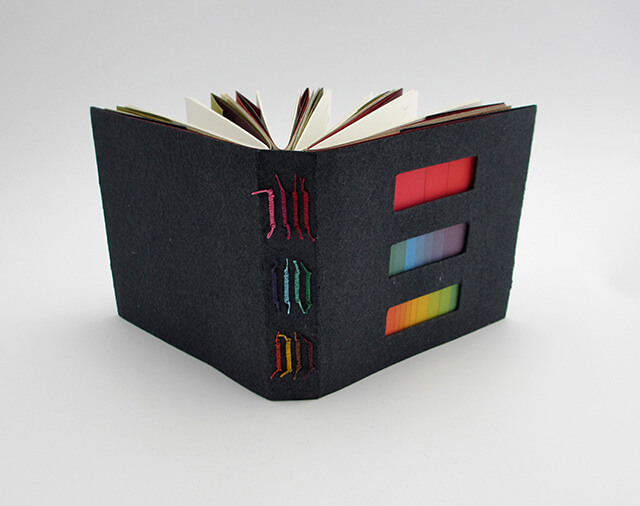
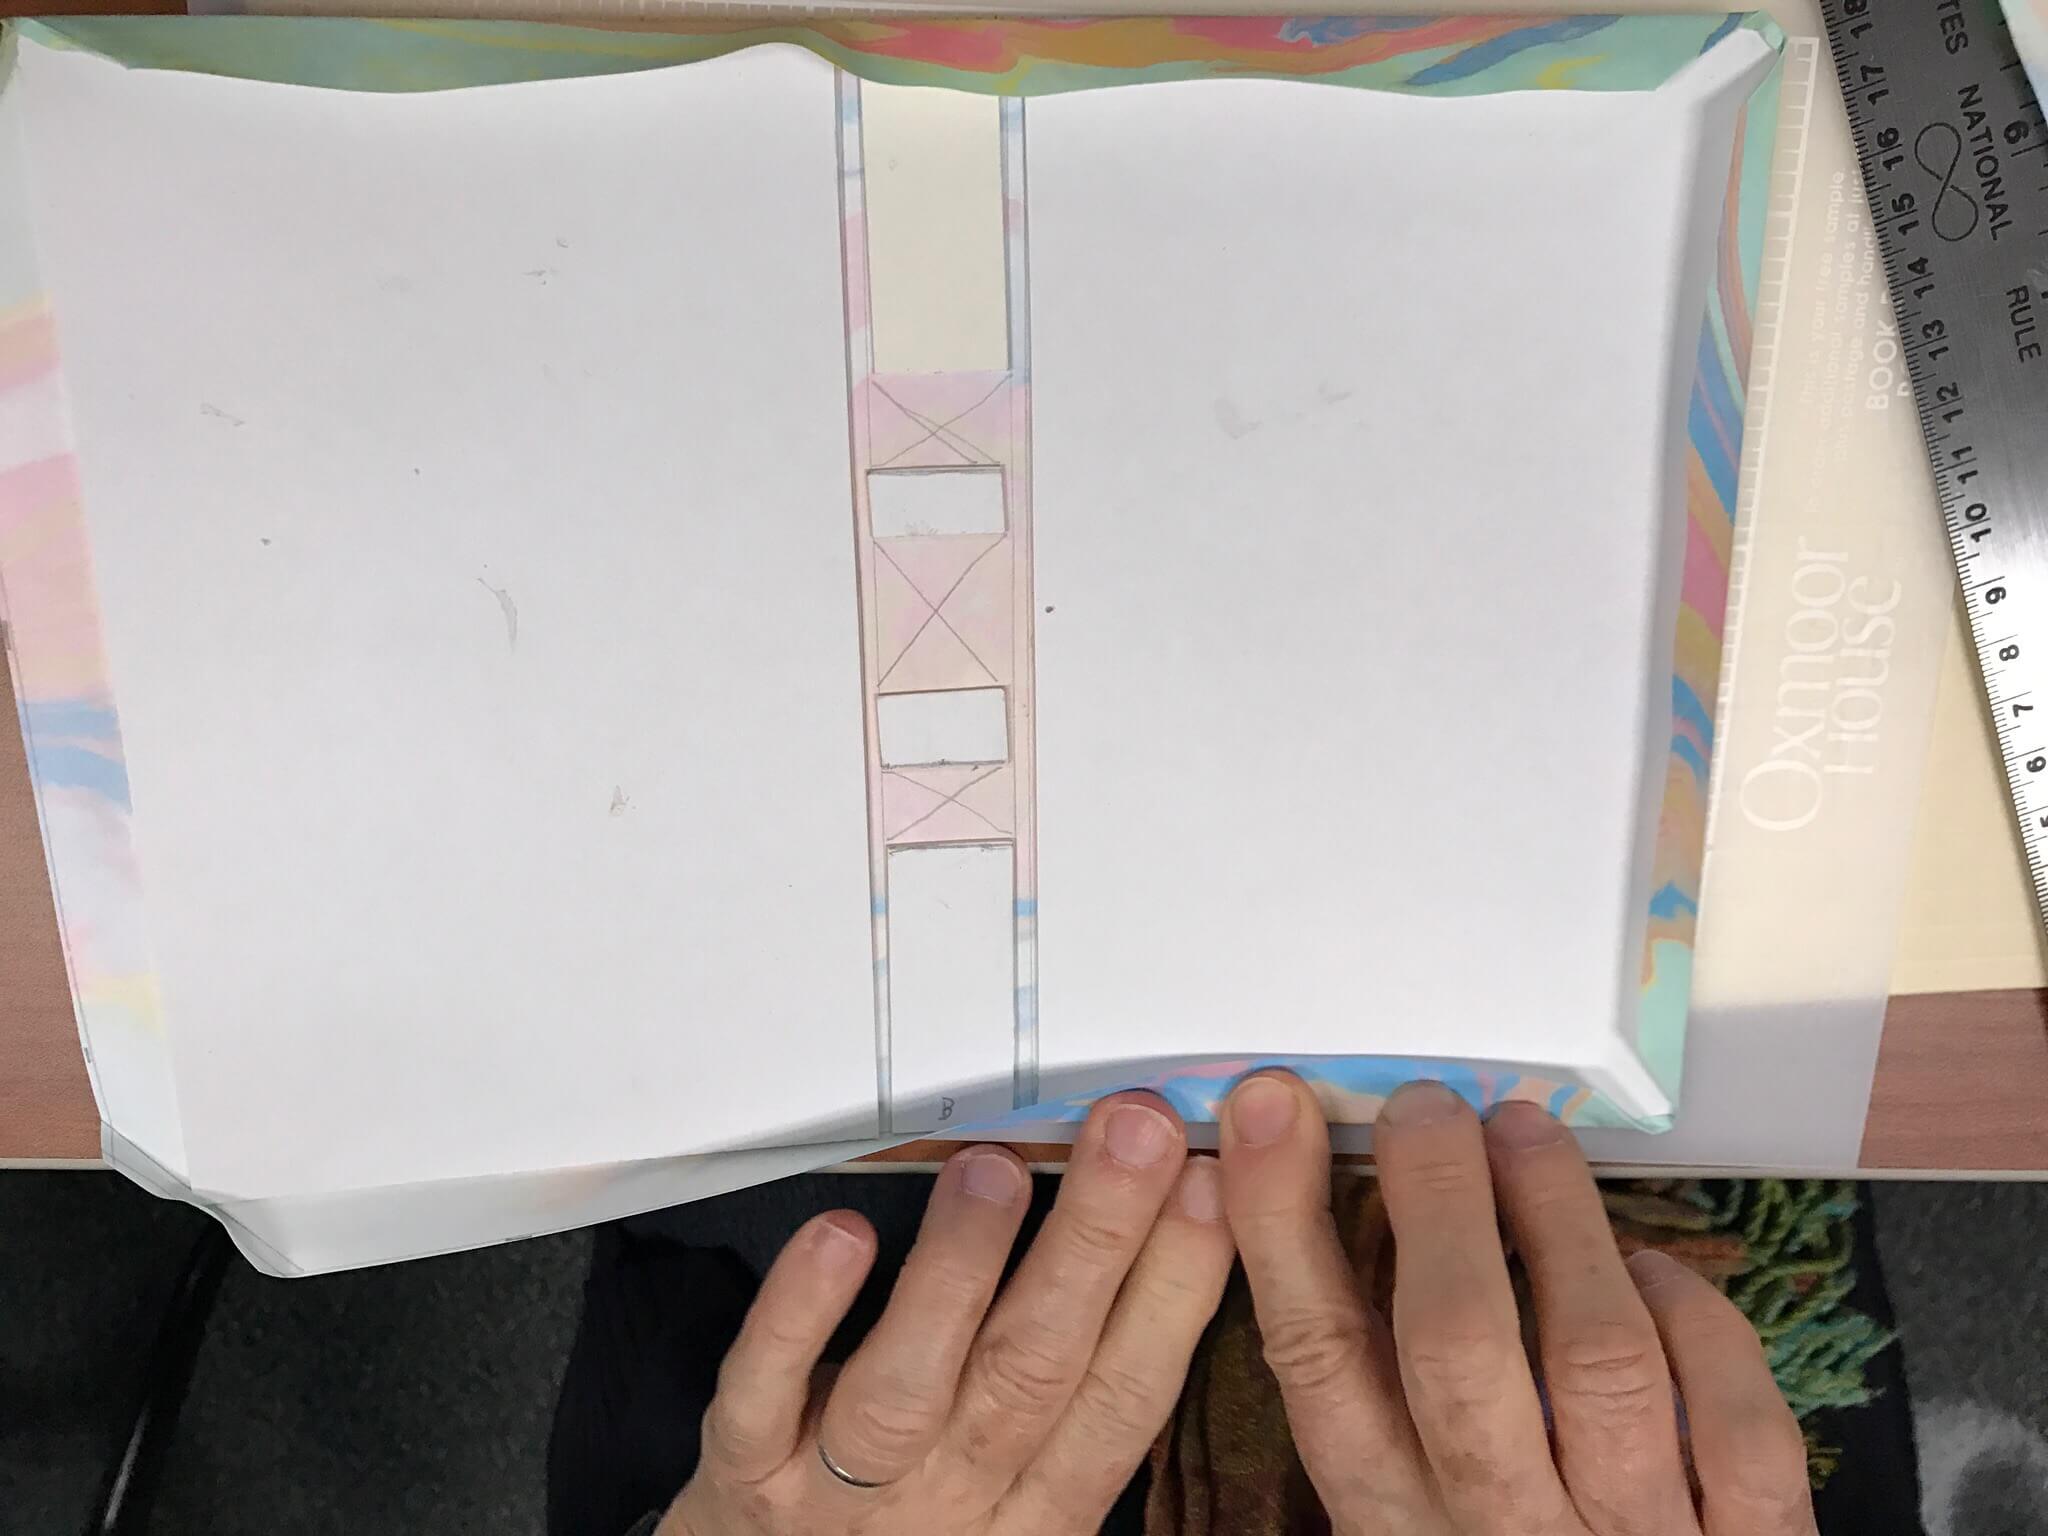
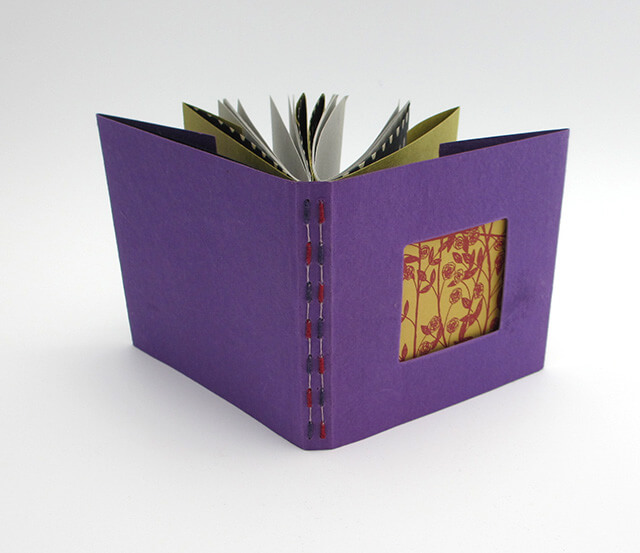
Windows Reveal the Color Spectrum
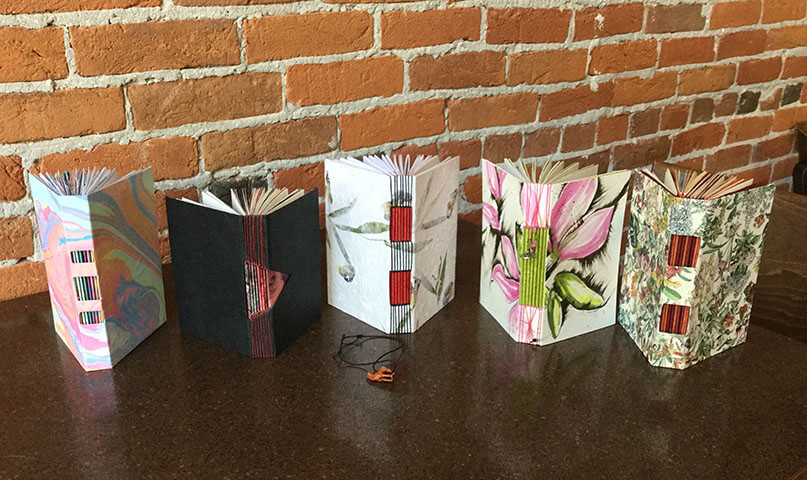
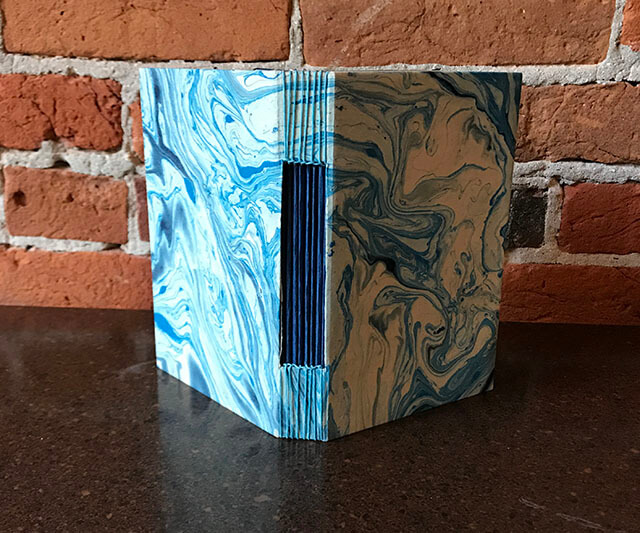
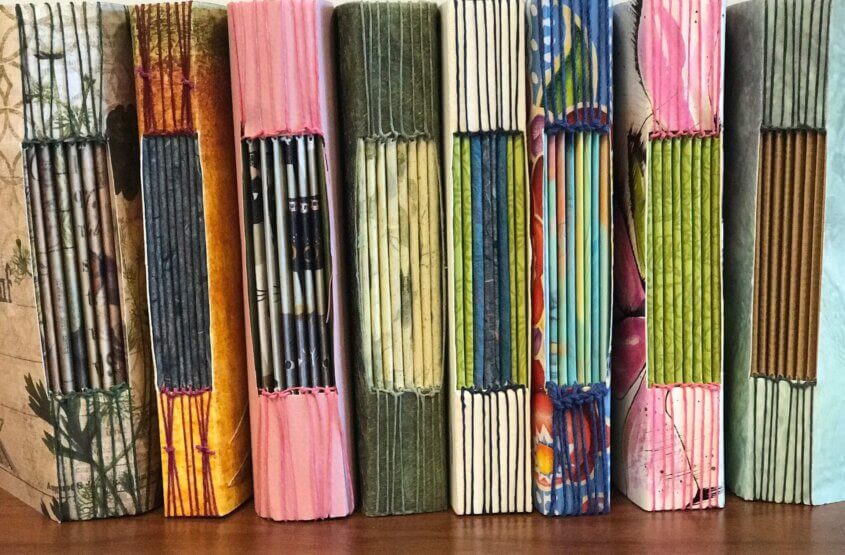
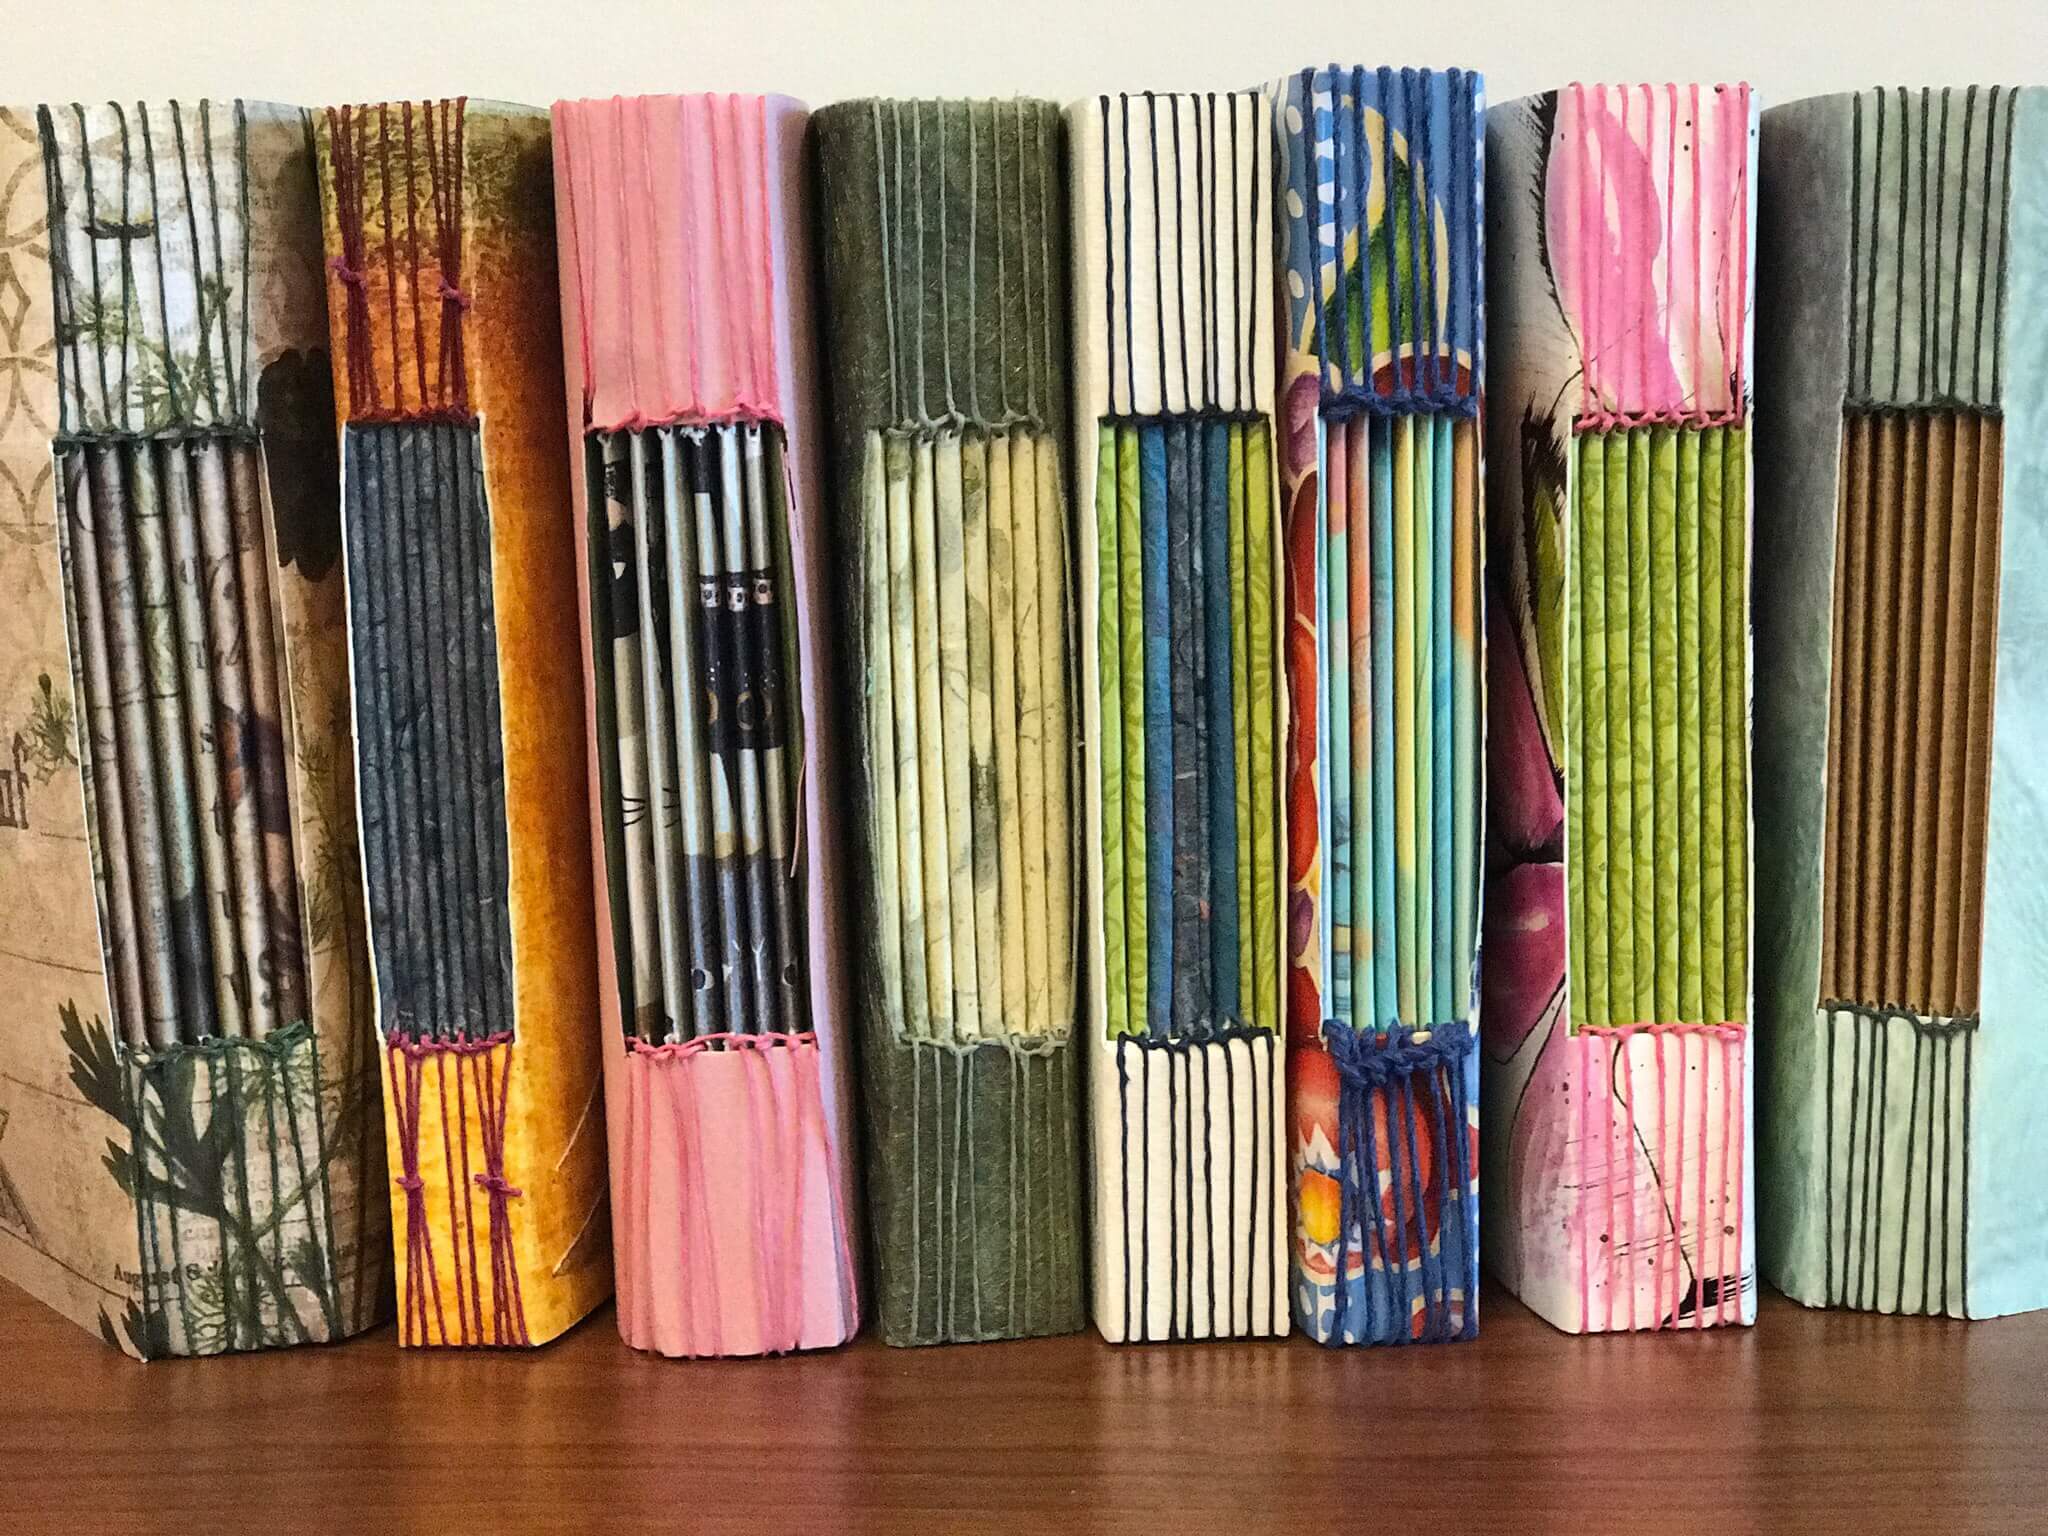
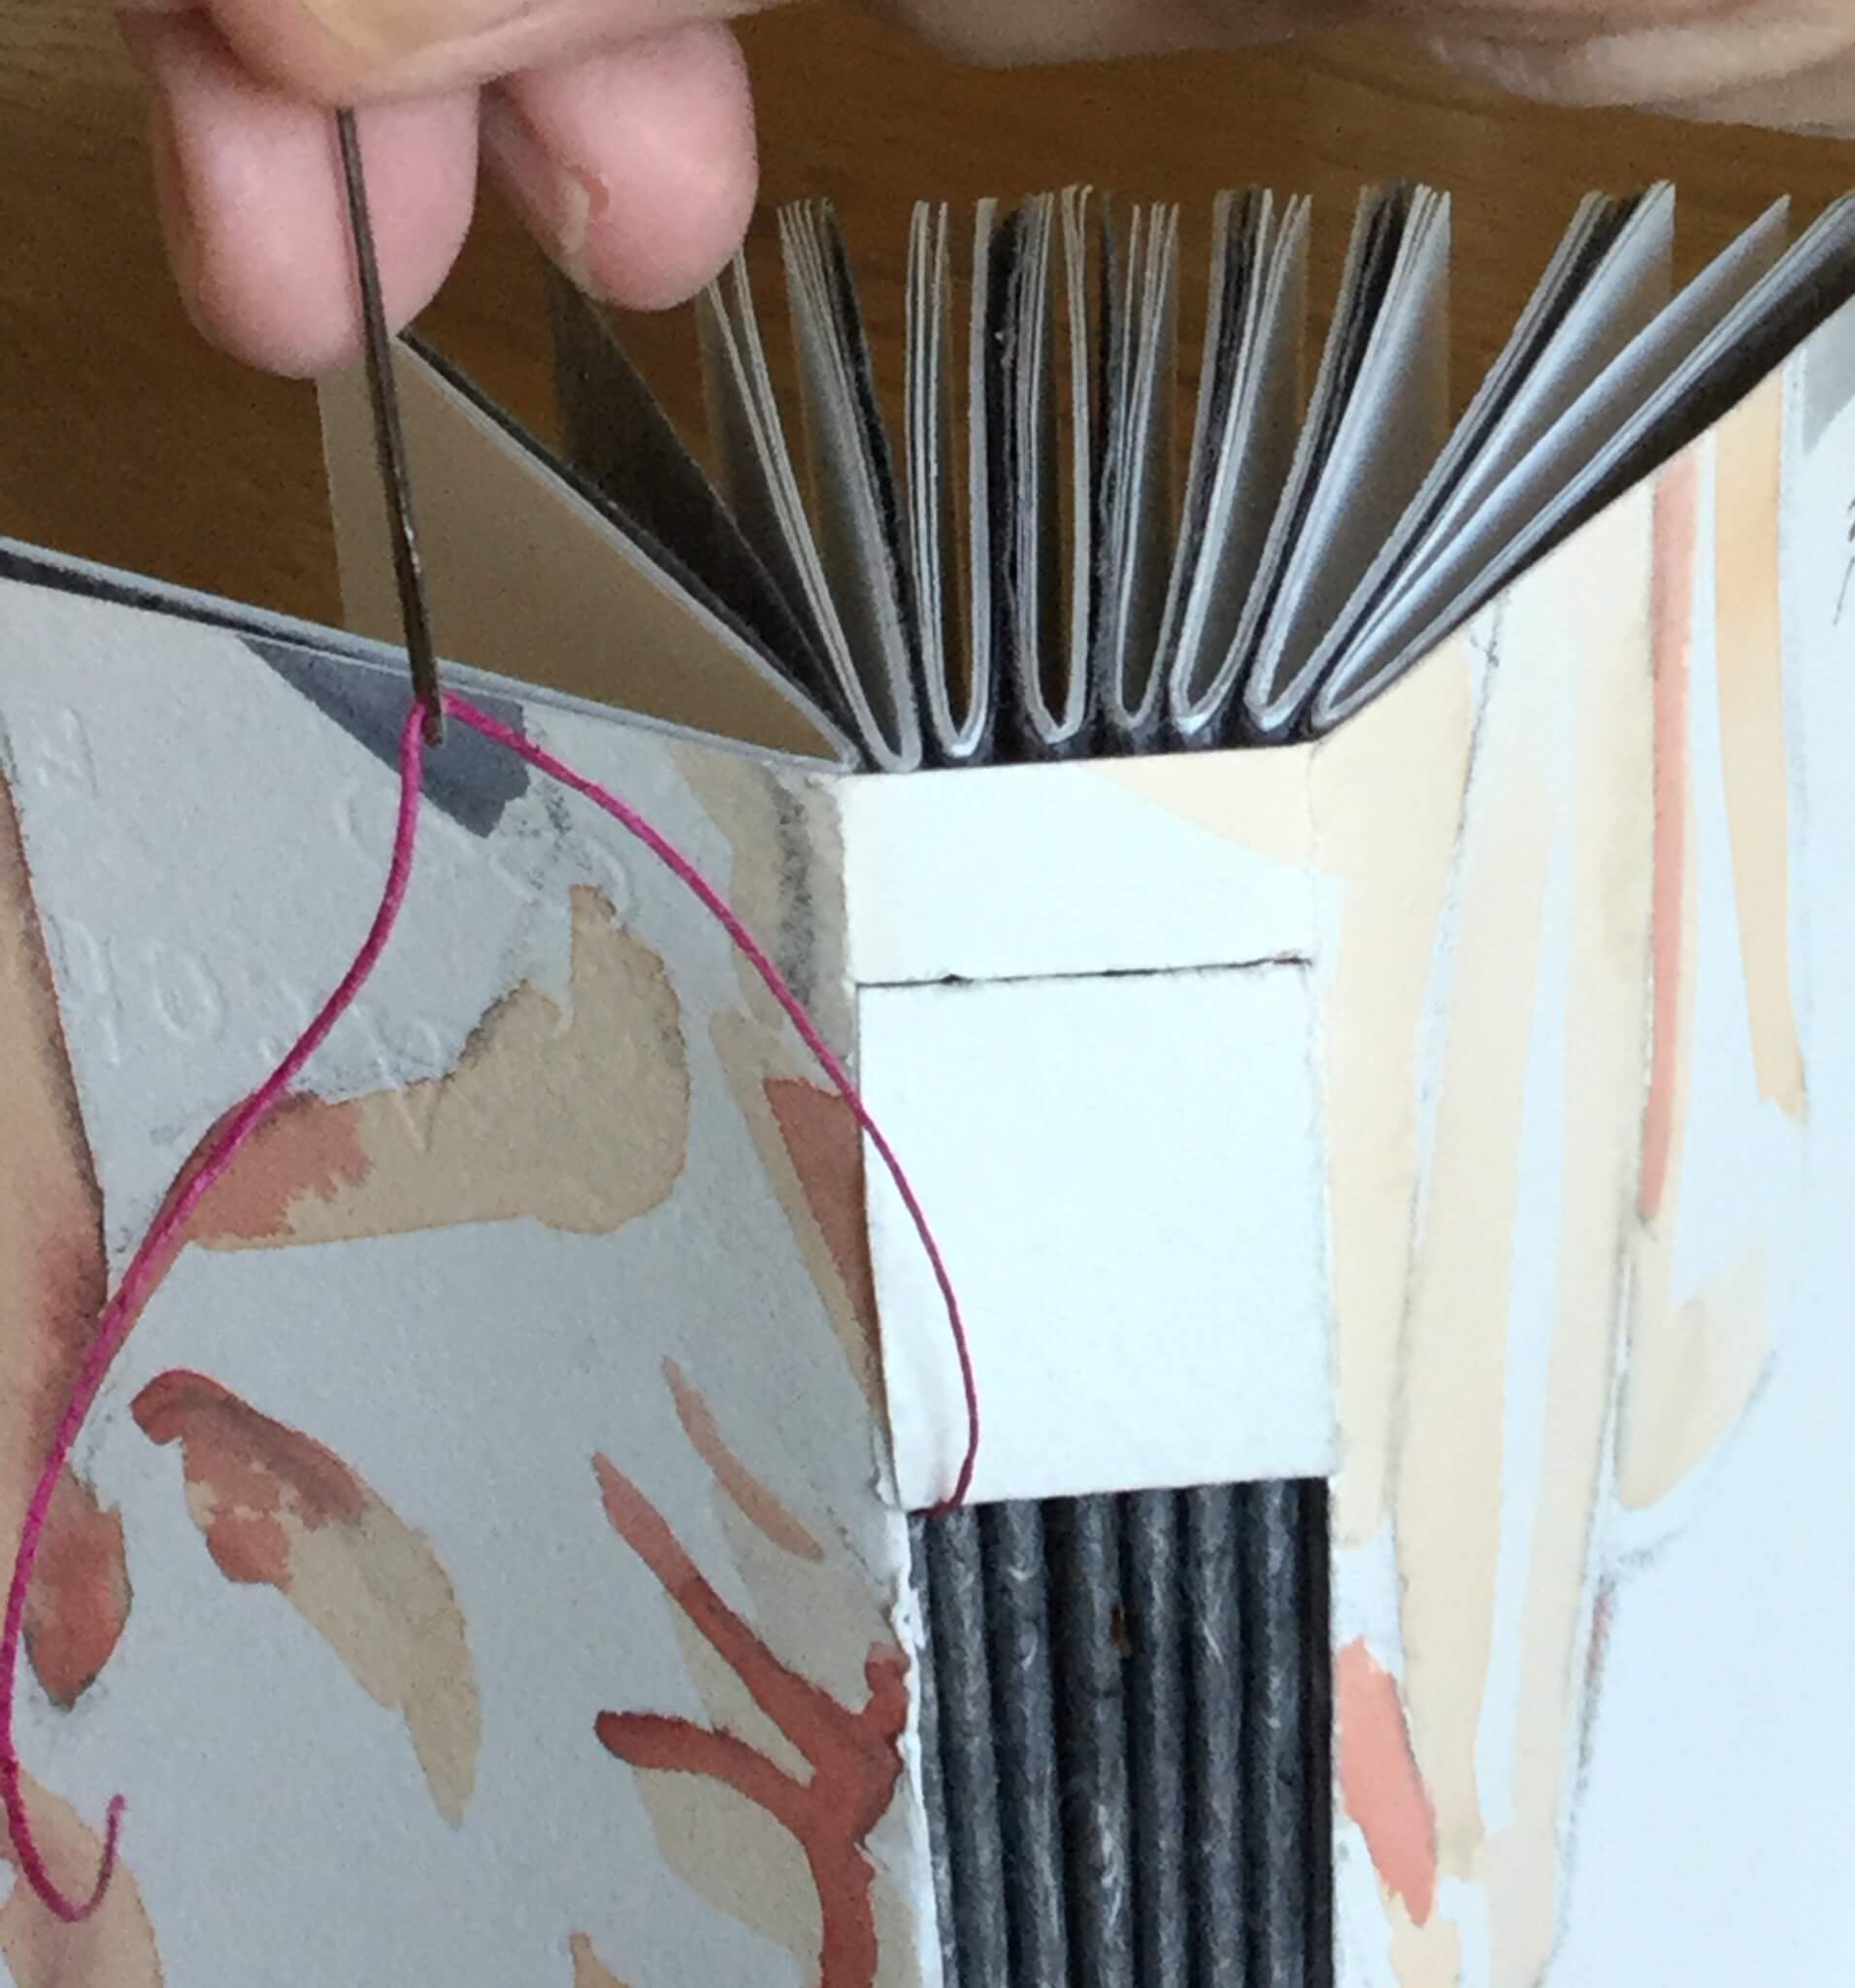
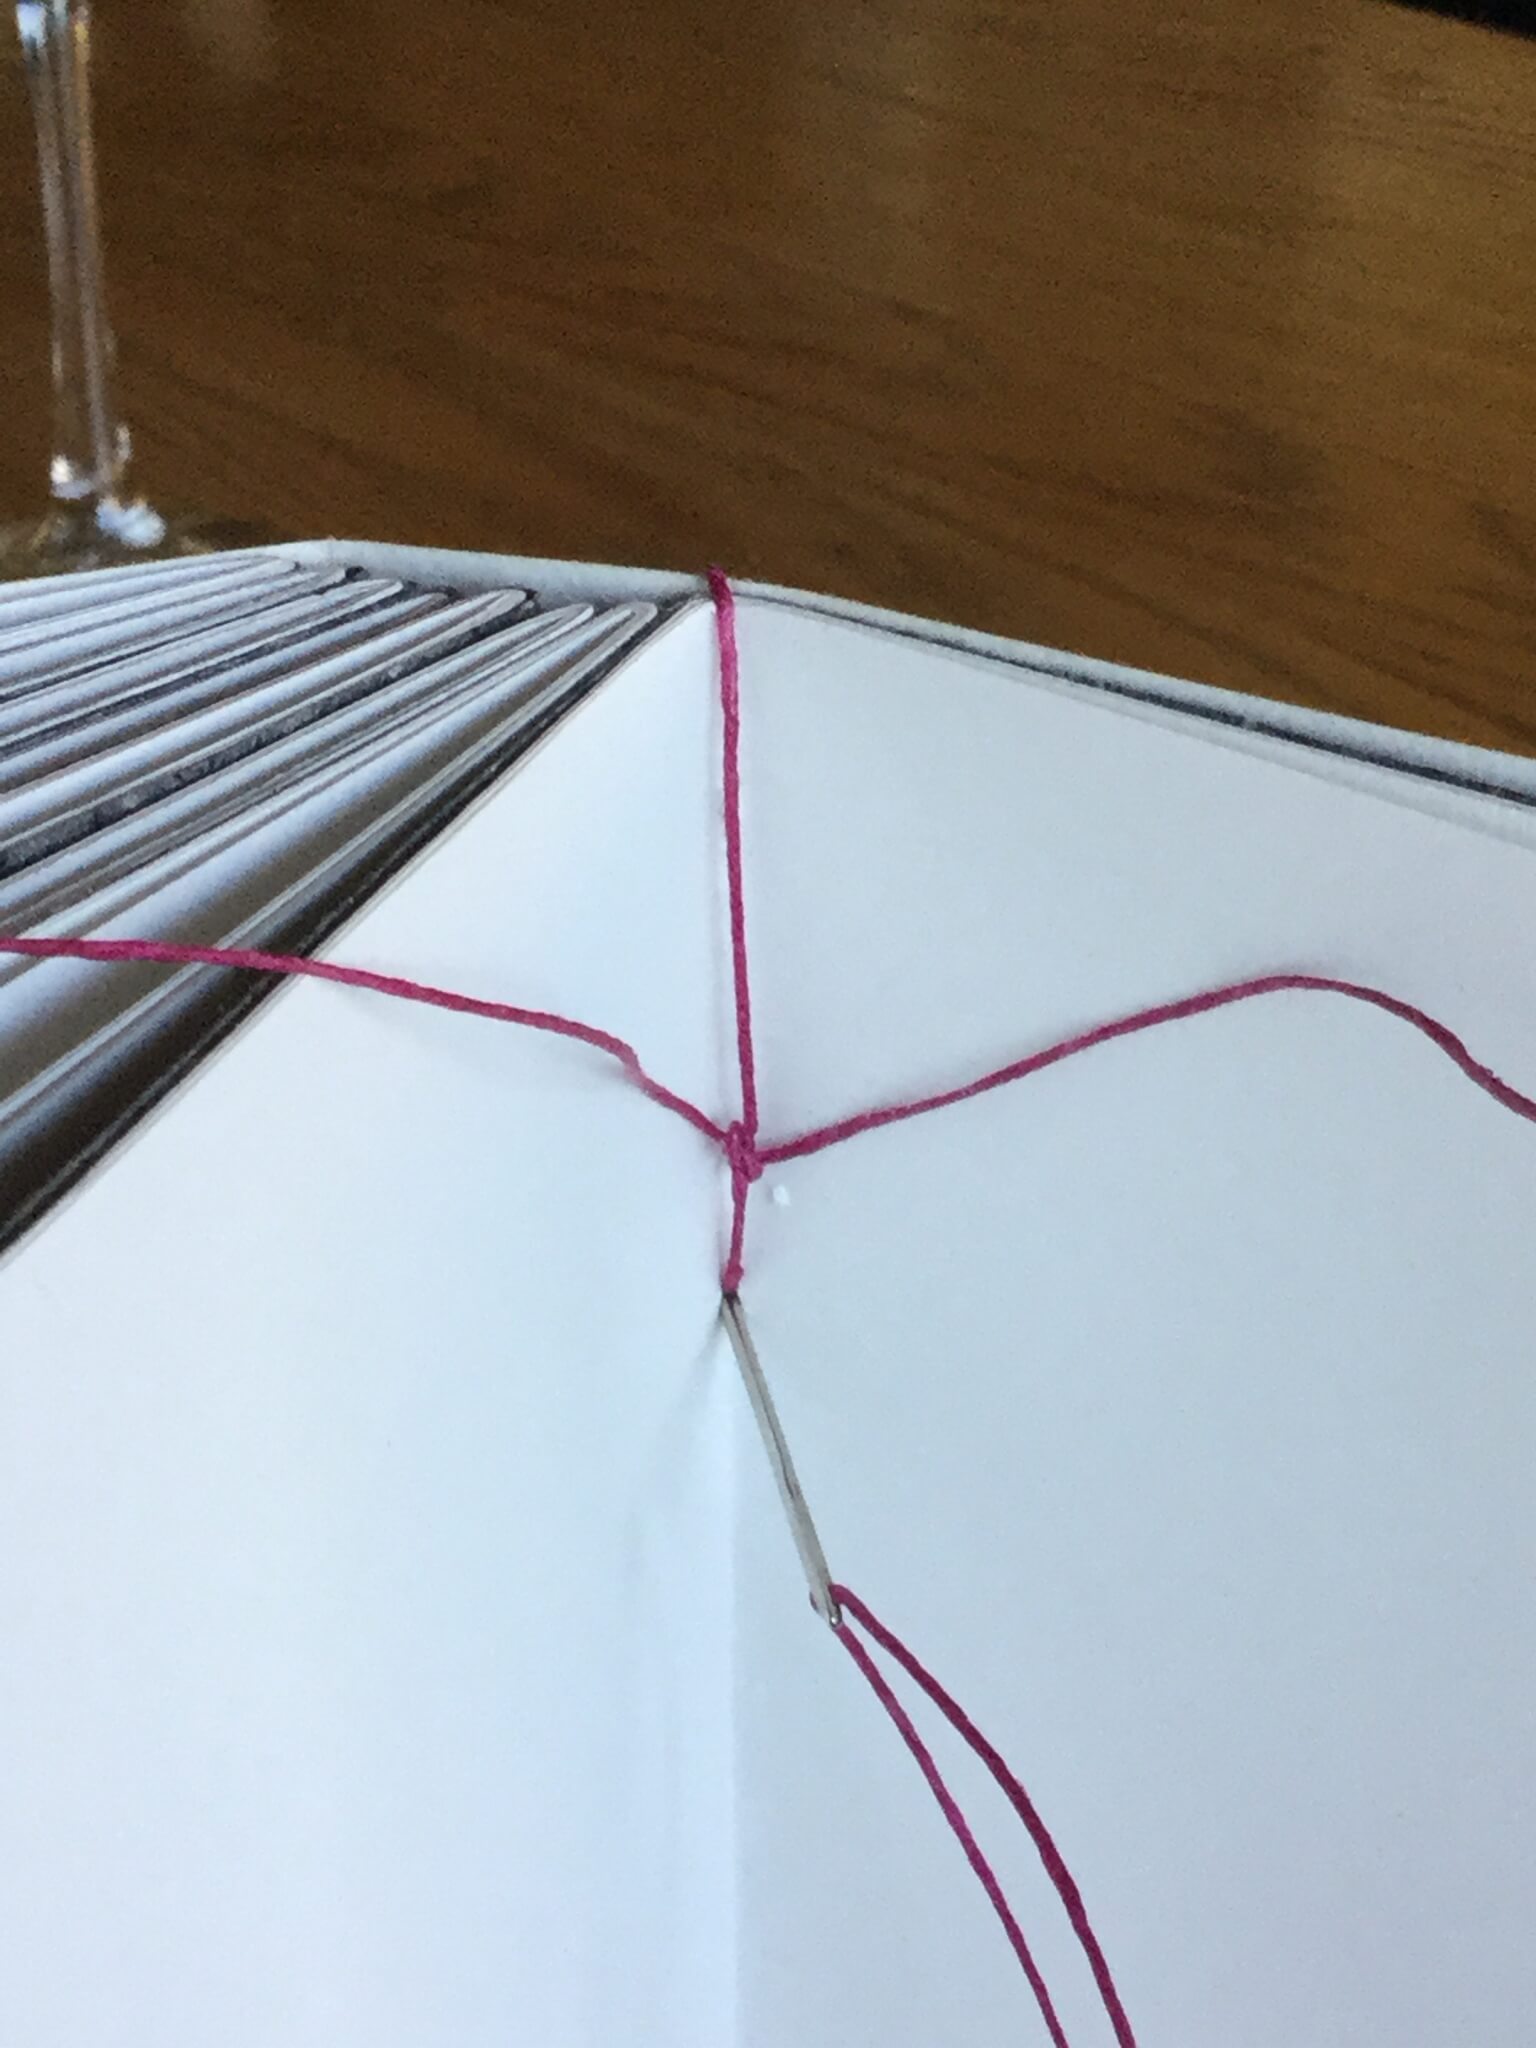
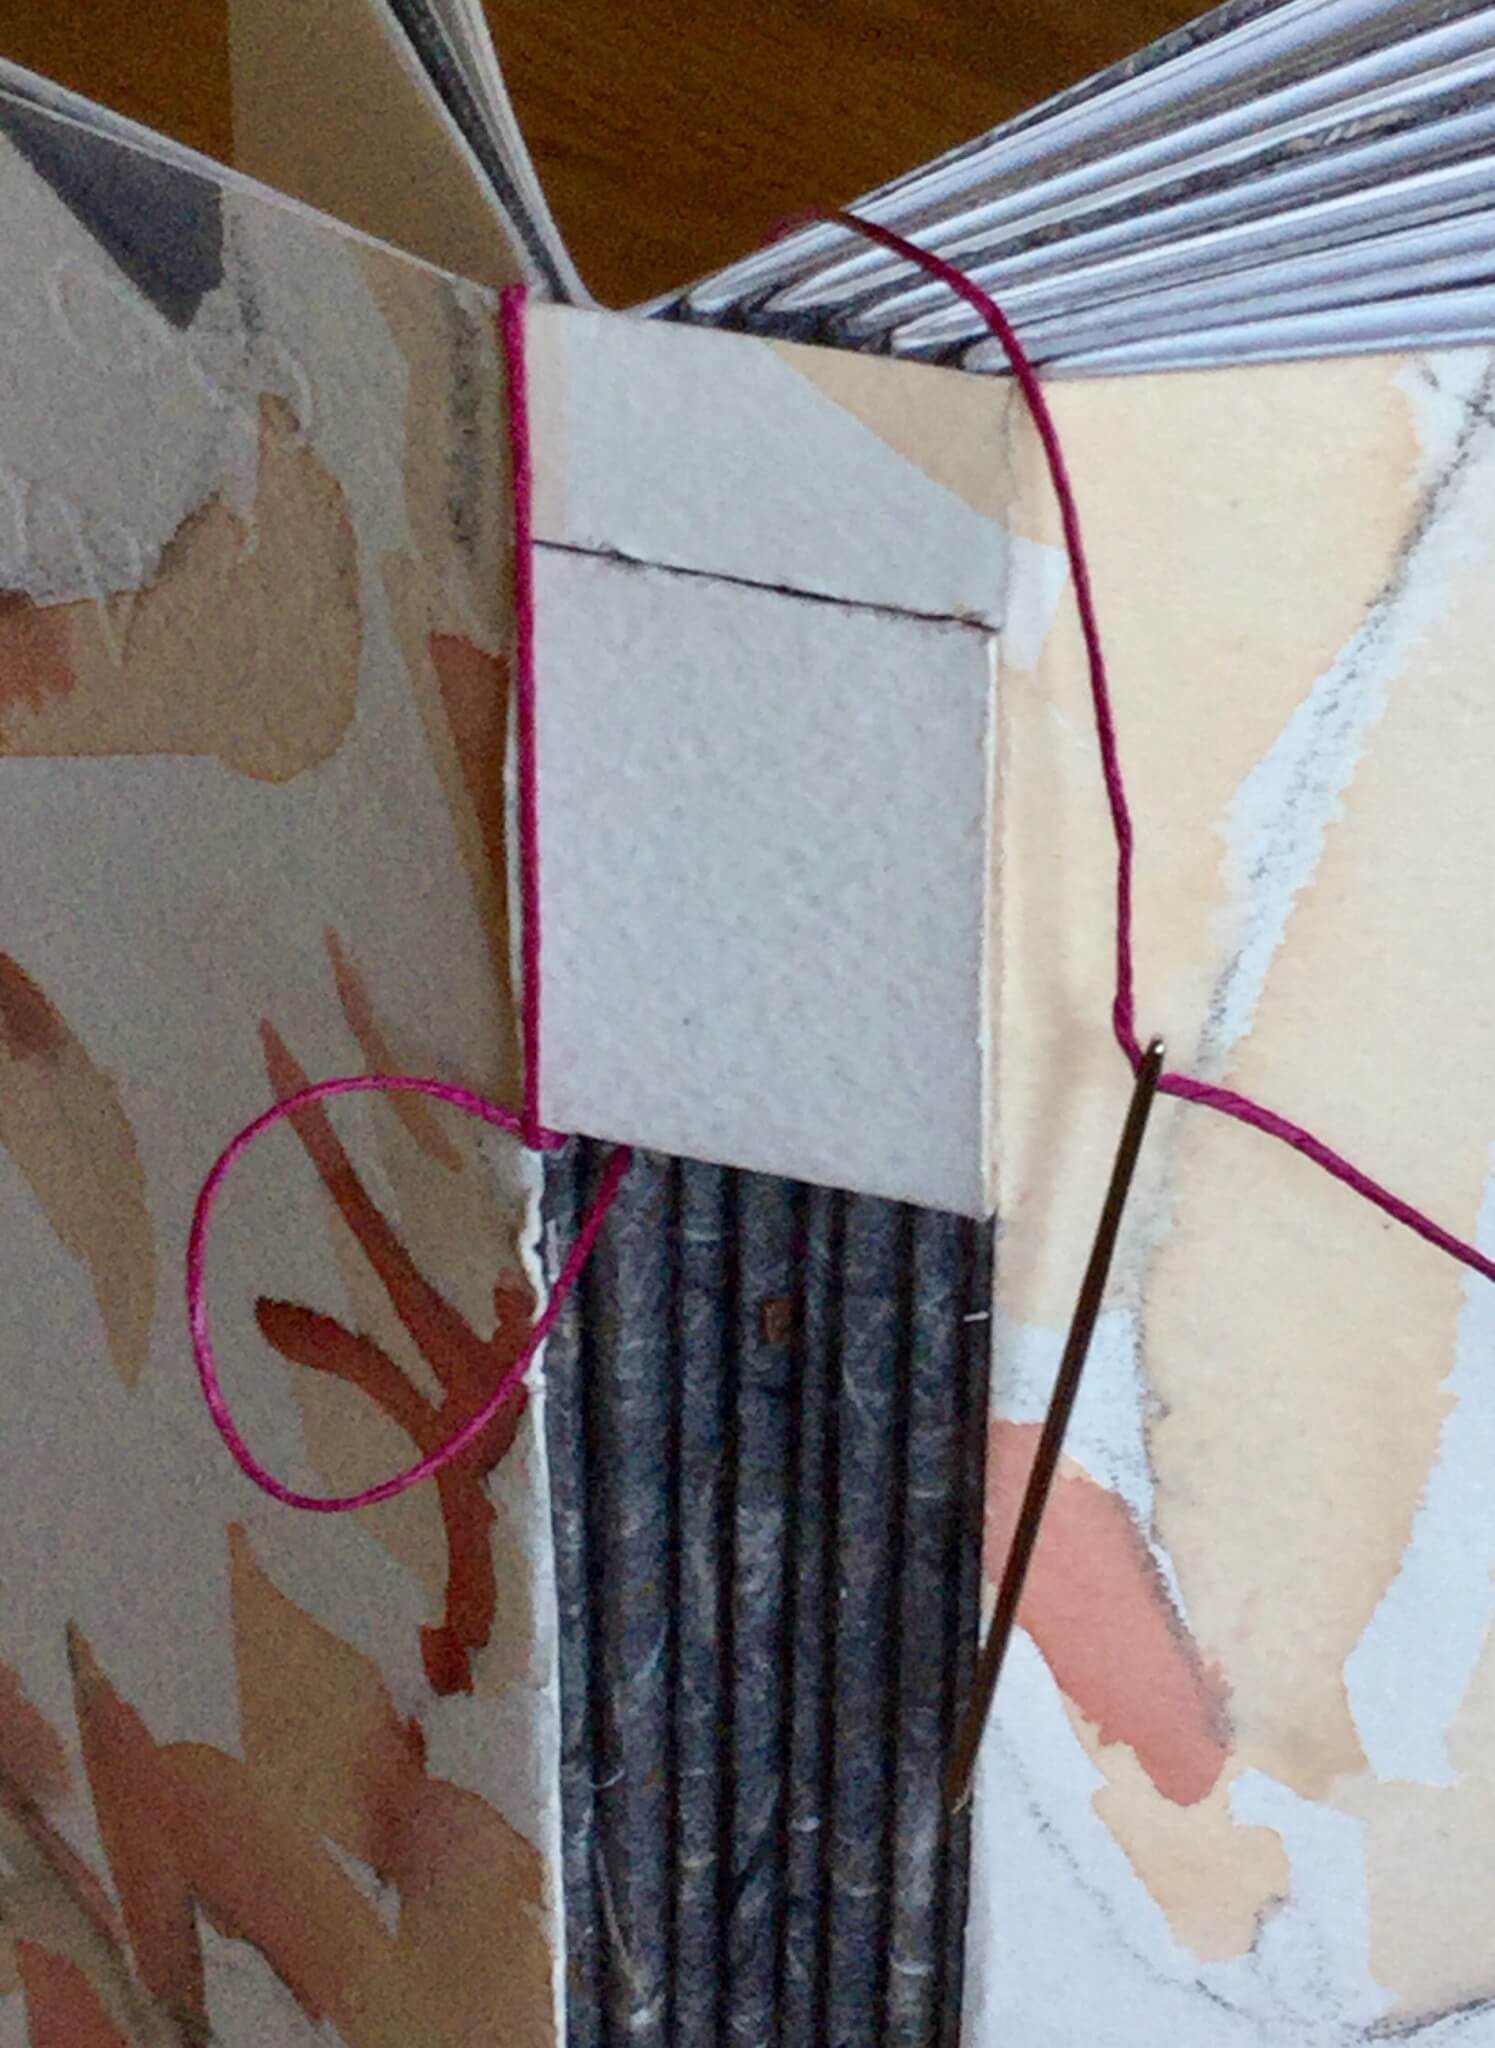
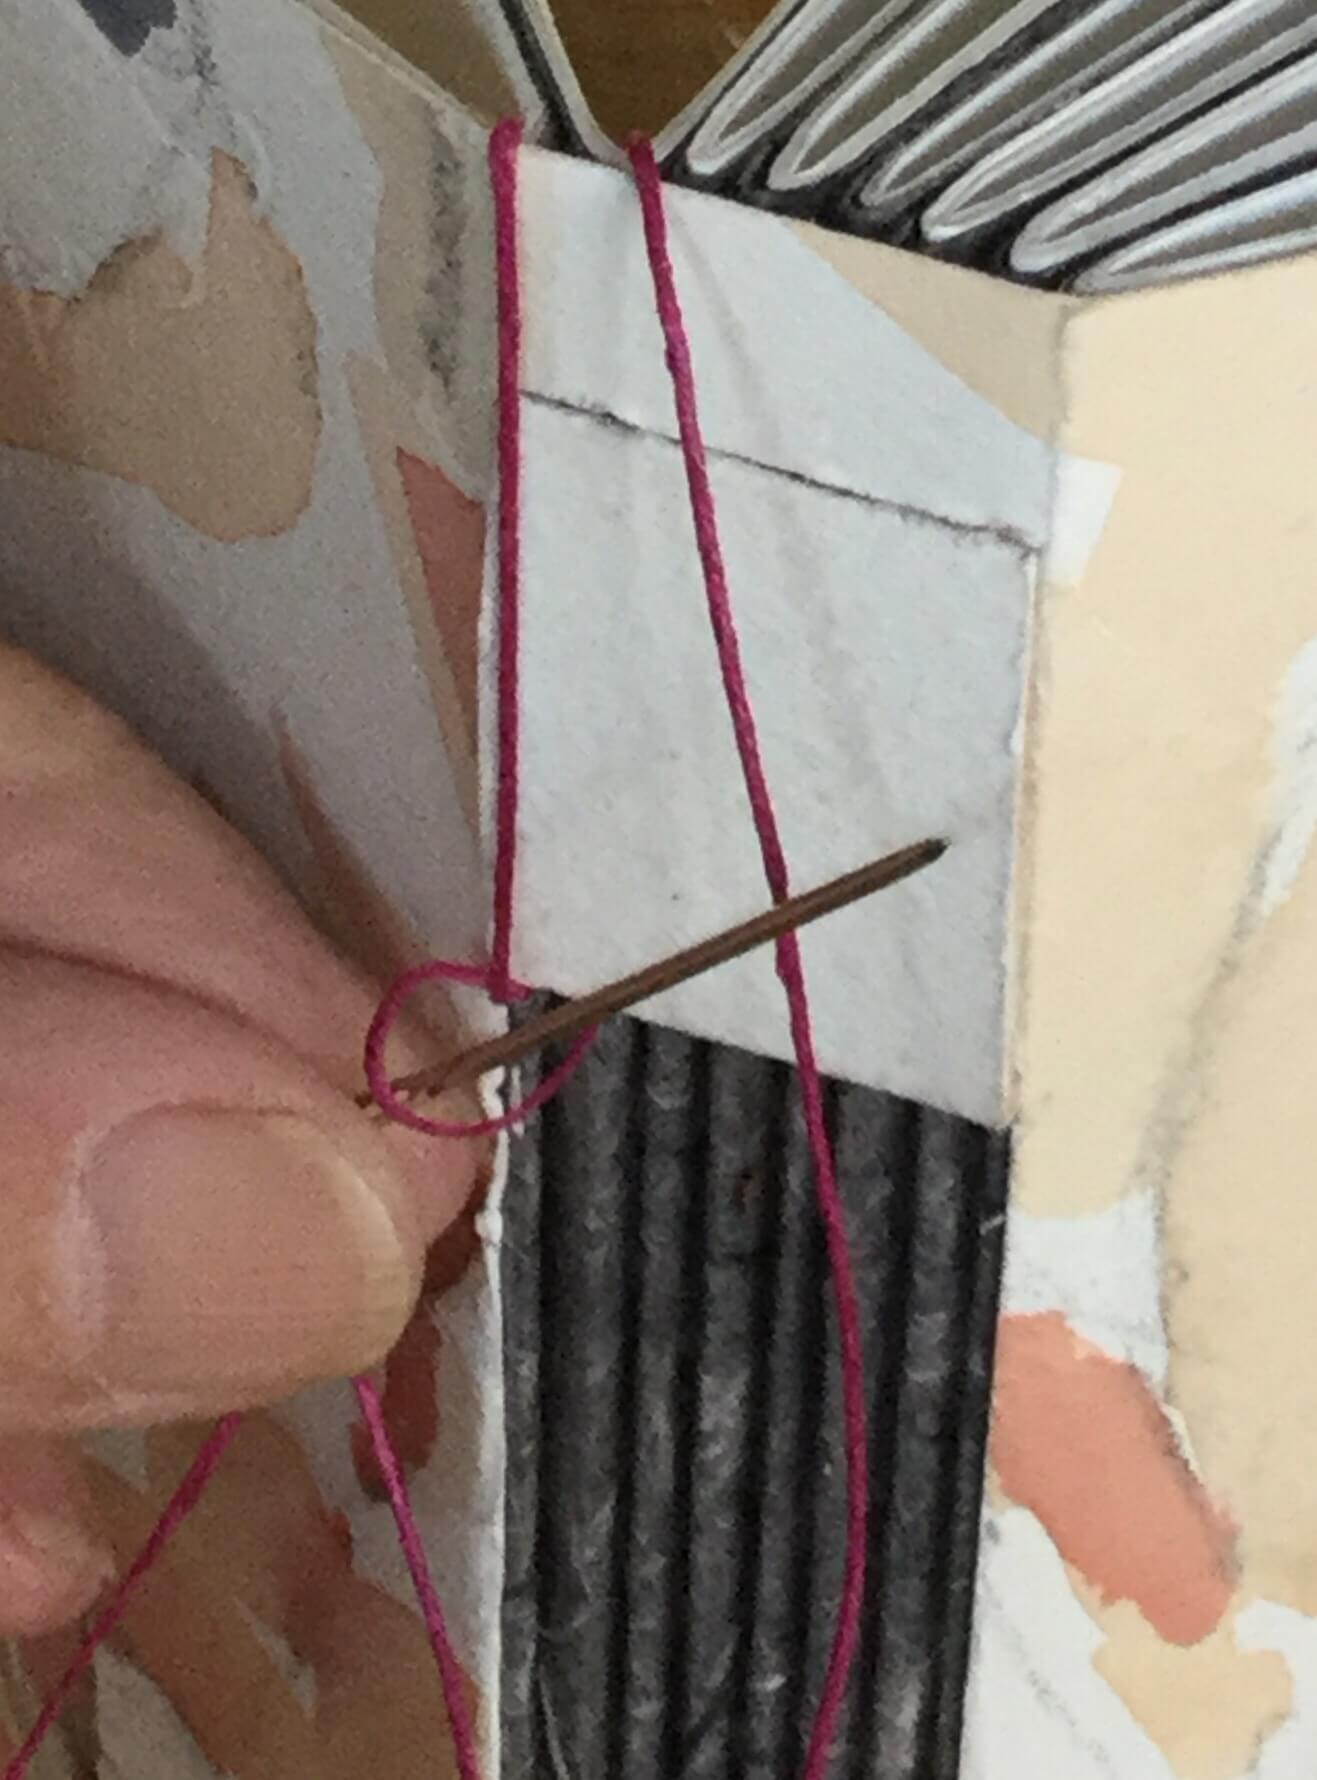
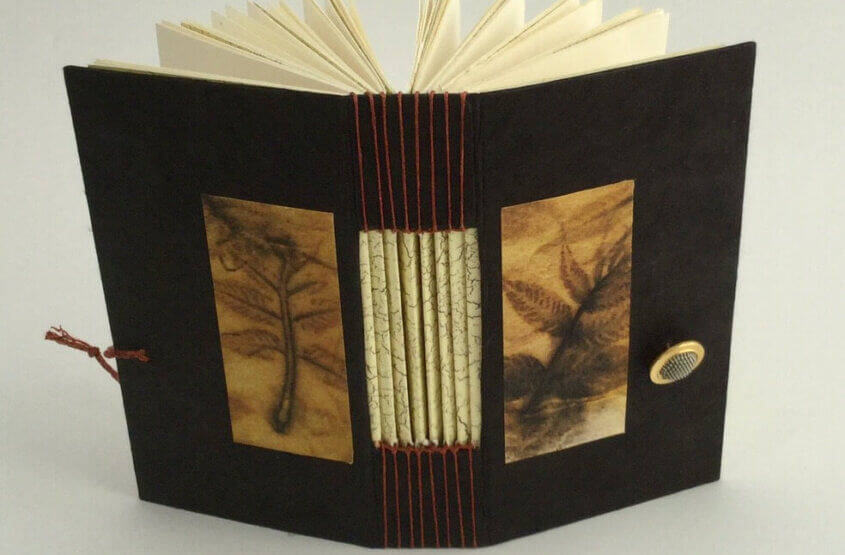
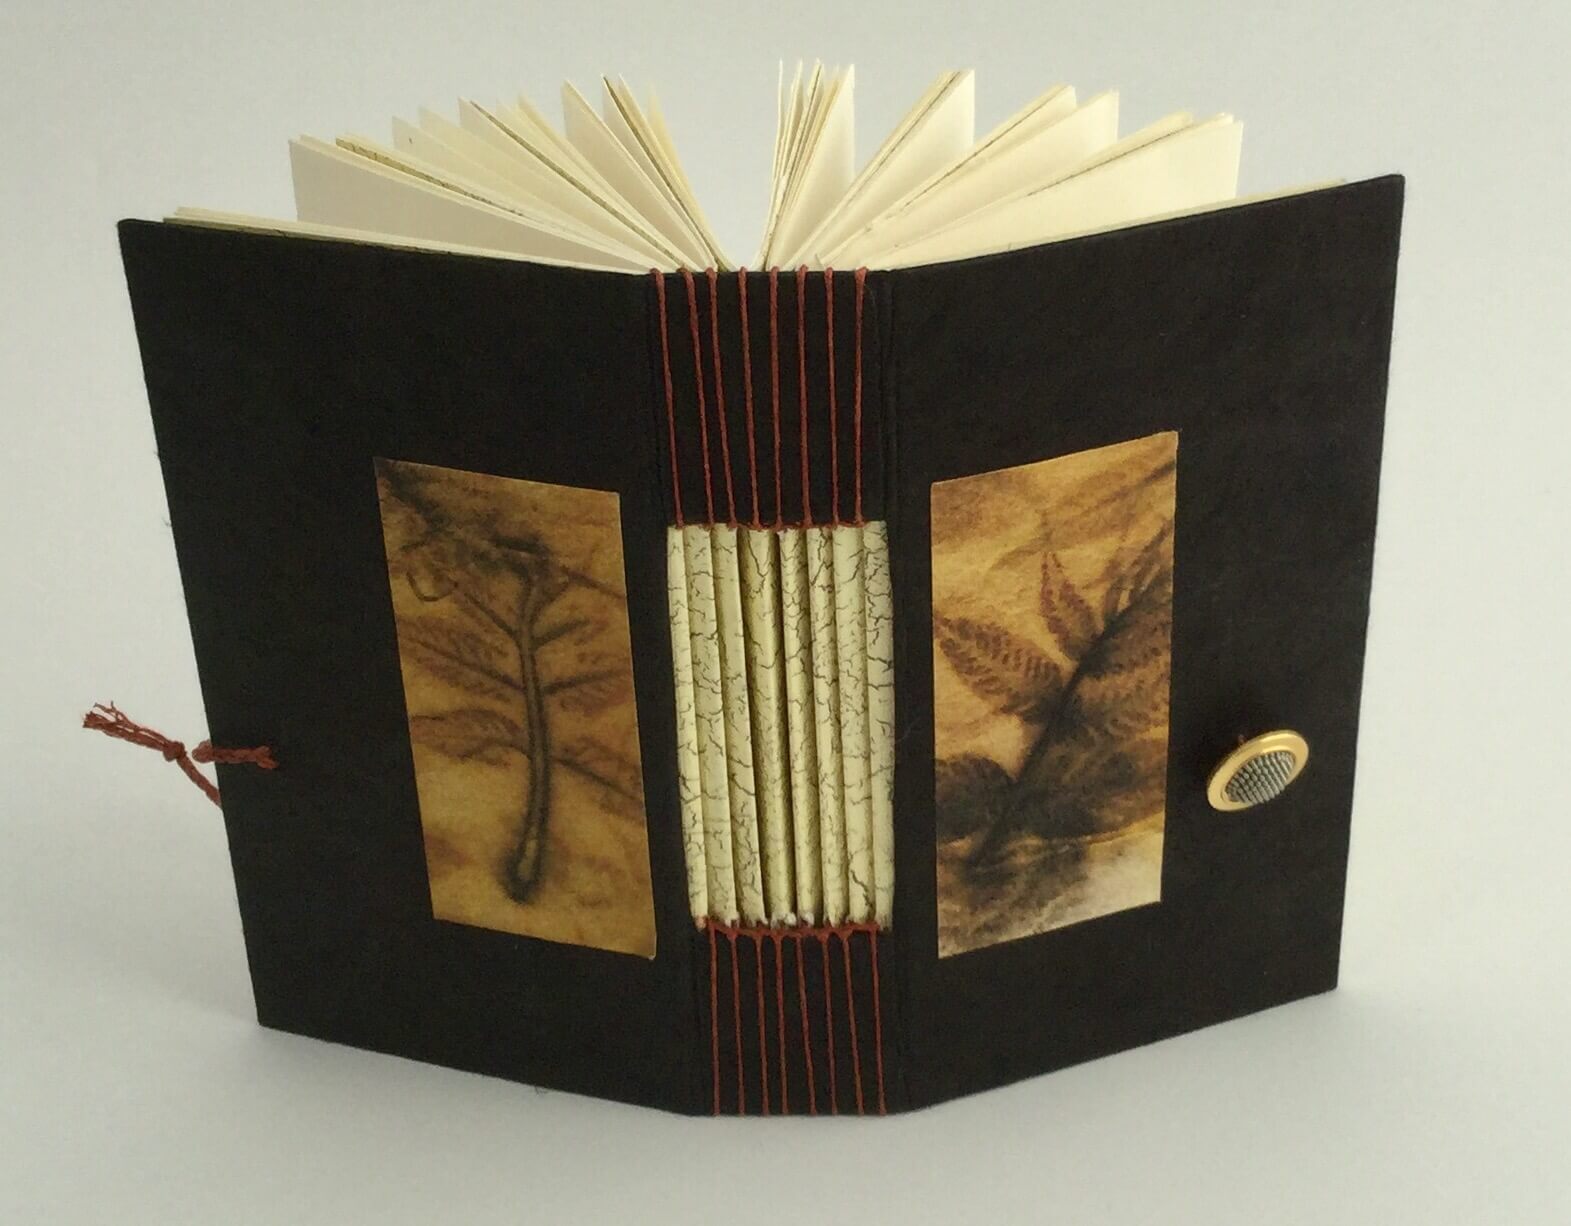
The Tacket Binding provides a wonderful opportunity to use different colors and mine are mimic the color spectrum on the cover. I absolutely love this stitch. The cover is made from Khadi paper, the cover liner and portions of the text block are Japanese Shin paper, I used waxed linen thread for the binding.
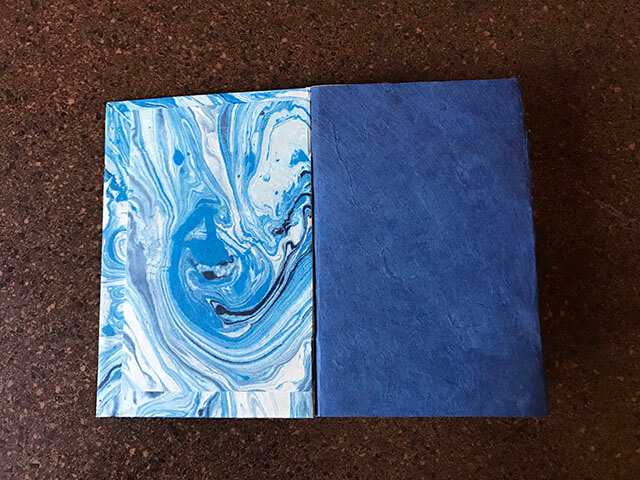
Inside Front Cover: Flap, End Paper, Section Cover.

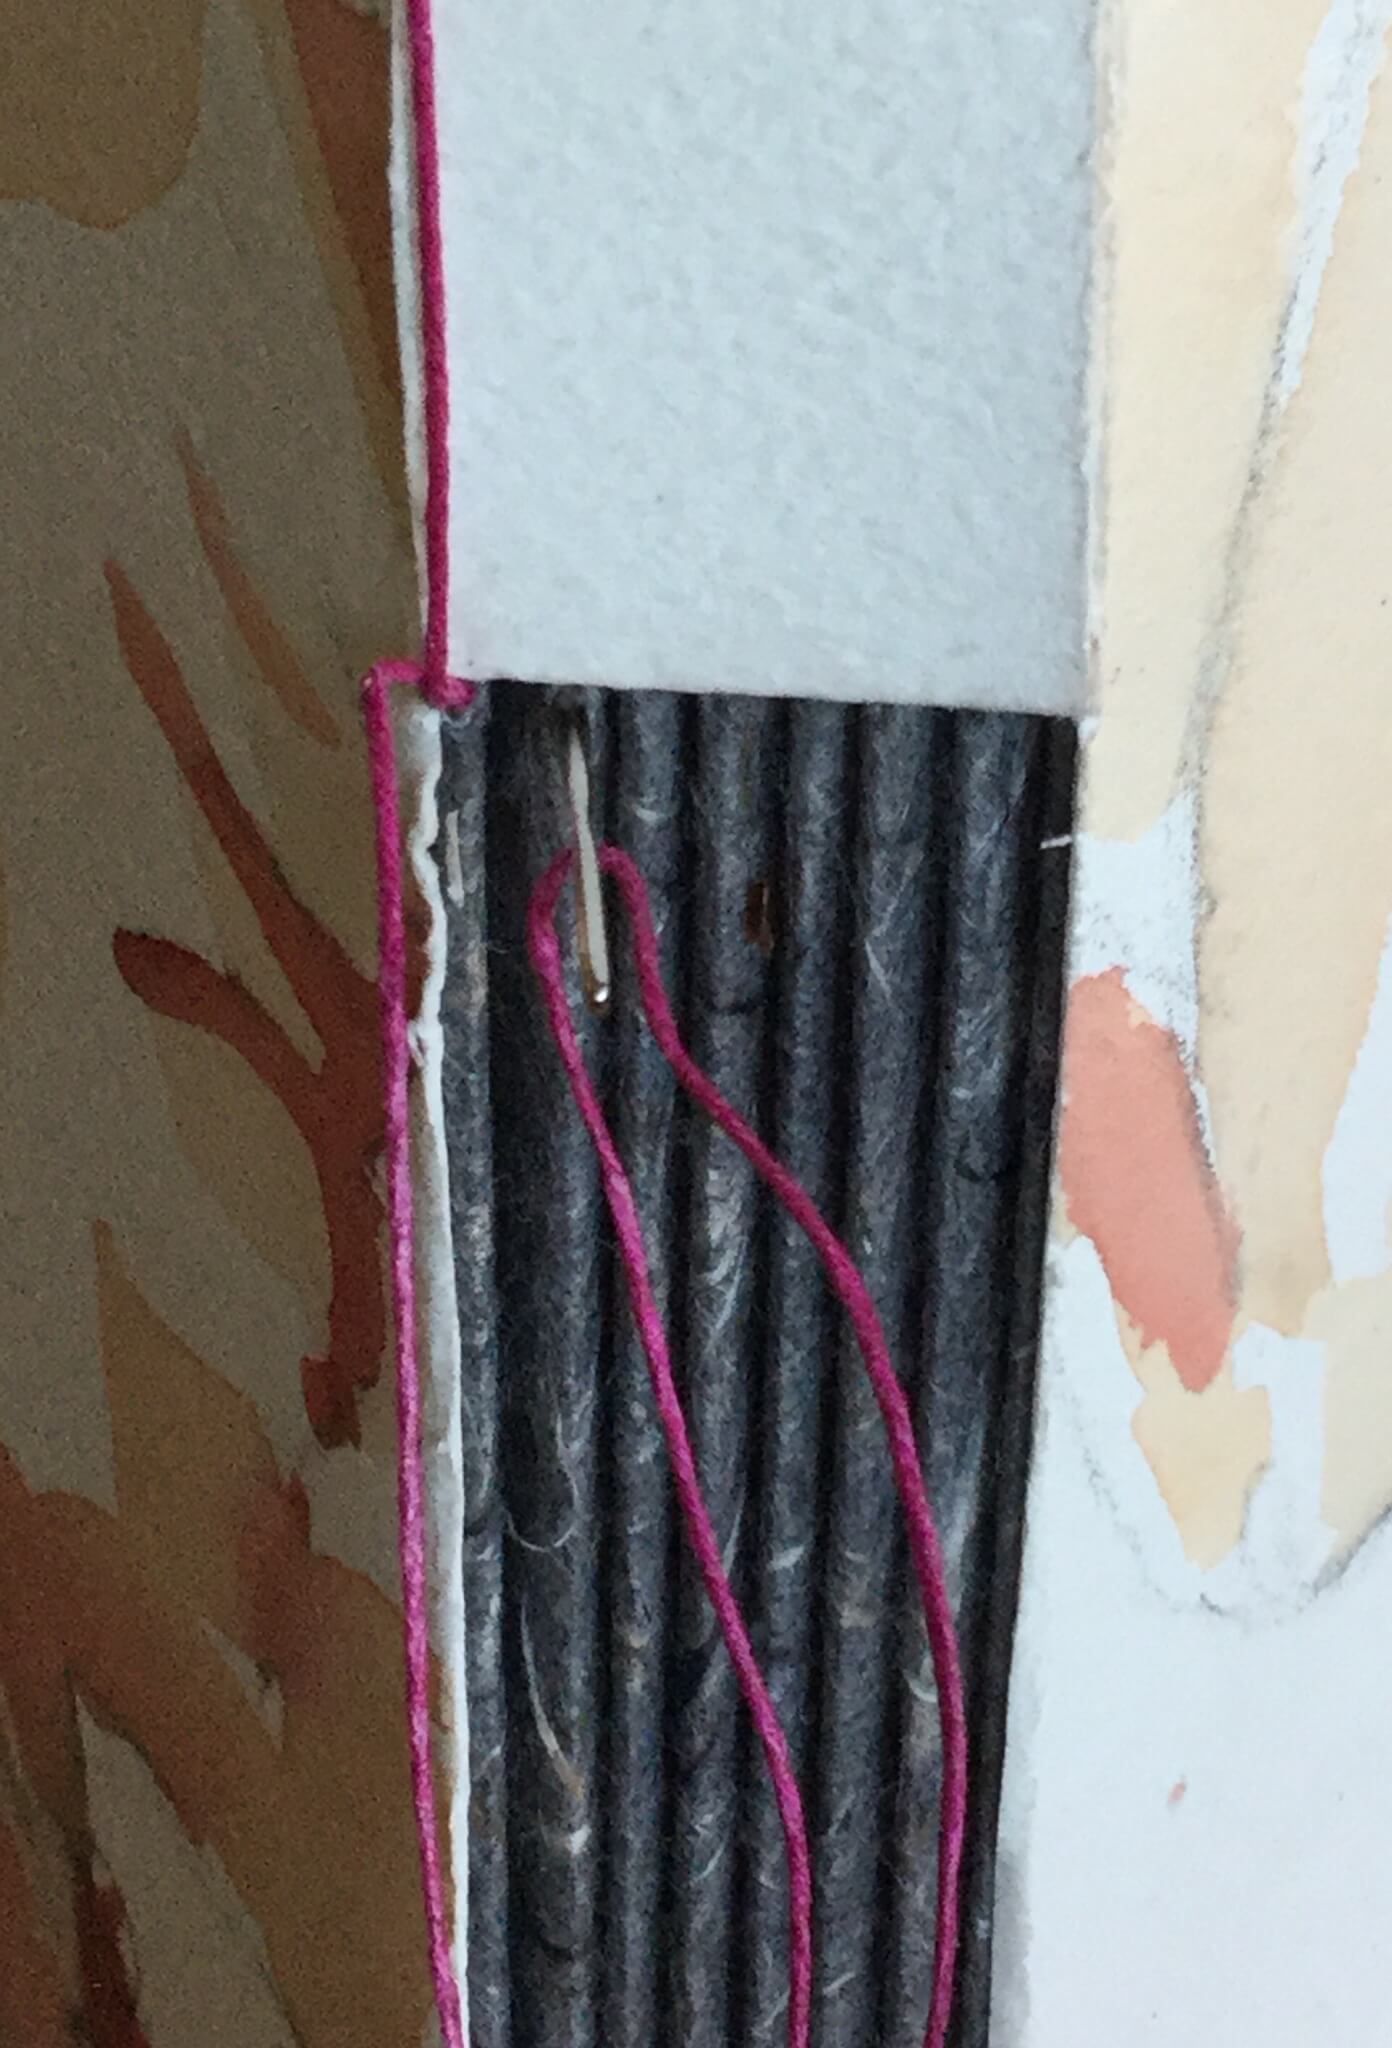
Inside Binding. You can see the colors used in this section.
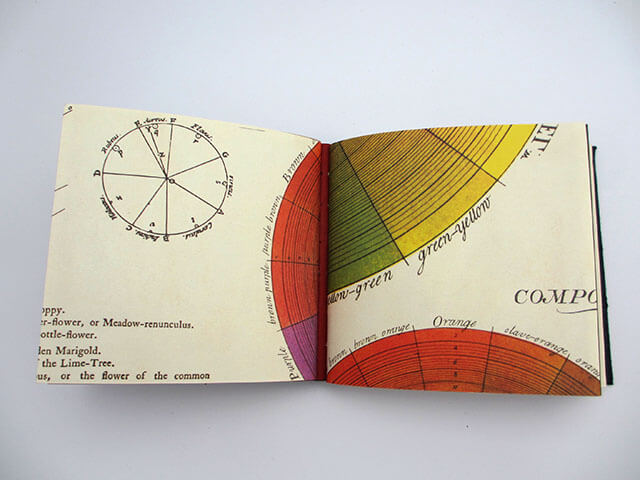
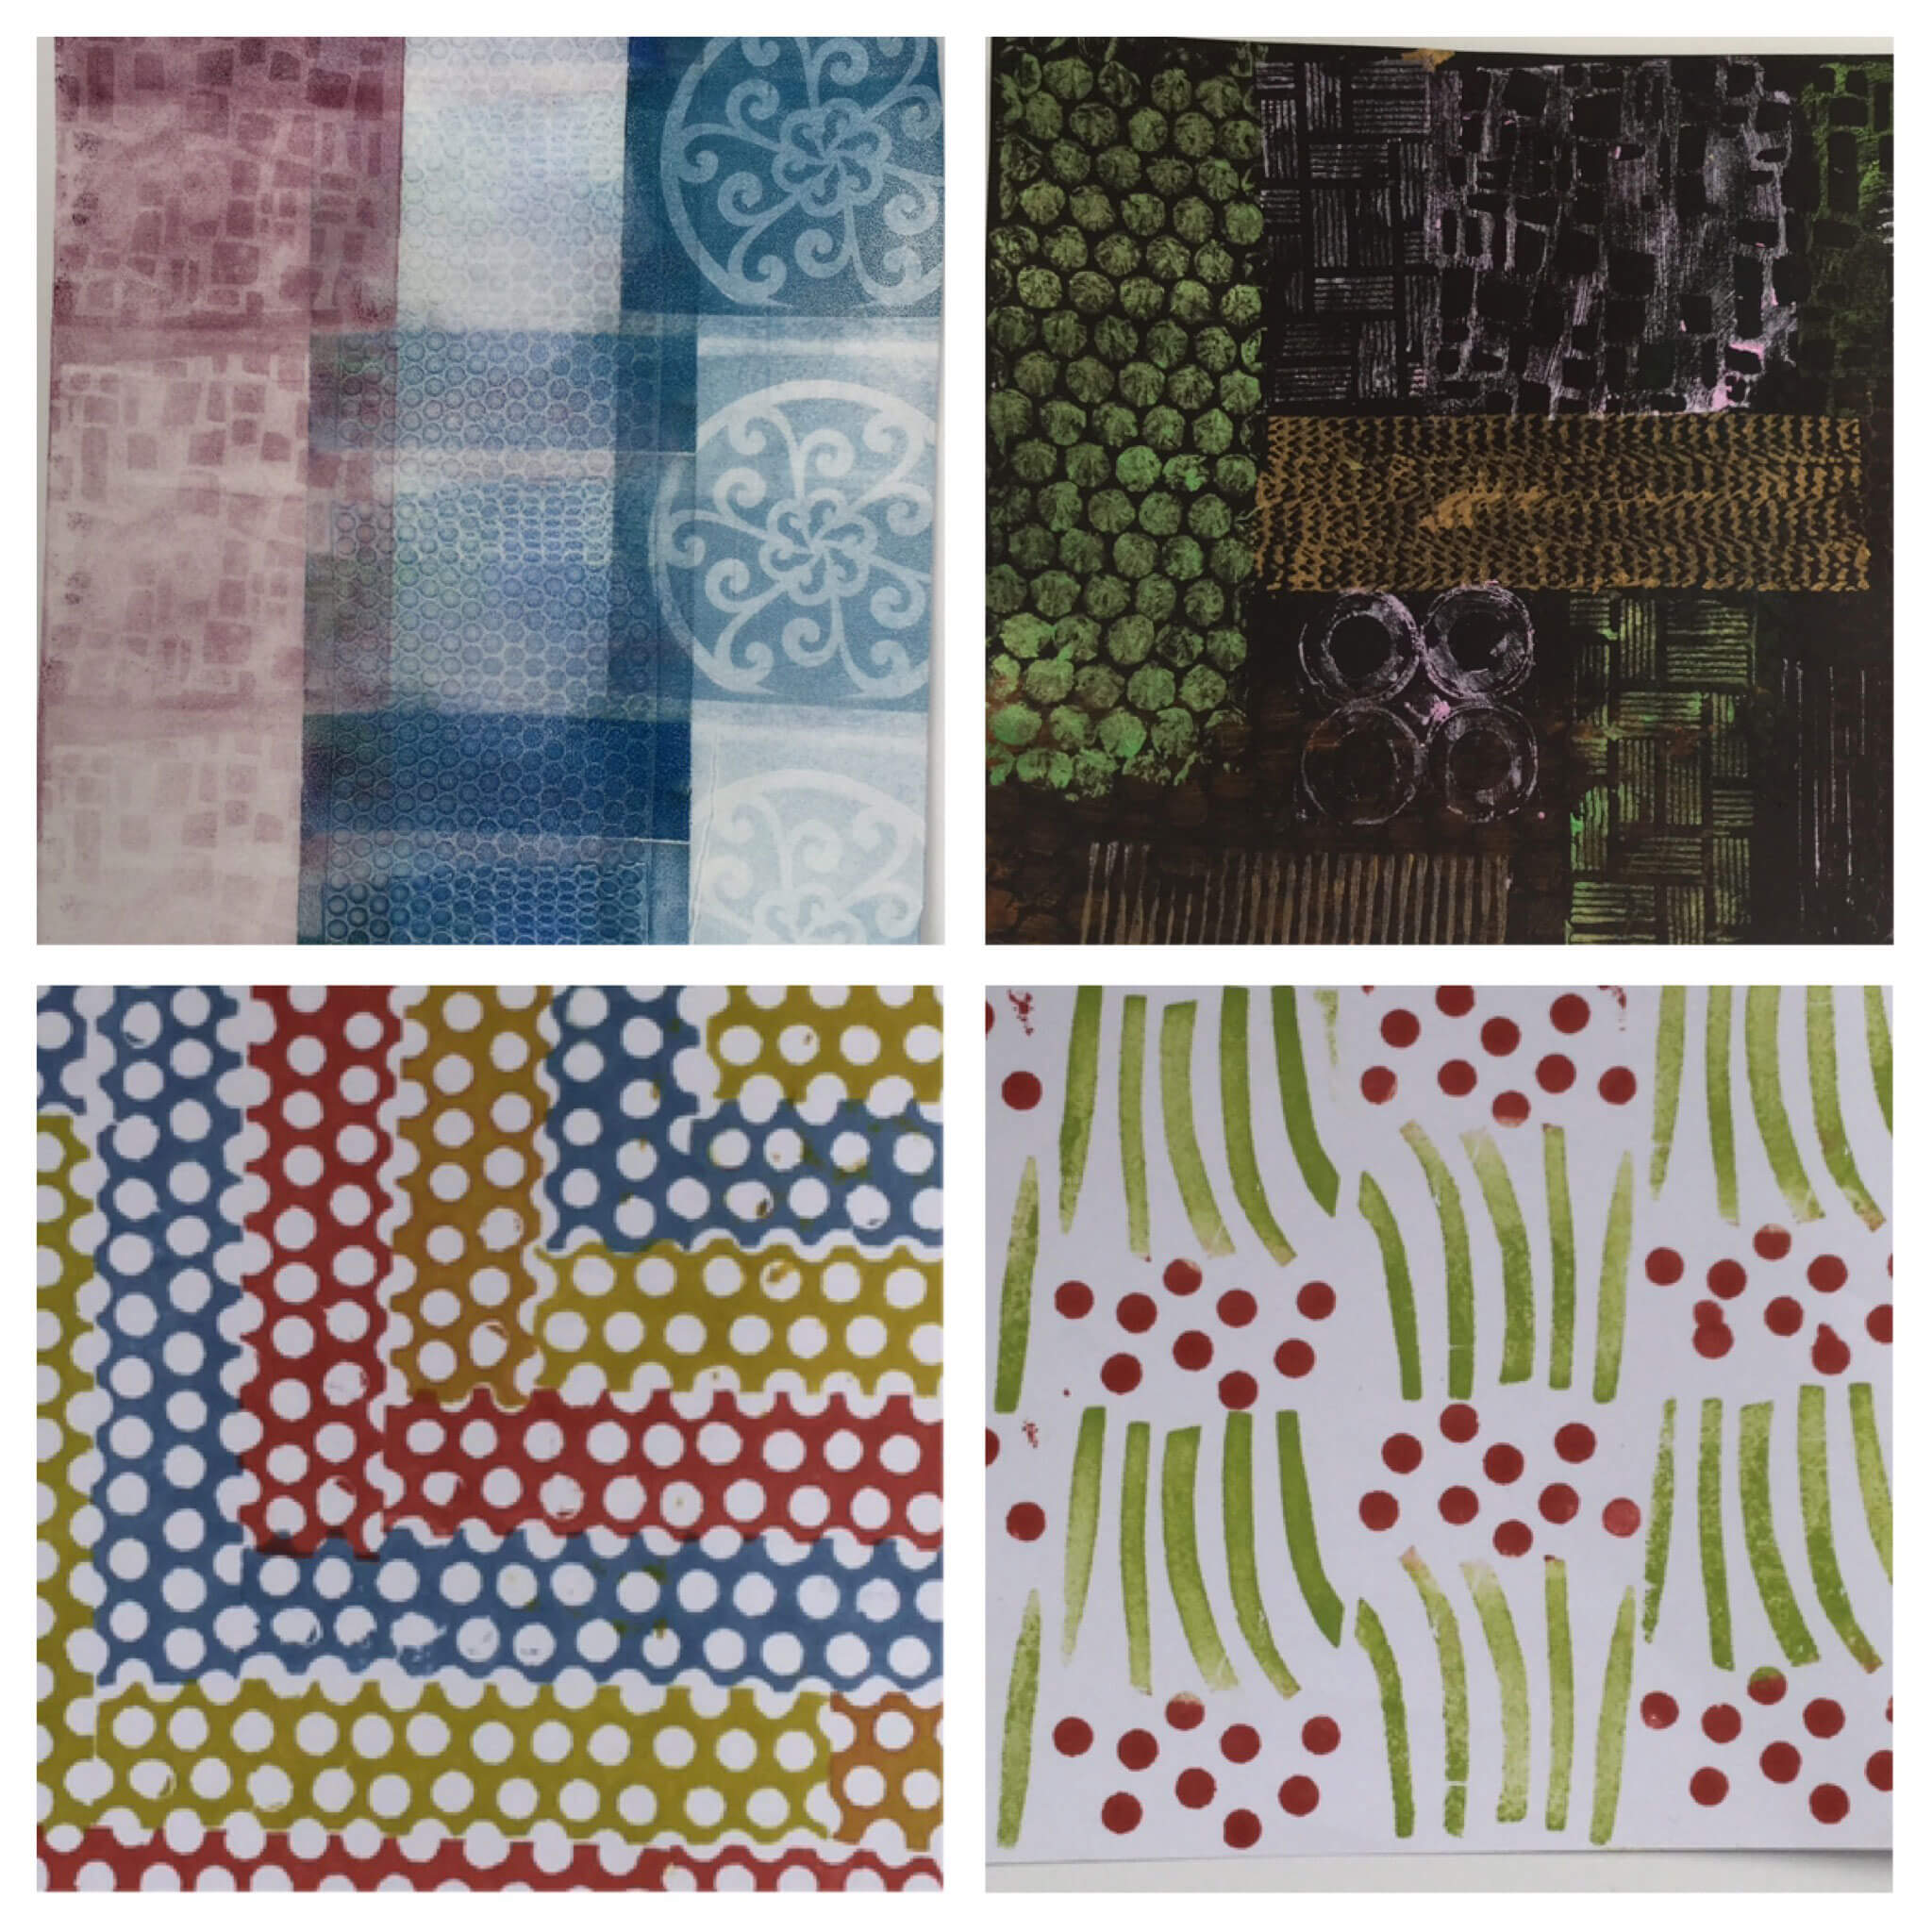
Adjacent Section Covers
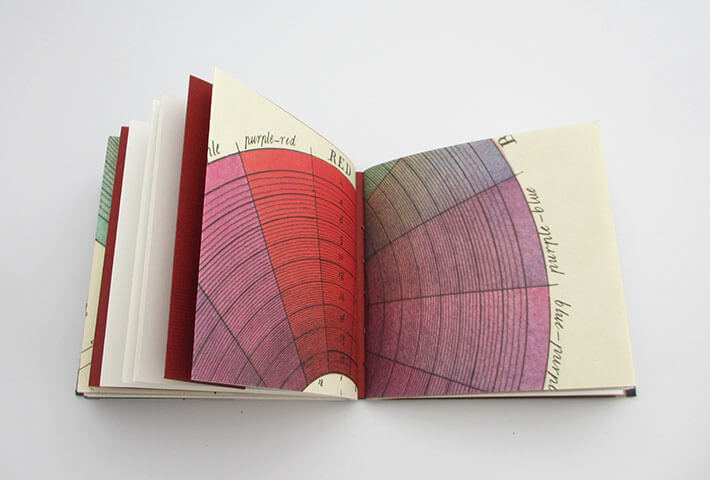
Adjacent Section Covers
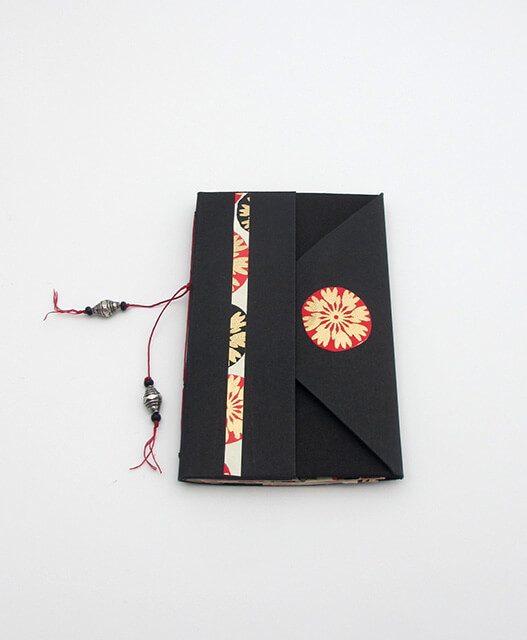
We also made a two section book and used another variation of the Tacket Binding.
Three Colors
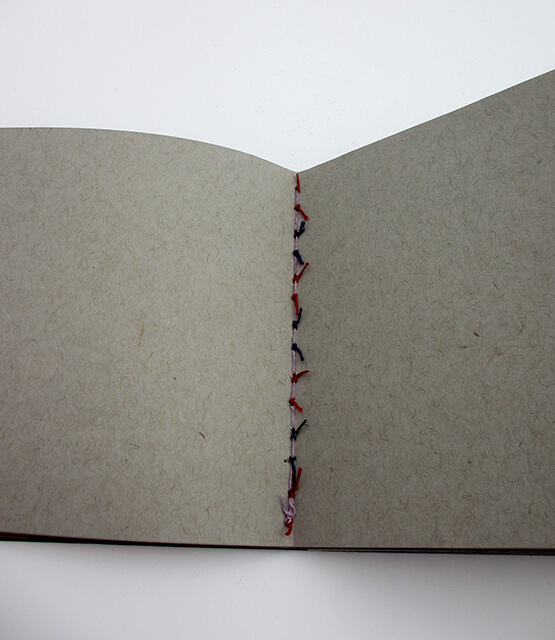
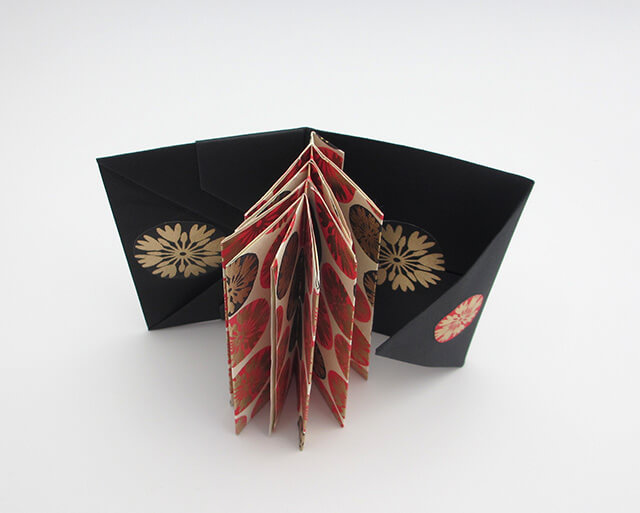
Inside a Section
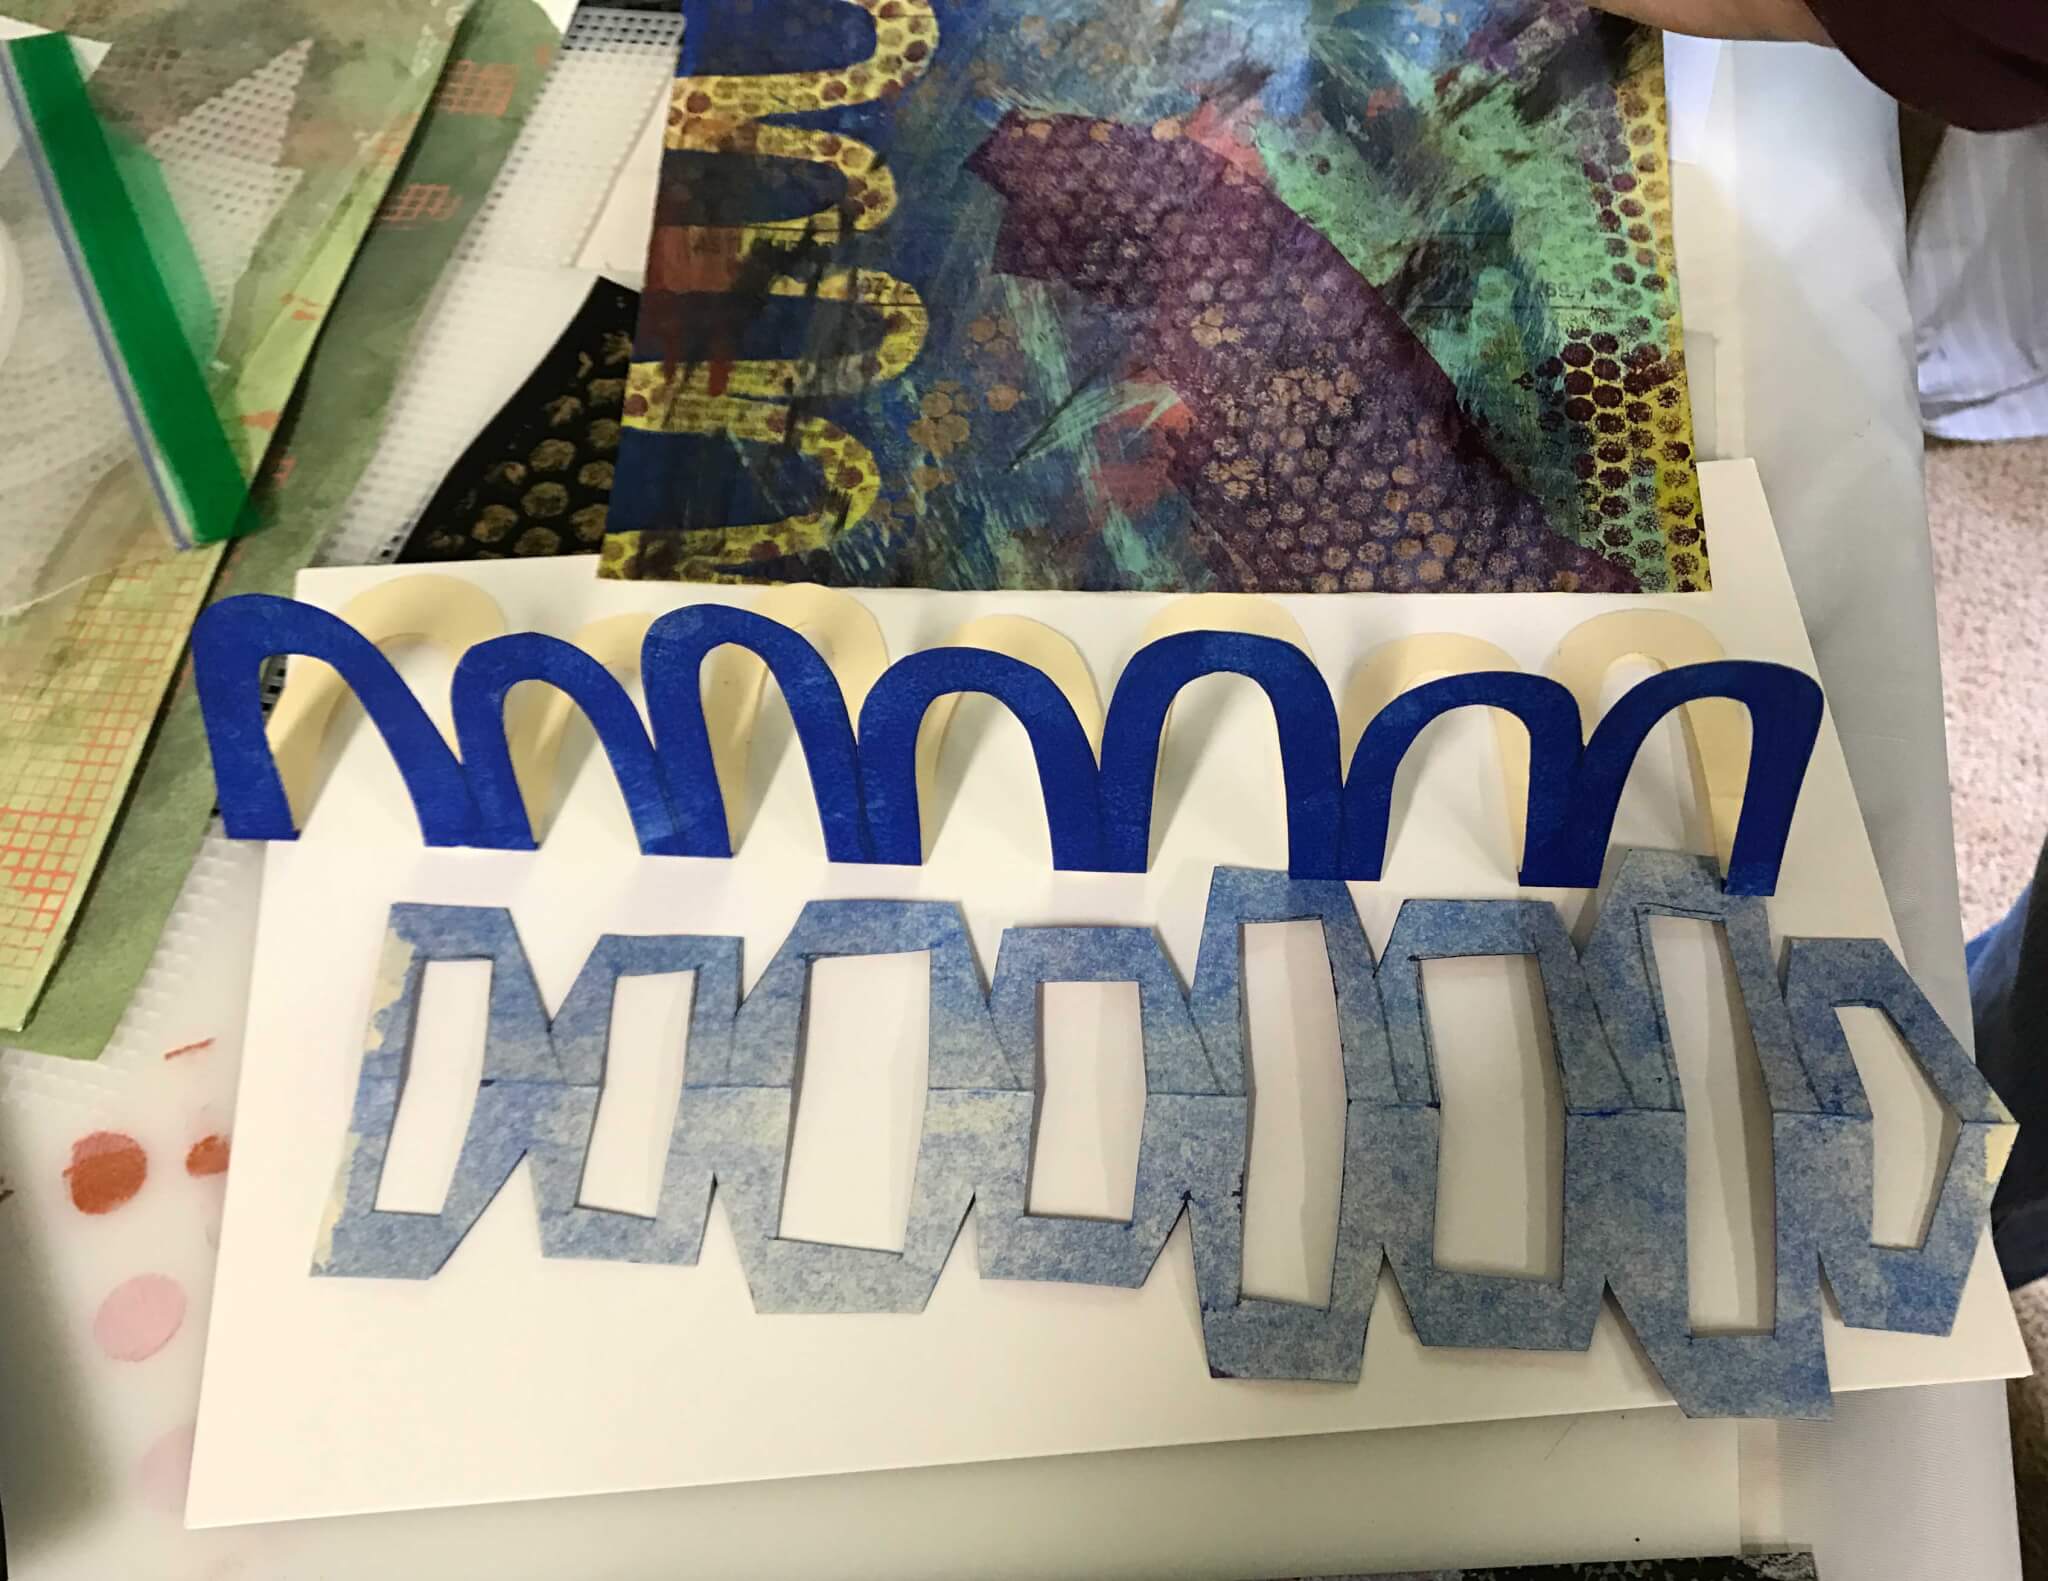
This variation has many tie offs inside the section. Each bar on the outside of the spine requires a separate piece. While the inside looks a bit untidy, it’s worth it for the colorful possibilities for the spine.
So, with that, I plan on continuing to work on my “Science” Color Wheel book. I’m so happy with the way it turned out and very grateful for the number of people who marched for Science on April 22 in Arcata, California.