Some books have blank pages as for a journal. Others serve as a vehicle for printmakers, photographers, watercolorists, and others.

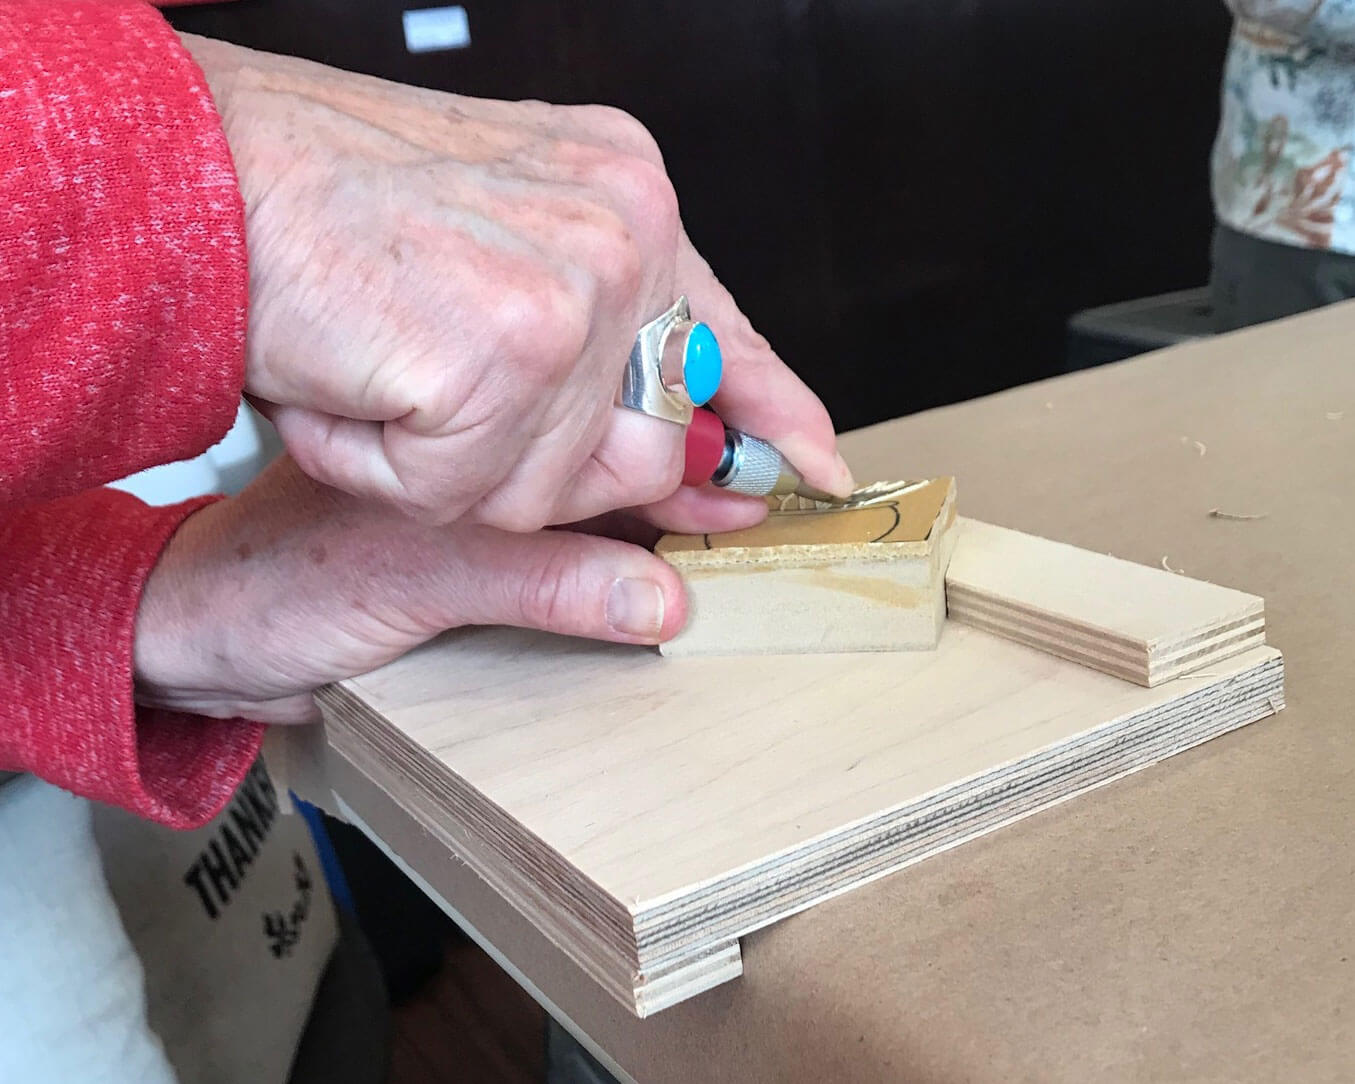
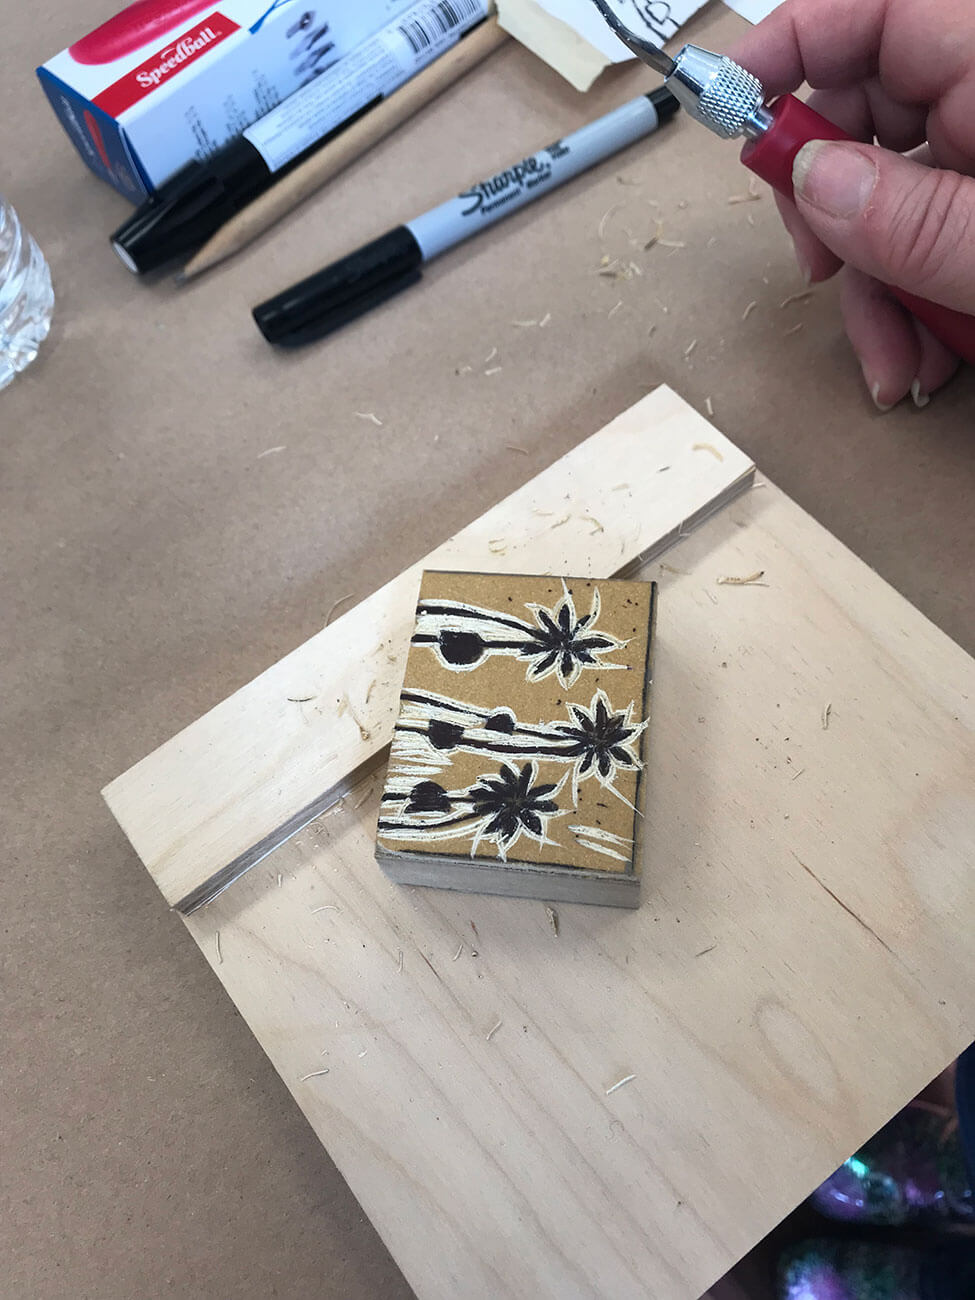
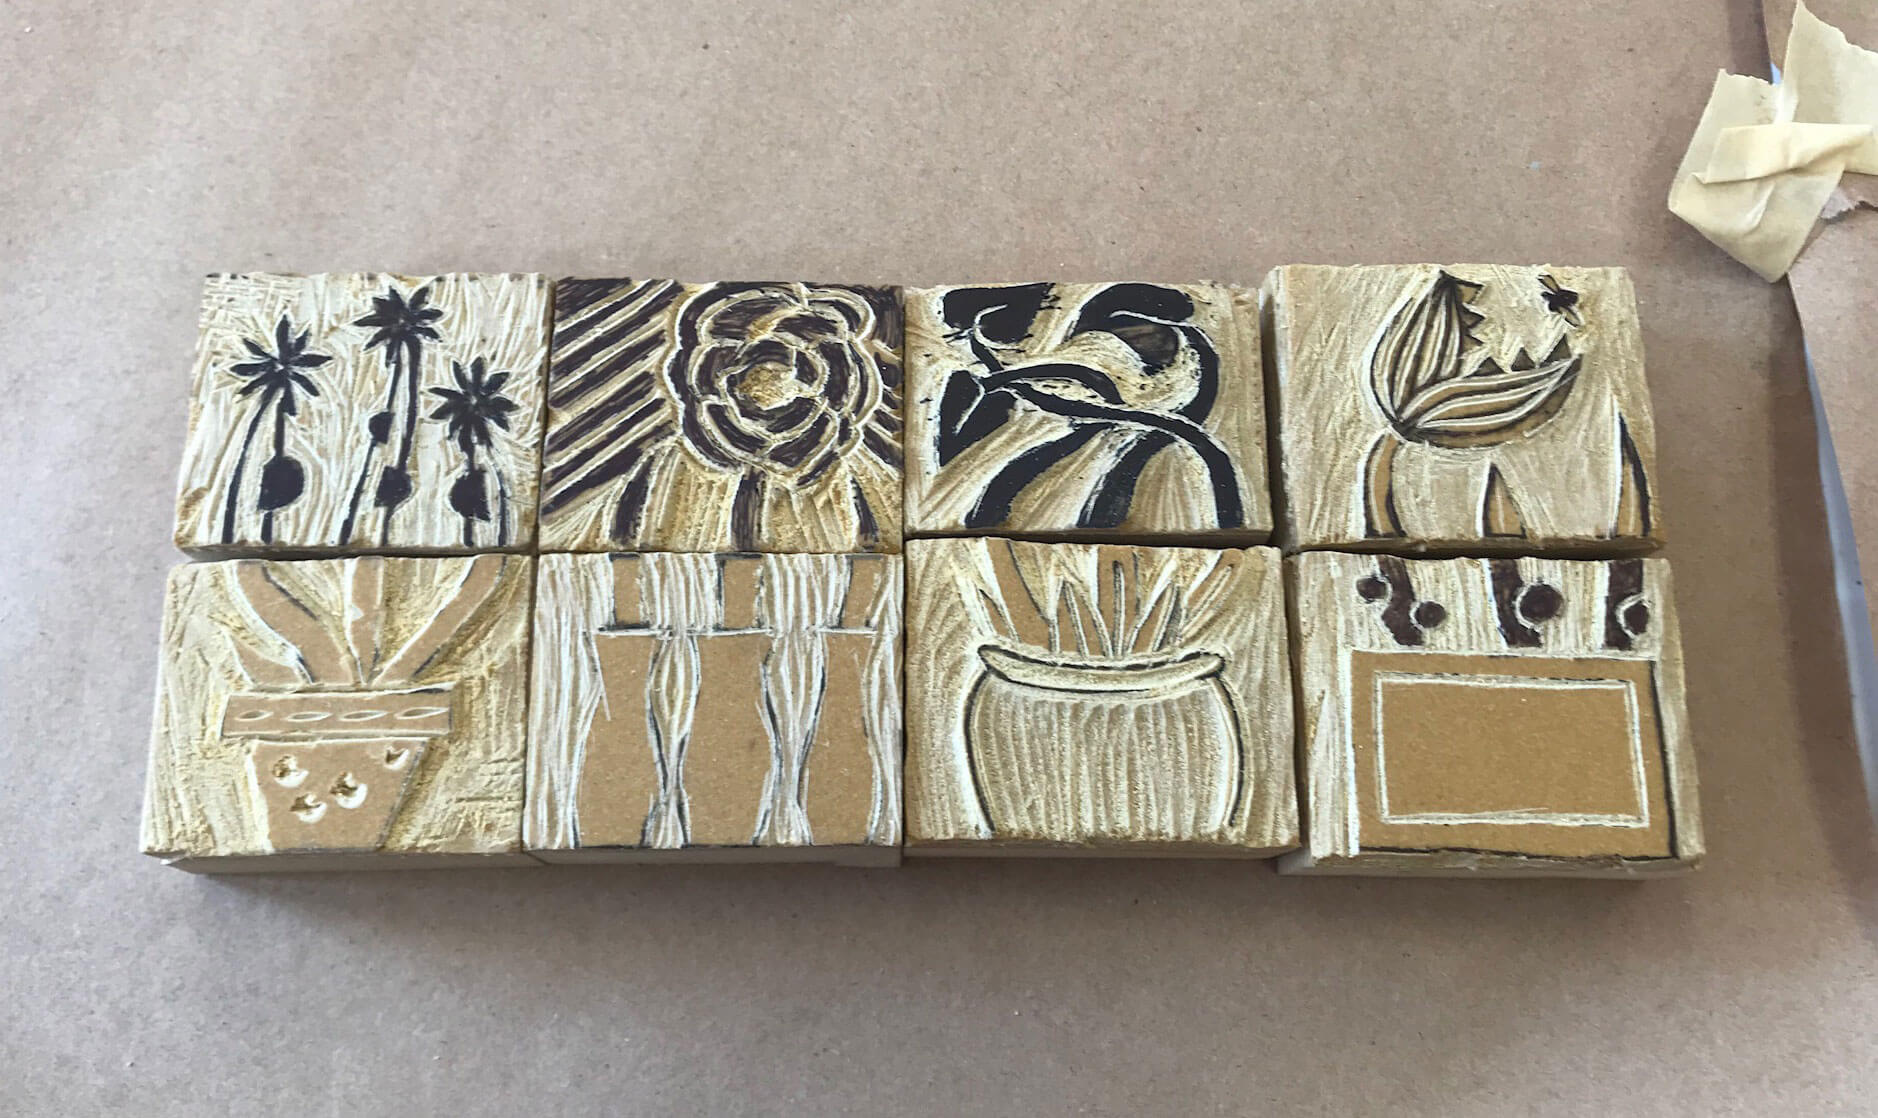
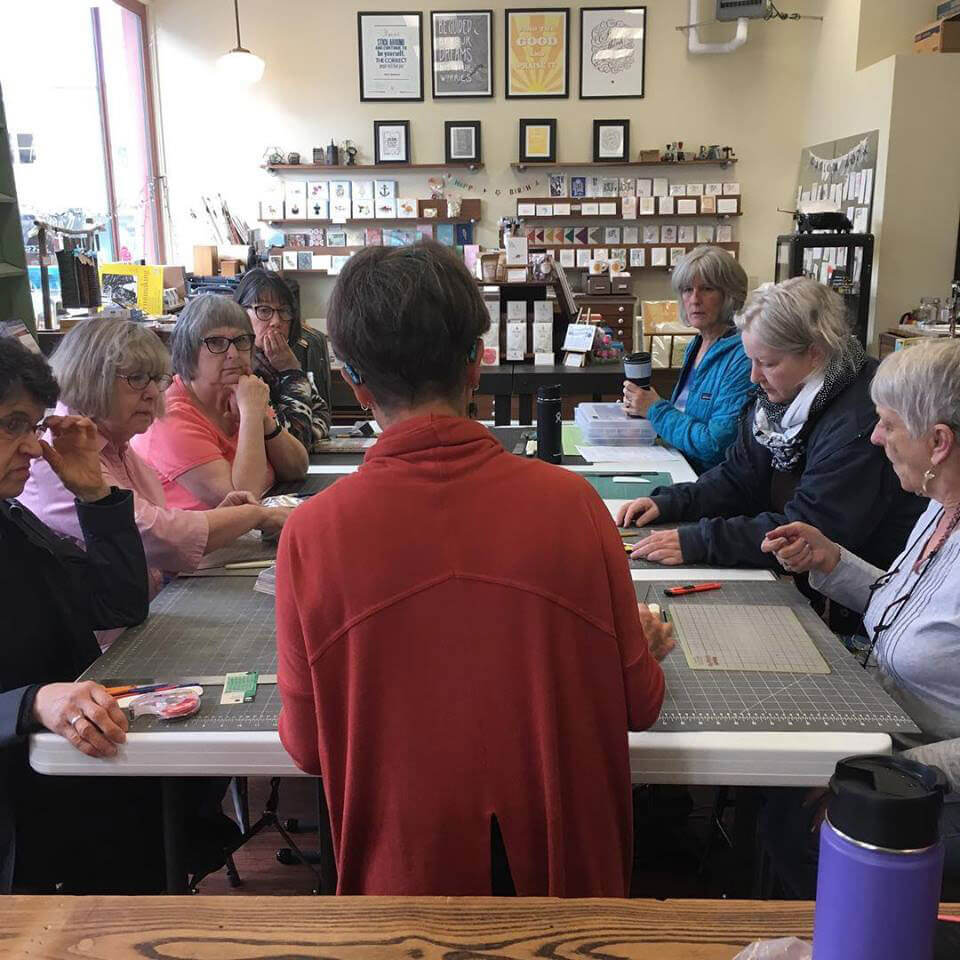
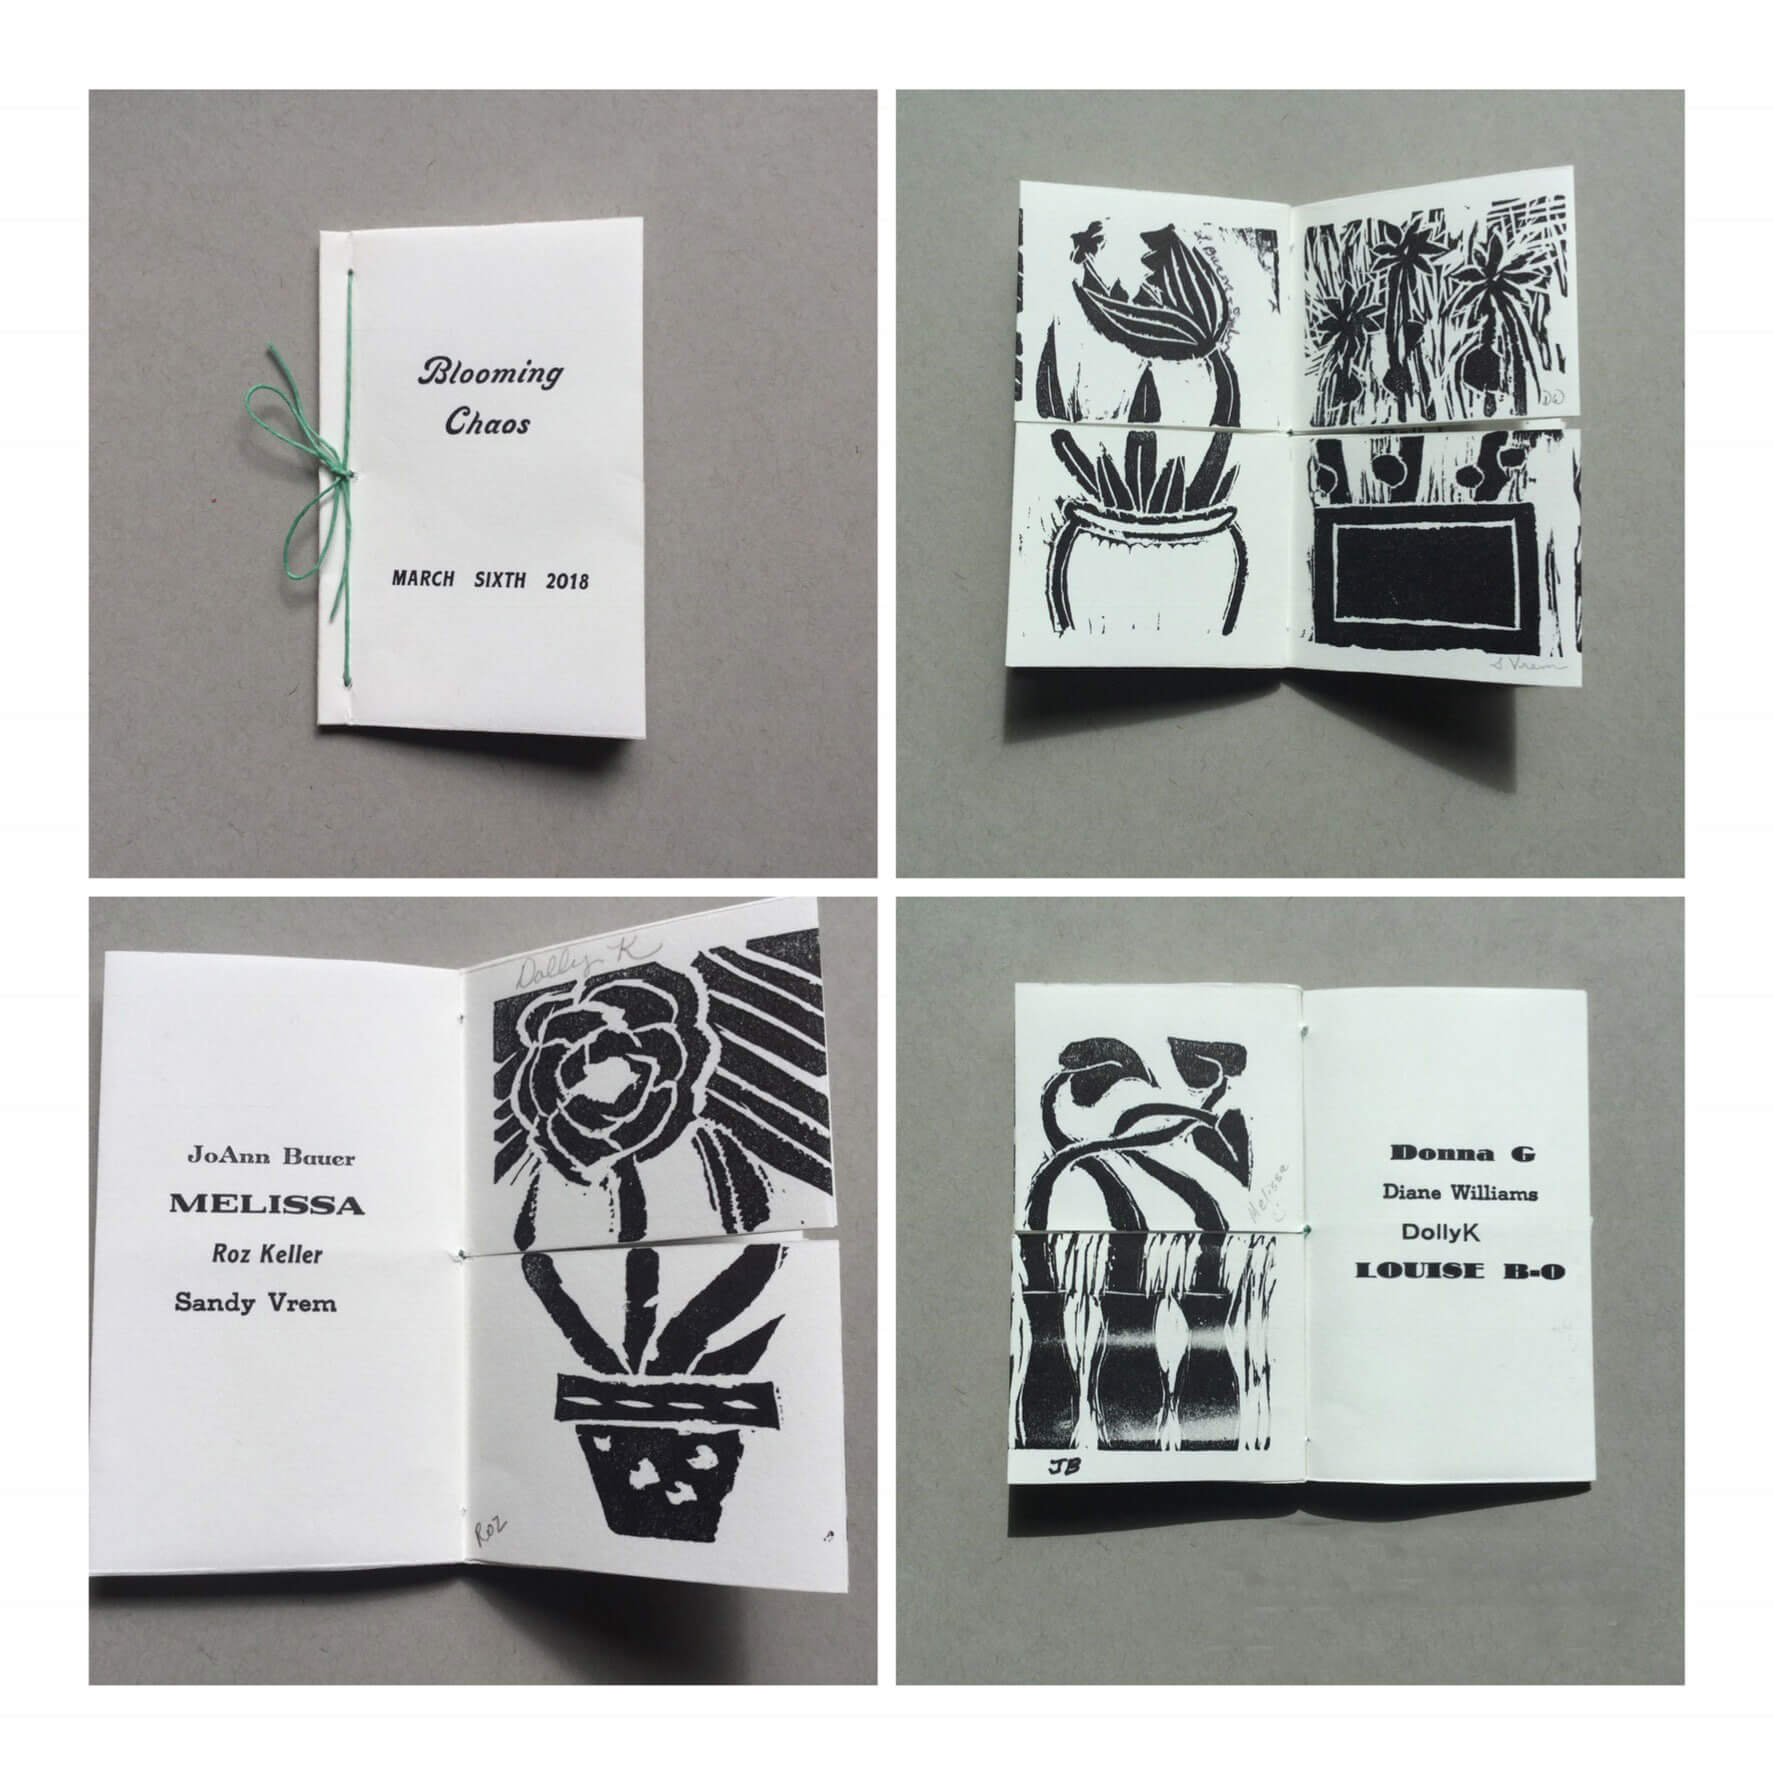
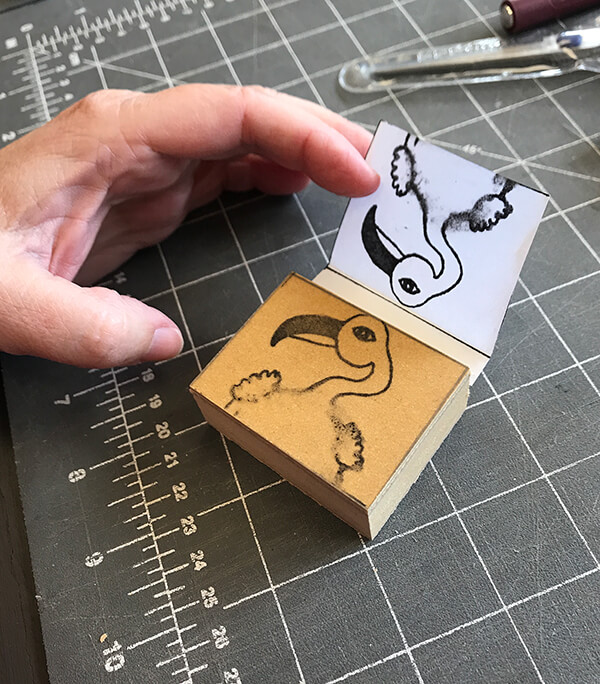
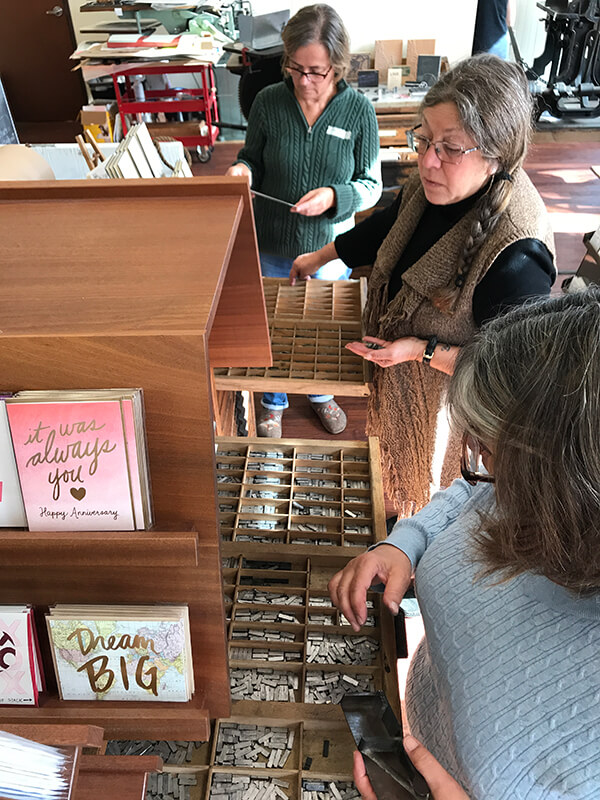
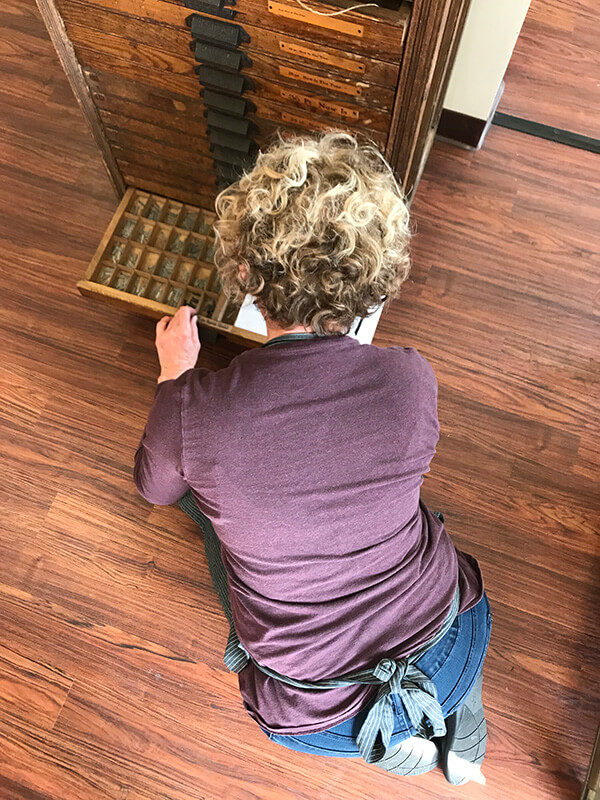
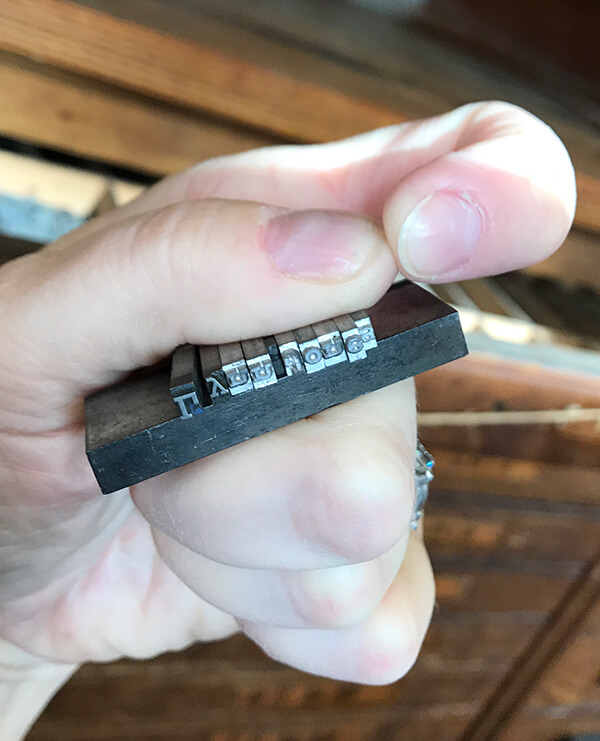
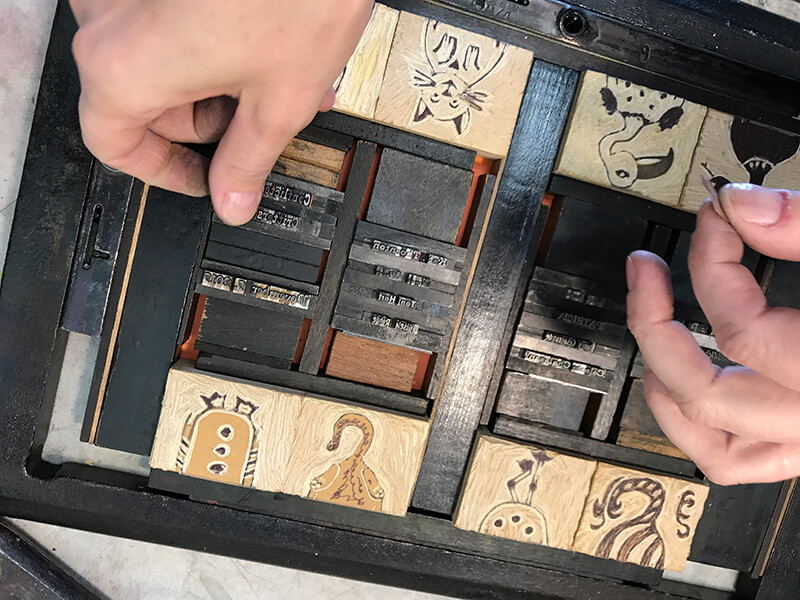
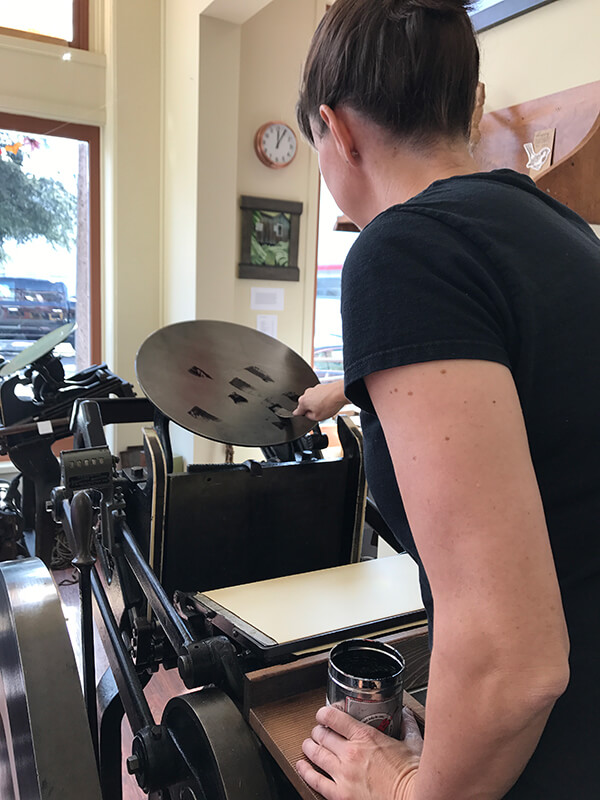
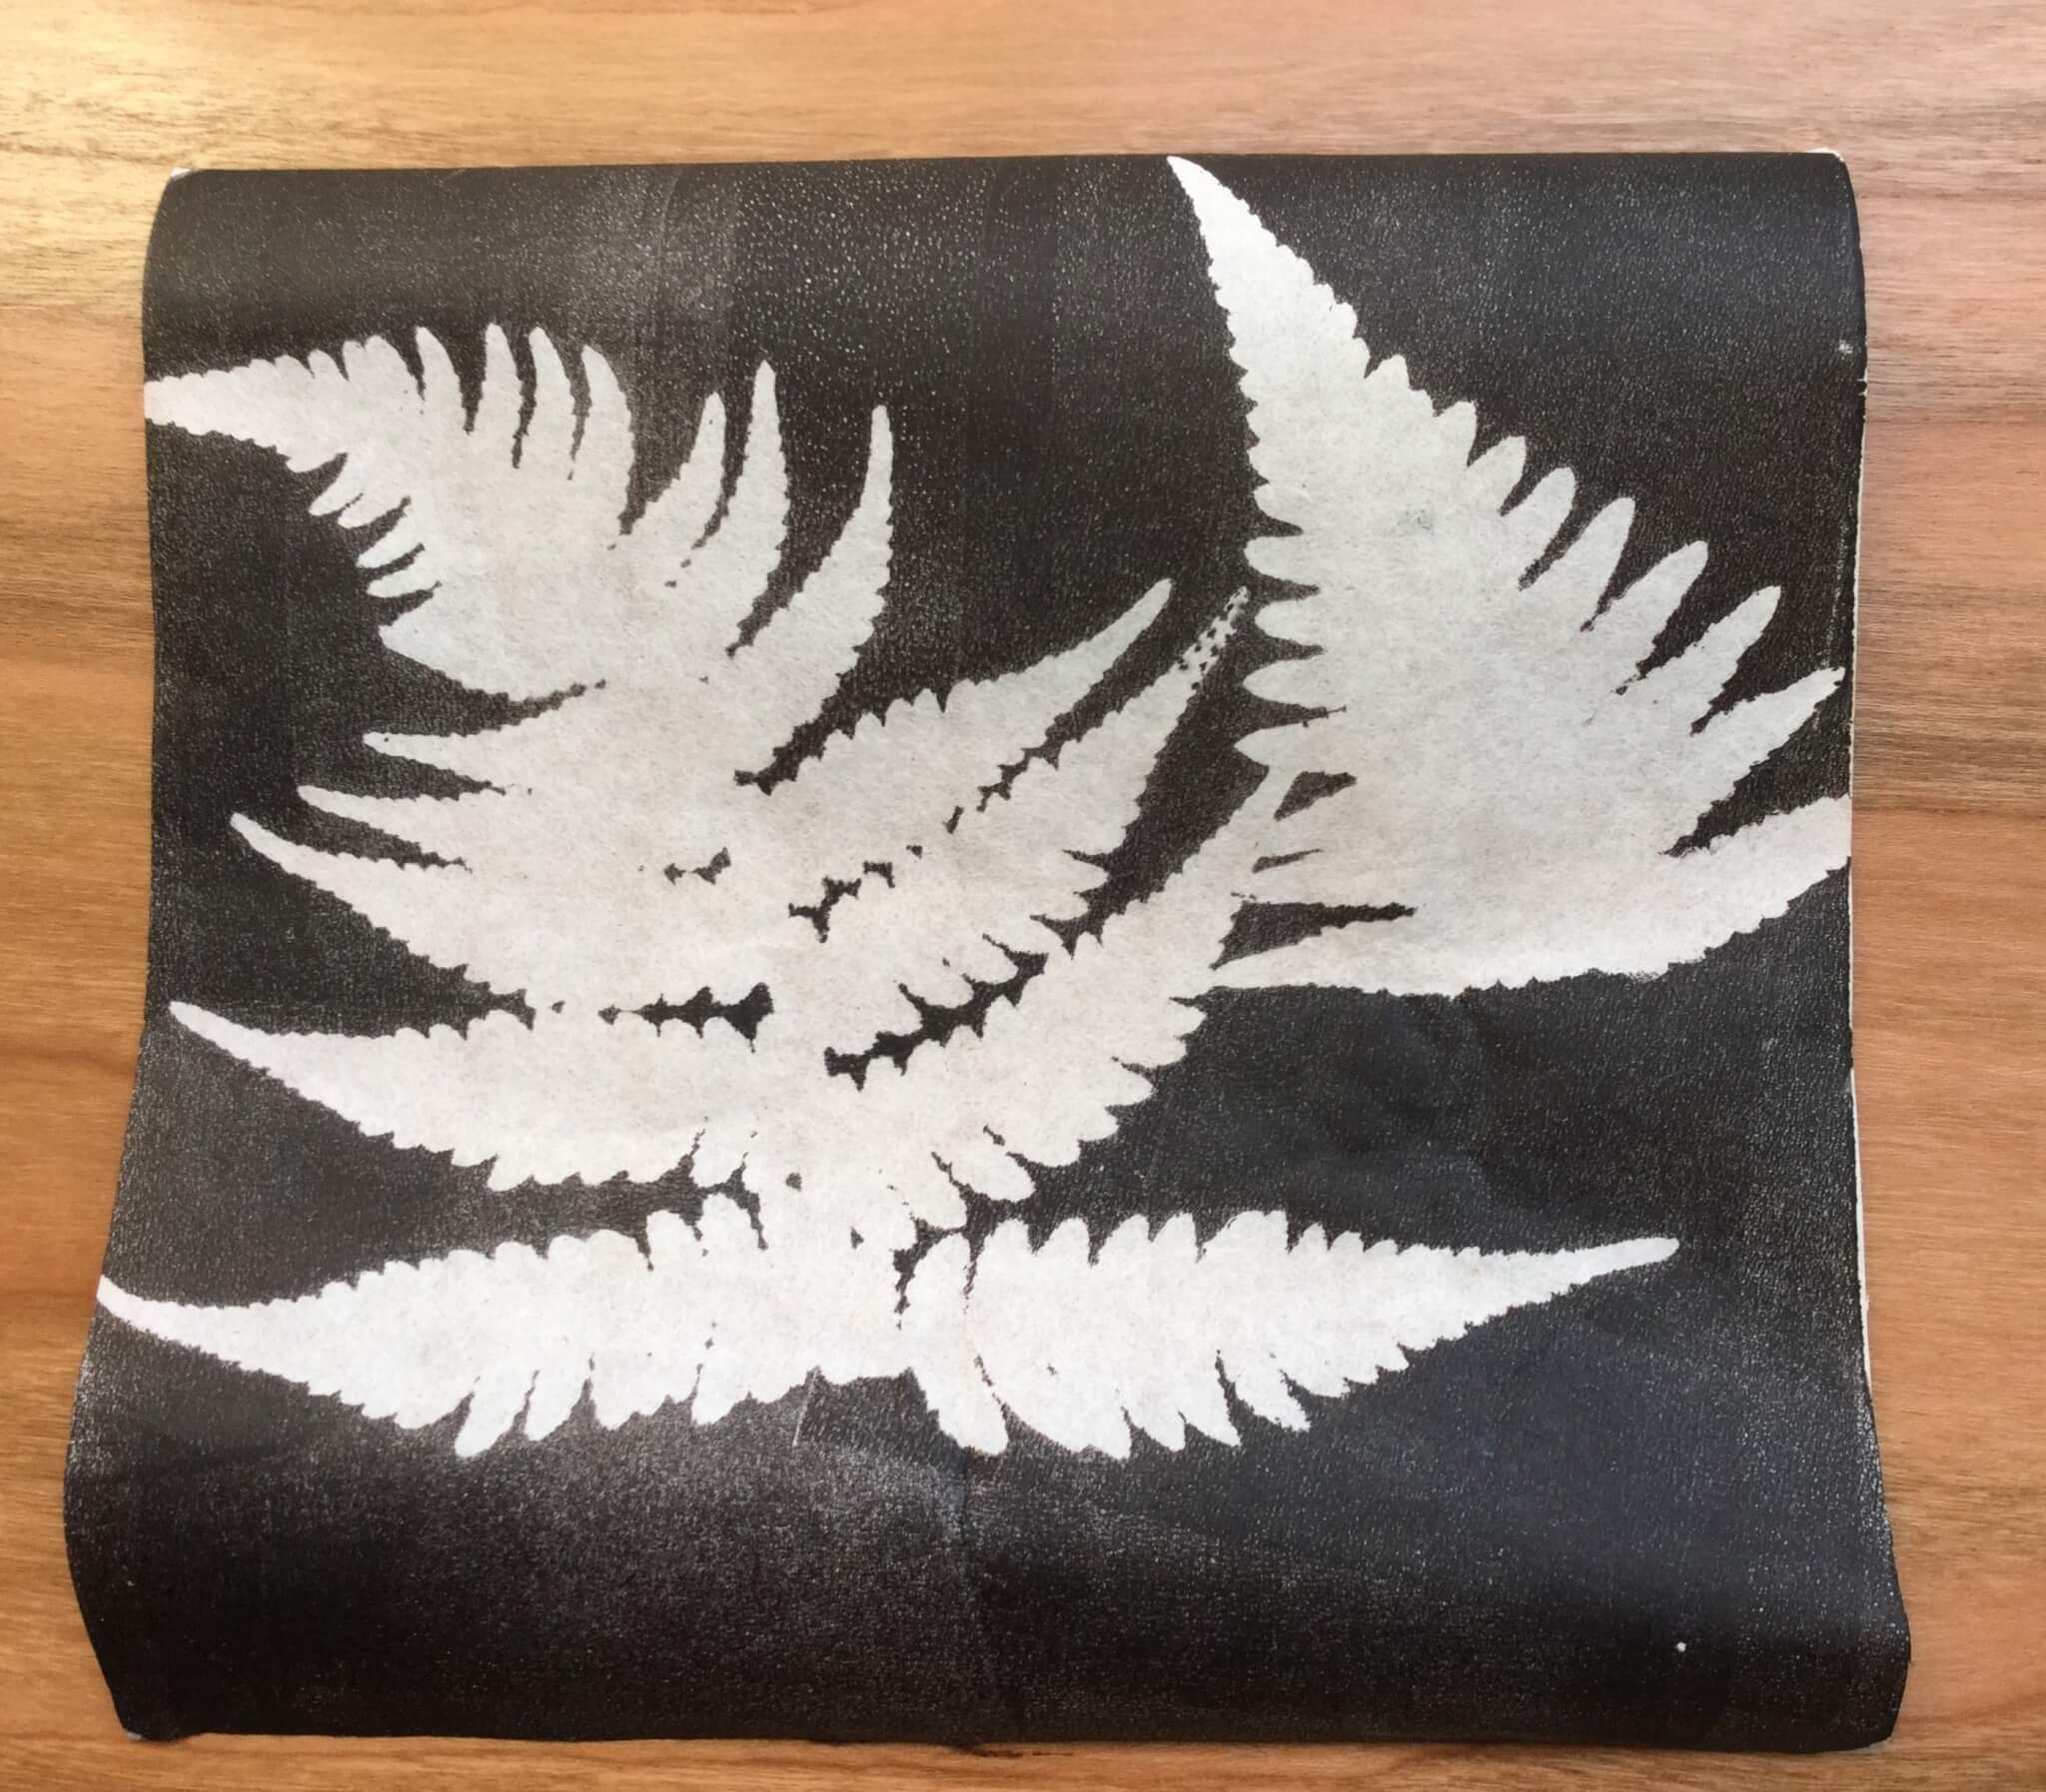
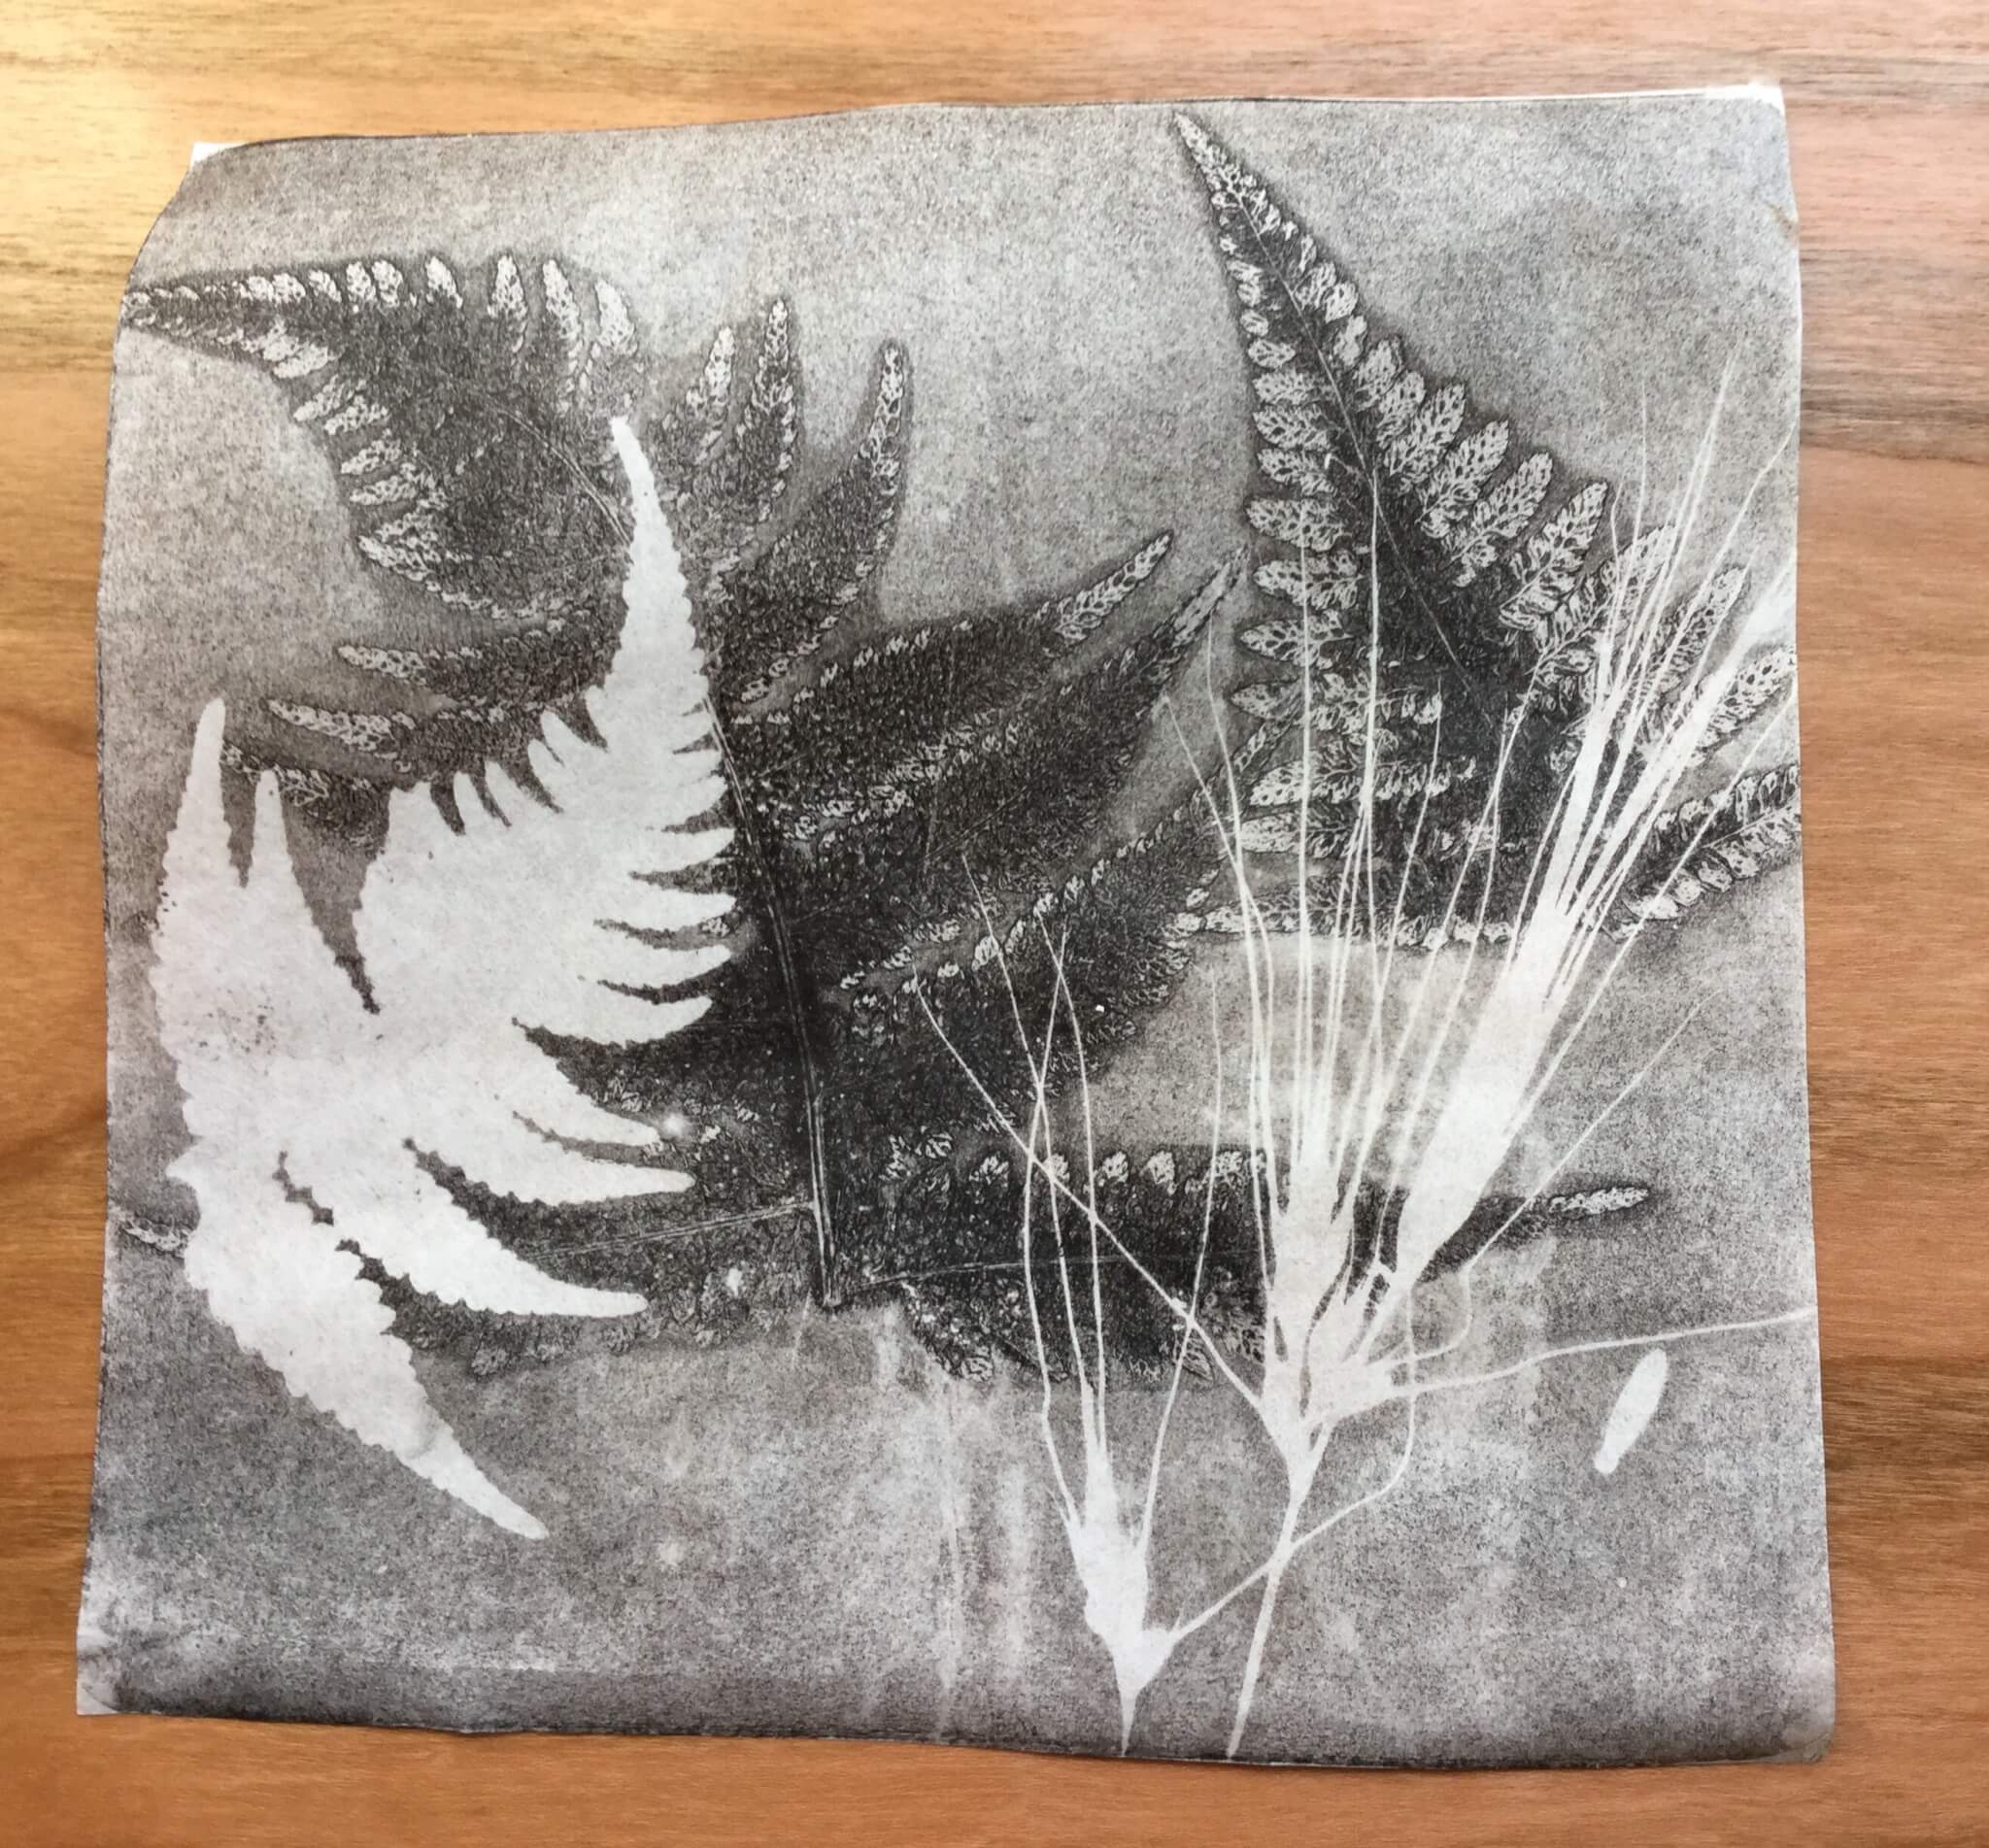
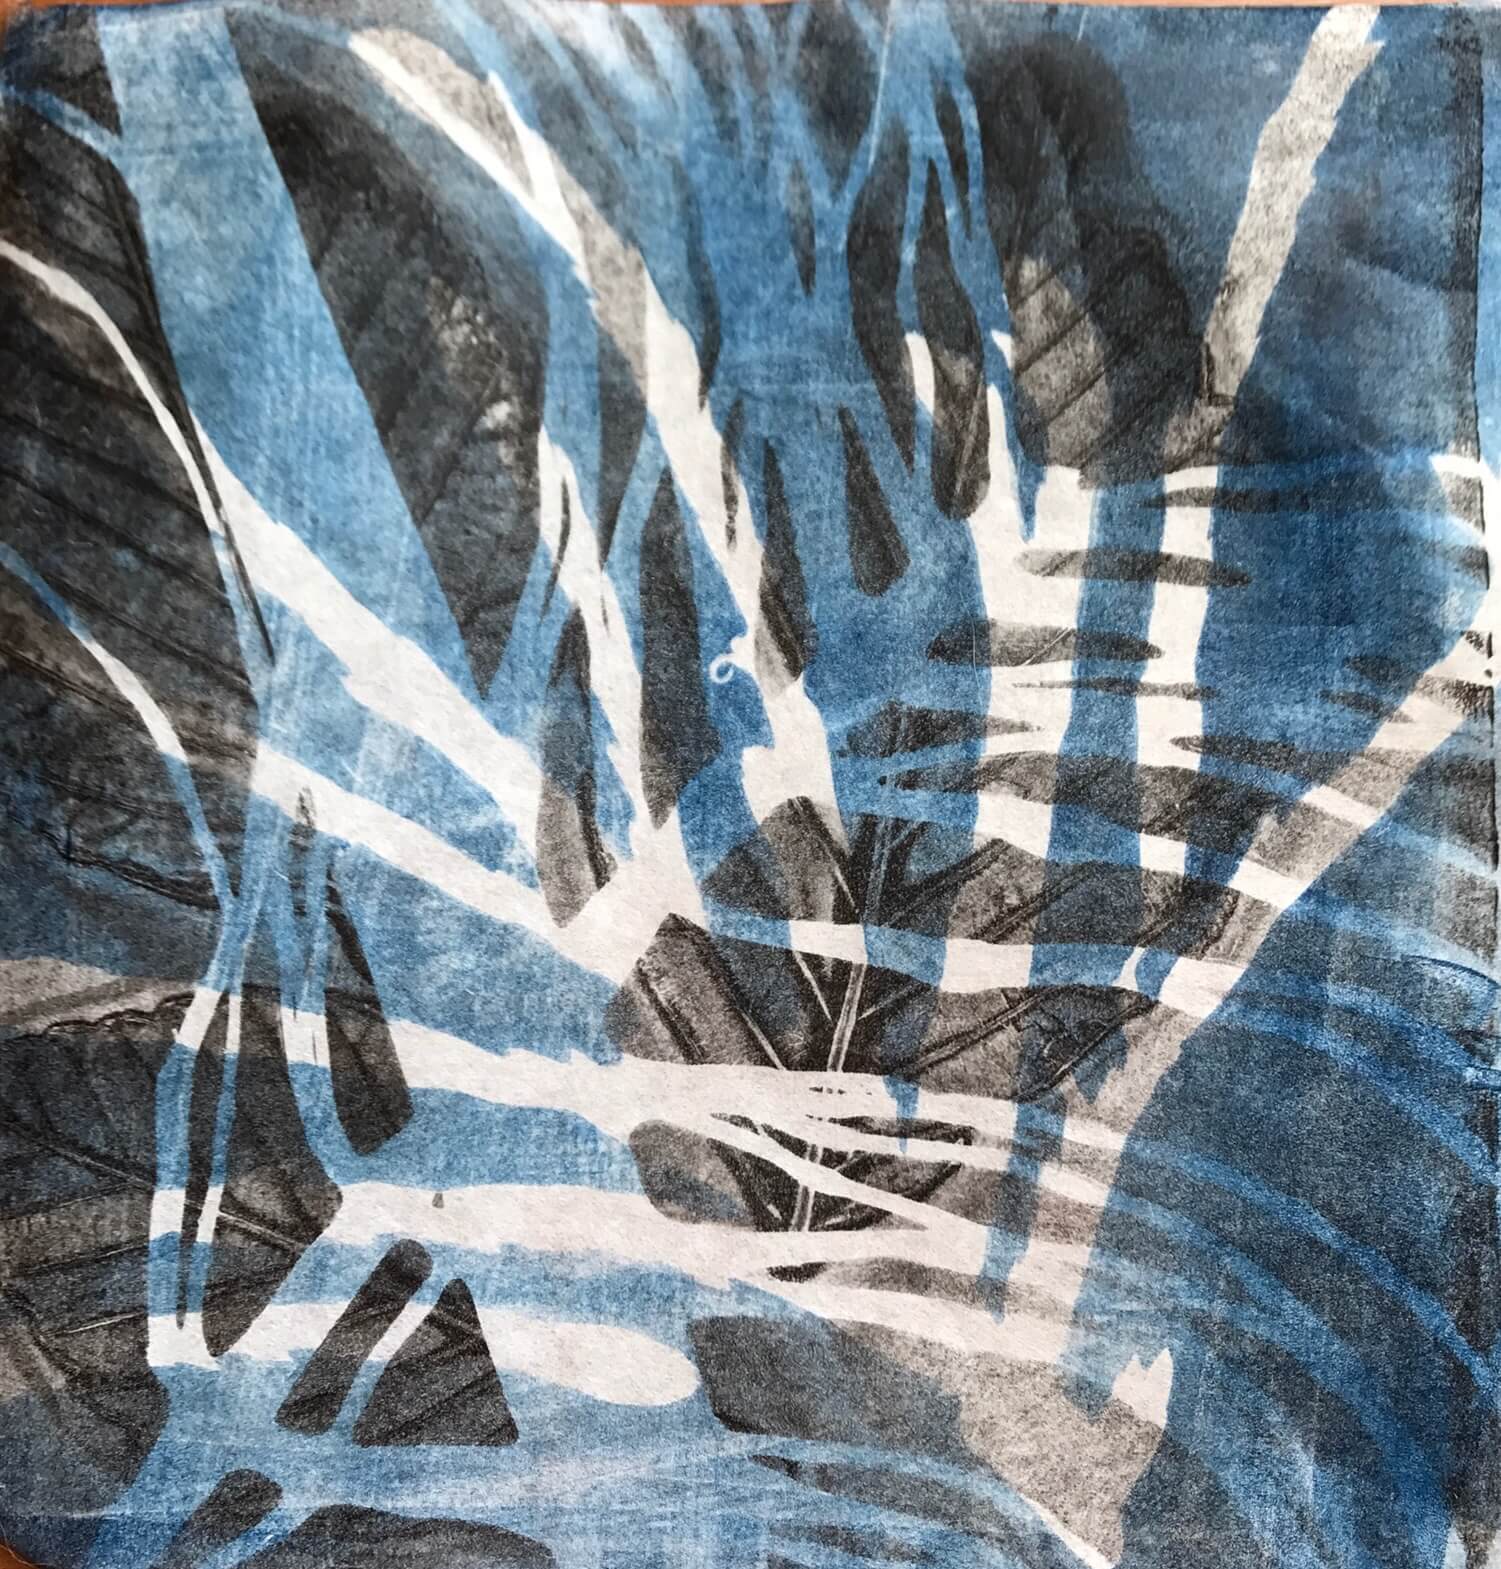
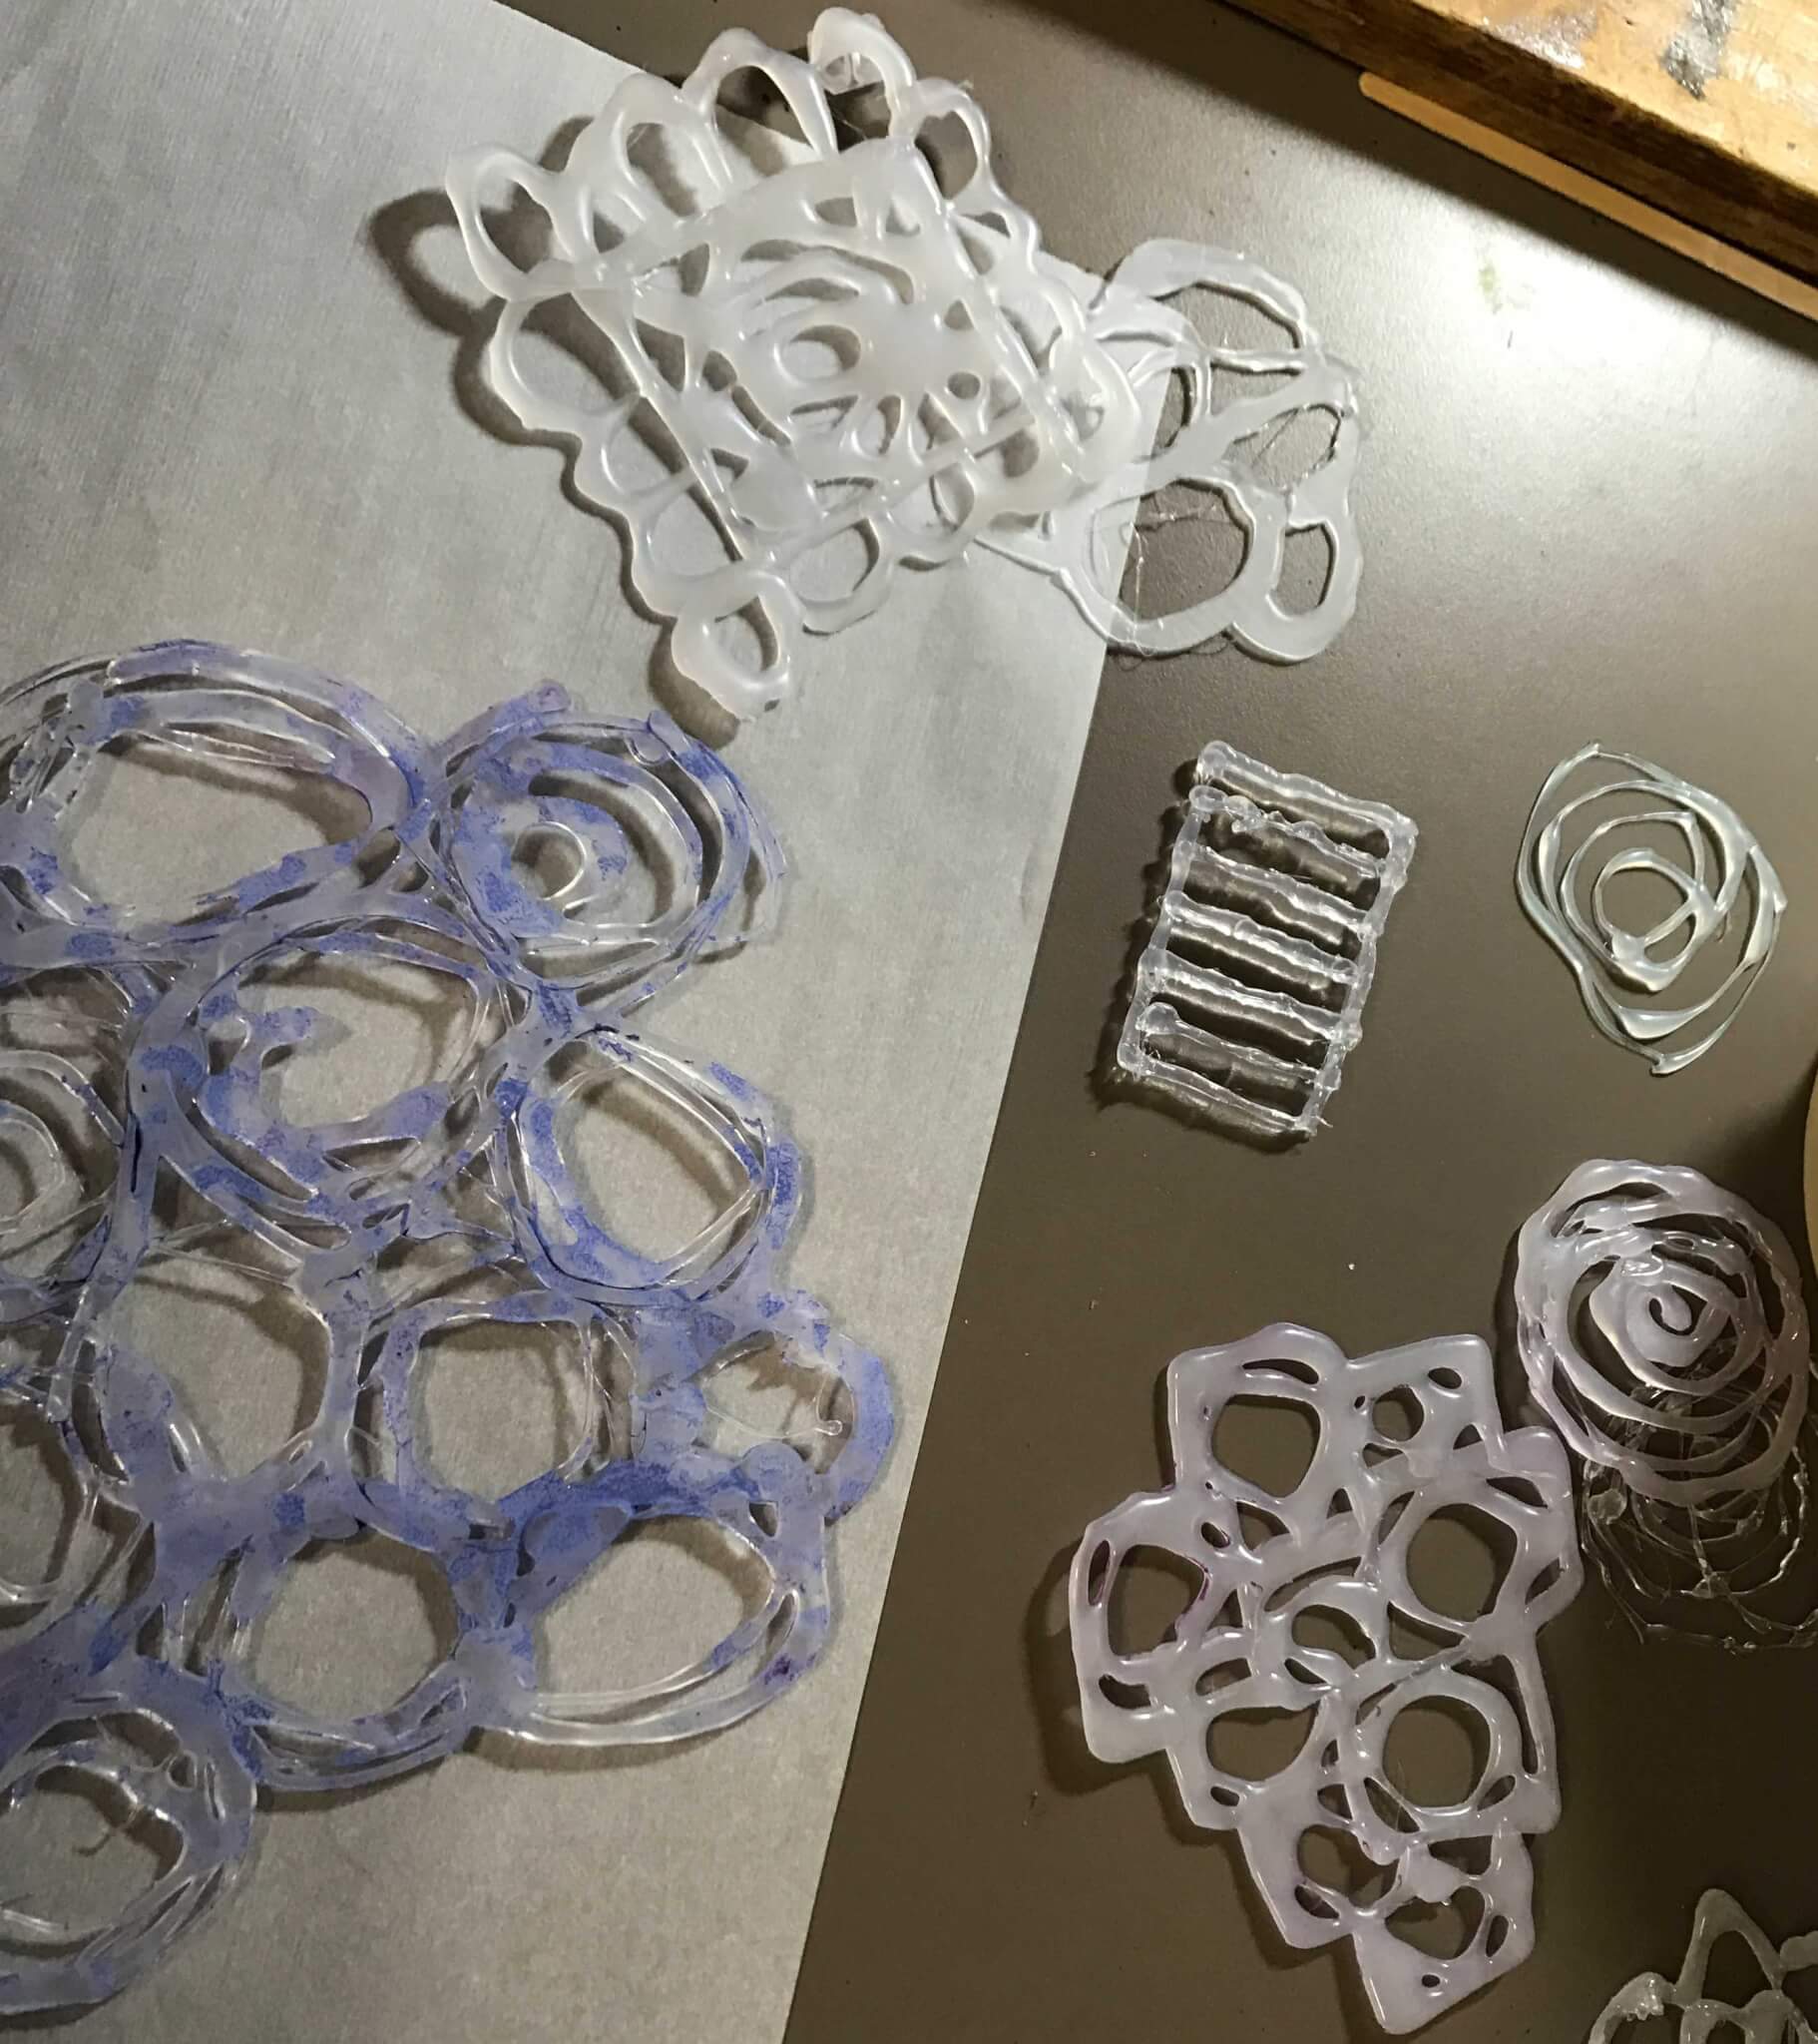
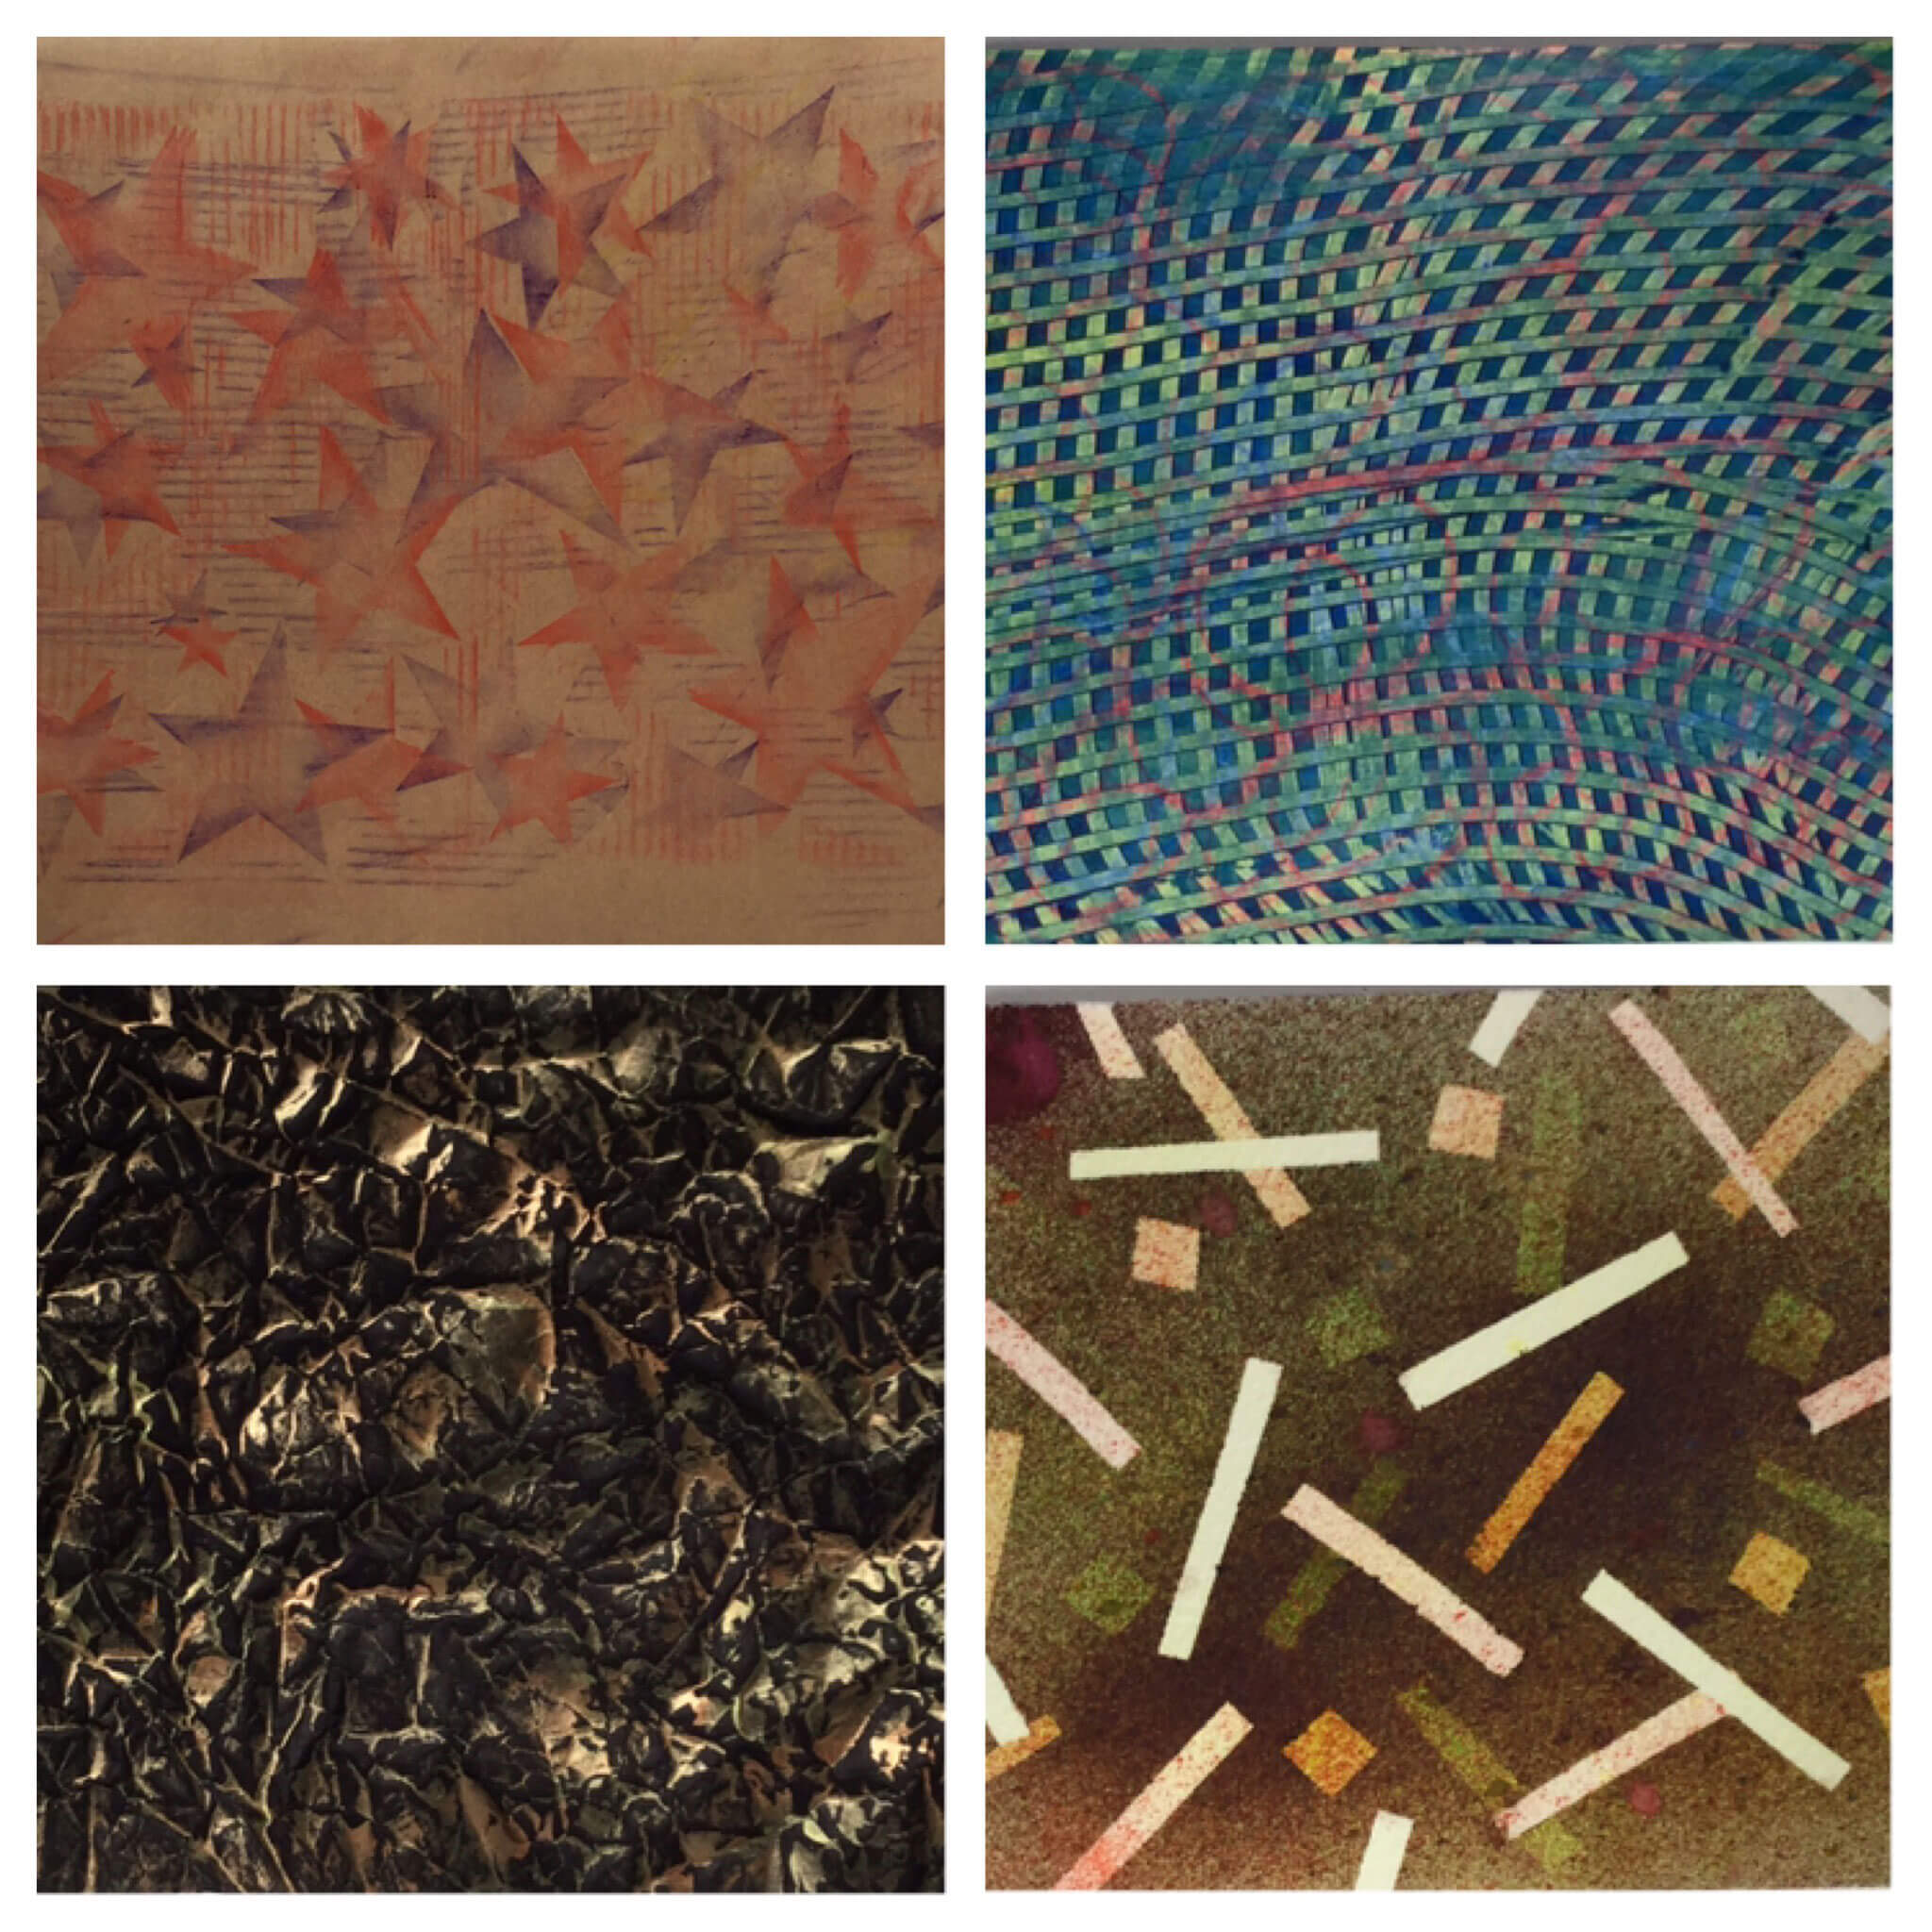
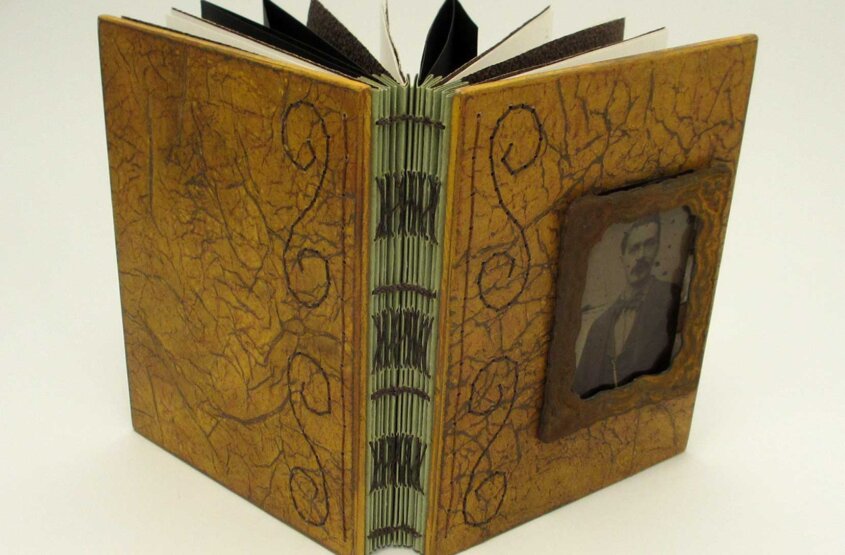
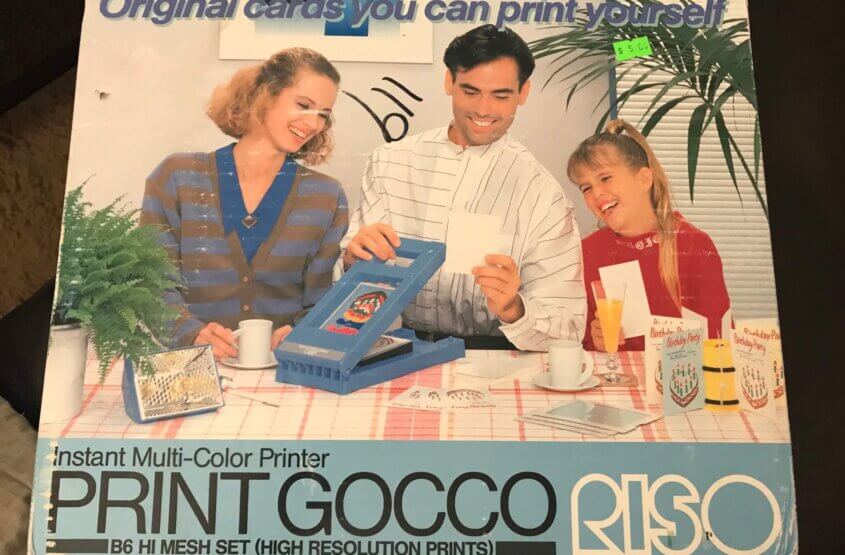
When I first joined North Redwoods Book Arts Guild we made a collaborative book using a Gocco machine to produce the number of images needed for all of those books. It’s a form of printmaking that disappeared for awhile. They are no longer made but apparently the machines have developed a kind of cult following and people are finding replacements for the bulbs and screens required. In an earlier post I had mentioned that I am temporarily putting book arts aside in order to open up time for other things to present themselves. This is the first of those invitations to venture into other areas. I found it in the WabiSabi Thrift Shop in Moab, Utah for $5! This is a real bargain considering there are bulbs, screens, inks, and the machine. It’s also in color!

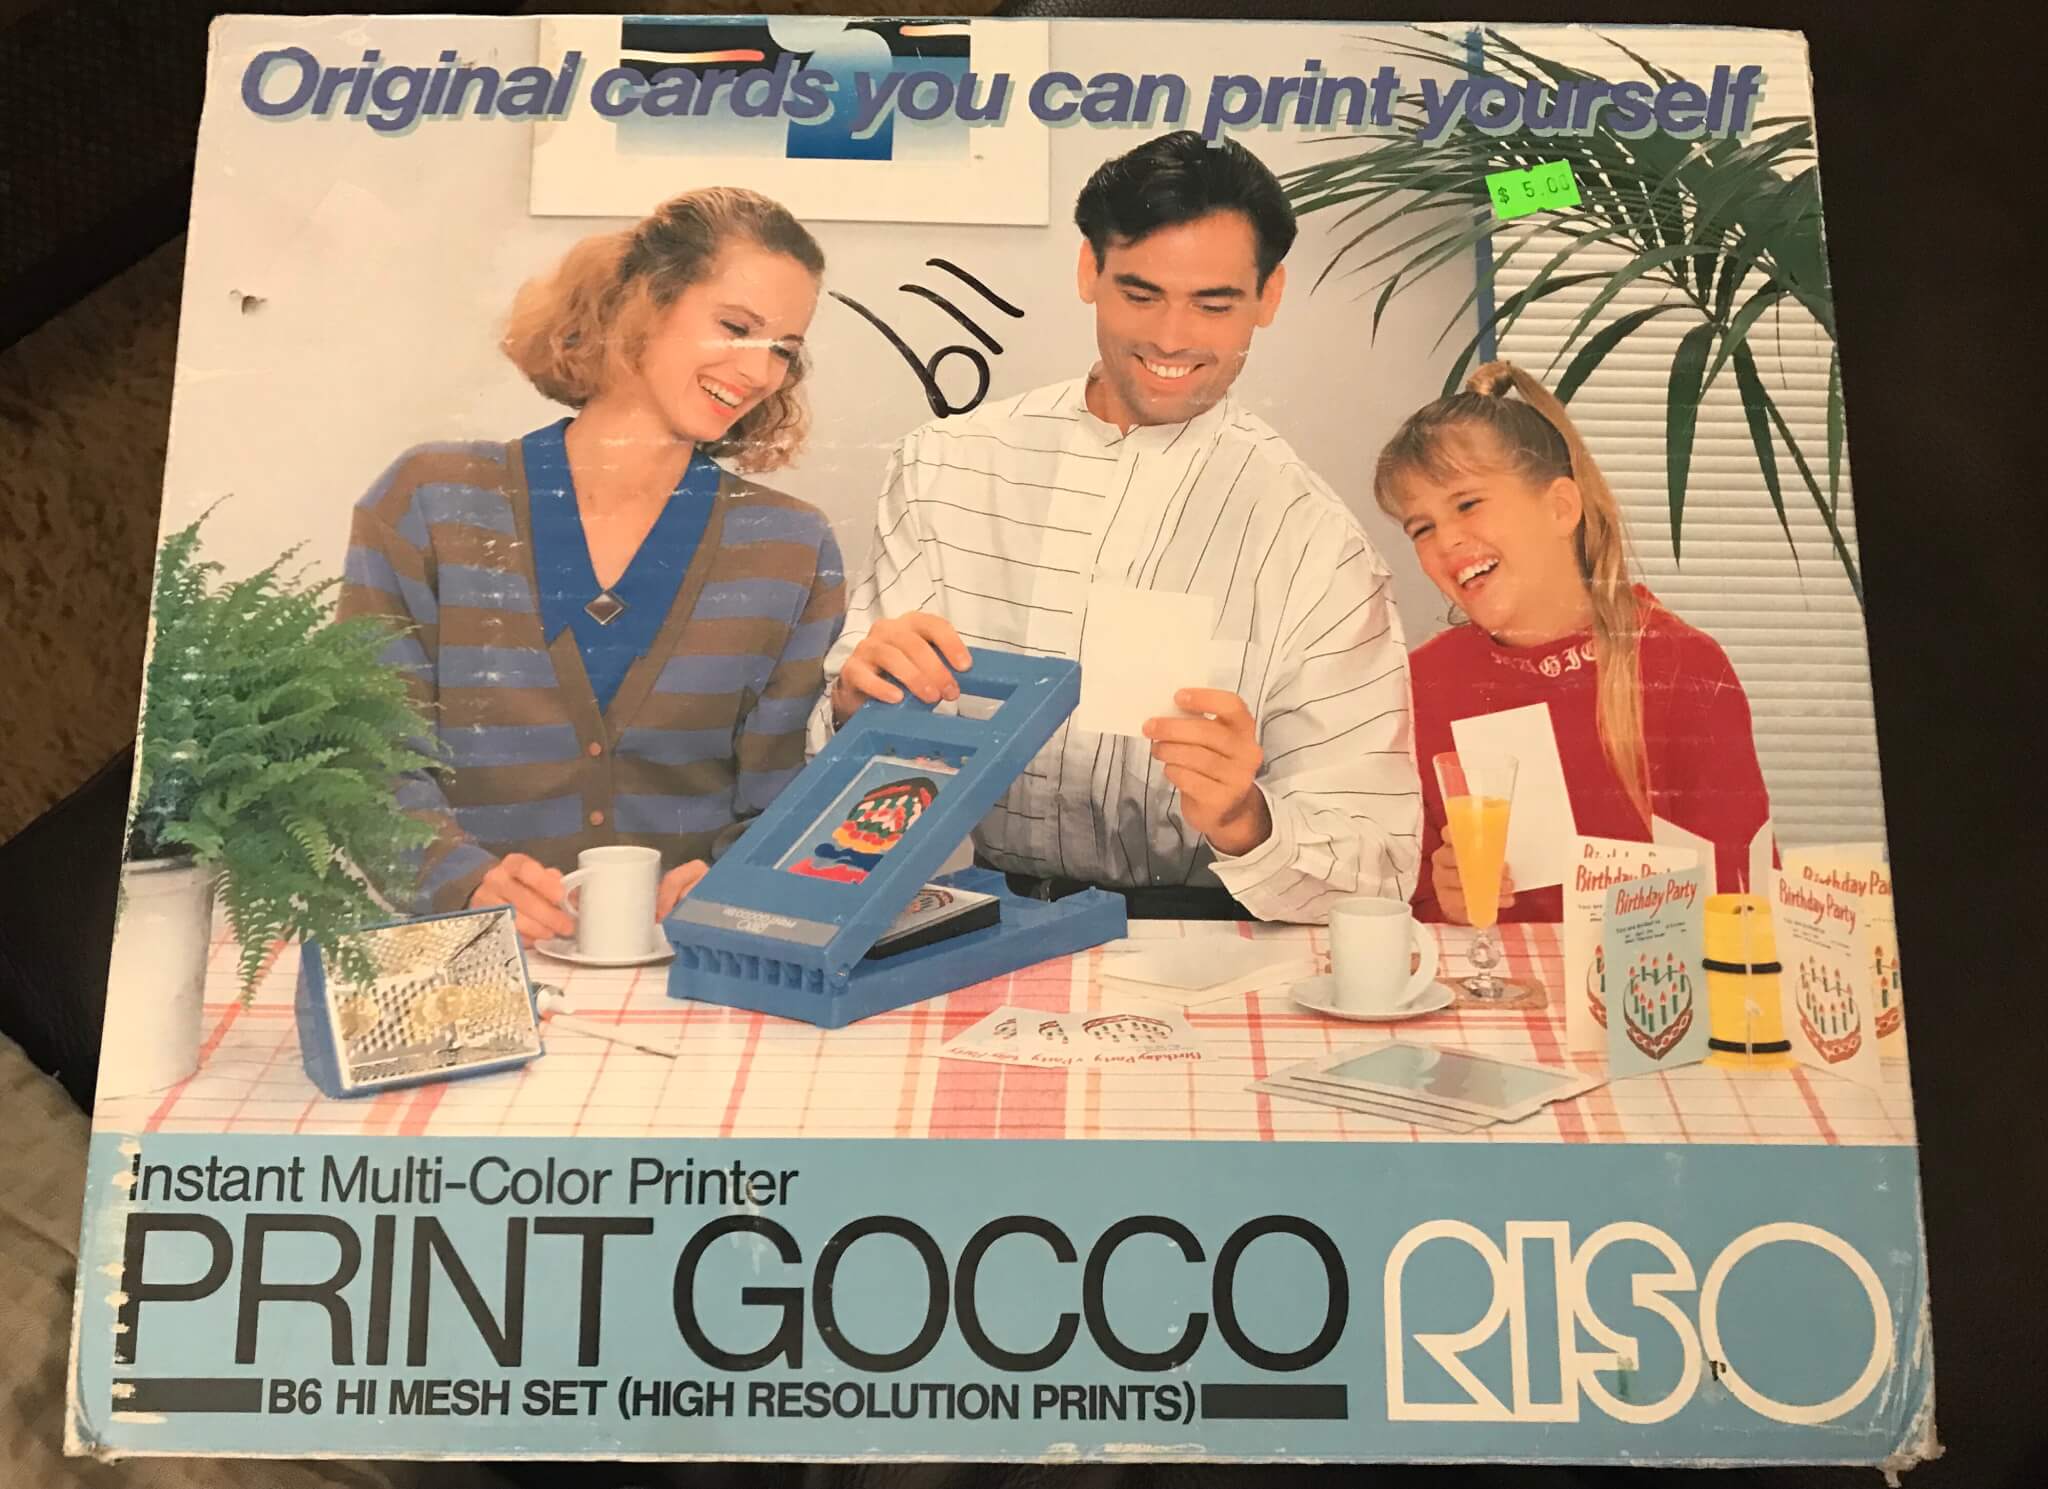
Oh my. The cover….yes, I know. It reminds me of my first attempt at buying a computer. The salesman at Radio Shack asked me what my husband would be using it for. No Radio Shack for me.

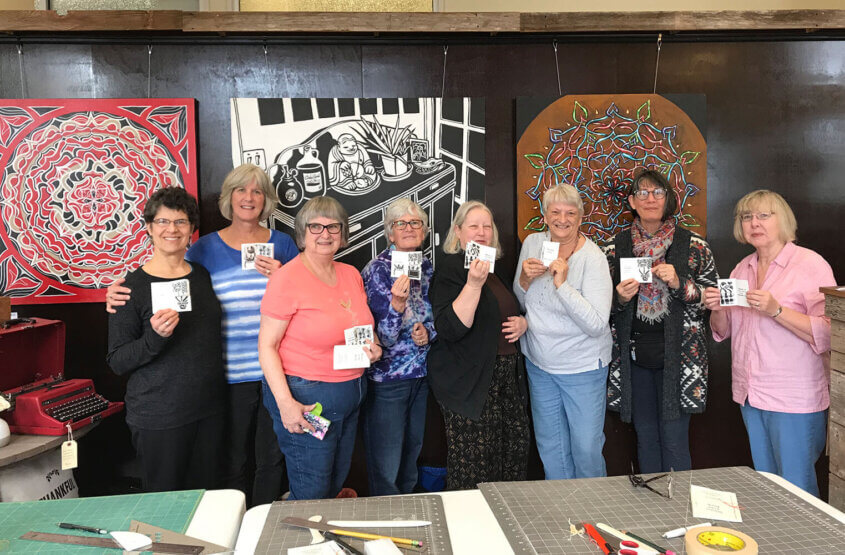
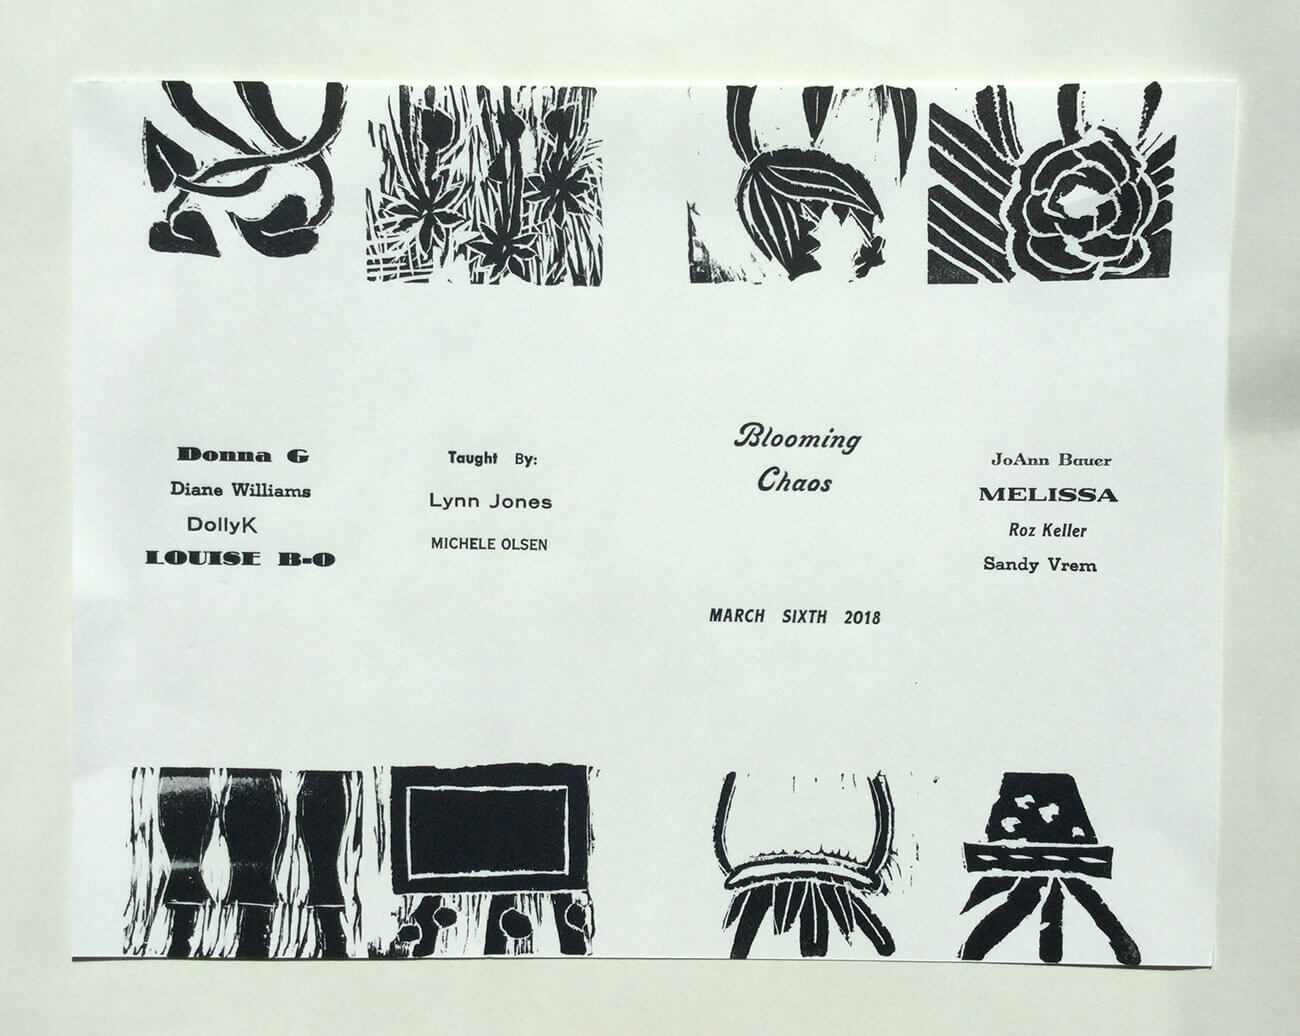
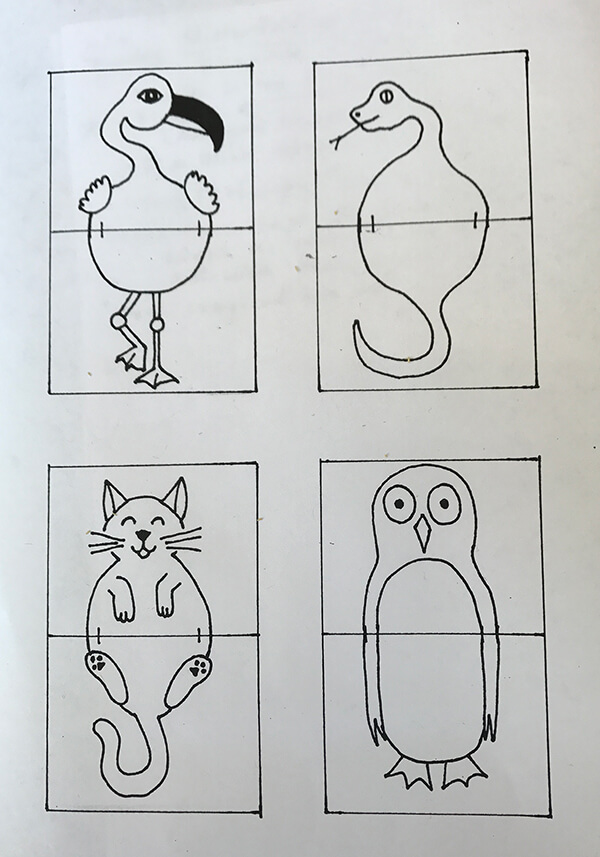
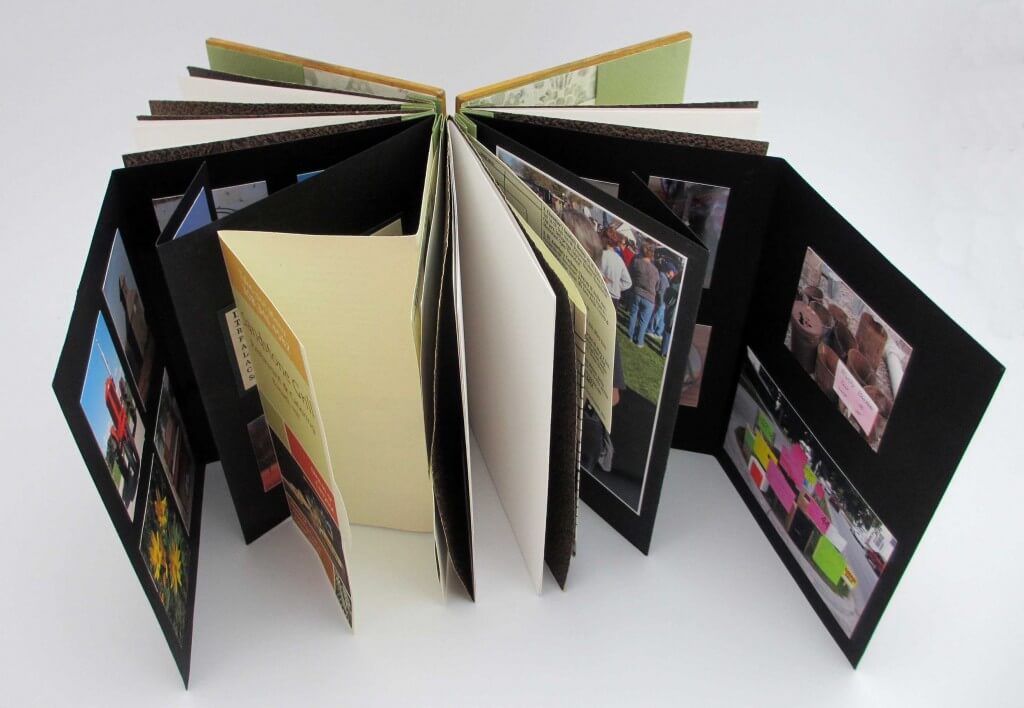
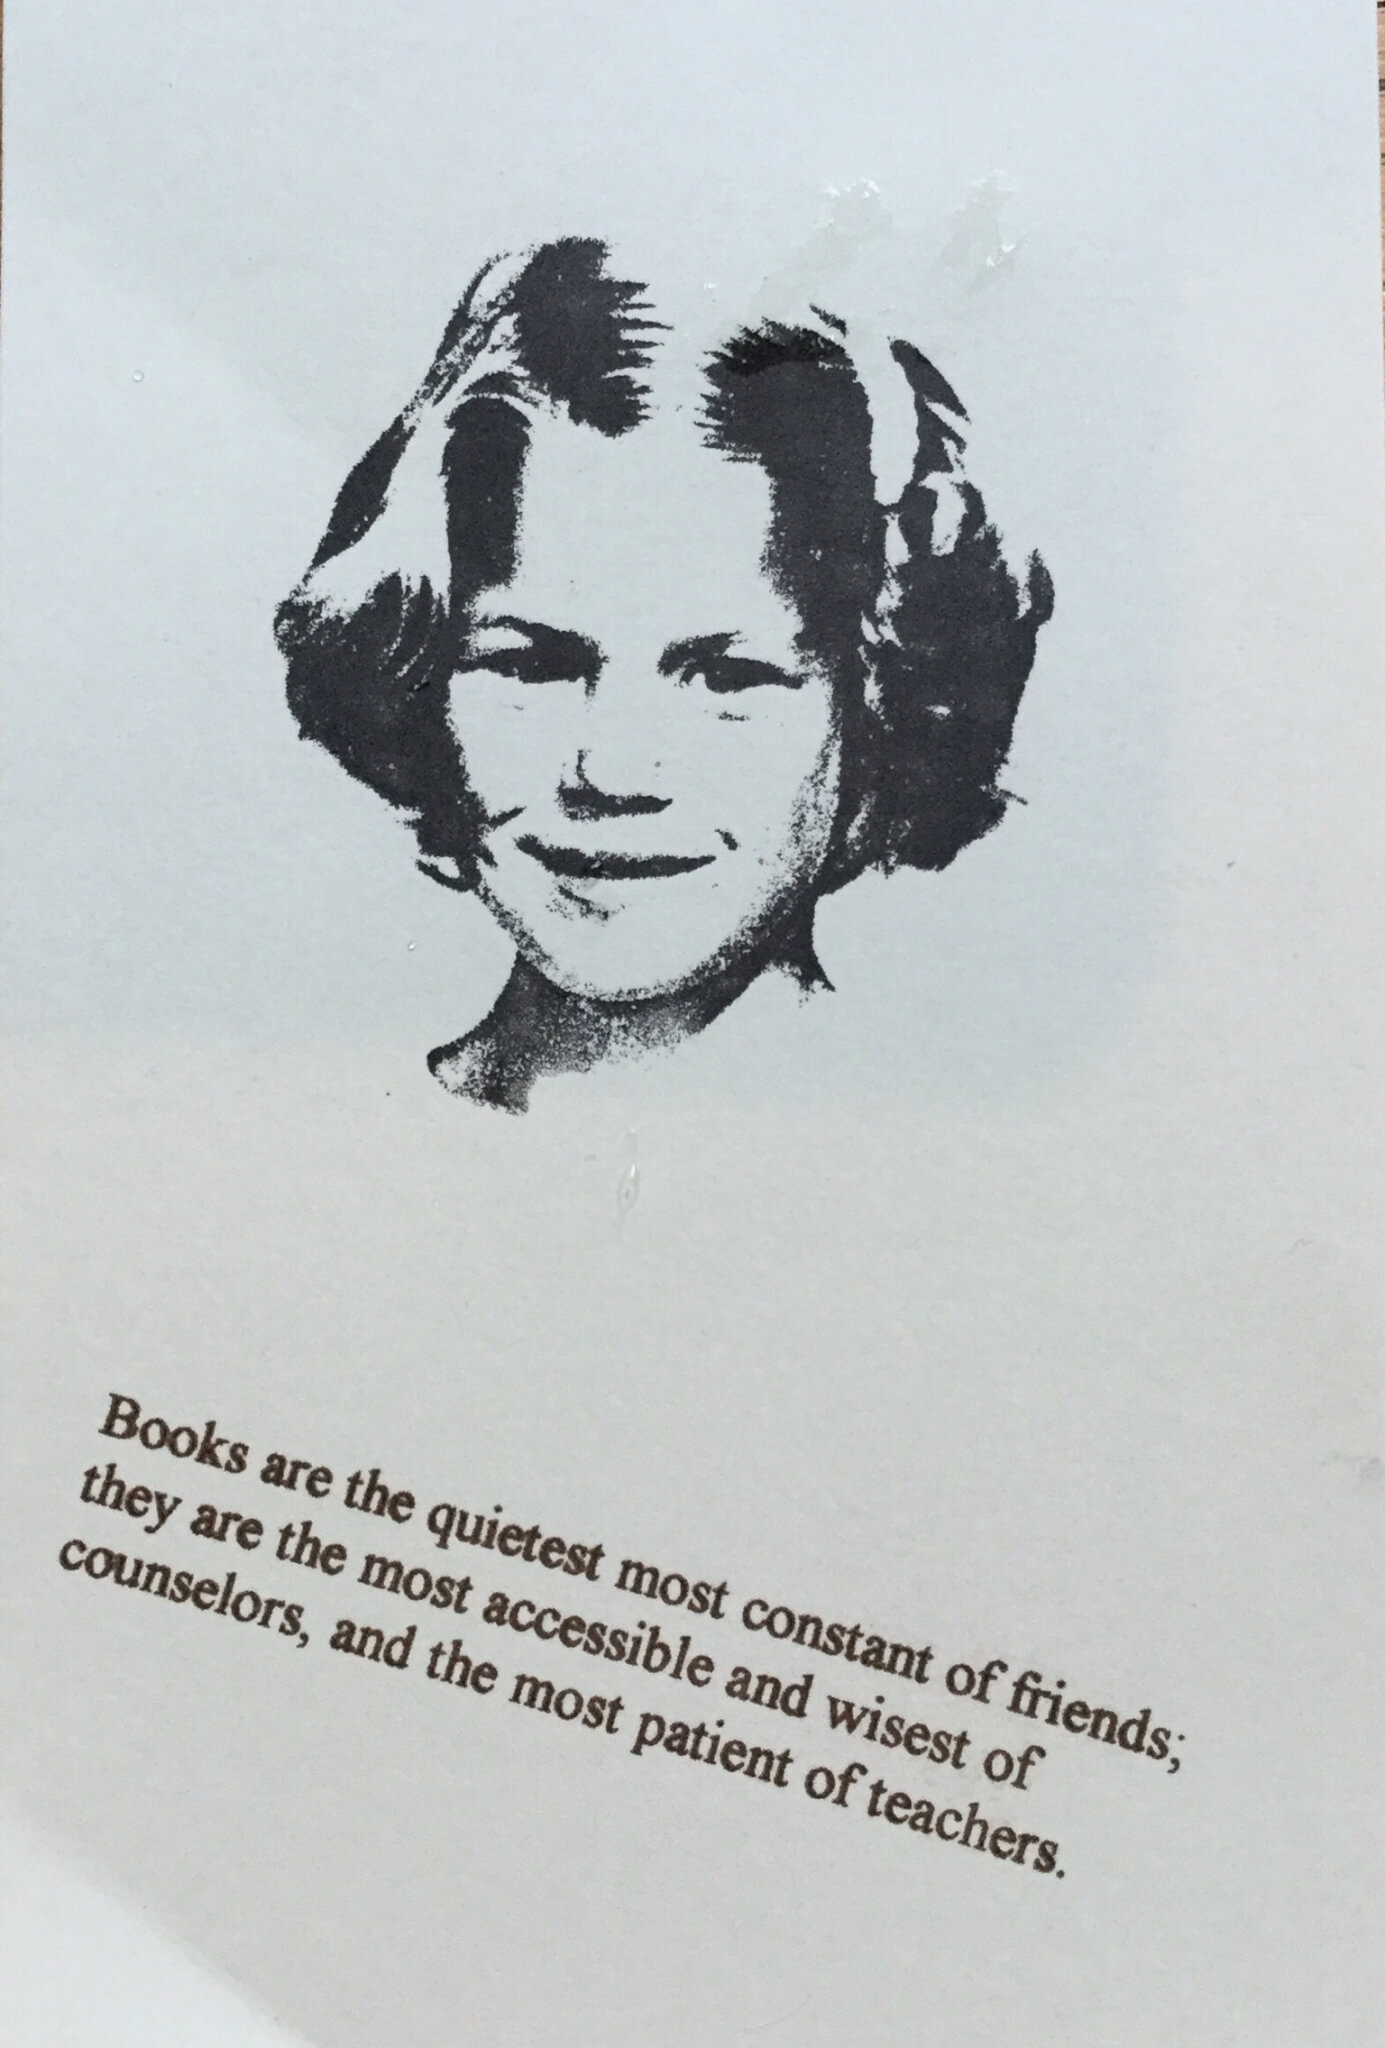
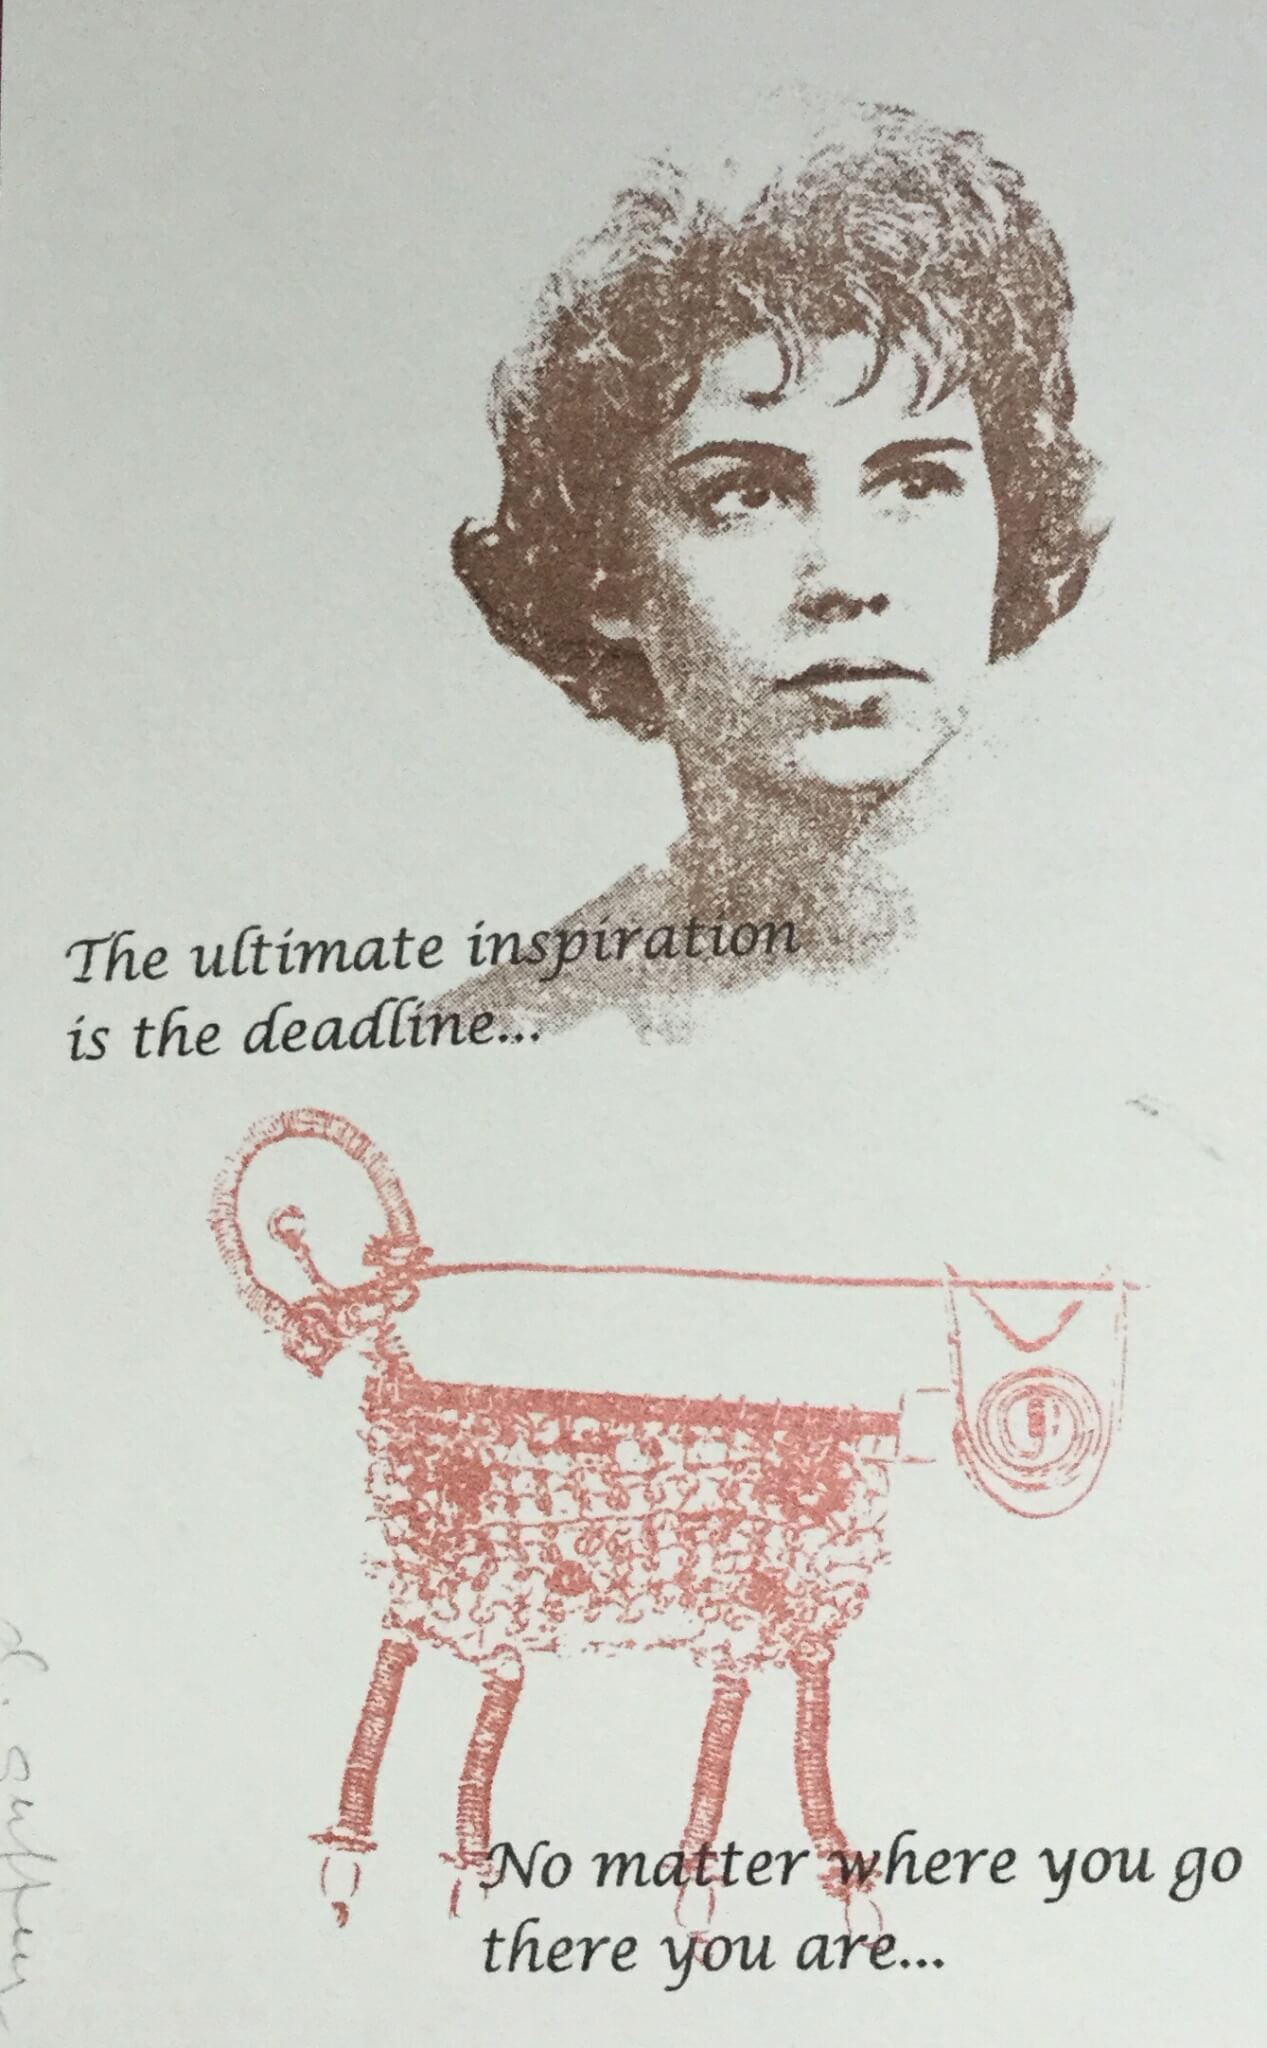
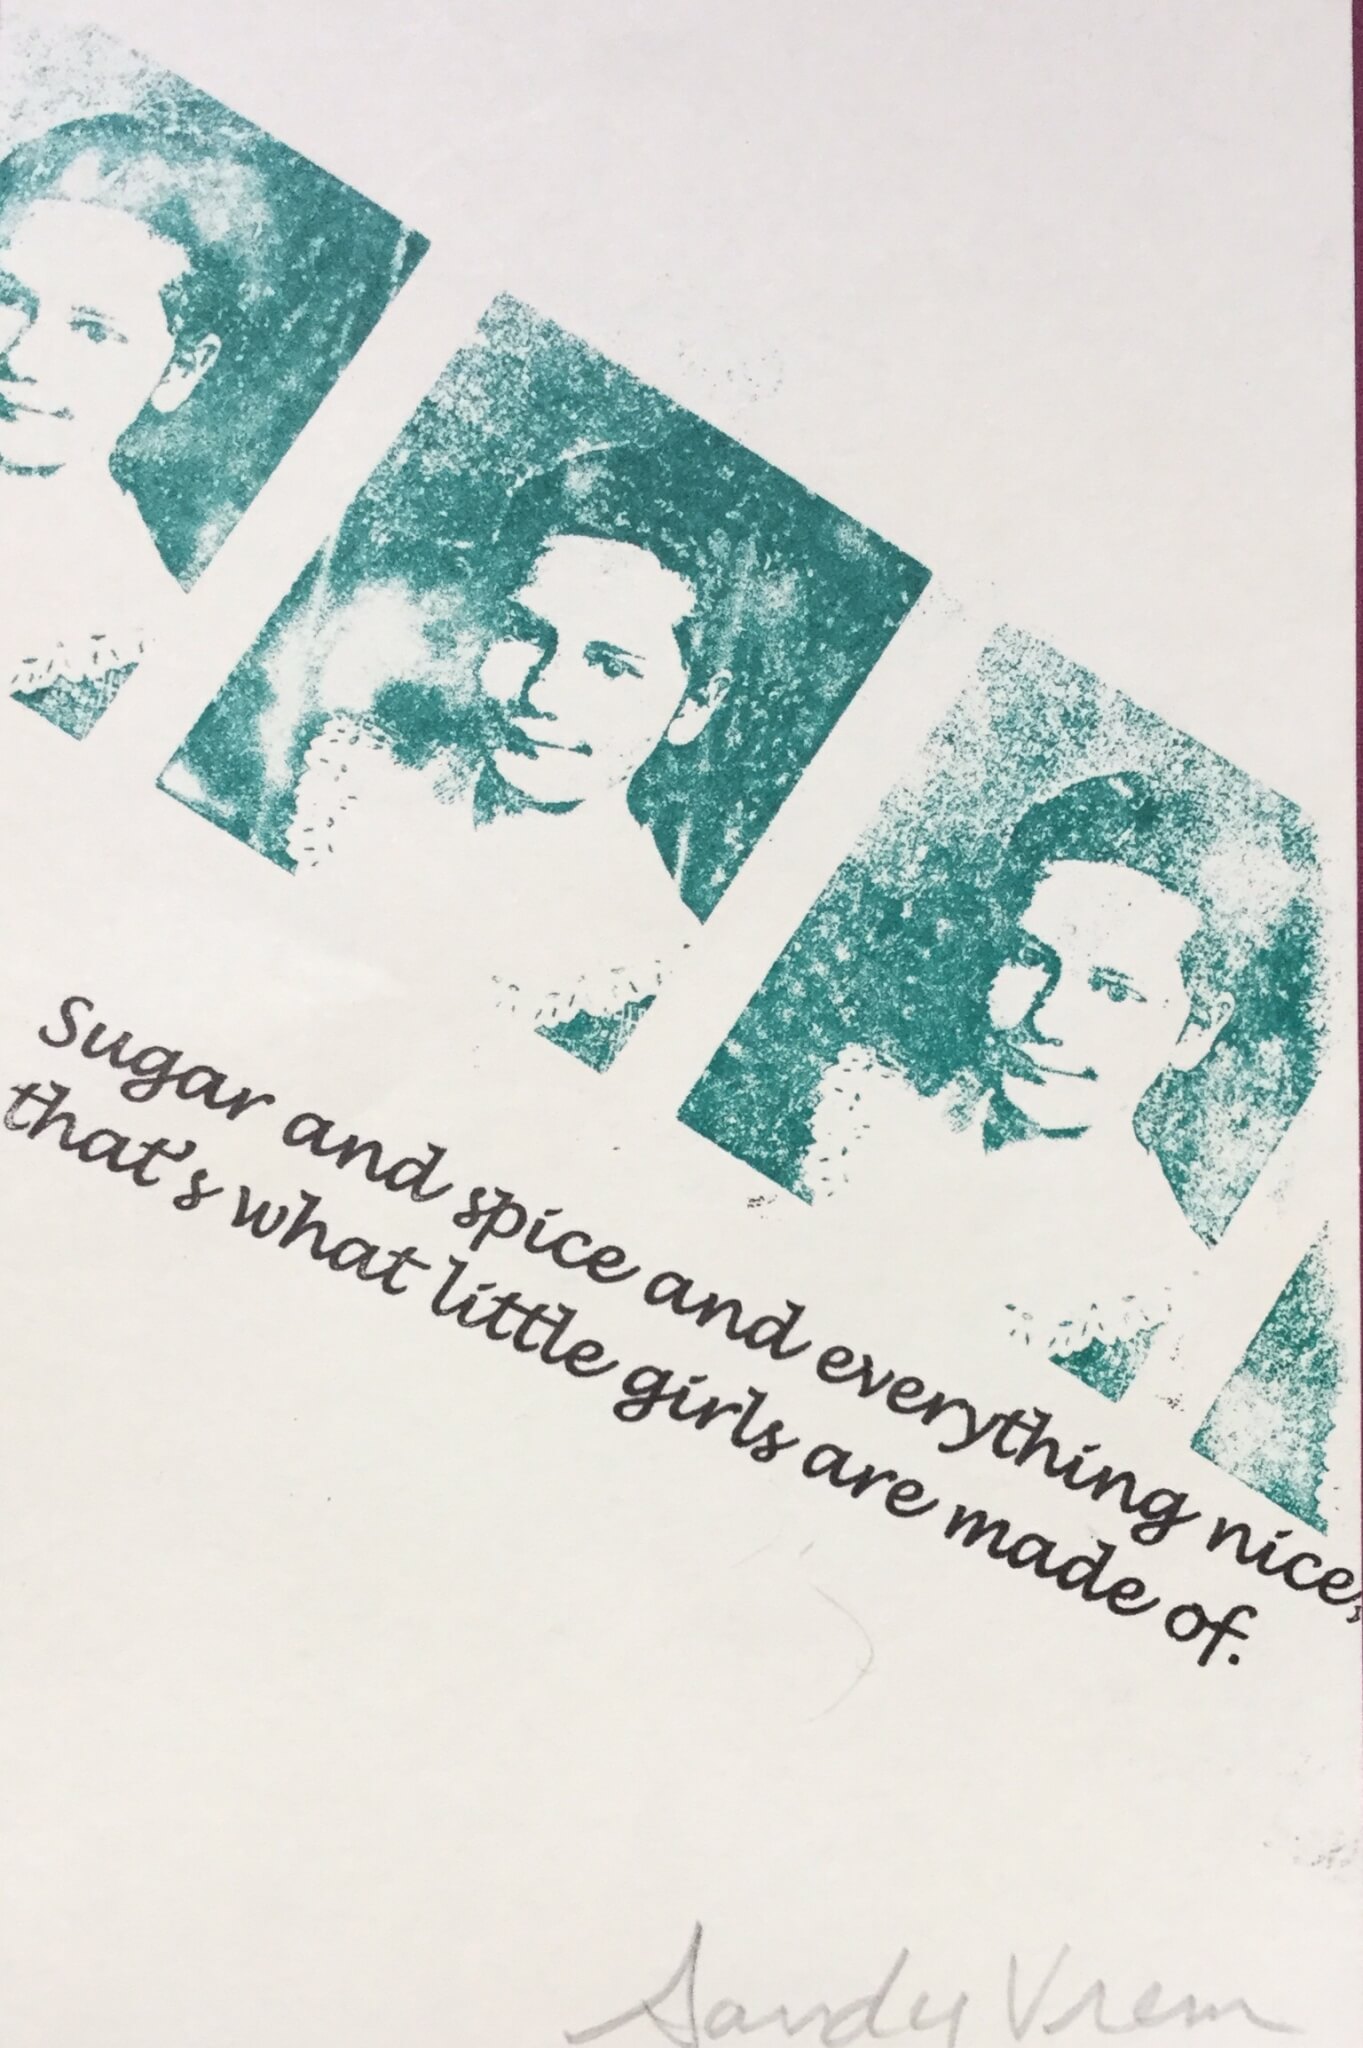
When the Guild collaborative book was created we each brought an image of our younger selves along with a quote that we loved.

Do you recognize these other Guild members?

The machine was invented and produced in Japan. Gocco, loosely translated, means make-believe play. I just love that!!

Lynn Jones of Just My Type Letterpress Paperie was my co-teacher for our second class for OLLI Book Arts. Eight women worked together to produce collaborative books with the title Blooming Chaos. You can share in our creative journey by viewing the photos below. Students – thank you all for two wonderful afternoons of inspiration and comraderie!

Transfer of image to block

Carving the block using jigs made by my husband, Rollie.


One of eight blocks being carved.

Lynn guides their carving.

Finished blocks.

Time to pick out our type from vintage type cases.

Each student chose their own type font.

Setting the type with carved blocks.

Check out the press in action!

After much adjusting, Lynn presented us with this page for Day 2’s book.

I am demonstrating the construction of the Winter Fold book – made from the single sheet of paper.


The final results!

To a job well done!


Thank you all for a great class. You inspire me so much. Until next time!

An eager group of would-be typographers met at Just My Type Letterpress Paperie in Old Town, Eureka. The workshop is a collaboration with artist and printmaker, Lynn Jones, and book artist, Michele Olsen.

A_Lynn

Lynn surprised us with her letterpress flyer.

Day 1 of the course covered linoleum block cutting, typesetting, and printing. The resulting book will be assembled on Day 2. Lynn’s studio workshop is in a beautifully restored Victorian building in Old Town, Eureka. We were blessed with sunlight streaming through the ceiling height windows making it easy to see what we were doing! The book will be a collaborative book that is a combination Exquisite Corpse and Winterfold Book formed from a single sheet of 8.5″ x 11″ printed paper.

critters

Lynn designed these pages. Each of the eight students took a top or bottom to cut as they chose.

transfer

The original image was on copy paper (photocopy or laser) and after taping it to the block carbon side down, the image was transferred to the block using a blender pen. It was then redrawn on the block using a fine line Sharpie.

To_Work

After instruction in the use of the Speedball linoleum tool were were off and carving.

Carving

We started with the small gouge and cut around the outlines.

gouge

Larger areas were removed using a large gouge.

TypeChoose

TypeChoose2

Lynn has drawers and drawers of type. Most of us have never set type – an older art form and very different than choosing the font from a drop down menu in a word processor.

Names

We had to pick out our names and set them – upside down and backwards using 12 point type of our choosing. The mathematician in me sees this as a 180 degree rotation on the horizontal axis. Whose name is this? How many times do you think we dropped these little bits and had to start over?

SetType

At last Lynn showed us how she set the type. You’ll notice that everything isn’t “right” side up because that’s the nature of the Winter Fold book.

Press

Lynn is inking the press and getting ready to print some samples. Isn’t this press just exquisite!

STAY TUNED FOR RESULTS ON DAY 2.

Store

Just My Type is more than a printing business. Co-owners Lynn and Siobhan also carry calligraphy and printmaking supplies as well as art papers. This business is a wonderful addition to our business and art community. Did you know that Eureka is one of the top 10 art cities in the USA? Here’s one reason why.

IMG_5812Nebraska’s weeds and trees are as tough and resilient as the people we know here. During my time at our rural domicile I wanted to experiment with printmaking- giving more life to elm and oak leaves that are turning colors and beginning to drop. Then of course there are always those weeds and grasses with names like puncture vine, poison ivy (!), stinkweed, and cockle burrs.

I wasn’t happy with my Gelli plate so made my own using gelatin and glycerin; no refrigeration is needed and it retards mold. It is somewhat soft and when it starts to look as raggedy as the weeds I’m printing, I break it up and melt it in the microwave to reset it. I used Golden Open Acrylics and Strathmore Printmaking paper – good for playing but it doesn’t measure up to better printmaking papers.

Prints have up to three layers using positive, negative, and ghost prints. I also used what I call brayer rollouts and leaf rubbing. I learned a lot and am happy with the results. Now I’m ready for copious printmaking paper and a bigger gelatin plate.

linocut letterpress singlepage book

Join printer Lynn Jones at her business, Just My Type Letterpress Paperie, where you will learn to carve linocuts and set type for letterpress printing. A single collaborative print will be produced for each student which will then be used to create a Winter Fold book. The Winter Fold book is an invention of the creative book artist, Hedi Kyle; There are a number of simple fold and cuts that along with a easy sewn spine create a wonderful little book. Registration is limited, so enroll early.

When: Tuesday, March 6, 2018  •   9 a.m.-noon &  Thursday, March 8  •   9-noon.

Where: Just My Type Letterpress Paperie, 501 Third St., Eureka

Materials: Materials and linocut tools will be provided but bring cutting mat (or old phone book), small utility knife, small sharp scissors, metal ruler, sharp pencil, bone folder (or small wooden spoon), bookbinder’s awl (or T-pin).

Register hereOsher Lifelong Learning Institute

Michele Olsen was a college mathematics instructor for 25 years. She has been making custom books for 10 years, since joining the North Redwoods Book Arts Guild. For more information, or to contact Michele, visit www.micheleolsen.com.

Lynn Jones studied graphic design at Humboldt State University, interned with David Lance Goines where she cut linoleum blocks for Alice Waters’ Chez Panisse Café Cookbook. She is co-owner of Just My Type Letterpress Paperie in Old Town Eureka.

My early introduction to printmaking occurred when I made a gelatin plate and used Speedball Block Printing Inks to create delicate and detailed prints of leaves, weeds, and grasses. I used some of the prints in a book that was featured in an international exhibition! Gelatin prints! I purchased the Gelli plate but really don’t like it very much but it is very convenient and useful for quick experiments, which is what I did today. I have seen some complicated nature prints that clearly required several layers of printing and loved the challenge of figuring out how they were done. I think I have done that. 

Negative prints reveal the outline of the leaf but as a stand-alone print it doesn’t hold my interest for long.


It gets more interesting when there are two printings off the same plate. This actually required that I make a negative print with the two background ferns (which was discarded). The ferns were removed from the plate leaving ink for a positive print  and another fern and grass were placed on top to serve as a resist. Then I pressed it. 


So now the challenge was to create the image below. It uses two colors, positive, negatives, and resists. 


I am very happy with this because it means I have figured out the order and technique  of each layer of printing (satisfies the mathematician in me) and it’s intricate and complex enough to hold my attention (the artist in me). I used Daniel Smith Water Soluable Printing Inks (no longer made) which are vastly superior to the Speedball inks.  I didn’t pay too much attention to the composition because I was focusing on technique but next time I will use larger background vegetation (alder leaves printed in black in this print) and not use translucent medium on the black. I would also tone down the blue by adding more medium. There are two negatives in this print from two different color plates: grasses in the blue;  horsetail in the black.

In this type of printing it is very important to have thin translucent layers to create the interplay of shapes. Inking the roller properly and not overloading the plate with ink is the most important part of the technique.

My next step is to use my etching press with oil based inks (Hanco). The paper I used today was very thin rice paper; the paper for the etching press will be damp Arches Cover that will add embossing to the print. I have moved my printing studio to the garage thanks to a husband who gave up some of his woodworking space. I pop up the garage door for air and light and my dog Tracy hangs out in the sun on the driveway. Heaven.

Lynn Jones, the co-owner of Just My Type Letterpress Paperie, and I have been working on a proposal for a Fall OLLI course. Lynn will teach students to carve their own linoleum blocks and demonstrate the setting of blocks and letterpress type. Workshop participants will use their images and imaginations to produce a collaborative book. The Winterfold structure was designed by book artist Hedi Kyle. Take some time to read about Lynn and her co-owner Siobhan Ayres. They create amazing letterpress art and have impressive backgrounds and produce the beautiful packaging for my favorite Dick & Taylor chocolates. The also have that printmaker sense of humor – note their OPEN sign. You can guess how the CLOSED sign reads. Excited!

IMG_5042

StampsStencils

On a rainy, cold day there is nothing better than taking a workshop inside! This is the second Spring class offered by OLLI and taught by Sandy Vrem and a group of us gathered around the heaters in  her garage and produced some wonderful surface design. I created the four images above (Upper Left and CW) by running an inked roller over a wooden cutout and then rolling out the ink on paper; inking various household objects and pressing them to black paper; cutting or punching designs from foam and creating my own stamps. I got so involved in making the stamps that I didn’t make it to the other activities but I have photos!

Mask

The fold on a manila folder is perfect for symmetrical patterns and this one was used as a mask on the collage you can see above.

GarbageTiesSandy created this image using garbage ties as masks while she sprayed paint. What an idea!

gluegun

Glue Gun masks or stamps. How fascinating. I love the quirky designs.

books4u

These books should keep us busy for awhile. Have fun!

I’ve always loved “messy” ink in drawings and text. Ralph Steadman is one of my favorite artists and I have several of his books. I just bought this one while visiting Ashland, Oregon.

Book of Dogs

It is filled with ink blots which serve as the inspiration for his wacky dogs. While I’m not apt to duplicate his quirky style I was able to create some surface design using ink that I’m pleased with. I took an OLLI Surface Design Class from Sandy Vrem and couldn’t be happier with what I produced-plus it was just so much fun.

Ink Play

I applied the ink with the ends of toilet paper rolls and immediately scattered the puddles by blowing through a straw. Sandy added red ink afterward as well as some white lines on top of the black. For the time being, I’m not seeing a dog in my image but maybe….

Surface Design

We learned a number of techniques and the following four were some of my favorites: stars created from rubbings on custom plates, color crayon resist with combed liquid acrylics on tops, wrinkled papers covers with liquid acrylics, and masking tape with sparkly sprays. I see some book covers in this bunch.


FrenchLink

BookPages_xs

OLLI Book Arts: The “What’s It” Book

I’m calling this structure a “What’s It ” book because it’s a creative space for organizing anything you treasure. These make great planning journals with pullouts for photos, a couple of pockets, and sections for writing. The accordion spine provides expansion space for attaching tickets, packets, flyers, etc. Everything is sewn together using either the long stitch or French link stitch and the wooden hand-painted covers make it very durable. PLEASE NOTE THIS IS A THREE-AFTERNOON CLASS and most of our time will be spent assembling the structure! Some homework too.
Materials List: Bring to the first day of class.Basic Toolkit: Cutting mat, small utility knife, metal ruler, bookbinder’s awl, sewing cradle (or old phone book), bone folder, small sharp scissors, sharp pencil, #20 or #22 tapestry needles, waxed linen or embroidery thread, PVA glue, glue brush, baby wipes, rags, waste paper, 125- and 220-grit sandpaper, two 2″ foam paint brushes. Materials: Pad of sketching paper (11″ x 14″), 1 sheet black Mi-Tientes, 1 sheet colored Mi-Tientes. Several sheets of decorative card stock. Optional: Electric handheld drill (Dremel) with drill bit slightly larger than tapestry needles (1/16 inch drill bit for wood).

Level: Intermediate. Previous Basic Book Arts course required.

Day & Date: Thurs., March 10, 17 & Tues. March 15

Time: 1-4 p.m.

Fee: OLLI Members $65

Class #: 27852: REGISTER ONLINE

Location: Humboldt Bay Aquatic Center