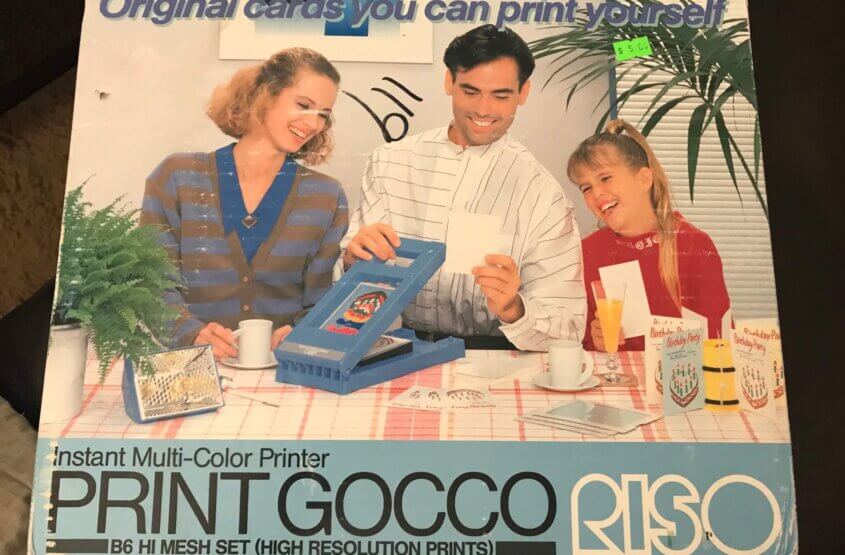
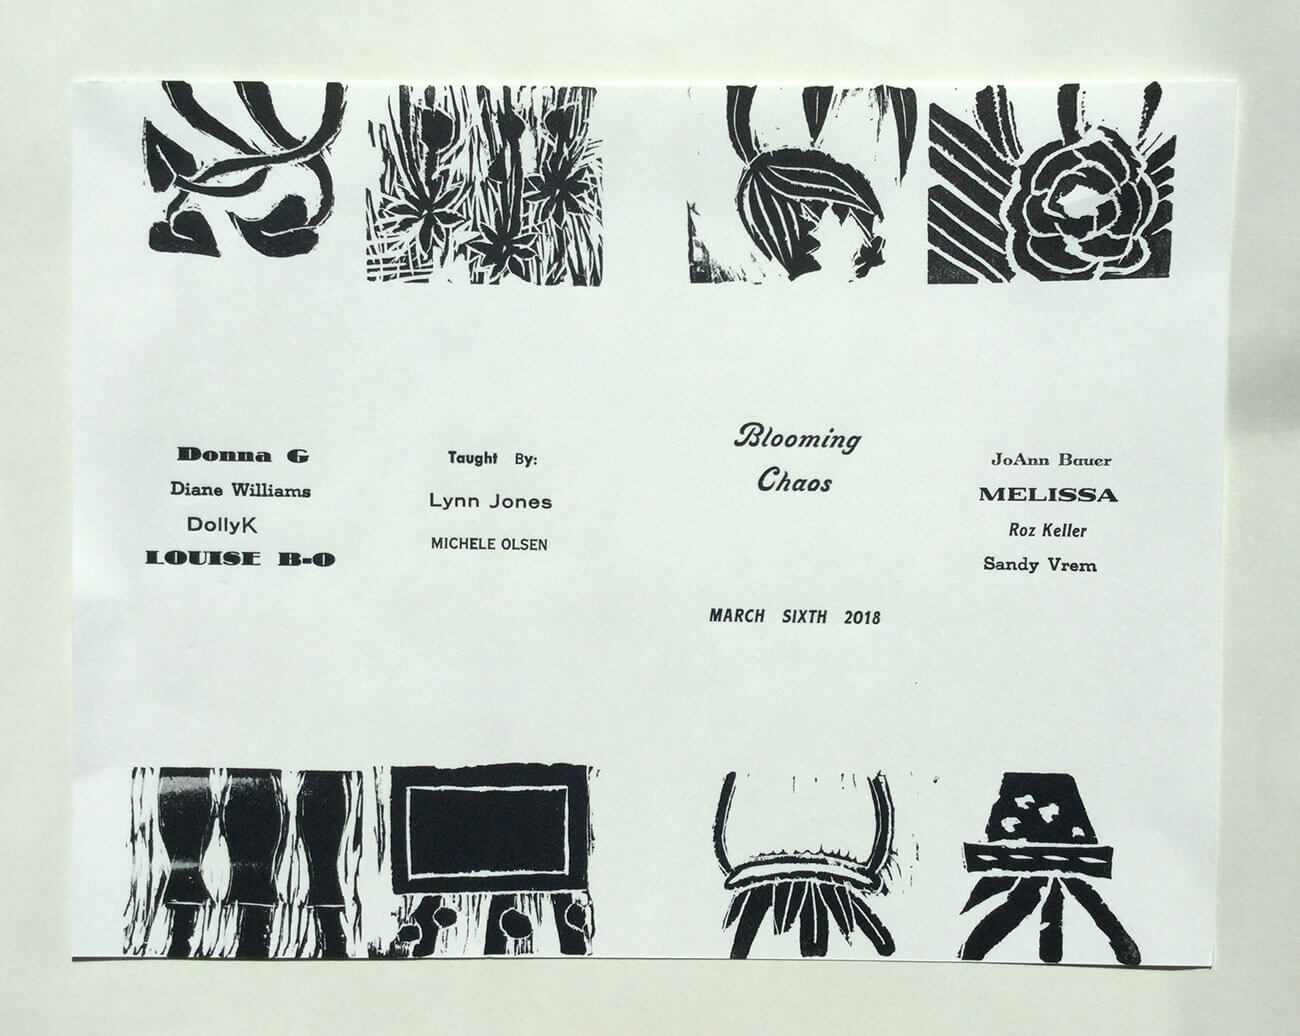
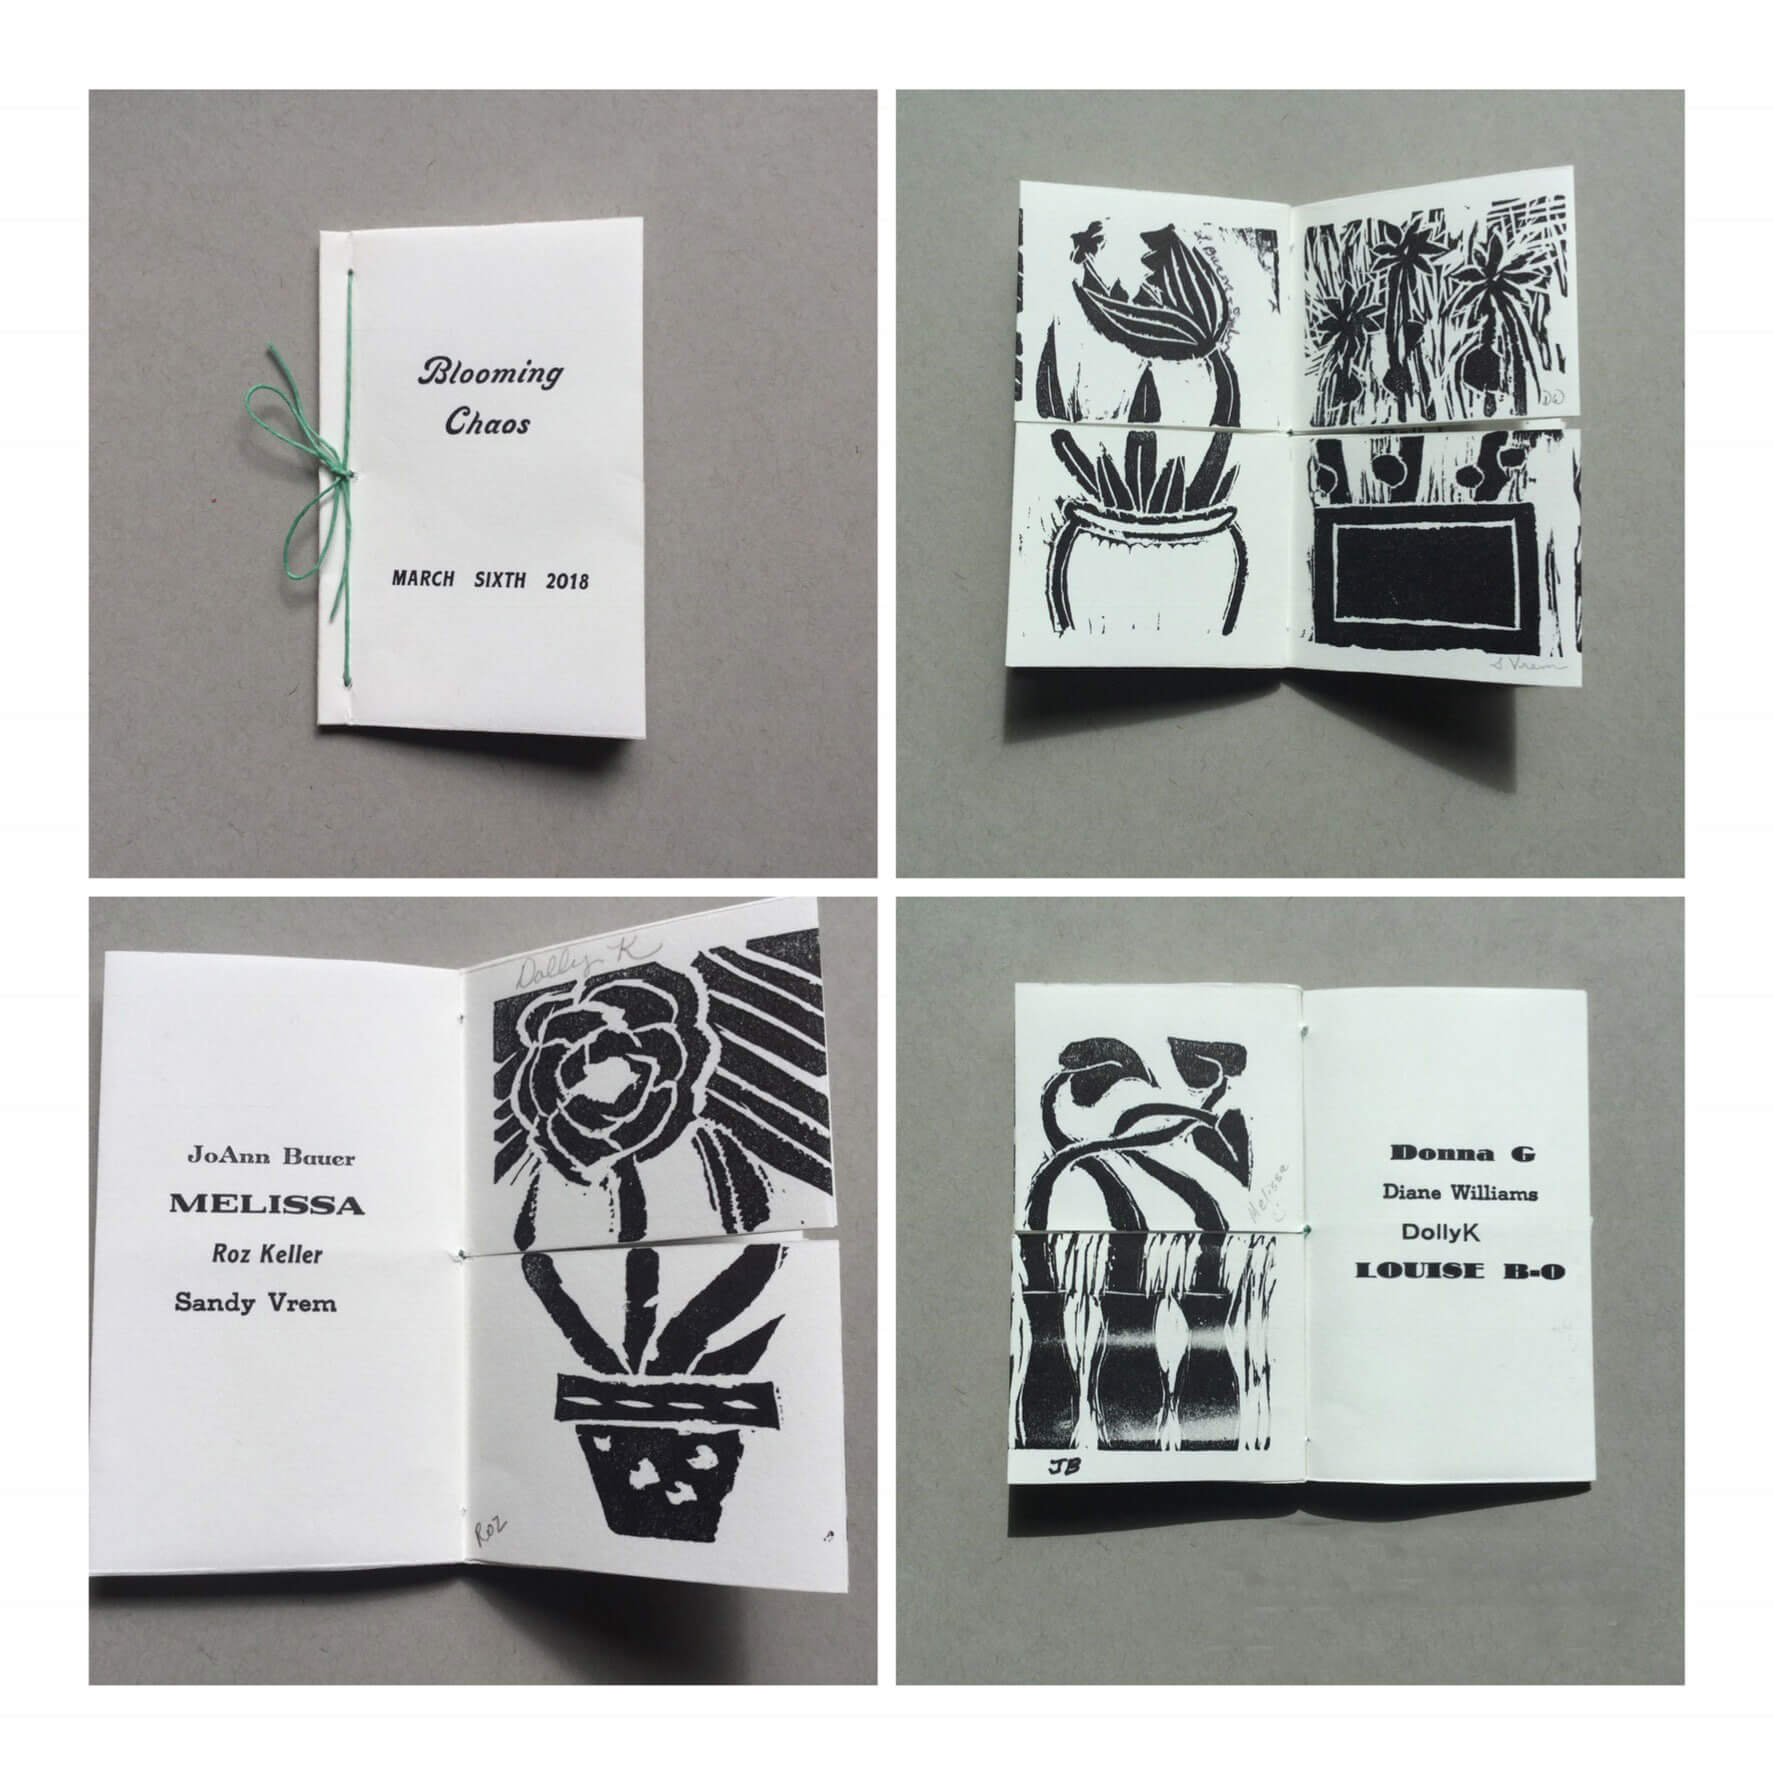
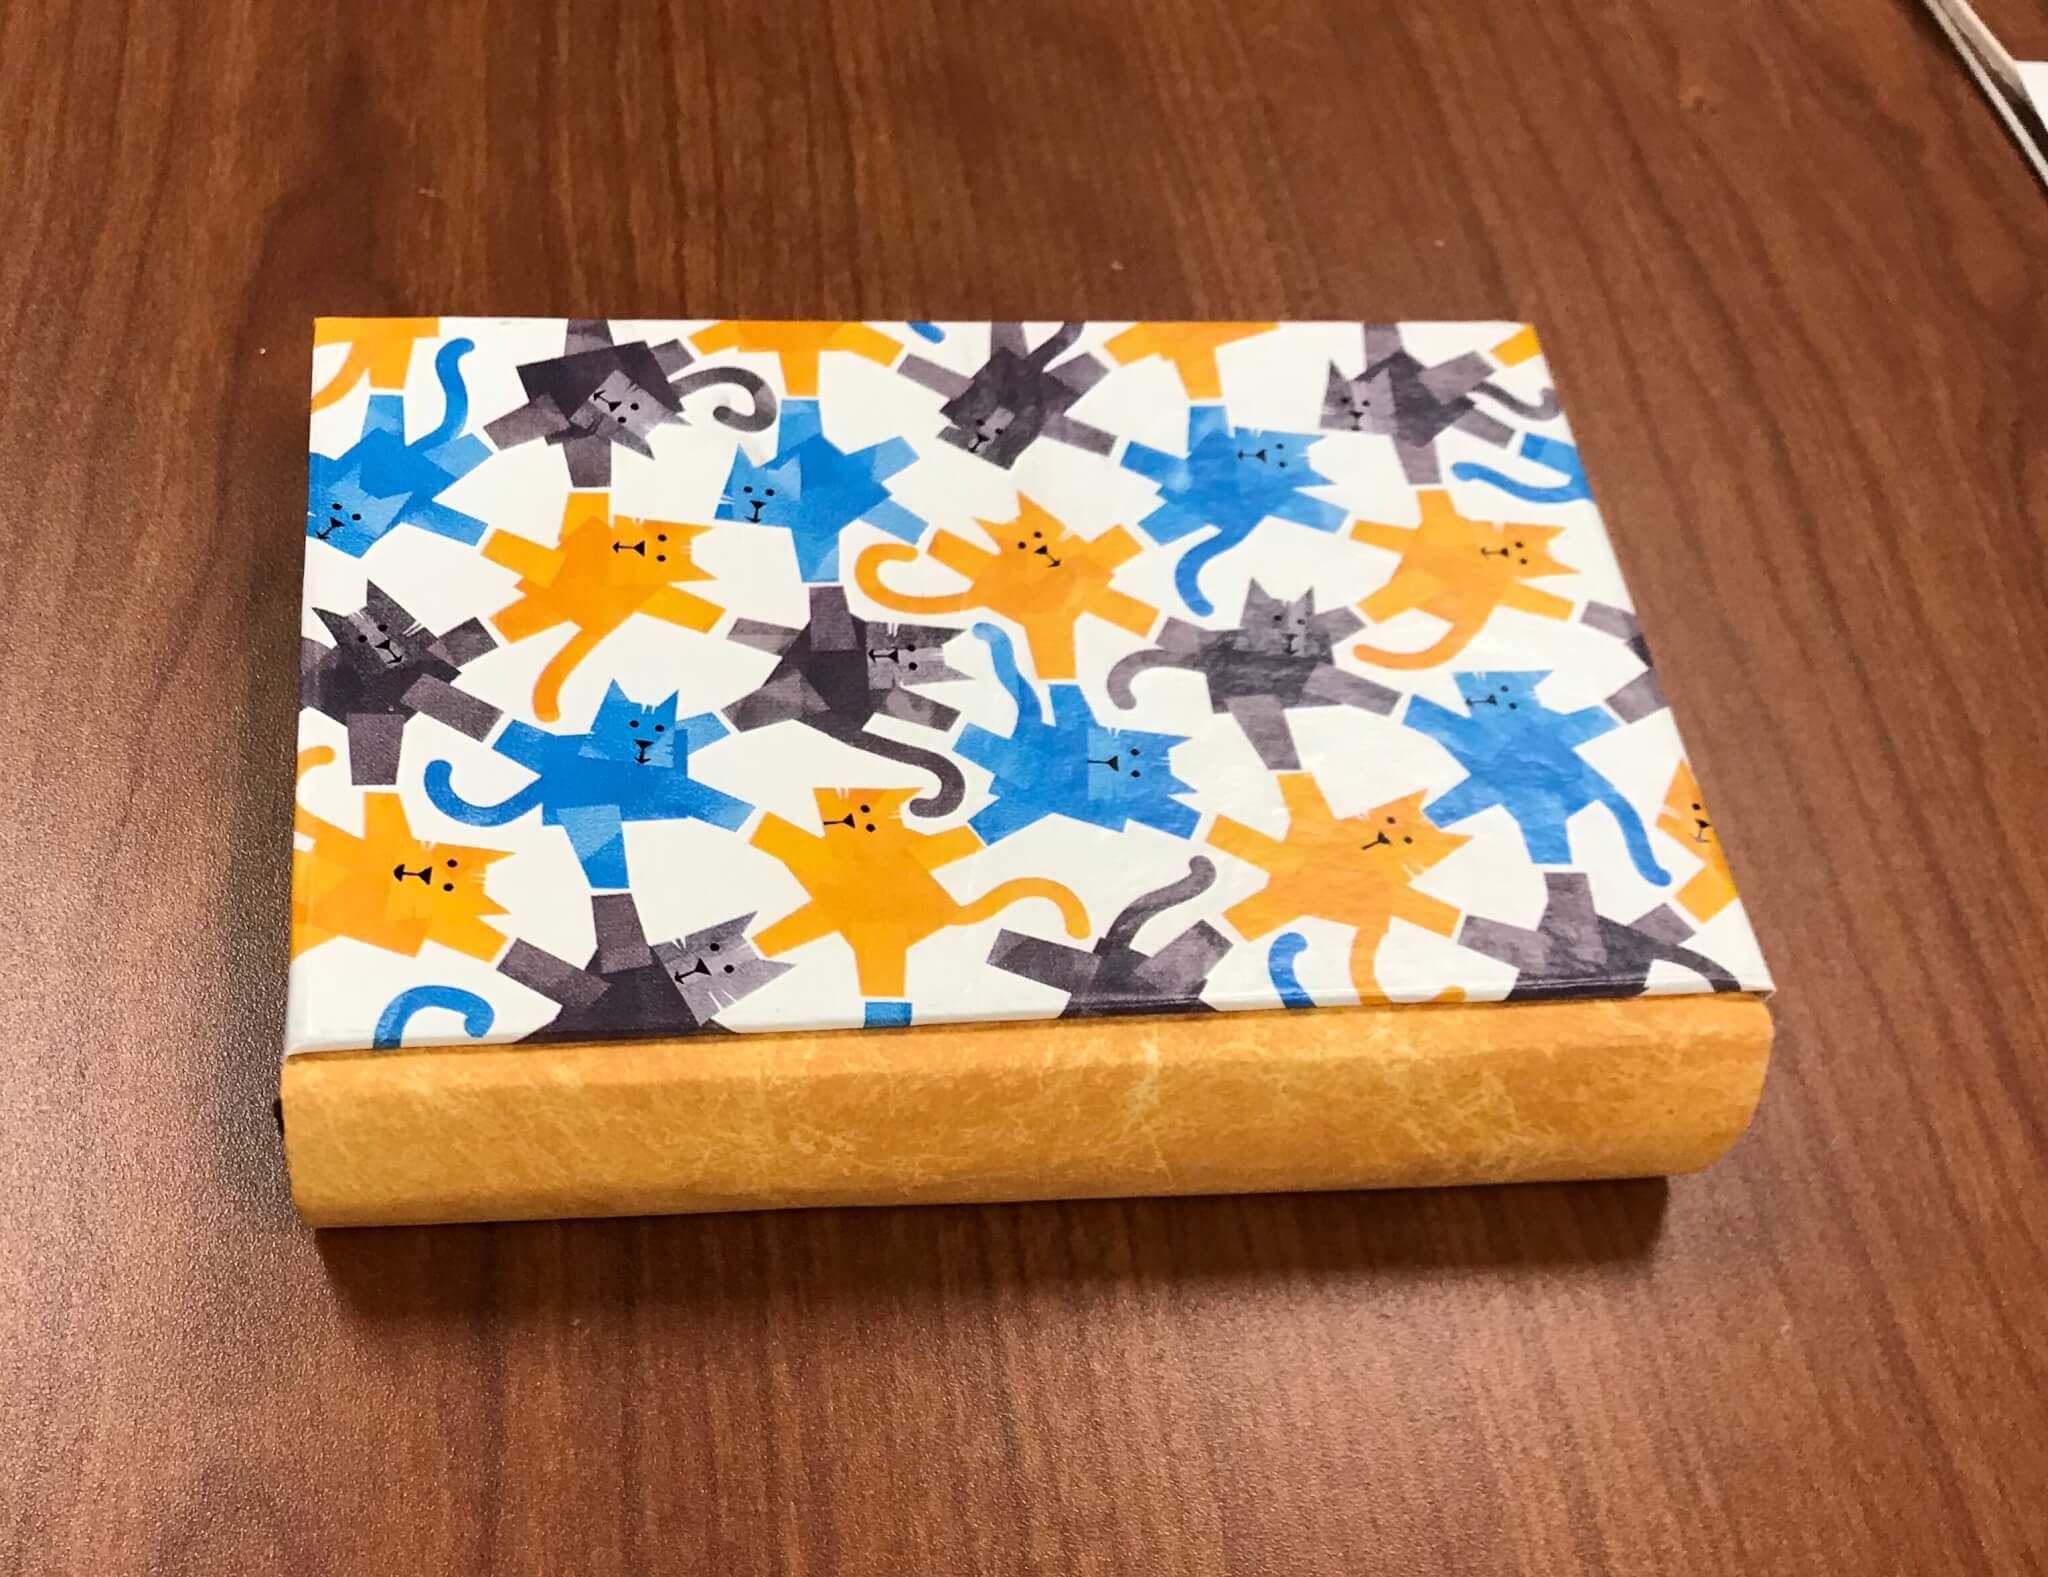
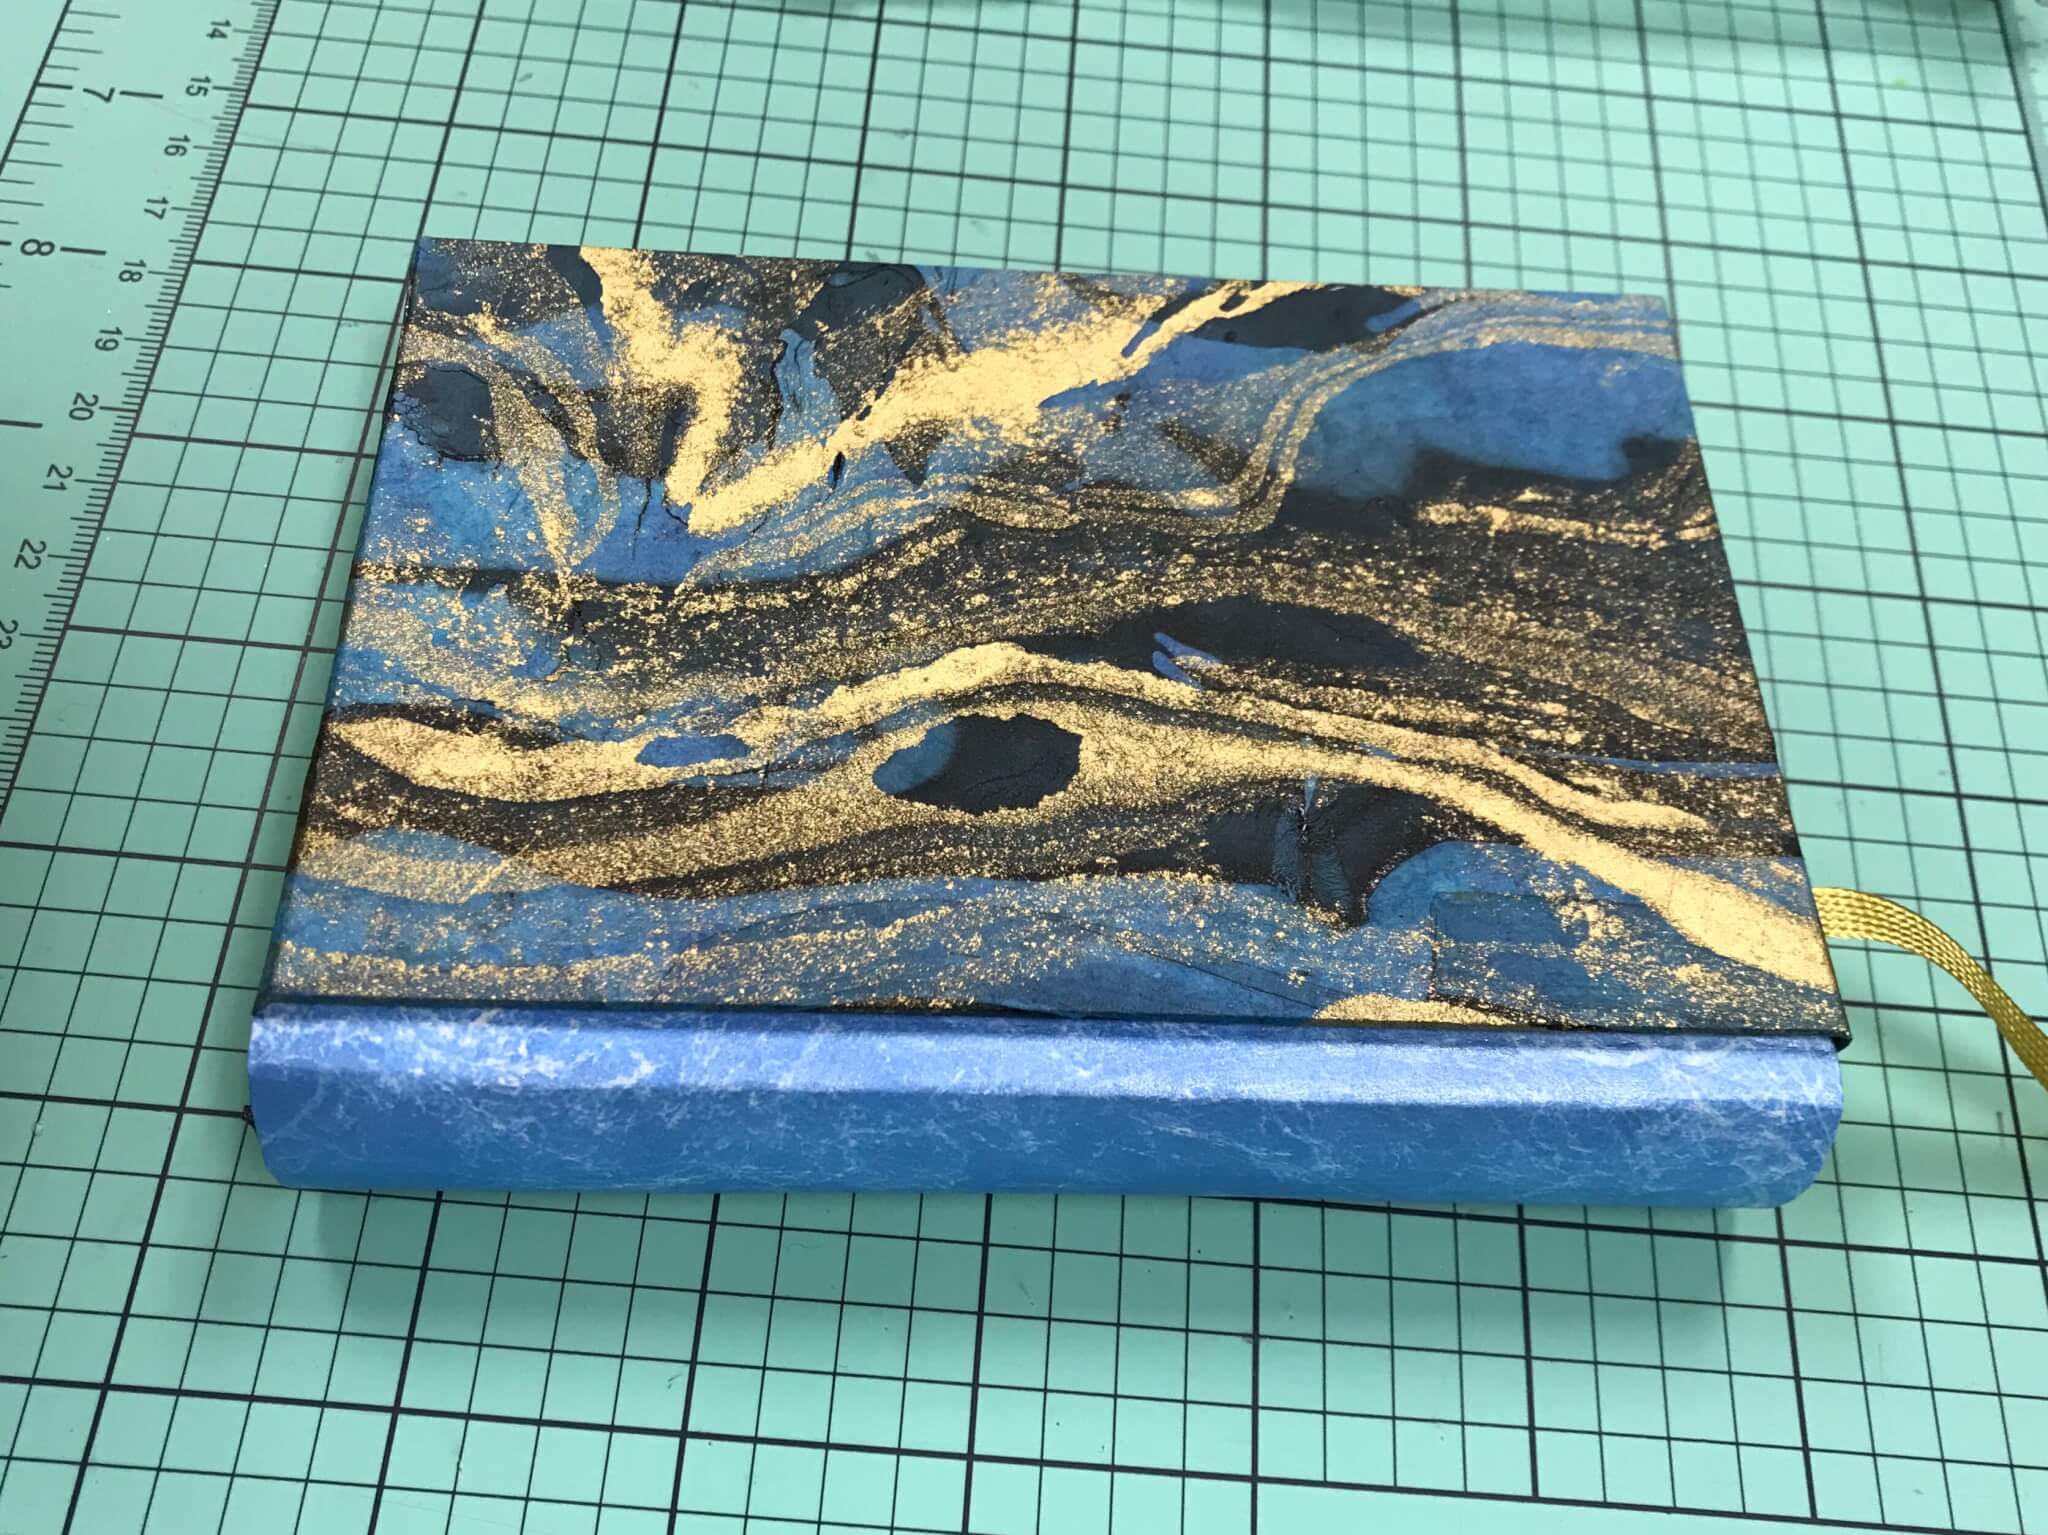
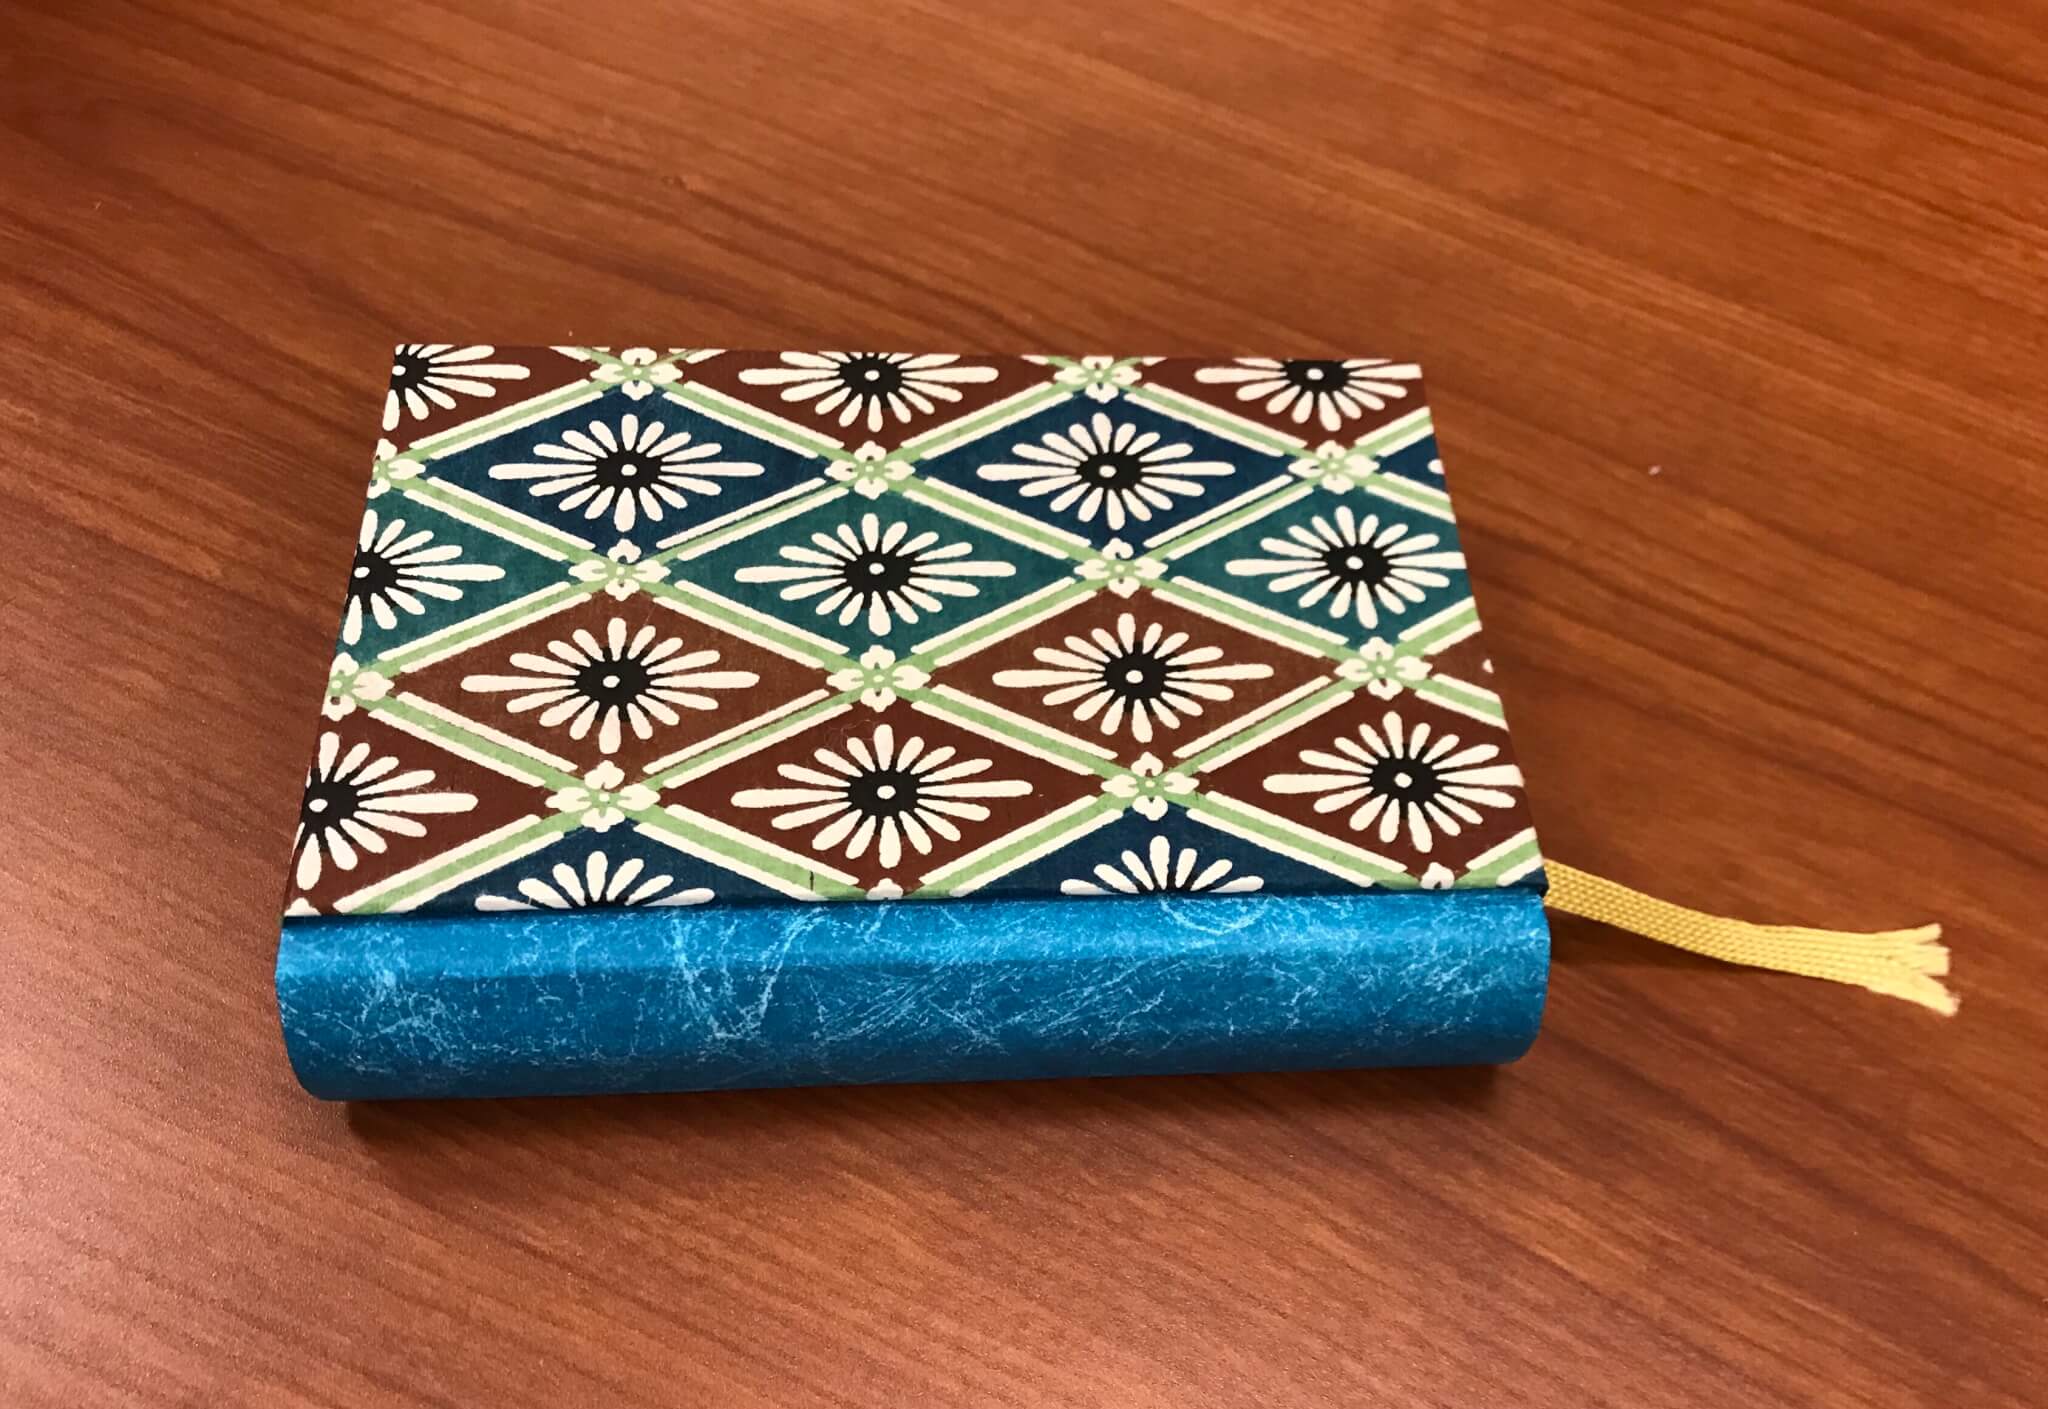
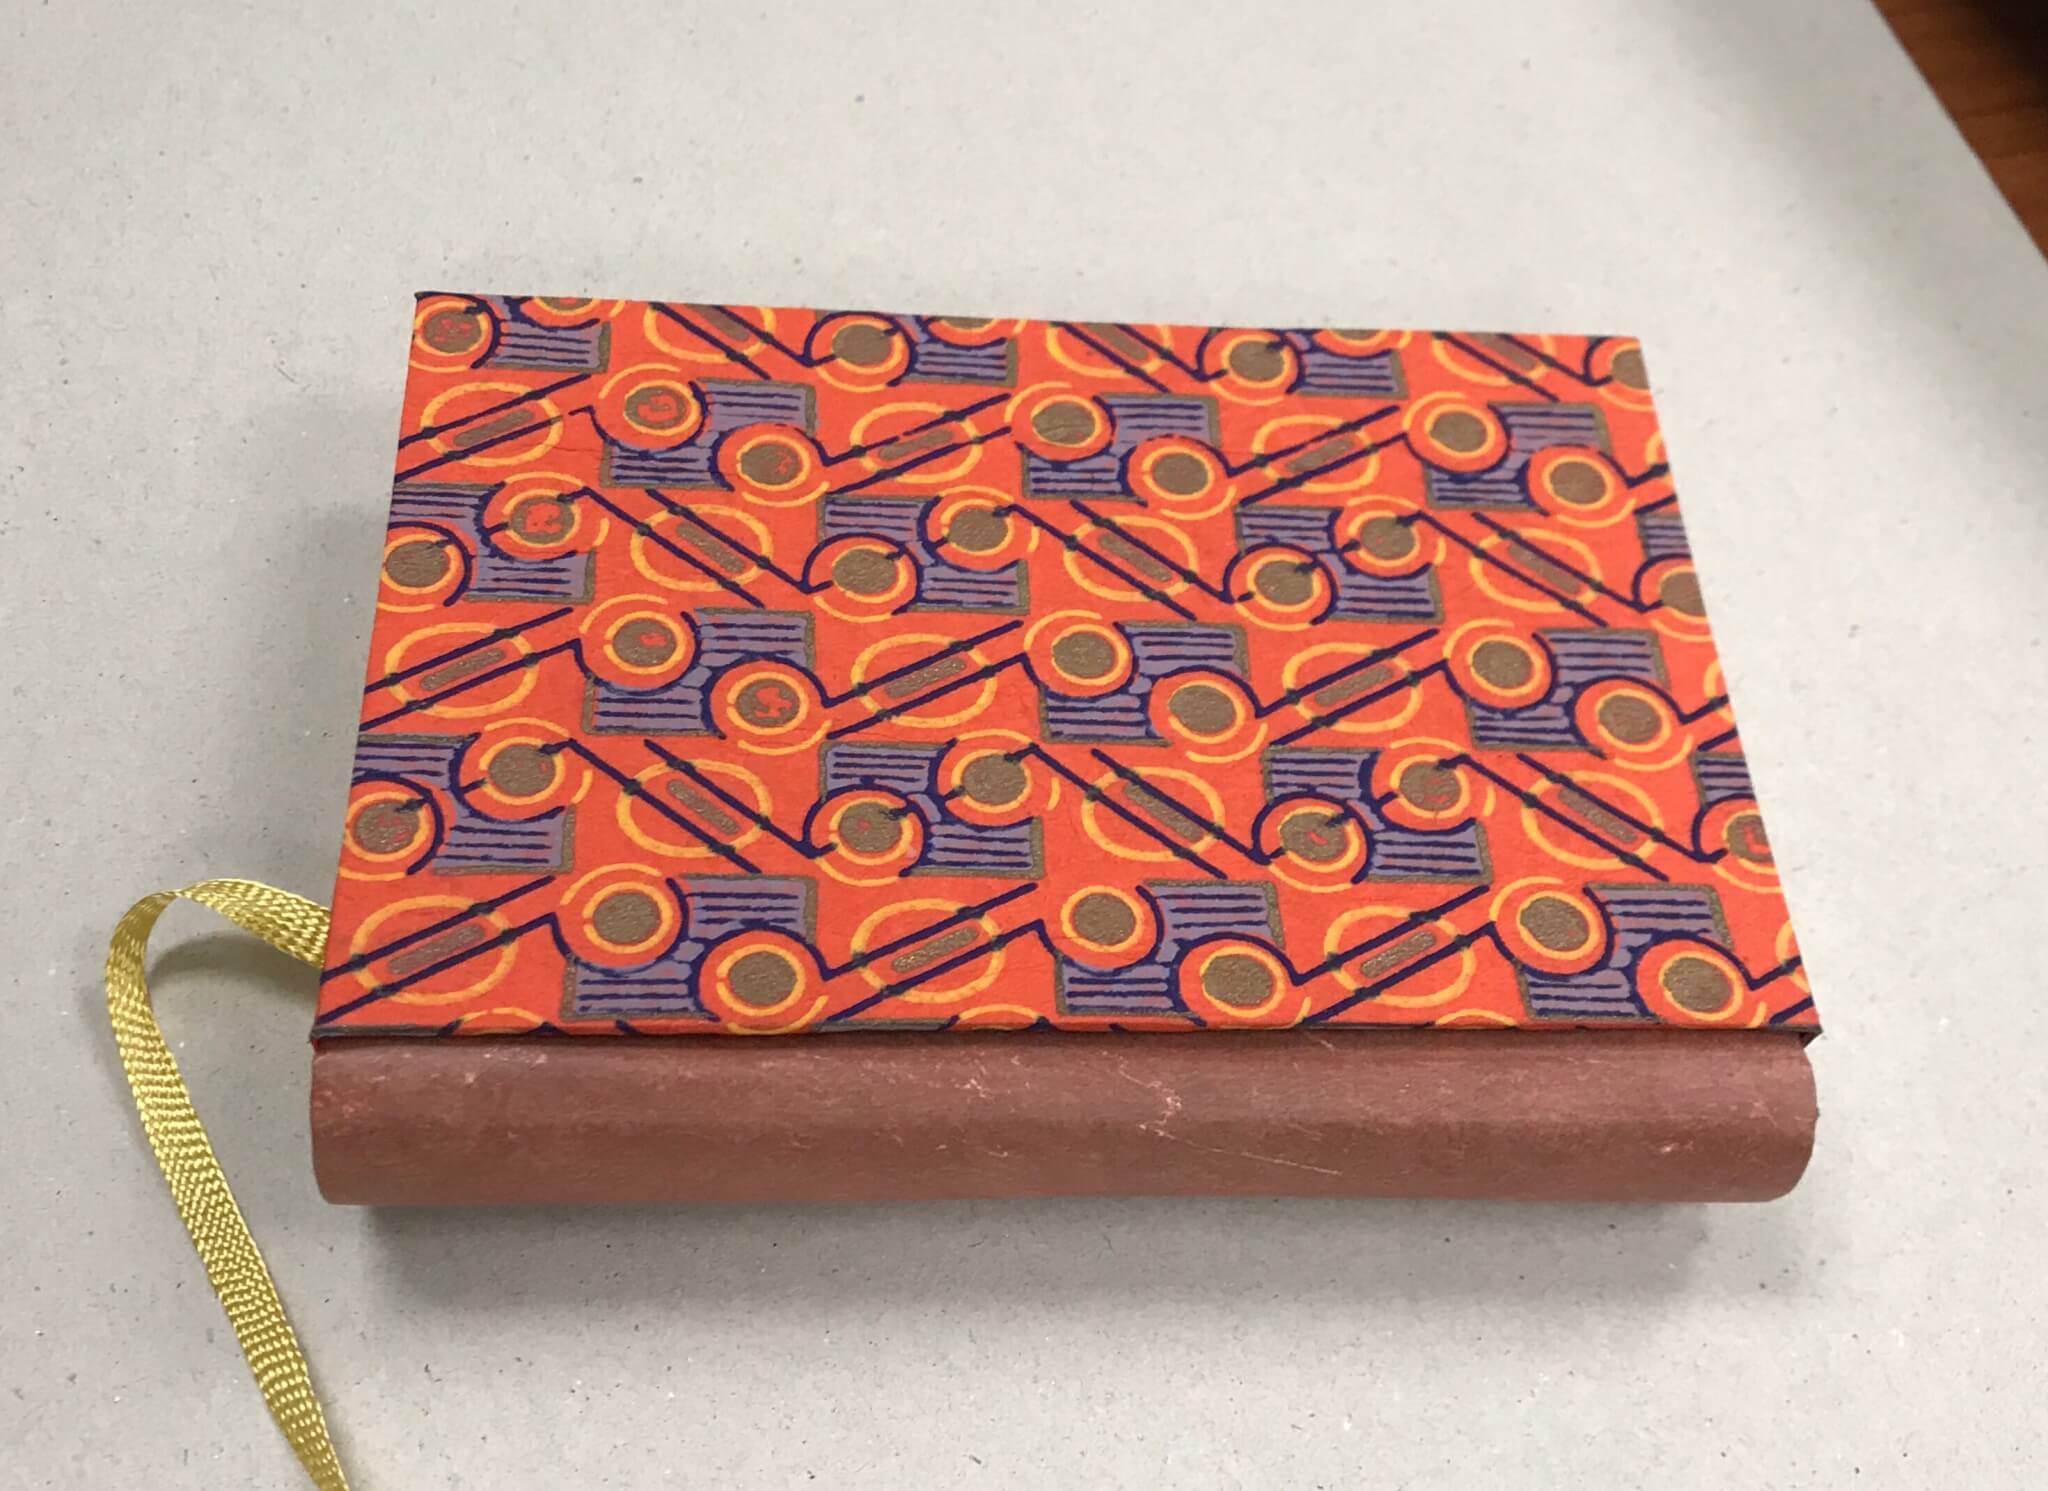
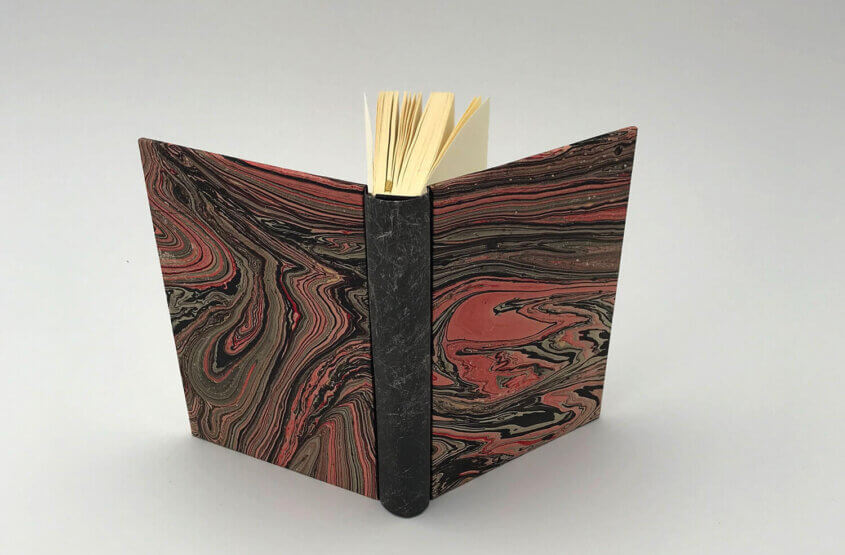
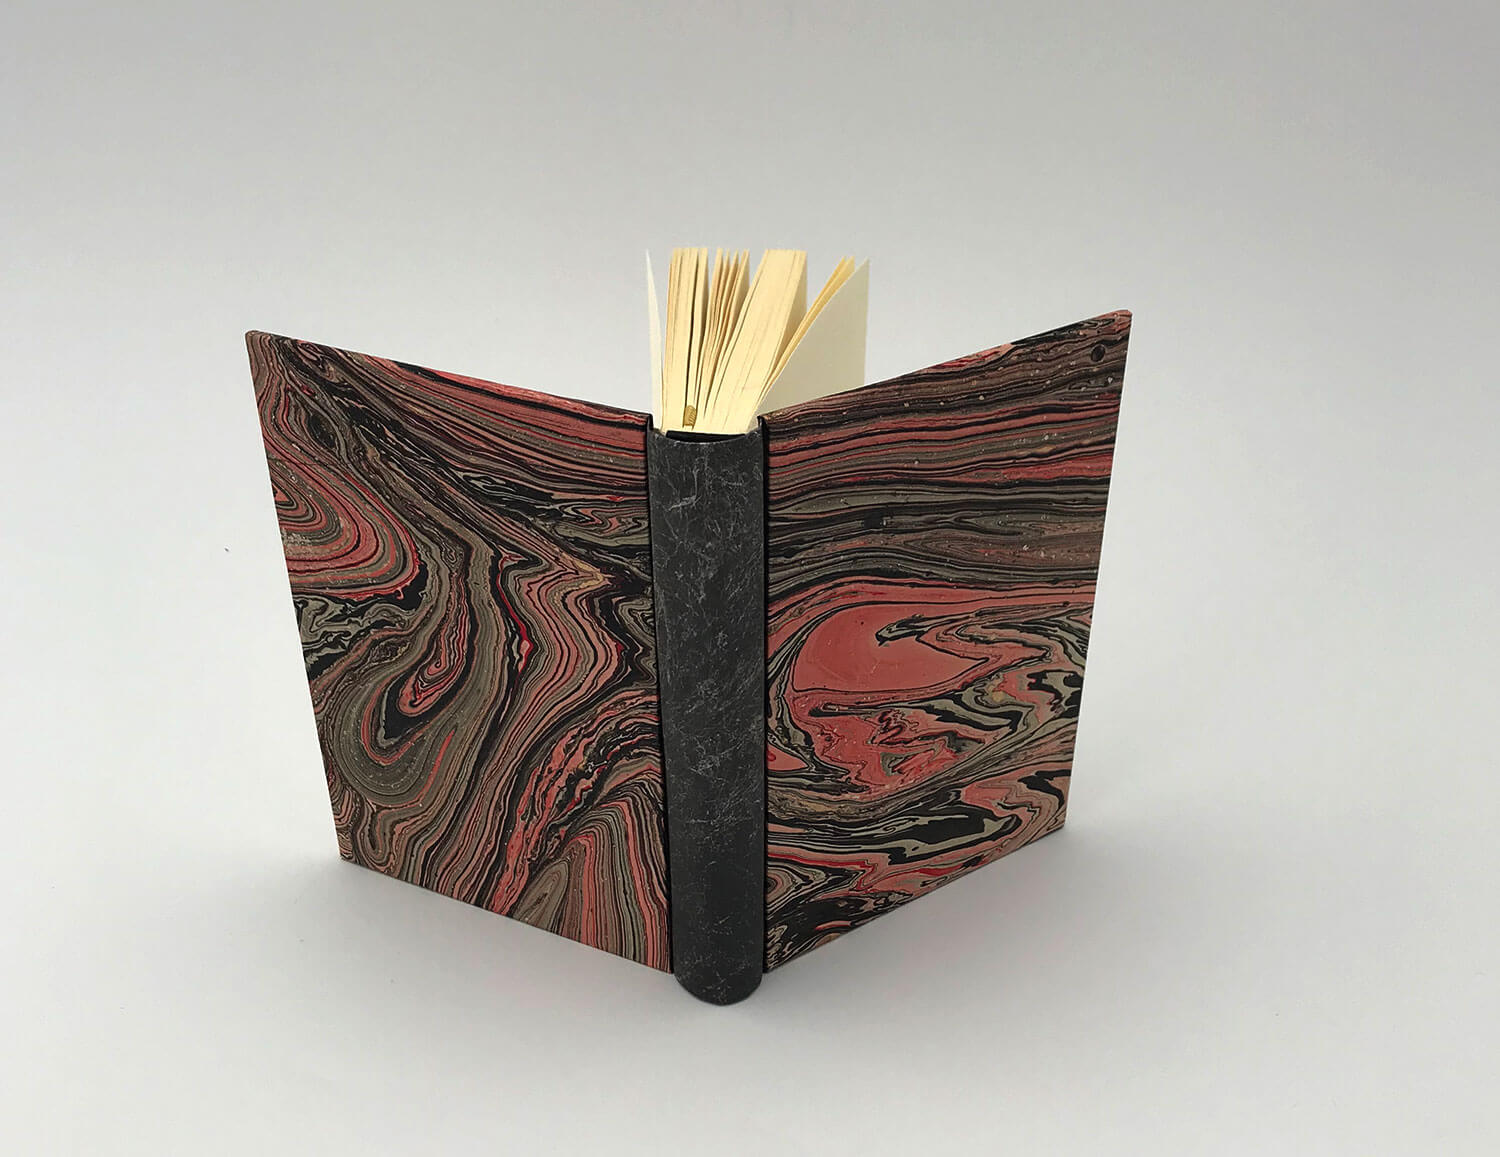
To say this has been a momentous year would be an understatement. We have celebrated the marriages of two of our children, my brother, and my niece; we have mourned the loss of three dear people; welcomed our latest great-grandchild; and celebrated the 100th birthday of my mum. Oh yeah – we also bought a Teardrop trailer and celebrated a year with my Hearing Dog. But even before all of this abundant LIFE I have been wanting to put down the book arts for awhile. All of the empty journals I have made were calling me out for not filling them up. So I’ve decided to take a sabbatical year from books and explore the world of drawing (Urban Sketching in particular) with watercolor, pen and ink.

In 2010, on a whim, I decided to take in the first annual Urban Sketcher’s Symposium in Portland even though I had very little drawing experience. The three days of hands-on instruction was daunting. I had a lot to learn! I have since followed the blogs of many of the USK’s artists without drawing myself and this Fall I knew it was time to dive in – eight years later. I particularly liked the blog of the Australian artist, Liz Steel. She was an architect and her left-brain approach appealed to my mathematical training. I signed up for her online Watercolor drawing class in September and have really enjoyed it. She stresses watercolors painted quickly on site rather than watercolors painted in a studio. Every day I have another revelation and have been happy with the improvement I’ve seen in my work.

For the last two months of travels I have worked with a this small travel kit. I love the A4 Moleskin watercolor journal (purchased at the Arcata Art Center in Arcata CA); the paper handles the watercolor so well it is just a joy to let the paints flow and do their thing. My Lamy Safari pen with black Noodlers Ink is my pen of choice. The watercolor kit is a Windsor Newton filled with Daniel Smith watercolors from Liz’s palette recommendations. The watercolor brush is a #5 DaVinci I bought in Hanoi. The spray bottle is used for moistening the dried watercolor and the tip over-resistant water is all I need to complete a drawing.

So, with that I am happily working my way through the great online videos and instructions. More posts to follow. More things to share. Let’s see where this goes.

When I first joined North Redwoods Book Arts Guild we made a collaborative book using a Gocco machine to produce the number of images needed for all of those books. It’s a form of printmaking that disappeared for awhile. They are no longer made but apparently the machines have developed a kind of cult following and people are finding replacements for the bulbs and screens required. In an earlier post I had mentioned that I am temporarily putting book arts aside in order to open up time for other things to present themselves. This is the first of those invitations to venture into other areas. I found it in the WabiSabi Thrift Shop in Moab, Utah for $5! This is a real bargain considering there are bulbs, screens, inks, and the machine. It’s also in color!

Oh my. The cover….yes, I know. It reminds me of my first attempt at buying a computer. The salesman at Radio Shack asked me what my husband would be using it for. No Radio Shack for me.

When the Guild collaborative book was created we each brought an image of our younger selves along with a quote that we loved.

Do you recognize these other Guild members?

The machine was invented and produced in Japan. Gocco, loosely translated, means make-believe play. I just love that!!

I have been feeling a need to put down the book arts for awhile – a kind of sabbatical so that I can be open to other things. I want to have more time for printmaking (more on that later) but for now my artistic self is being fed by the artwork in the really creative and adventurous city of Moab, Utah. We are staying in a small apartment three doors down from our daughter, visiting grandchildren, and great grandchildren. The apartment itself is a small funky art gallery.

I found an art instructor, Karen Chatham, who gives art lessons in her studio so my great grandkids, granddaughter, and granddaughter-in-law headed over for two hours of play with alcohol inks. We had a great time and once we got started you could hear a pin drop – a sure sign of the ability of art to transport us to another place. Alcohol ink is great for beginners because you can correct what you have done or even start over. It is also unpredictable (also a nice thing) and immediate.

I have Yupo paper and alcohol inks and home and they are the schedule for a play day!

Lynn Jones of Just My Type Letterpress Paperie was my co-teacher for our second class for OLLI Book Arts. Eight women worked together to produce collaborative books with the title Blooming Chaos. You can share in our creative journey by viewing the photos below. Students – thank you all for two wonderful afternoons of inspiration and comraderie!

Transfer of image to block

Carving the block using jigs made by my husband, Rollie.


One of eight blocks being carved.

Lynn guides their carving.

Finished blocks.

Time to pick out our type from vintage type cases.

Each student chose their own type font.

Setting the type with carved blocks.

Check out the press in action!

After much adjusting, Lynn presented us with this page for Day 2’s book.

I am demonstrating the construction of the Winter Fold book – made from the single sheet of paper.


The final results!

To a job well done!


Thank you all for a great class. You inspire me so much. Until next time!

What a fabulous group of people I worked with in this course! The Bradel Binding requires a bit of patience, risk taking, and precision. Nine women tackled the project with enthusiasm, cooperation, and humor. They shared materials, expertise, laughs, and book arts stories. The first day of the class involved dyeing the Tyvek with acrylic inks. Colors were picked based on the papers they brought for the covers. The inner cover was constructed and rounded. On the second day we covered the two outer boards with their papers – not always straight forward because some of the papers were quite thin and had to be reinforced. Once the three piece covers were complete, the pre-assembled text block was fitted and glued into the covers. Each book represents someone’s artistic vision and the results are eye-popping. They are 3.5 inches by 5.5 inches. Some books still have the waxed paper protecting the text block from glue but aren’t these just the BEST!

Bradel1

This elegant binding gives the book artist a chance to create a colorful cover and rounded spine. Students will decorate the Tyvek spine and create two headbands for their book. . The text block will be provided and is a pre-sewn yearly calendar (see below).

When: Tuesday, February 13 & Thursday, February 15, 2018, 1:00 pm – 4:00 pm.

Where: Humboldt Bay Aquatic Center, Eureka

Materials:Basic Toolkit: Metal ruler, cutting mat, small utility knife with replaceable blades, small scissors, bone folder, sharp pencil, and PVA adhesive (if you have it), and glue brush, heavy book or brick, scrap papers.. Optional: metal rules, metal square.  Instructor will be providing the text block, boards, spine materials, and decorative papers If you would like to bring your own papers for the covers, bring two pieces at least  5″ x 7″ (to be recut).

Register Here:Osher Lifelong Learning Institute

Bradel3Bradel2